

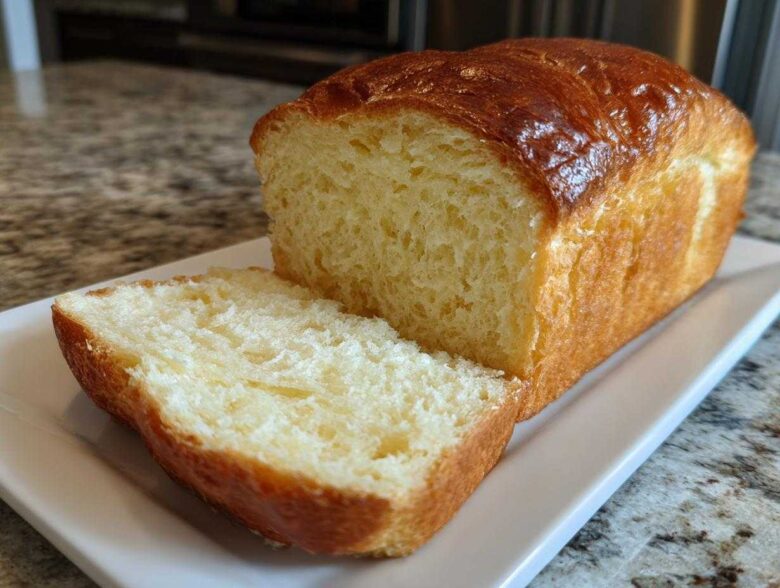
You know that heavenly soft, slightly sweet bread you get from the best bakeries? The kind where you squeeze it and it immediately bounces back perfectly? Well, I finally figured out how to make that loaf right here in my kitchen, and honestly, it changed my whole outlook on baking bread! The secret, my friend, is all about that creamy, dreamy can of goodness: condensed milk bread. I remember my first batch of this Sweetened Condensed Milk Bread; I was so nervous about the rising, but wow, did it deliver. It smelled incredible, and when I finally sliced it warm—pure magic. If you’ve ever been intimidated by yeast baking, trust me, this recipe is the one that makes you feel like a total pro. For more tips and tricks just like this one, check out my main baking adventures!
Why This Is the Best Condensed Milk Bread Recipe
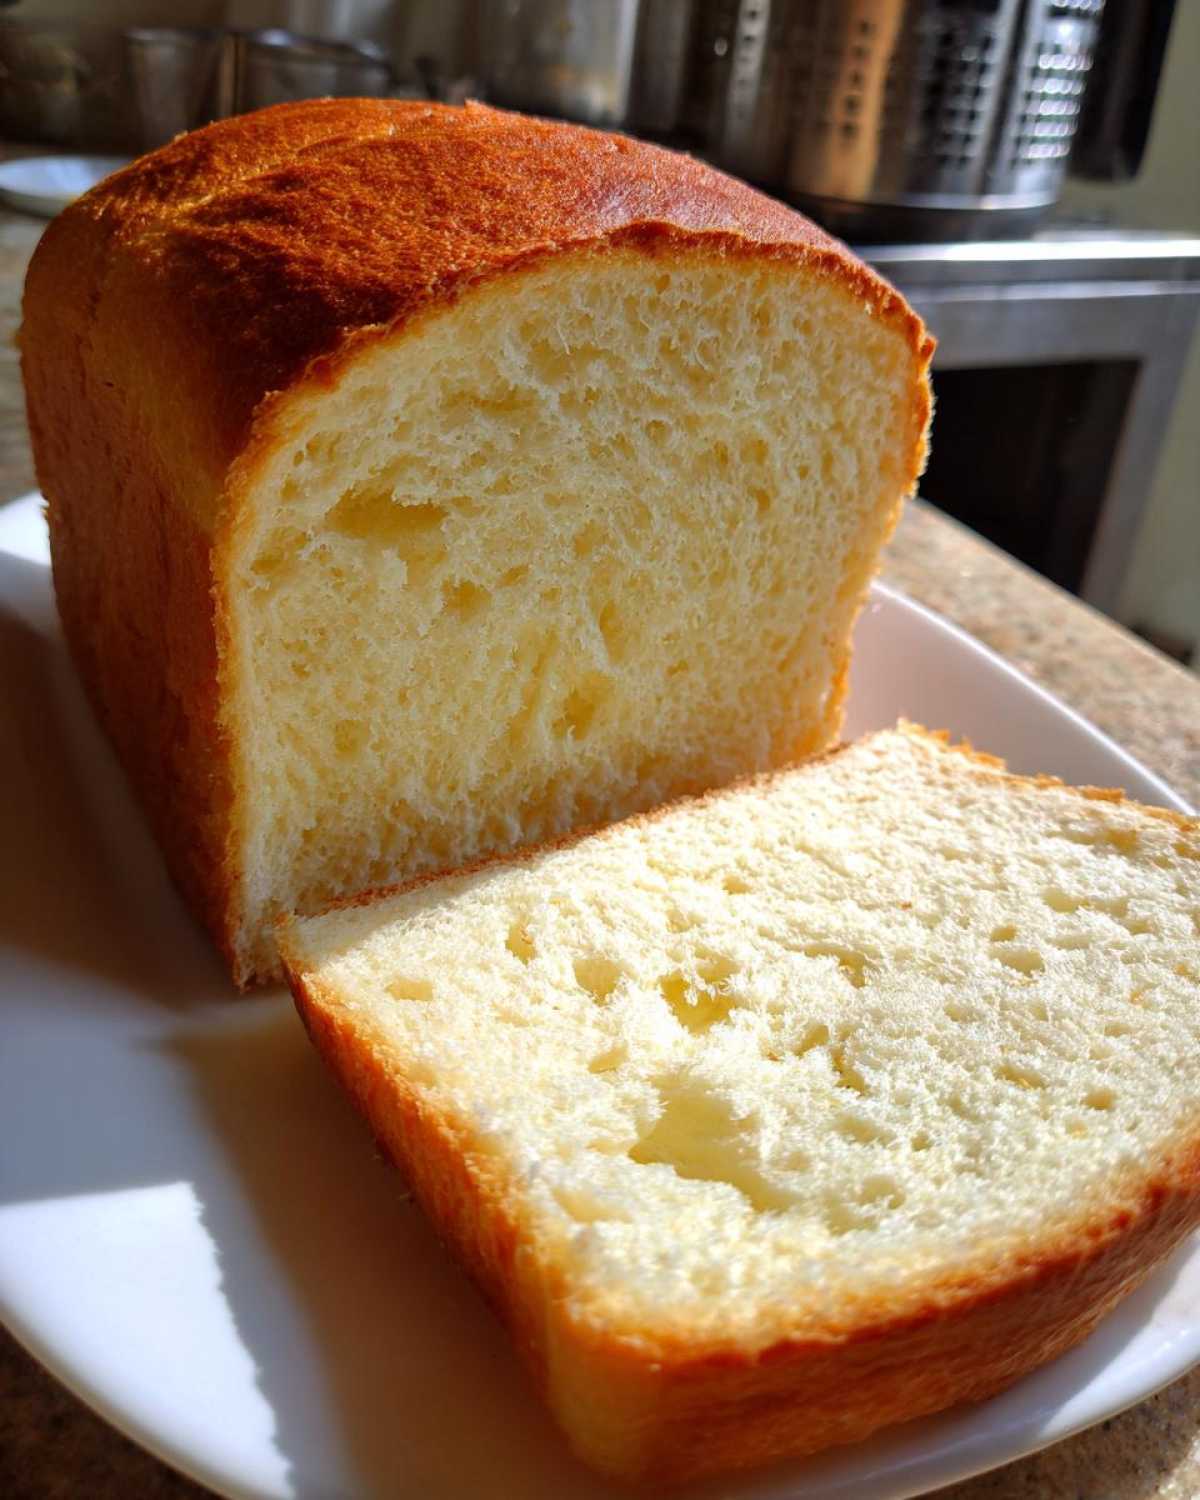
I’m telling you, this is the ultimate prize-winner for softness. If you want a truly Soft Bread Recipe that rivals anything you’ve bought recently, this is it. The condensed milk isn’t just for sweetness; it’s doing heavy lifting structurally! It gives you that perfectly sweet flavor without needing tons of extra sugar floating around.
Achieving Ultimate Softness with Condensed Milk Bread
We are aiming for Fluffy Homemade Bread perfection here, and the condensed milk is the secret sauce. See, that high concentration of fat and sugar actually interferes slightly with how the flour builds strong gluten networks. It’s a good thing! This keeps the crumb incredibly tender and that pillowy soft texture lasts through the next day—which is rare for homemade loaves.
My big tip? Make sure your egg isn’t fridge-cold. Room temperature ingredients always blend smoother, which means less mixing later, and less mixing means a softer final product. It’s a marathon, not a sprint, and temperature control wins races in baking!
Quick Preparation for This Easy Milk Bread
Don’t let the rise times scare you. While the dough is doing its thing, you can go relax, clean up, or just stare out the window dreaming about warm slices. The actual hands-on time for this Easy Milk Bread is maybe twenty minutes total. It’s definitely a top pick for anyone new to yeast baking because the process is so forgiving.
Essential Ingredients for Fluffy Condensed Milk Bread
When you’re making something as specialized as this condensed milk bread, you can’t just toss things in willy-nilly. Every item on this list plays a role in getting that beautiful flavor and that signature loft. We need milk, yeast, the star, that glorious sweetened condensed milk, an egg, butter, flour, and salt. That’s it! Pretty straightforward, right? I’m heading over soon to look at some breakfast inspiration over here, but first, let’s talk ingredients.
The most crucial thing? Temperature! Make sure your milk is cozy but not scorching—think warm bath water—and your egg needs to be at room temperature. This helps everything blend together into a uniform, happy batter.
Ingredient Notes and Substitutions for Your Condensed Milk Bread
That yeast needs a little warmth to wake up, which is why we check for foaminess in step one. If it doesn’t foam up after five minutes, your milk was too hot or too cold, or the yeast is old, and we have to start that part over. Don’t skip that tiny check!
Also, we use melted butter here, which is different from traditional recipes that call for softened butter. Melting the butter makes this an incredibly Easy Yeast Bread because you’re skipping the creaming step! Whole milk adds just a little extra richness over 2%, but if that’s what you have, 2% milk works just fine in a pinch.
Step-by-Step Instructions for Sweet Condensed Milk Bread Loaf
Okay, let’s get our hands dirty! This instructions section is where the magic of the Sweet Bread Loaf comes together. I’ve written everything out super clearly because the texture payoff is huge, and we don’t want any guesswork ruining our beautifully soft dough. Just follow these steps closely, and you’ll see why I stand by this method. If you need a refresher on how to tackle yeast, I have a great guide to easy yeast bread techniques!
Activating Yeast and Mixing the Condensed Milk Bread Dough
First things first: wake up that yeast! Pour your warmed milk into a bowl—if the milk is too hot, you’ll kill the yeast, so keep it friendly, around 110°F is perfect. Sprinkle the yeast on top and let it sit for about 5 to 10 minutes. You are looking for a lovely foamy cap on top. If you don’t see foam, your yeast is sleeping, or worse, dead, and we need to toss that batch and start the yeast activator over. That foam is your visual confirmation that we’re on the right track!
Once it’s bubbly, whisk in the sweetened condensed milk, the slightly warm egg, and that melted butter. It will look a little thin and creamy, but trust the process! You’re building the wet base for this incredibly soft bread.
Kneading and First Rise for Tender Crumb Bread
Now we introduce the dry stuff—the flour and salt. Add the dry mix to the wet ingredients slowly, mixing until you have a shaggy mess. Don’t panic; that’s exactly what we want before kneading starts.
Turn the dough out onto a lightly floured surface. Start kneading! You need to work this dough for a solid 8 to 10 minutes. I keep pulling and folding until it’s totally smooth and elastic. It should feel soft, a bit puffy, but when you press it, it shouldn’t immediately stick stubbornly to your fingers. After kneading, drop it into an oiled bowl, cover it up, and stick it somewhere warm for about an hour and a half. You want it doubled in size—that’s the visual cue you’re looking for to nail that Tender Crumb Bread.
Shaping, Second Rise, and Baking the Condensed Milk Bread
Gently punch the air out of that beautifully risen dough. Shape it gently into a log—no aggressive punching allowed, we worked hard to keep those air bubbles intact!
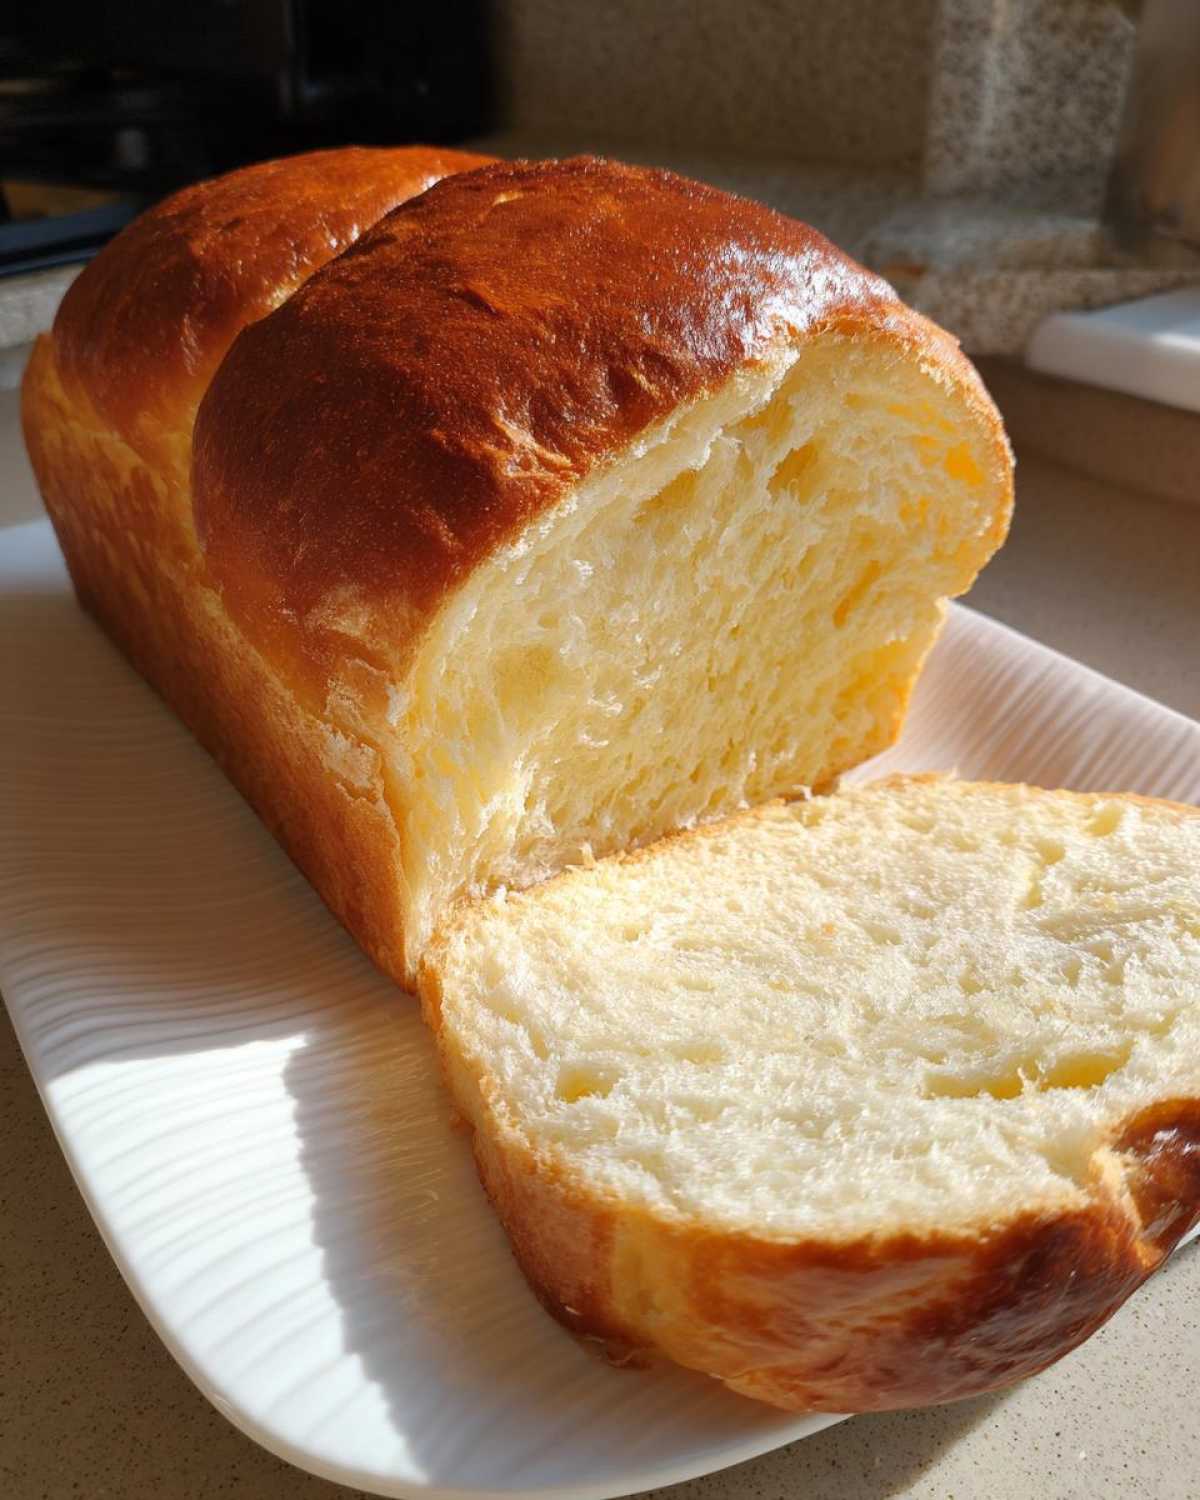
Place that log into your prepared 9×5 inch loaf pan. Cover it loosely and let it rise again for another 30 to 45 minutes. This second rise is vital for that high crown. While it’s finishing up its final rest, go ahead and preheat your oven to 350°F during the last 15 minutes. Baking happens when that dough crowns about an inch over the pan rim. Bake it until it’s golden brown on top and the internal temperature hits about 200°F. Pull it out right away so the crust doesn’t get tough!
Tips for Perfect Bakery Style Bread at Home
Even with a great recipe, little tricks can take your condensed milk bread from ‘really good’ to ‘send-me-the-recipe-right-now’ good. Since we are aiming for that classic, slightly shiny top you see in professional bakeries, I have a couple of finishing moves that I always use.
My main focus when pulling the loaf out is speed. As soon as it’s out of the oven, you need to remove it from the hot pan immediately and place it on a wire cooling rack. If you leave it in that hot pan, the steam gets trapped underneath, and you ruin that delicate bottom crust we worked so hard to achieve. It needs to breathe!
For the appearance, here is my favorite secret weapon. Just before the second rise is done, take a tiny bit of extra sweetened condensed milk—maybe a teaspoon—and mix it with just a tiny splash of water. Lightly brush this mixture over the very top surface of the loaf. Don’t brush near the sides, or you might mess with the rise too much. This simple glaze cooks up beautifully, giving you a gorgeous, slightly burnished, shiny top that screams Bakery Style Bread at Home. It adds just a whisper more sweetness right on the crust, which is just lovely.
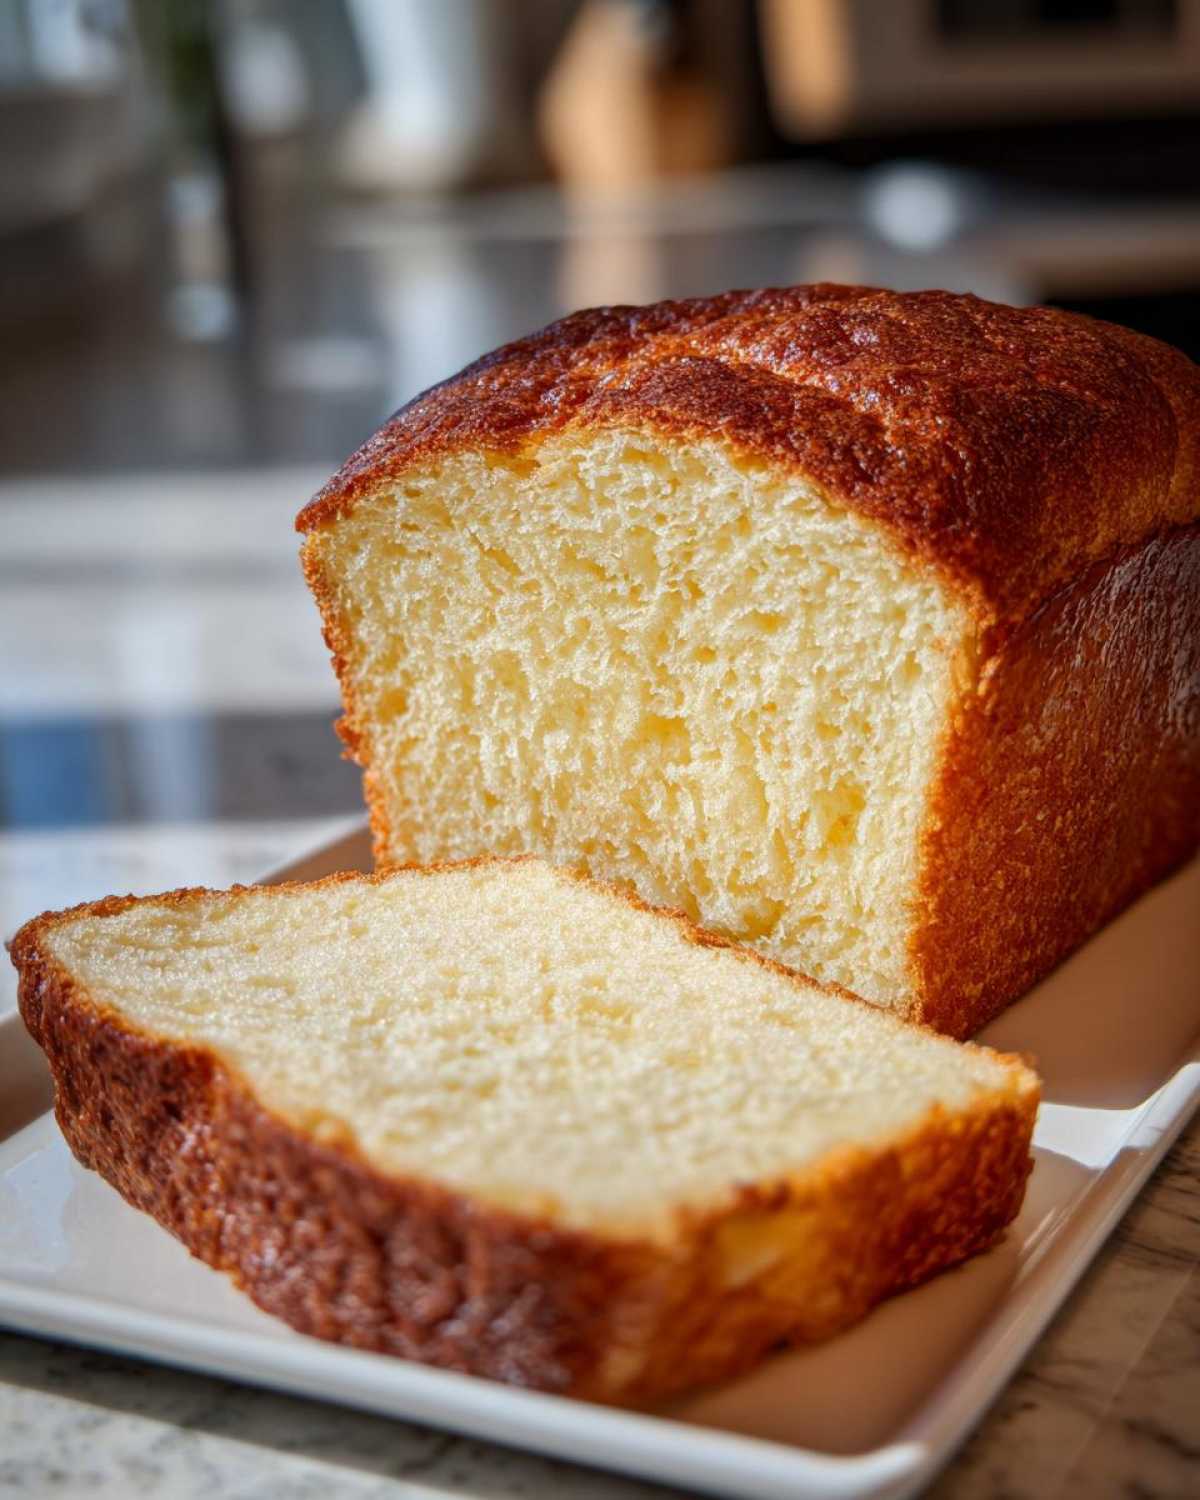
If you want to see more tips on how to get that perfect texture and look every single time, I talk a lot about general techniques for mastering bakery style bread at home.
Variations: Making Condensed Milk Rolls
Once you’ve nailed the loaf, you’ll want to try making these into rolls because they come out just as fluffy! Honestly, converting this recipe for Condensed Milk Rolls is probably even easier than shaping the loaf, and they are perfect for parties or just having soft little breakfast buns ready to go.
Remember that huge, puffy dough ball after the first rise? That’s where we make the change. Instead of tucking it into the loaf pan, turn it out onto your counter and gently divide it into 12 equal pieces. Seriously, use a kitchen scale if baking perfection is your goal, or just eyeball them if you’re feeling brave!
You want to shape each piece into a tight little ball. Pressing them together snugly in a greased 9×13 inch baking dish is key here. They shouldn’t be touching right away, but they should be close enough that they’ll grow together during that second rise. This makes those gorgeous seams between your Homemade Sweet Rolls once they bake.
Cover that dish loosely just like you did the loaf, and let them puff up again for about 40 minutes. They’ll nearly touch by the time they’re ready for the oven.
Now for the bake time adjustment! Because the rolls are small and crowded together, they cook faster and bake more evenly from the sides. Instead of 30 to 35 minutes for the loaf, you’ll only need about 20 to 25 minutes at the same 350°F. They should be golden brown all over. Pull them out, let them cool just a touch, and pull apart the softest sweet buns you’ve ever made! If you want even more inspiration for sweet dough projects, check out my guide to making homemade sweet rolls.
Storage and Reheating Instructions for Your Sweet Bread Loaf
This Sweet Bread Loaf is honestly at its peak the day you pull it from the oven, but because it’s so rich in fat from the butter and the condensed milk, it stays softer for longer than other loaves. However, there is one *huge* rule you must follow first: you absolutely, positively cannot slice it warm!
I know, I know, the smell is intoxicating, and you want that steaming slice with butter melting everywhere. But if you slice it while it’s hot, the internal structure is still setting up, kind of like a cooling egg custard. Slicing too soon releases all that trapped steam, and you end up with a mushy, gummy texture in the middle—turning your beautiful, airy crumb into something dense and sad. It’s torture, but let it cool completely on a wire rack—at least an hour, preferably two!
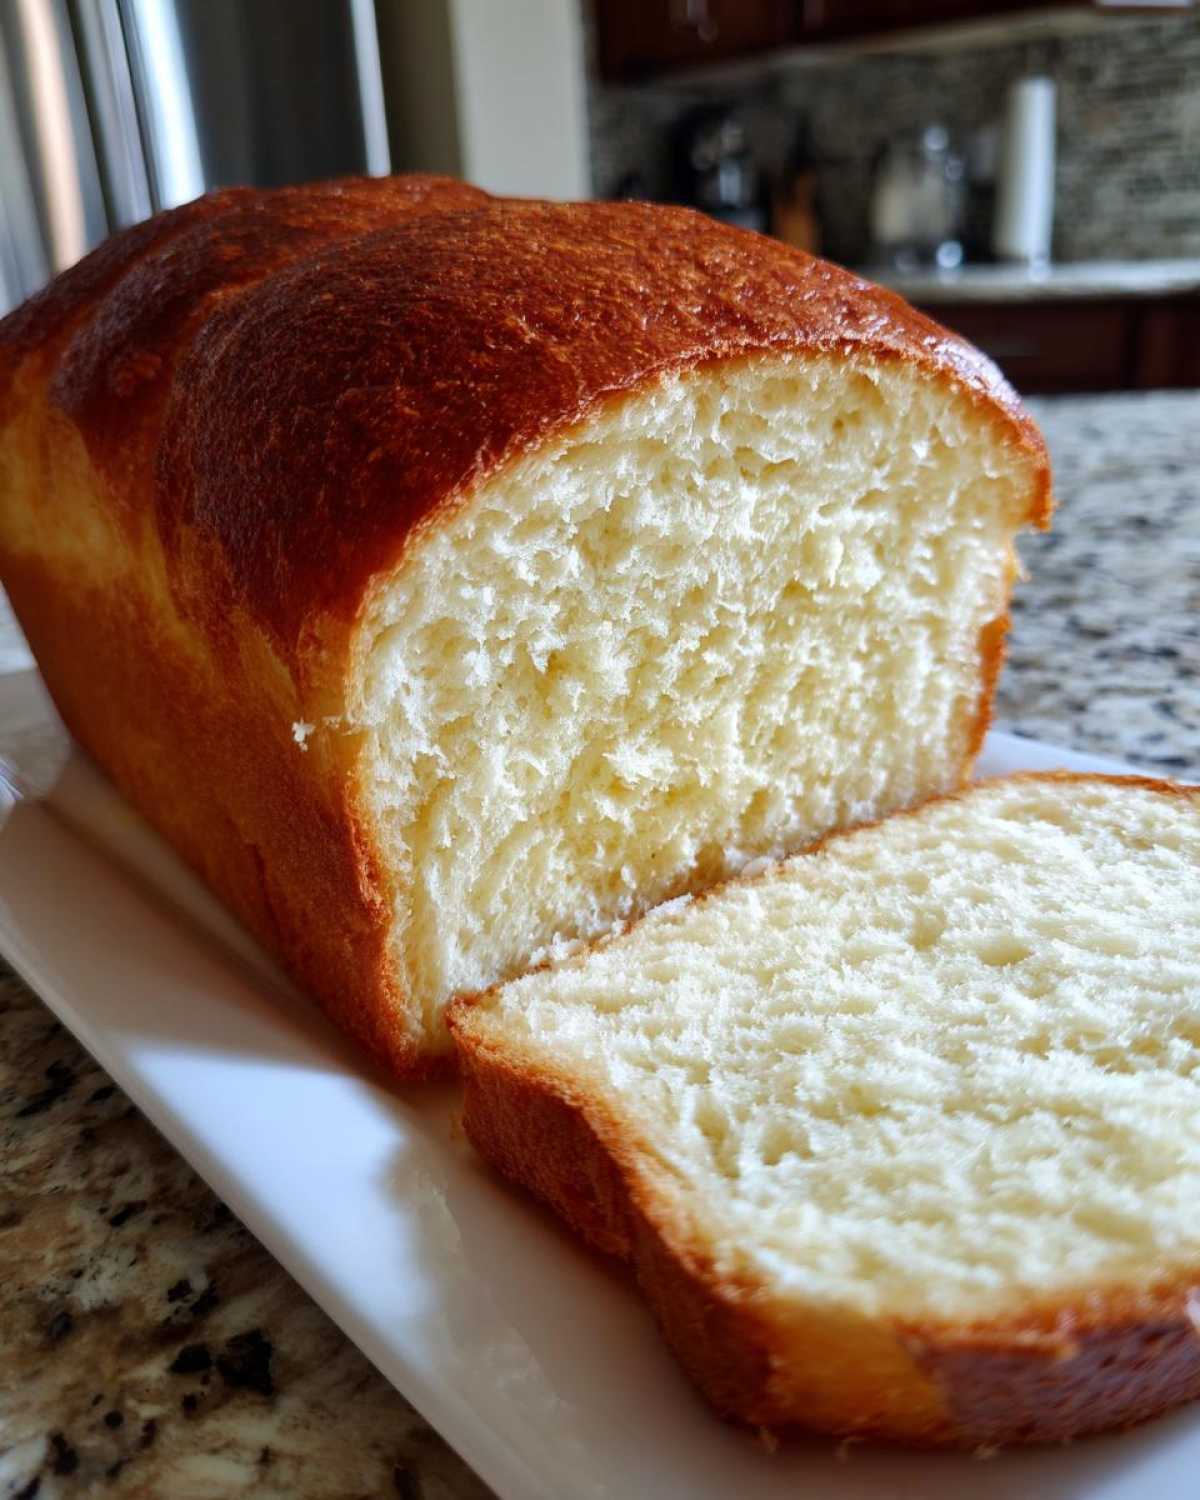
Once it’s totally cool, storage is simple. Since this is a Sweet Sandwich Bread, you want to keep the crust from getting hard. Wrap the entire cooled loaf tightly in plastic wrap, and then maybe wrap that again in foil or stick it in a large Ziploc bag. Keep it right there on the counter at room temperature. It’ll stay wonderfully soft for about three days this way. Don’t put it in the fridge unless you’re leaving town for a week or something crazy, because refrigeration dries out bread faster than anything!
Reviving That Fluffy Texture for Toast or Sandwiches
If your loaf is a day or two old and just needs a little wake-up call, reheating is your best friend. This is how you get back that ‘just-baked’ pillowiness!
For slices—perfect for a decadent breakfast or making the best Sweet Sandwich Bread—just wrap the slice loosely in a damp paper towel. Microwave it for just 10 to 15 seconds. That tiny bit of steam trapped by the towel rehydrates the starches, and suddenly, it’s soft again! Watch it carefully, though; too long and you’ll end up with hot, soggy bread, and we don’t want that!
If you want to refresh the whole loaf, preheat your oven to 300°F. Place the wrapped loaf inside for about 8 to 10 minutes. This gently warms the interior without making the crust tough. Slice it quickly while it’s warm, grab the butter, and enjoy that perfect, rich flavor all over again!
Frequently Asked Questions About Condensed Milk Bread
I get so many questions about this recipe—which usually means you guys are getting excited to bake it, and I love that! Here are the things people ask me most often before they dive into making this soft loaf. If you’re looking for some other speedy baking projects, I have a few fun ones right here!
Can I use evaporated milk instead of condensed milk in this bread recipe?
Oh, honey, that is a big no-no for this specific recipe! These two milks are actually very different, even though they sound similar. Evaporated milk is just milk with about 60% of the water removed. It’s not sweet at all. If you substitute it, you’ll end up with a drier, regular white bread flavor because you’ll be missing all that crucial sugar and fat from the sweetened condensed product.
The whole point of this recipe is that extra rich flavor and that super Tender Crumb Bread texture that only the highly processed, super-sweetened version can provide. Stick to the can of sweetened condensed milk for the best outcome!
How do I know when my fluffy homemade bread is fully baked?
Visual checks are great, but when we are talking about getting that perfect internal structure, we need numbers! The most reliable way to check if your loaf is done, especially since it’s so rich, is to use an instant-read thermometer. You are looking for an internal temperature that hits 200°F (about 93°C).
If you don’t have a thermometer—which is fine, I just started using one myself a few years ago—look for deep golden brown color on the crust. Also, try tapping the bottom of the loaf once it’s out of the pan; it should sound distinctly hollow. If it sounds dull or heavy, give it another five minutes!
Is this Sweet Breakfast Bread suitable for making French Toast?
Absolutely, yes! This is arguably one of the best types of bread for French toast because of its inherent richness and sweetness!
Because it already has that lovely hint of sweetness baked right in, you don’t need to sweeten your custard mixture quite as much. I highly recommend letting this loaf sit for a day first, then slicing it thickly—maybe an inch, inch and a half thick. The slight staling firms up the bread so it soaks up the egg mixture beautifully without falling apart when you put it on the griddle. It makes for the most decadent Sweet Breakfast Bread!
Estimated Nutritional Data for Condensed Milk Bread
I’ve included the estimated nutrition breakdown for one slice of this condensed milk bread below. Now, take this with a grain of salt, okay? We are dealing with homemade bread, and the exact sugar count can change wildly depending on what brand of condensed milk you snagged at the store, or if you decided to add a little extra butter because, well, why wouldn’t you?
But for general planning, this gives you a good idea of what you’re enjoying—usually a nice balance of carbs for energy with a decent amount of fat to keep things rich and satisfying. Considering how soft this loaf turns out, I think those numbers are a steal!
- Serving Size: 1 slice
- Calories: 180
- Sugar: 8g
- Sodium: 180mg
- Fat: 4g
- Protein: 5g
- Carbohydrates: 30g
Just remember, these values are estimates based on the standard ingredients list. If you swap out whole milk for skim or use a different flour blend, these totals will shift a bit. Enjoy this delicious bread guilt-free, and save the serious calculating for something less important!
Share Your Tender Crumb Bread Experience
Now it’s your turn! I’ve shared all my secrets on getting that incredibly soft, slightly sweet texture in this condensed milk bread, and honestly, the biggest joy for me is seeing your results!
If you followed along and baked up this loaf—or maybe you tried those amazing Condensed Milk Rolls—I would be eternally grateful if you’d stop back by and let me know how it went. Did it live up to the hype? Did you achieve that tender crumb bread texture we were aiming for?
Please, please leave a rating for the recipe right here on the page. If it earns you five stars, I’ll do a happy dance! Five stars means another family tradition is starting, and that’s what it’s all about.
Did you take a picture of that beautiful golden loaf? I love seeing them! You can always reach out to me if you have questions or just want to show off your work. Getting your feedback helps me make sure every baker has success with this Easy Milk Bread. Hop over to my contact page if you have questions or just want to send a quick note!
Keep baking softly, friends!
PrintFluffy Sweet Condensed Milk Bread Loaf
This recipe yields an incredibly soft and slightly sweet bread loaf using sweetened condensed milk for a rich flavor and tender crumb. It is easy to make for beginners.
- Prep Time: 20 min
- Cook Time: 35 min
- Total Time: 1 hour 50 min
- Yield: 1 loaf (about 12 slices)
- Category: Baking
- Method: Yeast Baking
- Cuisine: American
- Diet: Vegetarian
Ingredients
- 1 cup whole milk, warmed to 105-115°F
- 2 1/4 teaspoons active dry yeast
- 1/4 cup sweetened condensed milk
- 1 large egg, room temperature
- 3 tablespoons unsalted butter, melted
- 3 cups all-purpose flour, plus more for dusting
- 1 teaspoon salt
Instructions
- Combine the warm milk and yeast in a large bowl. Let it sit for 5 to 10 minutes until foamy.
- Whisk the sweetened condensed milk, egg, and melted butter into the yeast mixture.
- In a separate bowl, whisk together 2 1/2 cups of the flour and the salt.
- Gradually add the dry ingredients to the wet ingredients, mixing until a shaggy dough forms.
- Turn the dough out onto a lightly floured surface. Knead for 8 to 10 minutes, adding the remaining flour as needed until the dough is smooth and elastic. It should be soft but not sticky.
- Place the dough in a lightly oiled bowl, turning to coat. Cover the bowl with plastic wrap or a clean towel and let it rise in a warm place for 1 to 1.5 hours, or until doubled in size.
- Gently punch down the risen dough. Shape it into a log and place it into a greased 9×5 inch loaf pan.
- Cover the pan loosely and let the dough rise again for 30 to 45 minutes, or until it has crowned about 1 inch above the rim of the pan.
- Preheat your oven to 350°F (175°C) during the last 15 minutes of the second rise.
- Bake for 30 to 35 minutes, or until the top is golden brown and the internal temperature reaches 200°F (93°C).
- Remove the bread from the pan immediately and cool completely on a wire rack before slicing.
Notes
- For rolls, divide the dough into 12 equal pieces after the first rise, shape into balls, and place them close together in a greased 9×13 inch baking dish. Adjust baking time to 20-25 minutes.
- If you prefer a shinier crust, brush the top of the loaf with a little extra condensed milk mixed with a teaspoon of water before baking.
- Room temperature ingredients mix better, so plan ahead for your egg and milk.
Nutrition
- Serving Size: 1 slice
- Calories: 180
- Sugar: 8
- Sodium: 180
- Fat: 4
- Saturated Fat: 2
- Unsaturated Fat: 2
- Trans Fat: 0
- Carbohydrates: 30
- Fiber: 1
- Protein: 5
- Cholesterol: 25