

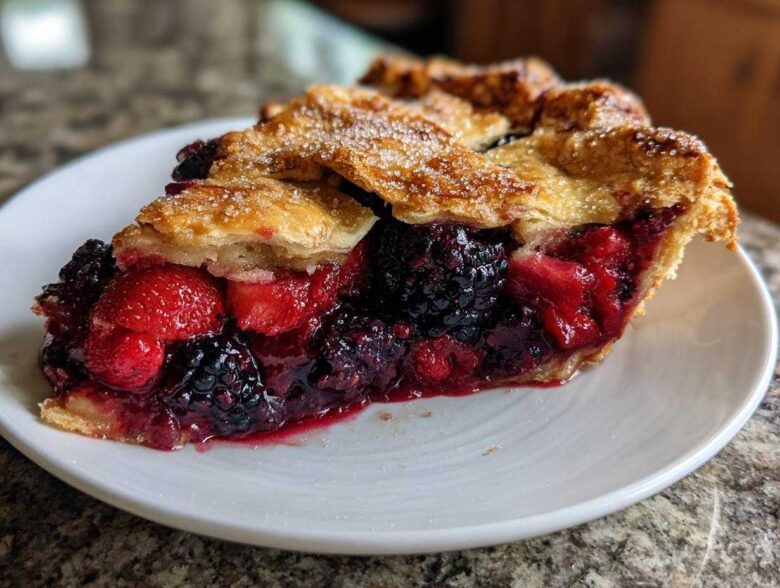
Oh, friends, when the summer hits and the farmer’s market baskets are overflowing with deep red strawberries and tiny, sweet blueberries, there is only *one* dessert that truly captures that feeling for me. Forget fiddly lattice work or squeezing batter into fussy springform pans. We are going totally relaxed and beautiful with this Rustic Summer Berry Galette.
This recipe is my non-negotiable summer staple because it looks like you spent hours creating something elegant, but honestly? It takes about 30 minutes of actual work, and the results are just stunning. The magic is in that crust—it’s buttery, flaky, and totally forgiving if you’re not a precision baker like me. Trust me, this free-form fruit tart is about to become your signature summer bake!
Why This Rustic Summer Berry Galette is Your Go-To Summer Dessert
Honestly, sometimes you just don’t want to fuss. That’s the beauty of this dessert! It checks every box for an Easy Summer Dessert Ideas list without demanding perfection. It’s vibrant, bursting with fresh juice, and smells like pure sunshine baking in your oven. Who needs perfect edges when the flavor is this intense?
- It delivers all the flavor payoff of a fancy pie with none of the stress. This is truly a No Fuss Fruit Tart!
- The contrast of the super flaky, buttery crust against the warm, slightly tart berries is just heavenly.
- It uses whatever berries look best at the market that week. No recipe adherence needed!
The Charm of Free Form Pie Baking Guide
The ‘rustic’ part is my favorite. A galette is just a free-form, open-faced pie that you bake right on a sheet pan. Seriously, no special pie dish needed! We fold the dough edges up over the filling just enough to keep the juices in. If your first fold is messy, great! That just adds to the country charm your Free Form Pie Baking Guide entry will be.
Seasonal Berry Baking Inspiration
The true star here is the fruit, of course. You absolutely must use berries that are practically screaming to be eaten—the kind you can barely wait to get home from the market. That peak season flavor is what makes this Rustic Summer Berry Galette shine. Using dull, sad berries just won’t give you that mouth-popping tartness we’re aiming for!
Essential Ingredients for Your Rustic Summer Berry Galette Recipe
Okay, let’s talk about what actually goes into this beauty. Since we are prioritizing that incredible, flaky crust, every single component needs to be treated right. For the crust, keeping things cold is absolutely the secret weapon, trust me on this one.
I always organize mine into two main groups: the things that make the pastry structural, and the things that make the filling taste like pure summer joy. If you want the best Homemade Berry Pie Dough, you can’t skimp on the quality of your butter!
Homemade Berry Pie Dough Ingredients
These are the building blocks for a crust that shatters perfectly when you bite into it. Remember, the butter needs to be cut into small cubes and kept straight from the fridge—don’t let it warm up!
- 1 1/2 cups all-purpose flour
- 1/2 teaspoon salt
- 1 tablespoon granulated sugar (just a touch for flavor)
- 1/2 cup (1 stick) cold unsalted butter, cut into small cubes
- 4 to 6 tablespoons ice water (start with four and add slowly!)
The Bright Summer Berry Filling Components
This mix is designed to taste bright, not just sweet. The cornstarch is super important; without it, we’d end up with a sad, juicy puddle instead of a thick, bubbly filling. And the lemon zest? It wakes up everything!
- 3 cups mixed fresh berries (strawberries, blueberries, raspberries, blackberries are my go-to combo!)
- 1/4 cup granulated sugar (adjust this based on how sweet your berries are)
- 1 tablespoon cornstarch (our anti-sog factor!)
- 1 teaspoon lemon zest
- 1/2 teaspoon fresh thyme leaves (optional, but it adds such a lovely, sophisticated earthy note)
- 1 large egg, beaten (for brushing the edges to make them shiny)
- 1 tablespoon coarse sugar (sprinkled on top for that rustic crunch!)
Flaky Pastry Crust Secrets for the Perfect Rustic Summer Berry Galette
This part is where a lot of people get nervous, but honestly, a good pie crust is just about temperature control and simple technique. Don’t let the idea of a flaky pastry crust scare you off!
We start by whisking the flour, salt, and that tiny bit of sugar together. Then comes the most crucial bit: cutting in the butter. You need that butter to stay in visible, little chunks—think the size of small peas or maybe a couple of slightly larger lima beans. I use an old-school pastry blender, but seriously, your fingertips work wonders if you move fast so you don’t melt the fat with your hand heat. Those butter pieces turn into steam pockets when baking, giving us those gorgeous, distinct flaky layers!
Once the butter is incorporated, move quickly with the ice water. You just need enough so the dough barely holds together when you press it. Too much water, and you get tough pastry, which is the opposite of what we want for this Rustic Summer Berry Galette. Immediately wrap that shaggy mass into a disk, label it with the date (I always forget!), and pop it in the fridge for a full hour. Seriously, do not rush the chilling time—that non-negotiable rest period lets the gluten relax and keeps everything rock-solid cold. It’s the difference between a great crust and a truly melt-in-your-mouth crust.
Assembling Your Rustic Summer Berry Galette: A Step-by-Step Tutorial
With our chilled dough resting peacefully and our berries looking ready to go, it’s time for the fun part—putting this whole country-style dream together! Remember, we are aiming for charm, not precision. If you’re worried about making a mess, this is the perfect time to check out my how to make a galette without a pan guide, although getting it onto the sheet is half the beauty of this method.
Mixing the Best Summer Berry Combination
First things first—let’s tackle that filling, following step three exactly. Grab a nice big bowl. We’re going to gently toss your mixed berries, the sugar, and the cornstarch together. I mean *gently*. You want the berries to hold their shape! If you crush them now, you’ll just get purple mush instead of distinct chunks of fruit later. That little bit of cornstarch is what saves us from a soggy bottom later on, so ensure it’s coated nicely.
If you decided to throw in that optional fresh thyme, sprinkle it in now. I swear, the thyme takes the sweetness of the strawberries and blueberries to a whole new level—it makes it taste expensive without any extra effort! Once everything is just coated, set that bowl aside while you roll out your dough.
Forming the Free Form Crust
Okay, grab your dough disk! On a surface lightly dusted with flour, roll it out into a rough circle. I usually aim for about 12 inches across. Did it turn out slightly egg-shaped? Perfect! That’s exactly what we want for this Rustic Summer Berry Galette Recipe. Don’t stress about the edges being perfectly round; that’s what keeps this a *simple country style dessert*.
Once rolled, carefully transfer that dough circle onto a baking sheet lined with parchment paper. Now, pile that gorgeous berry mixture right into the middle. Make sure you leave a good two-inch border all the way around the edge clear of fruit. This border is what we fold up!
This is the signature move: start folding that edge of dough up and over the berries. As you work your way around, just pinch the dough together where necessary to create those charming, uneven pleats. It should look exactly like you just gathered the edges up casually. Once all the dough is folded, grab that beaten egg wash—this is your glue and your color booster! Brush it generously over all the exposed crust edges, and then, for that crackly, sugary finish, sprinkle that coarse sugar right on top. It’s going to look incredible when it comes out of the oven!
Baking Tips and Tricks for a Golden Rustic Summer Berry Galette
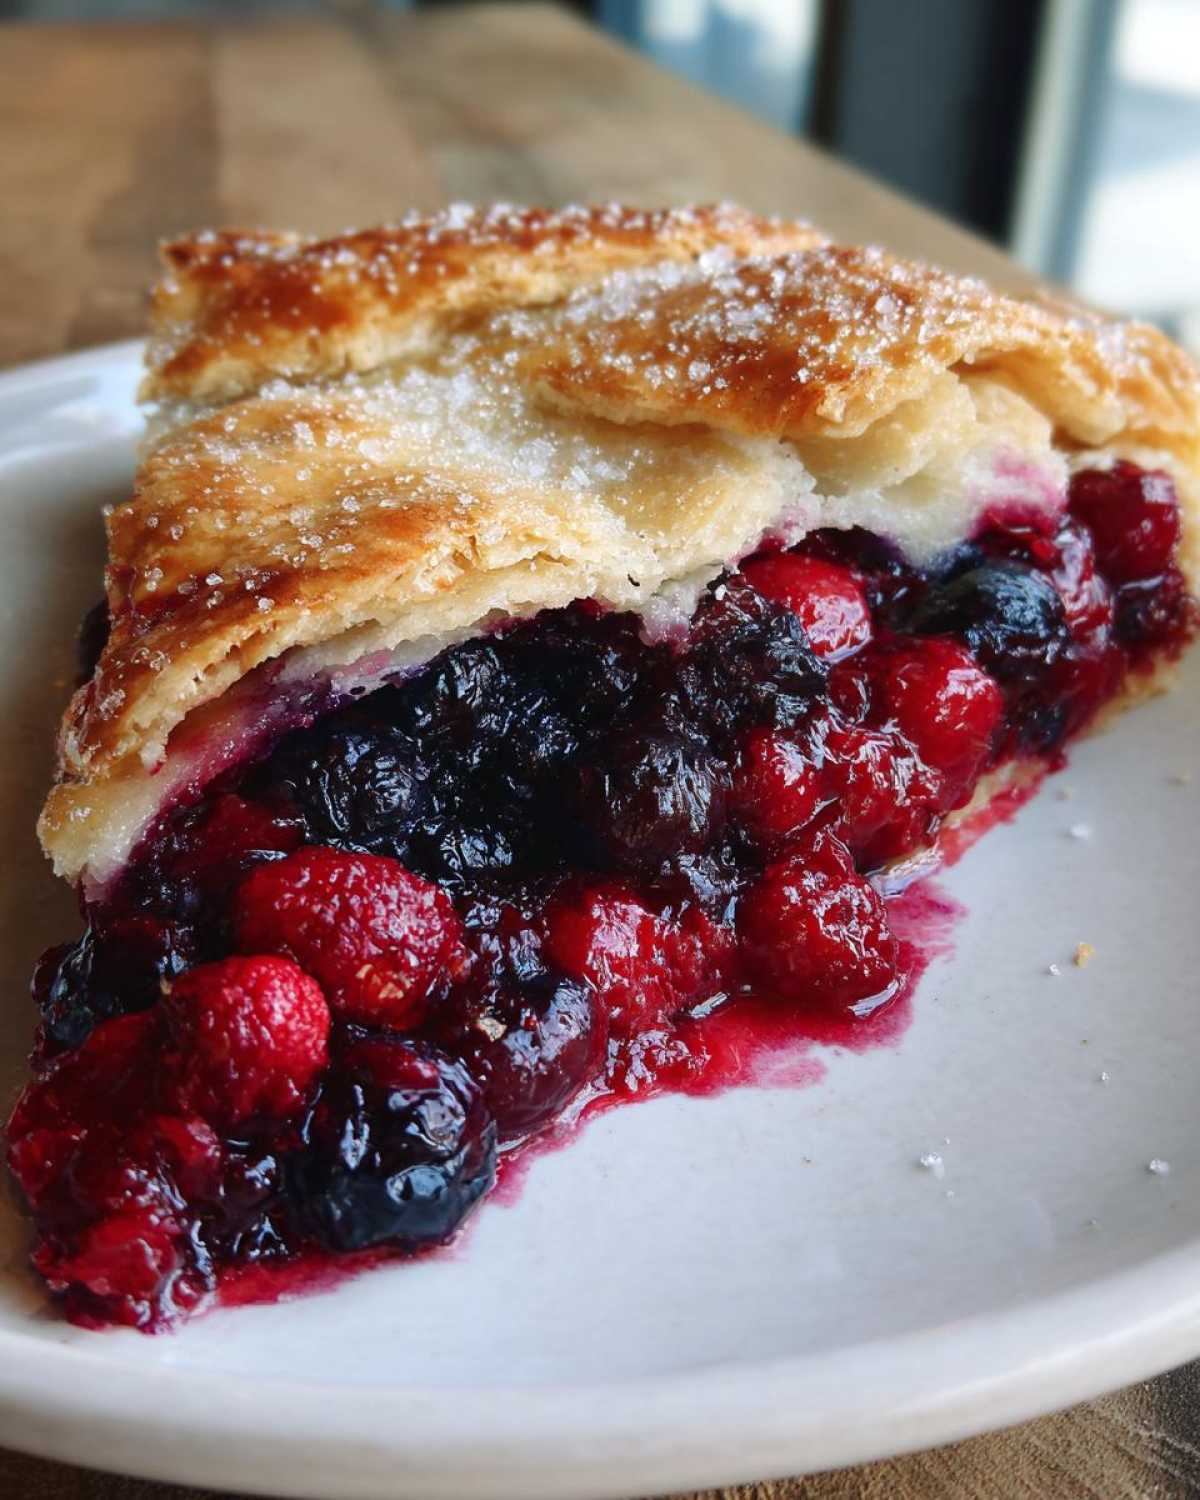
Now for the moment of truth! Getting that perfect bake—golden crust, bubbly fruit—is easier than you think, though it requires sticking to the heat we set earlier. Remember, we are baking this at 400°F (200°C). For preventing the dreaded soggy bottom, one of my favorite galette baking tips and tricks is to actually preheat the baking sheet along with the oven! When the cold dough hits that hot metal, the bottom crust sets up immediately, sealing out moisture.
If preheating the pan sounds like too much hassle, just make absolutely certain you used that parchment paper—it acts like a little buffer. Bake it for about 35 to 45 minutes. You’re looking for that crust to be a deep, rich golden brown, not pale blonde, and you should see those berry juices bubbling furiously in the center. If my edges start browning too fast before the middle sets, I just quickly wrap a little ring of aluminum foil around the perimeter. Patience is key for the final 20 minutes of cooling on the hot pan, too; it lets the juices settle down before you slice into your beautiful Rustic Summer Berry Galette!
Serving Suggestions for Your Summer Fruit Tart
Now for the best part—deciding how we’re going to eat this masterpiece! You absolutely cannot cut into this glorious Rustic Summer Berry Galette while it’s straight out of the oven; you just can’t! That resting time is super important, remember? It needs those good 20 to 30 minutes on the baking sheet so the juicy filling can firm up a little. If you slice too soon, you’ll have a warm puddle instead of perfect slices!
Once it’s cooled just enough, transfer it gently (parchment paper helps everything stay intact!) onto a nice big platter. Since the edges are naturally folded and uneven, keep your serving style relaxed. Honestly, a simple wooden board looks better than a formal china plate sometimes! We’re aiming for that perfect Rustic Dessert Plating Ideas vibe, so don’t fuss too much.
What to serve *with* it is just as important! The recipe notes mentioned this, and I wholeheartedly agree: nothing beats the contrast of warm, spiced fruit with something delightfully cold. A big spoonful of vanilla bean ice cream is my non-negotiable choice—especially if you have a nice homemade vanilla ice cream recipe! The melting ice cream runs right into the flaky crust crevices, and it’s just divine.
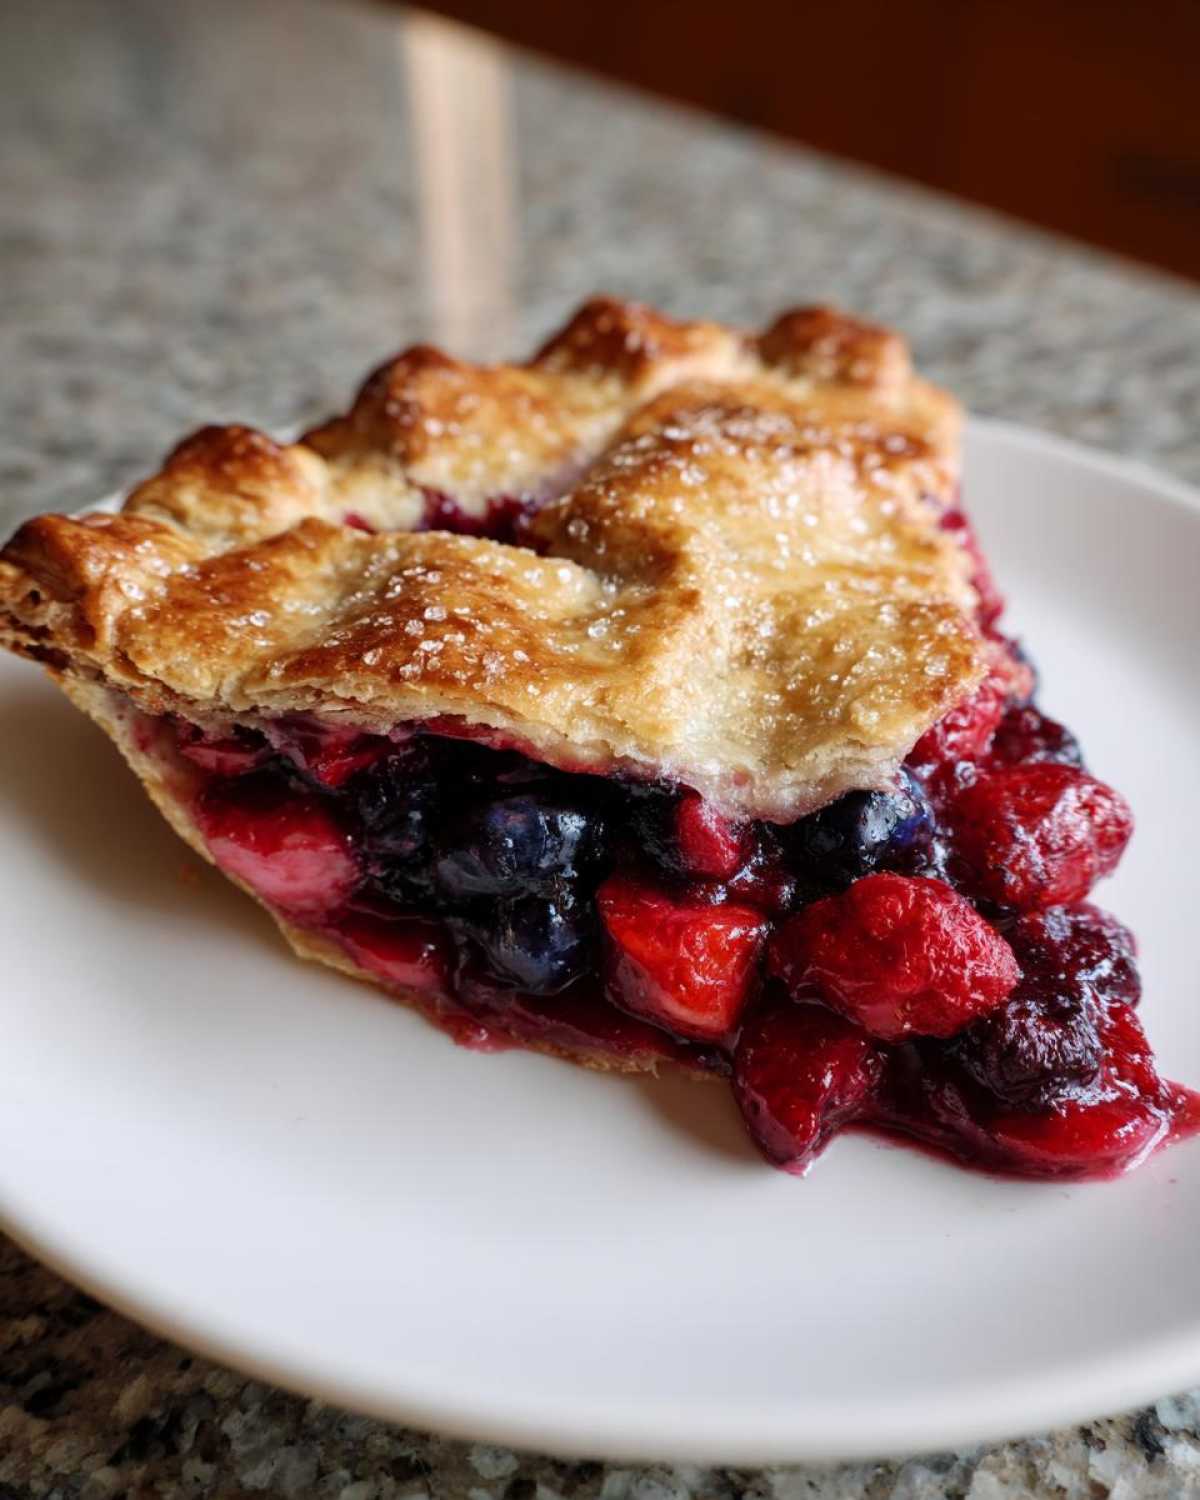
If you prefer something less chilly, a very light, quick dusting of powdered sugar is stunningly simple. Just use a fine-mesh sieve and tap it gently over the top right before you bring it to the table. It gives it that final, professional, yet still totally rustic, finish. Go ahead, slice it up and enjoy the easiest, best summer tart you’ll ever make!
Storage and Reheating Instructions for Leftover Rustic Summer Berry Galette
If you actually manage to have any Rustic Summer Berry Galette left over—which, honestly, usually only happens if I hide a slice away guiltily—storage is super simple. The biggest thing you need to remember is that this is a fruit pastry, not a dense pound cake, so it needs a little bit of care!
First things first: You must let it cool completely before you even think about wrapping it up. If you seal it while it’s warm, all that trapped steam will turn your beautiful flaky crust into something soft and gummy. No, thank you! Once it’s completely cool, I prefer to just cover what’s left with plastic wrap right on the serving plate. If you’re planning on keeping it for more than a day, though, move it into the fridge in an airtight container. It should stay perfectly delicious for about three days max.
Now, when you get the itch for a second slice the next day? Don’t grab the microwave! That’s the fastest way to ruin all that buttery texture we worked so hard for. Microwaves are the enemy of crisp pastry. Instead, pull out your toaster oven or use a regular oven set low, around 300°F (150°C).
Pop the slice on a small baking sheet (you can even put it directly on the rack if you trust your parchment paper transfer skills!) and let it warm up for about 5 to 8 minutes. You want the fruit warm and gooey again, but more importantly, you want that crust to re-crisp beautifully. It comes out tasting almost as good as fresh! Seriously, taking those extra few minutes for low-and-slow reheating makes all the difference in enjoying this Summer Fruit Tart again the next day.
Common Questions About Making a Galette
So many times when I post photos of this dessert, I get flooded with messages asking about substitutions or troubleshooting. It’s totally normal! Baking always comes with a few quirks, especially when you are working with something as variable as fresh fruit. Don’t let one sticky situation discourage you, though. Answering these questions usually helps folks feel more confident about trying our Rustic Berry Galette Recipe!
I always try to anticipate what might trip people up, especially when they are first getting into this style of baking. Since this is such a flexible dessert, people often wonder about swapping ingredients. Here are a few things I’ve learned over the years of making this simple dessert time and time again.
Can I substitute the berries in this Rustic Summer Berry Galette?
Oh, absolutely! That’s the glorious nature of the galette! While this recipe is titled for summer berries, feel free to swap them out seasonally. If you’re baking in the fall, sliced apples, pear slices, or even slightly tart plums work beautifully in this same format. Since stone fruits like peaches and plums are wetter than berries, I sometimes sneak in an extra half-teaspoon of cornstarch just to be safe, though the original cornstarch amount usually handles most fruit swaps just fine.
If you are making a fall version, skip the lemon zest and switch that fresh thyme out for a tiny pinch of cardamom or ground cloves. It changes the entire vibe from bright summer fun to cozy autumn heaven, but the flaky pastry foundation stays the same. It’s an amazing Seasonal Berry Baking Inspiration swap!
How do I prevent the bottom crust from getting soggy?
Ah, the dreaded soggy bottom. That’s the number one fear in any free-form pie baking! We talked about this a bit in the baking section, but let’s hit the key points again because consistency is everything here. The moisture comes from the filling, and we have to stop that juice from soaking into the raw dough before it ever has a chance to cook.
First, make sure you are using the cornstarch! It’s your main defense layer. Second, remember those crucial chilling times for the dough? Keeping the butter rocks frozen until the last minute is what ensures the crust sets up hard and fast when it hits that hot oven—that’s the key to the Flaky Pastry Crust Secrets we want. Finally, if you can manage it, preheating your baking sheet to 400°F before you slide the galette onto it provides an immediate blast of heat underneath, essentially flash-baking that bottom layer before the juices can seep too deep. That trio of tricks keeps things crisp!
What is the best summer berry combination?
This is such a fun question because it really lets you play around! If you look at my guide on the best summer berry combination, you’ll see my philosophy: balance is key. You don’t want all sweet, and you don’t want all tart. My absolute favorite mixture for this Rustic Summer Berry Galette, and the one I used in this recipe, is an even mix of strawberries (sweet base), blueberries (good structure), and a few raspberries or blackberries (for that necessary punch of tartness). That combination gives you great color variation and flavor complexity.
If you only have one kind of berry, use that! But if you have a few, always try to include at least one really tart fruit to balance out what is essentially a sweet dough and added sugar. It prevents the final product from tasting flat!
Estimated Nutritional Data for This Dessert
Now, I know most of us aren’t making this gorgeous Rustic Summer Berry Galette while counting every single calorie—it’s summer, we deserve a treat! But I always like to give you guys a ballpark idea of what you’re eating, just for reference. This information is based on dividing the entire recipe yield (6 servings) by the ingredients listed.
Just remember, this is an *estimate*, truly! It can swing wildly depending on how much sugar your specific berries contain or precisely how thick you roll your crust. But for a homemade, buttery, fruit-filled pastry, this isn’t far off!
- Serving Size: 1 slice
- Calories: 350
- Sugar: 22g (Most of this is natural fruit sugar plus the added sugar)
- Fat: 18g (Thank you, cold butter!)
- Carbohydrates: 45g
- Protein: 5g
It’s a perfectly acceptable slice of indulgence for a warm summer evening featuring the best of our seasonal fruit! Enjoy it guilt-free!
PrintRustic Summer Berry Galette
A straightforward recipe for a free-form, flaky pastry crust filled with a mix of fresh summer berries. This dessert offers a simple, country-style presentation.
- Prep Time: 30 min
- Cook Time: 40 min
- Total Time: 80 min
- Yield: 6 servings
- Category: Dessert
- Method: Baking
- Cuisine: American
- Diet: Vegetarian
Ingredients
- 1 1/2 cups all-purpose flour
- 1/2 teaspoon salt
- 1 tablespoon granulated sugar (for dough)
- 1/2 cup (1 stick) cold unsalted butter, cut into small cubes
- 4 to 6 tablespoons ice water
- 3 cups mixed fresh berries (strawberries, blueberries, raspberries, blackberries)
- 1/4 cup granulated sugar (for filling)
- 1 tablespoon cornstarch
- 1 teaspoon lemon zest
- 1/2 teaspoon fresh thyme leaves (optional)
- 1 large egg, beaten (for egg wash)
- 1 tablespoon coarse sugar (for sprinkling)
Instructions
- Prepare the dough: In a large bowl, whisk together the flour, salt, and 1 tablespoon of sugar. Cut in the cold butter using a pastry blender or your fingers until the mixture resembles coarse crumbs with some pea-sized pieces of butter remaining.
- Gradually add the ice water, one tablespoon at a time, mixing until the dough just comes together. Do not overmix. Form the dough into a disk, wrap it in plastic wrap, and chill for at least 1 hour.
- Prepare the filling: In a separate bowl, gently combine the mixed berries, 1/4 cup sugar, cornstarch, lemon zest, and thyme, if using. Set aside.
- Preheat your oven to 400°F (200°C). Line a baking sheet with parchment paper.
- On a lightly floured surface, roll the chilled dough into a rough 12-inch circle. The edges do not need to be perfect; this is a rustic dessert.
- Carefully transfer the dough circle to the prepared baking sheet.
- Arrange the berry filling in the center of the dough, leaving a 2-inch border clear around the edge.
- Fold the dough border up and over the edges of the filling, pleating the dough as you go to create a free-form crust.
- Brush the folded crust edges with the beaten egg wash and sprinkle generously with coarse sugar.
- Bake for 35 to 45 minutes, or until the crust is deep golden brown and the berry filling is bubbly.
- Let the galette cool on the baking sheet for at least 20 minutes before slicing and serving.
Notes
- For a flakier crust, keep all ingredients, especially the butter and water, very cold.
- If your berries release a lot of liquid, you can add an extra teaspoon of cornstarch to the filling mixture.
- Serve warm with vanilla bean ice cream or a light dusting of powdered sugar.
Nutrition
- Serving Size: 1 slice
- Calories: 350
- Sugar: 22
- Sodium: 150
- Fat: 18
- Saturated Fat: 11
- Unsaturated Fat: 7
- Trans Fat: 0
- Carbohydrates: 45
- Fiber: 3
- Protein: 5
- Cholesterol: 55