

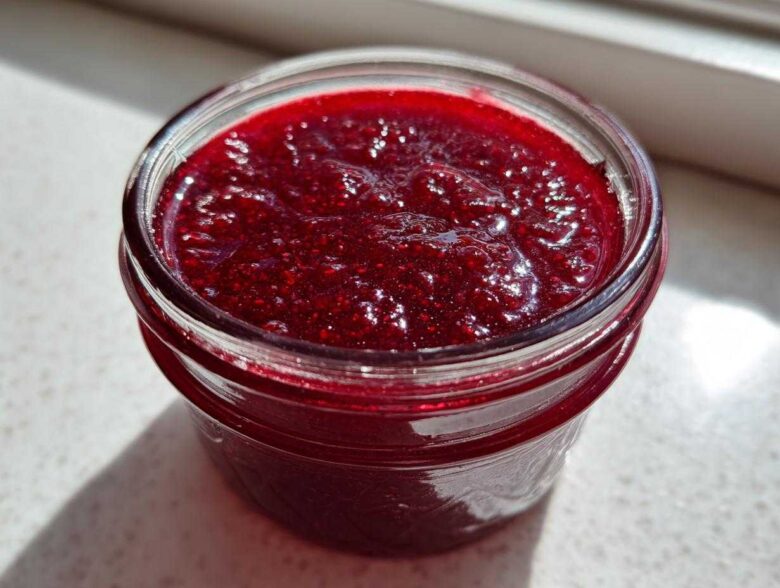
Oh, you know that feeling? That specific craving for something bright, tart, and perfectly sweet that only fresh jam can satisfy? Sometimes you don’t want a whole afternoon dedicated to sterilizing jars and waiting for a water bath to finish. You just want a dollop of glorious raspberry flavor right now. That’s why I perfected my **Small Batch Quick Raspberry Jam Recipe** for you! Trust me, making jam in tiny quantities is superior when you’re eating it fresh over toast or yogurt within the next week. We are skipping the pectin and the long canning process entirely. This delivers the absolute best small batch result with almost no effort. You’re going to love how fast this comes together! If you want to read more about my kitchen adventures, check out my main blog here.
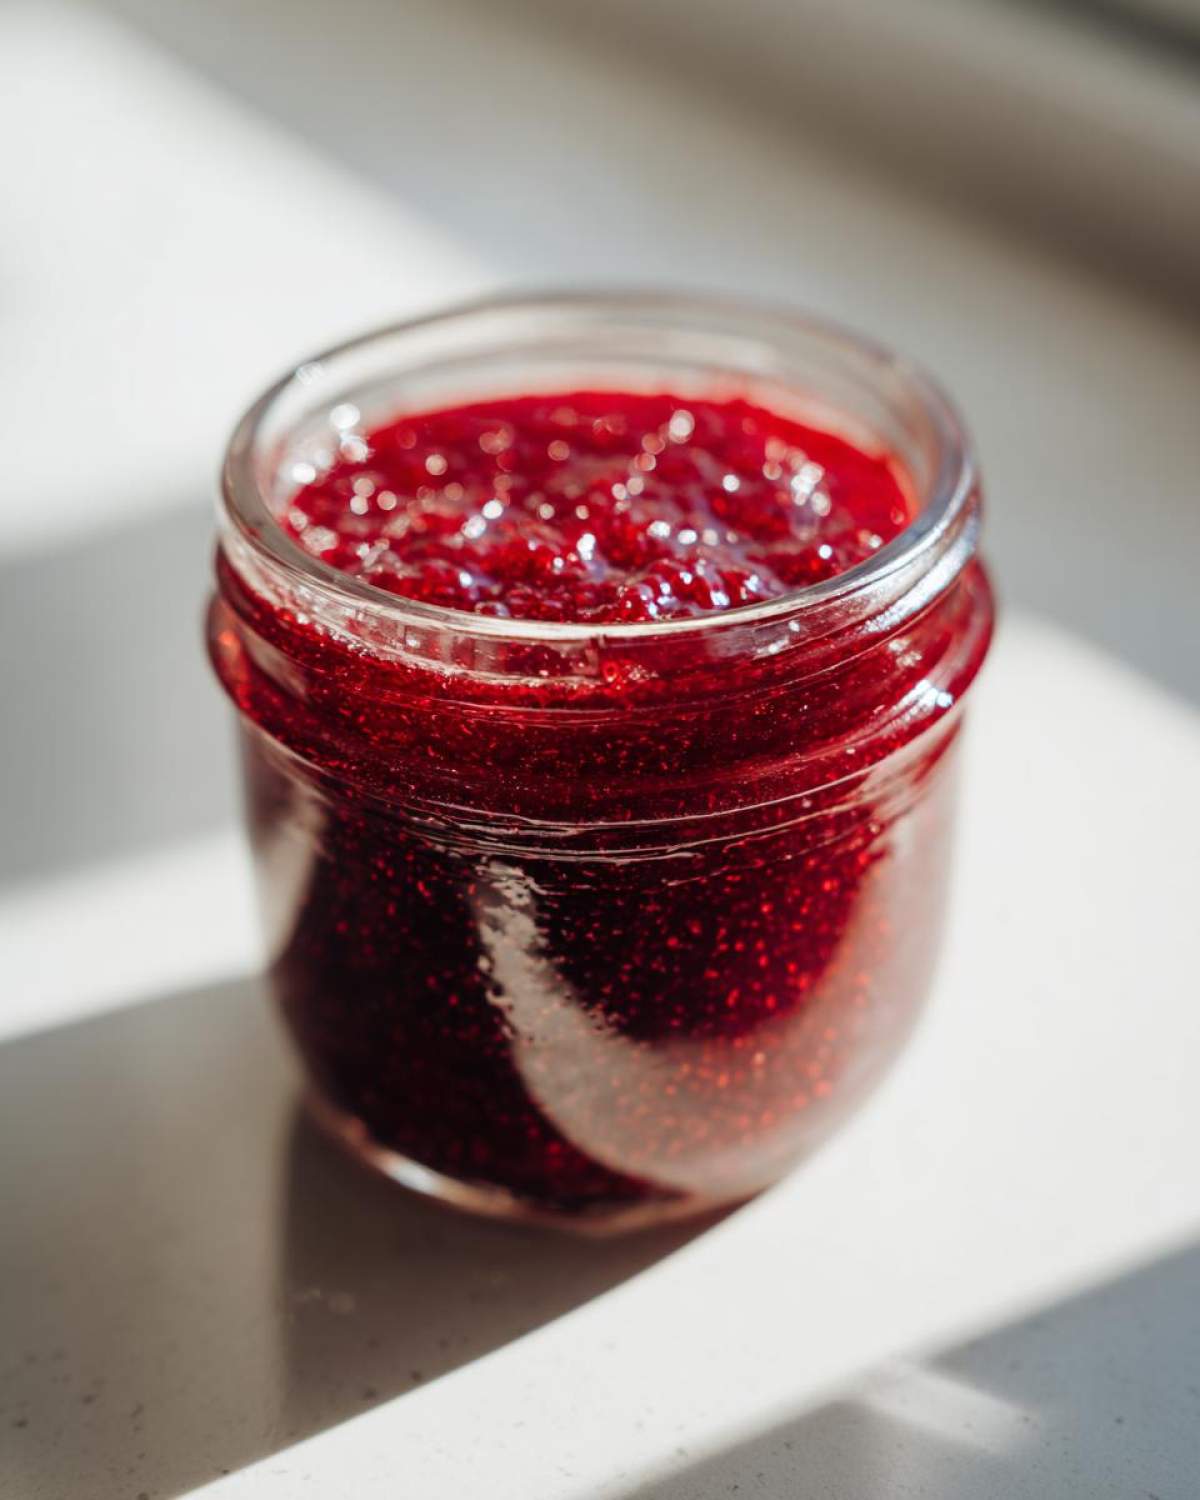
Why This Small Batch Quick Raspberry Jam Recipe Works So Well
When I talk about this recipe being fast, I really mean it. We aren’t messing around with sealing lids or waiting days for flavors to mature. This method skips the fuss so you can get straight to the good part. It’s also entirely a **No Pectin Raspberry Jam Recipe**, relying only on the fruit’s natural goodness and a little lemon juice to set up beautifully.
Speed: Ready in Under 20 Minutes
Seriously, the total time, from grabbing the berries to pouring the jam into the jar, clocks in at under 20 minutes! Most of that time is just simmering the fruit. Since this is a **Quick Refrigerator Jam**, you just pop it in the fridge to chill, and it’s ready to go an hour later. Hello, instant gratification!
Minimal Waste with a Tiny Batch Jam Recipe
Let’s be honest, if you aren’t running a commercial bakery, you don’t need eight jars of jam sitting around! This **Tiny Batch Jam Recipe** yields about one cup. That’s perfect for enjoying right away without worrying about whether you’ll finish it before it starts looking sad in the back of the fridge. It’s designed for immediate happiness.
Gathering Ingredients for Your Small Batch Quick Raspberry Jam Recipe
Okay, this is the easiest part because we’re keeping the list ridiculously short. You only need three things, and you probably have two of them already! I always keep these ingredients on hand because when a jam craving hits, you have to be ready to whip up this **Small Batch Quick Raspberry Jam Recipe** immediately.
- 2 cups fresh or frozen raspberries
- 1/4 cup granulated sugar
- 1 tablespoon fresh lemon juice
Ingredient Notes and Substitutions for Your Fast Homemade Raspberry Spread
Don’t stress about the quality here; since the batch is small, it cooks fast and tastes incredibly fresh! Whether you use lovely ripe **Fresh Raspberry Jam Tutorial** berries straight from the patch or pull some frozen ones from the back of the freezer, it works beautifully. If you’re aiming for a **Low Sugar Small Batch Jam**, go ahead and start with just three tablespoons of sugar; you can always add more at the end! The lemon juice isn’t just for brightness; that acidity is crucial because it helps boost the fruit’s natural pectin, helping this **Fast Homemade Raspberry Spread** set nicely without added commercial pectin.
Step-by-Step Instructions for This Easy Raspberry Jam Recipe
Okay, now that we have our tiny ingredient list ready, let’s turn this into glorious jam! Since we are only working with two cups of fruit in a small saucepan, the whole cooking process flies by. I use my smallest, heaviest-bottomed pan because it helps spread the heat evenly and prevents scorching, which is super important when you’re cooking just a small amount of anything fast. Don’t wander off; you need to give this your attention for about 15 minutes total!
Breaking Down the Raspberries
First things first, dump those gorgeous raspberries into that little saucepan. Set your heat to medium—not high, we don’t want splattering everywhere! Let them bubble away, stirring every minute or so. You’ll notice they start releasing all their beautiful, vibrant red juice pretty quickly. This initial simmer takes about 5 minutes. You want them soft and mushy before we move on to the next step. Trust me, if you rush this stage, you’ll end up with whole berries instead of jam.
Achieving the Right Thickness for Simple Raspberry Preserves
Once the berries are mushy, toss in your sugar and lemon juice. Stir that all up really well until the sugar dissolves into the raspberry liquor. Now, this is where the magic happens for the thickness. Keep stirring constantly over that medium heat for another 5 to 7 minutes. Watch it bubble—it will start catching on the sides of the pan when it’s getting close. I look for the bubbling to slow down just a tiny bit, almost like it’s getting heavy. When you lift your spoon, the jam should drip off in thick ribbons, not watery sheets.
Here’s my little secret for an attractive jar: Skim off any pale foam that floats to the top using a regular spoon right before you turn off the heat. It just looks cleaner! Pour the hot jam immediately into your clean, small jar. See? So fast! Don’t worry that the jam looks a little loose right now; this **Easy Raspberry Jam Recipe** needs that cooling period to really firm up. Then, you can pop it over to that little corner of the fridge for an hour. Once it’s chilly, it will be perfectly set, ready to eat, and a stunning **Quick Topping Recipes** addition to anything! If you ever need an idea for what to top with this jam, check out how I use different fruit sauces on my gnocchi recipes!
Tips for Perfecting Your Small Kitchen Jam Making Experience
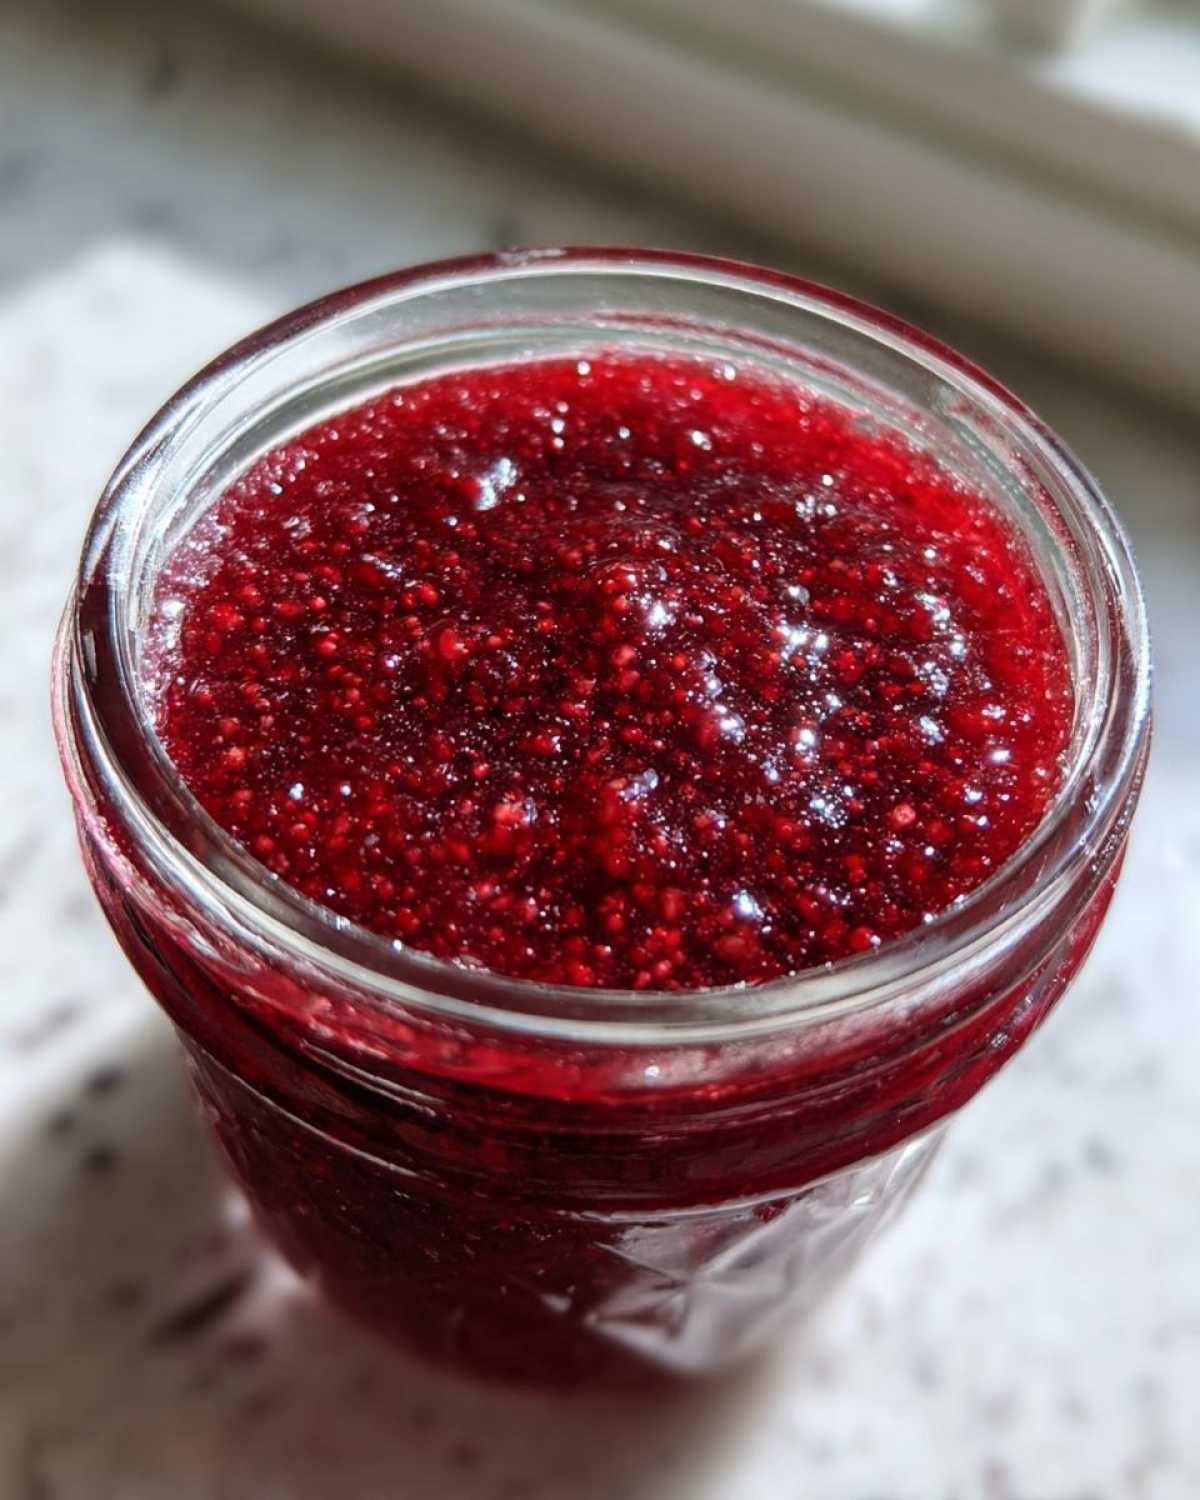
You’ve cooked it, and it smells amazing, but now we polish this little gem! Even though this is a beginner-friendly recipe, a few expert tweaks can take your **Small Kitchen Jam Making** from ‘good’ to ‘wow, I can’t believe I made this in 15 minutes.’ It’s all about controlling the texture, which is usually the biggest difference between homemade jam and store-bought jelly.
Seed Removal: Achieving a Smooth Fresh Raspberry Jam Tutorial
Raspberries are beautiful, but those seeds can really sneak up on you if you’re used to a super smooth spread. Now, you don’t have to do this, especially since we’re keeping things quick! But if you absolutely detest seeds—and I get it, sometimes you want pure berry silk—you have a chance right after you take the jam off the heat. While it’s still steaming hot but before it starts to cool, you can carefully press the whole batch through a fine-mesh sieve using the back of a spoon. It takes an extra minute or two, but it removes every single seed. This modification turns it into a beautiful, velvety **Fresh Raspberry Jam Tutorial** experience!
Cooling and Setting the Quick Freezer Jam Tips
The most crucial step for any jam, even this quick one, is patience during cooling. When you pour that hot mixture into your jar, it’s going to look runny, like a thin syrup. Please, fight the urge to eat it immediately! You must let it cool down to room temperature first on the counter. This allows the natural setting process to begin properly. Once it’s no longer hot to the touch, slap a lid on it and pop it straight into the fridge. Remember, this recipe is designed as a refrigerator jam, so it needs that chill time to fully firm up to that perfect spreadable consistency—usually about an hour. Since we skipped the canning process, don’t treat it like shelf-stable jam; this is for immediate enjoyment, not long-term storage!
Serving Suggestions for Your Small Batch Quick Raspberry Jam Recipe
Now that you have this vibrant, freshly made jam, what are you going to smother it on? Since this jam sets up so fast and tastes like sunshine, it’s perfect for upgrading even the quickest meals. I love that I can whip this up in minutes and instantly make Tuesday breakfast feel special instead of dreary.
You absolutely HAVE to try it spooned over a warm scone, but honestly, I find myself using this **Fast Homemade Raspberry Spread** everywhere. It’s wonderful mixed into plain Greek yogurt with a sprinkle of granola for a healthy morning boost. On toast, it’s a classic for a reason, but try it on French toast or even spooned over vanilla ice cream when you need a quick dessert!
If you’re looking for something a little more decadent that pairs perfectly with this tart jam, you should absolutely check out my recipe for Apple Pie Crumb Bars. While those bars are a little more involved, this raspberry jam makes an incredible contrast layer or topping if you swap out the apple filling for fresh berries! Either way, don’t let that jar sit around; use this **Quick Topping Recipes** addition right away!
Storage and Shelf Life for Small Batch Fruit Preserves
This is where we talk about keeping our lovely, quickly made **Small Batch Fruit Preserves** fresh. Since we skipped the whole hot-water bath canning process to keep things fast, we have to be honest about storage. This is, first and foremost, a refrigerator jam.
What does that mean for you? It means you need to keep that little jar tucked away in the main compartment of your fridge, not tucked away in the pantry! Because we didn’t sterilize it for long-term sealing, the freshest flavor stays locked in the cold. You should plan on enjoying this fantastic **Quick Refrigerator Jam** within about two weeks.
If you’ve been making this **Tiny Batch Jam Recipe** often, you might find you want to make a slightly bigger one next time just so you can freeze half of it. That works perfectly fine! Just be sure to leave about half an inch of headspace between the jam surface and the lid because the jam will expand as it freezes. It’s still one of the fastest ways to get homemade fruit preserves, but definitely remember this isn’t shelf-stable until you run it through a proper canning process, which we are happily avoiding here!
Troubleshooting Common Issues in Beginner Raspberry Jam Making
Listen, even in the quickest recipes, things sometimes don’t go exactly according to plan. That’s okay! When you’re making jam fast and skipping the pectin, setting (or over-setting) can be a little unpredictable. Don’t panic if your jam doesn’t look perfect right out of the oven; the cooling process does most of the heavy lifting here. These two issues—being too runny or getting too thick—are the most common hiccups when keeping things simple with a **Beginner Raspberry Jam**.
If you find yourself dealing with one of these tiny hurdles, here’s how I fix it right in the jar. You don’t have to start over!
- Problem One: My jam is way too runny! This usually happens if I rushed the initial fruit breakdown or held back on the lemon juice. If it seems watery after it’s fully chilled in the fridge, don’t worry. Just scoop all the jam back into your small saucepan. Give it another 3 to 5 minutes over medium heat, stirring constantly, until those bubbles look slow and thick again. Remember, it thickens more as it cools, so pull it off the heat just before it looks ‘perfect’ on the stovetop.
- Problem Two: Oops, I overcooked it and now it’s solid! This is the risk of **Make Jam Fast**; sometimes the sugar concentrates too much. If your jam sets up like firm jelly and won’t spread? You can usually fix this by thinning it slightly. Stir in a tiny bit of hot water or fresh lemon juice—start with just one teaspoon at a time—while gently warming the jam back up on very low heat until it loosens up just enough to stir smoothly again.
See? Nothing scary about it! This is why making **Small Batch Fruit Preserves** is so forgiving. If you mess up a cup of jam, it’s no big deal, and you can usually save it right on the spot.
Frequently Asked Questions About Making Make Jam Fast
I get asked about this recipe all the time, probably because it’s just so darn handy for whipping up a little something sweet when you need it! Because this is such a flexible **Easy Raspberry Jam Recipe**, people always have little tweaks in mind. I tried to cover the big ones here, so you feel totally confident about your **Make Jam Fast** process.
Does this No Pectin Raspberry Jam Recipe require special equipment?
Not at all! That’s one of the huge wins here. You honestly just need a small saucepan—the smaller the better so the liquid isn’t spread too thin, which makes it harder to thicken up. You’ll need a sturdy wooden spoon or heat-proof spatula for stirring, and of course, a clean small jar (like a half-pint mason jar) to store it in once it’s cooled down a bit. See? No fancy immersion blenders or massive pots required for this **Tiny Batch Jam Recipe**!
How do I make this jam sweeter if I prefer a sweeter Fast Homemade Raspberry Spread?
This is such a personal preference, isn’t it? The recipe calls for 1/4 cup of sugar for 2 cups of berries, which is already much less sweet than store-bought spreads, relying on that tartness from the lemons and the raspberries. If you taste the jam just before you take it off the heat (be careful, it’s hot!) and you think, “Nope, needs more punch,” just stir in one teaspoon of sugar at a time. Let each teaspoon dissolve completely before tasting again. This allows you to customize it exactly to your liking for your **Fast Homemade Raspberry Spread** while ensuring you don’t accidentally make it too sweet!
Also, if you are ever looking to connect with me or have a burning question about fruit ratios, feel free to drop me a line through the contact page. I love hearing what you all are cooking up!
Share Your Experience Making This Best Small Batch Jam
Whew! You did it! I am so genuinely excited for you to try this super simple, ridiculously fast **Small Batch Quick Raspberry Jam Recipe**. Honestly, when you taste how bright and fresh this **Best Small Batch Jam** is compared to anything store-bought, you’ll probably give up on big batches for good!
Now that you’ve got your jam cooling on the counter, I really, really want to hear about it! Did you manage to get it done in under 20 minutes? Did you decide to keep it seedy, or did you push it through that sieve for that lovely, smooth texture?
Please, please drop a comment below and let me know how your first batch of this **Quick Refrigerator Jam** turned out! If you snapped a picture of that perfect little cupful on your morning toast or yogurt, tag me on social media—I live for seeing your kitchen creations!
Remember, if you have any questions about storage or maybe want to troubleshoot why your batch set up a certain way, feel free to check out my site disclaimer page for general information, but comments are the best place for quick recipe chats!
Thanks so much for cooking with me today. Happy spreading!
Print3-Ingredient Small Batch Refrigerator Raspberry Jam (Ready in 20 Minutes)
Make a small batch of fresh raspberry jam quickly using only three ingredients. This refrigerator jam sets fast and requires no canning.
- Prep Time: 5 min
- Cook Time: 12 min
- Total Time: 17 min
- Yield: About 1 cup
- Category: Dessert Topping
- Method: Stovetop Cooking
- Cuisine: American
- Diet: Vegetarian
Ingredients
- 2 cups fresh or frozen raspberries
- 1/4 cup granulated sugar
- 1 tablespoon fresh lemon juice
Instructions
- Place the raspberries in a small saucepan over medium heat. Cook, stirring occasionally, until the berries break down and release their juices, about 5 minutes.
- Add the sugar and lemon juice to the saucepan. Stir well to combine.
- Continue to cook, stirring constantly, for another 5 to 7 minutes until the mixture thickens slightly. It will thicken more as it cools.
- Remove the jam from the heat. Skim off any foam that has formed on the surface.
- Pour the hot jam into a clean, small jar or container. Let it cool to room temperature, then cover and refrigerate.
- The jam is ready to use once fully chilled, usually after 1 hour in the refrigerator.
Notes
- This jam is best eaten within two weeks when stored in the refrigerator.
- For a smoother jam, press the cooked mixture through a fine-mesh sieve before cooling to remove seeds.
- If you prefer a sweeter jam, add sugar one teaspoon at a time until you reach your desired taste.
Nutrition
- Serving Size: 2 tablespoons
- Calories: 65
- Sugar: 15
- Sodium: 1
- Fat: 0.2
- Saturated Fat: 0
- Unsaturated Fat: 0.1
- Trans Fat: 0
- Carbohydrates: 16
- Fiber: 2
- Protein: 0.5
- Cholesterol: 0