

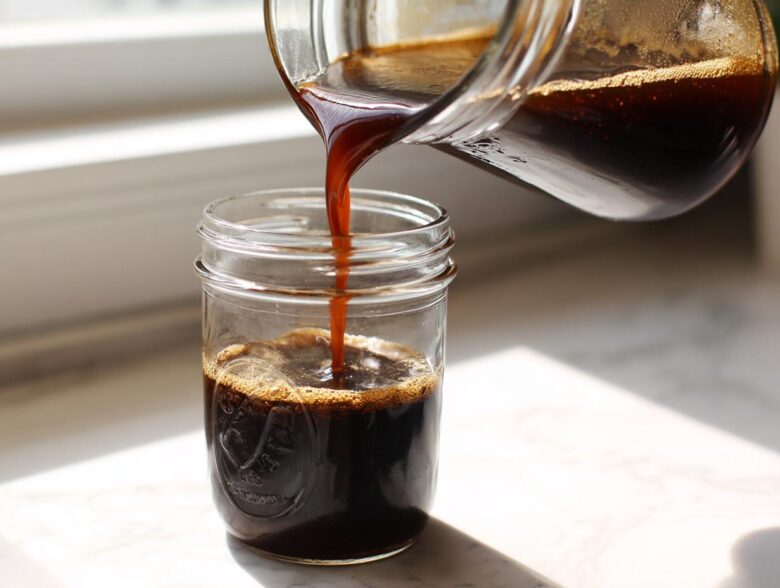
Listen, I used to think making cold brew at home meant buying some fancy dripper tower or spending a fortune at the cafe. I love my iced coffee, but my wallet certainly did not love the daily $6 latte habit! Then I figured out the **Easy Homemade Cold Brew Coffee Concentrate** method, and honestly, my mornings totally transformed. This recipe is pure magic because it requires ZERO fancy equipment—just a jar, grounds, and water. Trust me, this dramatically simplified my routine, and now I always have that super-smooth, low-acid goodness ready to go.
I’ve tried so many messy methods over the years, trying to get that perfect boldness without the grit. This immersion technique is so foolproof, I’ve handed this exact method to three different friends who swore they couldn’t “make coffee right.” They all succeeded on the first try!
If you want to stop spending money and start brewing the Best Homemade Cold Brew Concentrate right on your counter, stick right here. I’ll show you the exact ratio I use to keep things strong and ready for mixing. If you’re tired of weak brew, you’re going to love what we’re making today. Speaking of flavored coffee, when you’re ready to get fancy, check out my recipe for recreating that famous pumpkin cream cold brew right here!
Why This Easy Homemade Cold Brew Coffee Concentrate Works So Well
I know people think making coffee concentrate is complicated, but honestly, the benefits of this Easy Homemade Cold Brew Coffee Concentrate make it worth every minute of the long steep time. It’s less about active time and more about passive deliciousness, which I call a win!
- It saves me so much money! Seriously, I make a batch that lasts me nearly two weeks, and it costs pennies compared to running to the local coffee shop every morning.
- The flavor is just unmatched. It’s incredibly rich and deeply coffee-forward, but without that harsh bite you sometimes get from hot-brewed concentrates.
- It’s so smooth! This is why I keep coming back to it, even when I’m short on time for other recipes.
Smooth Low Acidity Coffee Concentrate
This is the secret sauce of cold brew, my friend. When you brew coffee using cold or room-temperature water, you drastically reduce the extraction of bitter oils and acids that hot water pulls out. That’s the science talking! It results in a coffee that’s remarkably smooth and much easier on sensitive stomachs. You get all the caffeine and flavor without the sharp edge.
Making Coffee Concentrate Without Equipment
Don’t let fancy Instagram setups scare you off. My favorite part of this DIY Cold Brew Coffee Concentrate is that we are doing simple immersion brewing. You don’t need one of those expensive drip towers or automated brewers. Seriously, if you have a big Mason jar or even just a sturdy pitcher, you have everything you need to get started right now. That’s how easy we’re keeping this!
Gathering Ingredients for Your Easy Homemade Cold Brew Coffee Concentrate
Okay, let’s talk ingredients because this is where we nail down the flavor base for your Easy Homemade Cold Brew Coffee Concentrate. I keep this collection minimal because, honestly, you don’t need much to achieve perfection. We are using just three core items—coffee, water, and an optional secret weapon!
For the coffee, you need one full cup of grounds, and I’m being specific here: they must be Coarse Ground Coffee. Think chunky sea salt, not table salt. If your grounds are too fine, you’re going to end up with mud, and straining will be an absolute nightmare. We are aiming for concentrated coffee, not a gritty mess!
Then we use four cups of cold, filtered water. I’m serious about the filtered part; chlorine from the tap really messes with the nuanced flavor we’re trying to build here. Lastly, toss in a tiny pinch of salt! I know, weird, right? But it genuinely helps mute any lingering bitterness, making this concentrate even smoother. If you want to check out how I use simple ingredients to make cozy drinks like my homemade gingerbread latte, check out that post!
Ingredient Notes and Coffee Selection
Choosing your beans is fun! I find that a medium or dark roast really shines through in the cold brew process. Lighter roasts can sometimes taste a little grassy when steeped cold, but that’s just my preference. Remember, this is the foundation of your entire Easy Homemade Cold Brew Coffee Concentrate, so don’t skimp on the quality of the beans themselves.
But let me hammer this home one more time: the grind MUST be coarse. If you buy pre-ground coffee, specifically ask your local roaster for a “French Press” or “Cold Brew” grind. If you grind it yourself, use the largest setting on your grinder. A fine grind traps water, over-extracts way too fast, and clogs your filter. Coarse grind lets you easily fish out the solids later, resulting in that clean, strong concentrate you’re dreaming about.
Easy Coffee Concentrate Instructions: The Immersion Method
Now for the best part: the actual ‘work’ involved in making your Easy Homemade Cold Brew Coffee Concentrate is about five minutes flat. That’s it! We are using the immersion method, which means everything goes into one vessel, we wait patiently, and then we strain. Seriously, this is the quickest way to start brewing if you want a strong coffee concentrate without special tools.
First, grab your big jar or pitcher. Dump in your coarse grounds and pour in your four cups of cold, filtered water. Give it a gentle stir—just enough to make sure every single coffee particle gets wet. Don’t mix it aggressively! We aren’t whipping egg whites here; we are just ensuring saturation. Then, cover it up tight. You can leave this right on your counter at room temperature or stash it in the fridge, depending on your schedule.
I usually leave mine on the counter for about 14 hours. It’s a classic ‘set it and forget it’ task, which is exactly what I need in my chaotic morning routine. Head over to my main coffee recipes here for more inspiration while you wait for your brew to finish!
Steeping Time for Strong Cold Brew Concentrate Ratio
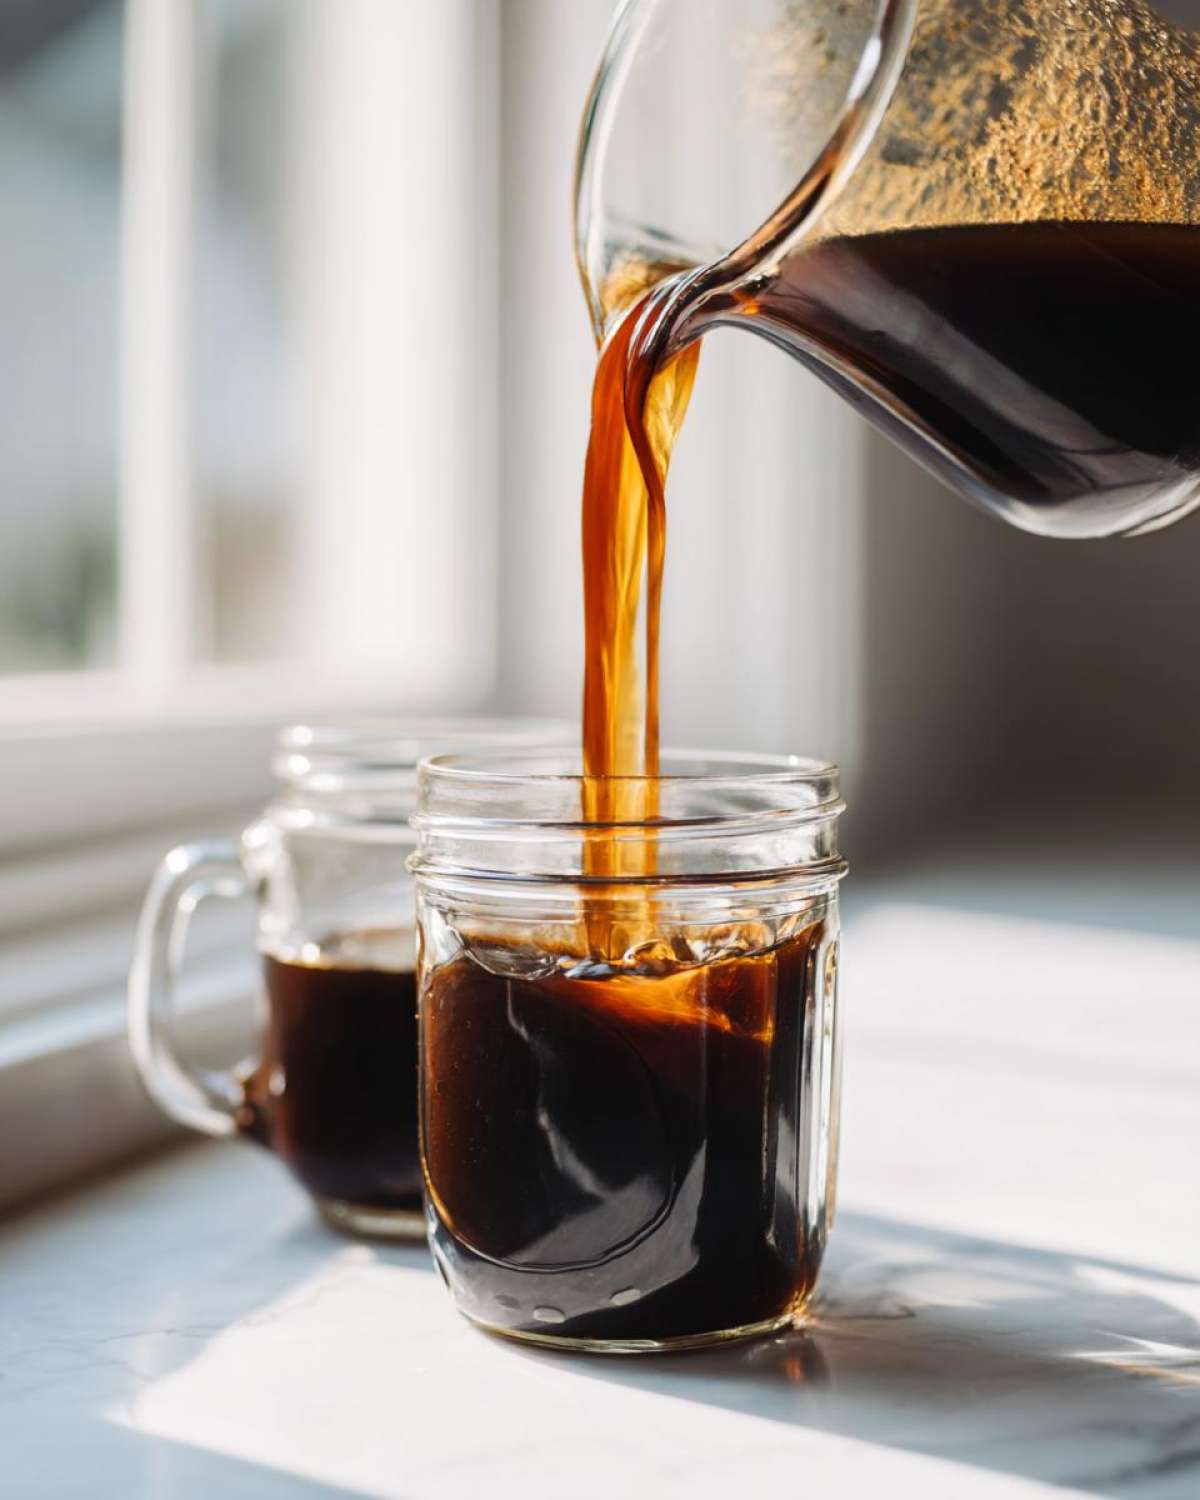
Consistency is everything here. We are using a 1:4 coffee-to-water ratio by volume, which nets you that super potent, Strong Cold Brew Concentrate Ratio we are aiming for. I stick right in that 12 to 18-hour range. If you go shorter, say 10 hours, it might taste a little weak. If you push past 20 hours, you start risking that bitter, over-extracted flavor creeping in. For an ideal brew, 14 to 16 hours is my sweet spot every single time.
Straining Your DIY Cold Brew Coffee Concentrate
This is the moment where people often mess up their DIY Cold Brew Coffee Concentrate, so listen closely! You need to strain slowly to keep all that nasty, silty sediment at the bottom of your jar from shaking up. Get a fine-mesh sieve and line it completely with a few layers of cheesecloth, or use a large paper coffee filter placed in a funnel over your final storage container.
Pour the steeped coffee slowly through the filter setup. You might think it’s taking forever, but patience pays off! If the first strain looks a little cloudy when you pour it into your airtight container, don’t panic. Just wash out your container, put the filter setup back over it, and strain the entire batch a second time. That second pass ensures you have a beautifully clean, ready-to-mix liquid concentrate.
Understanding the Strong Cold Brew Concentrate Ratio
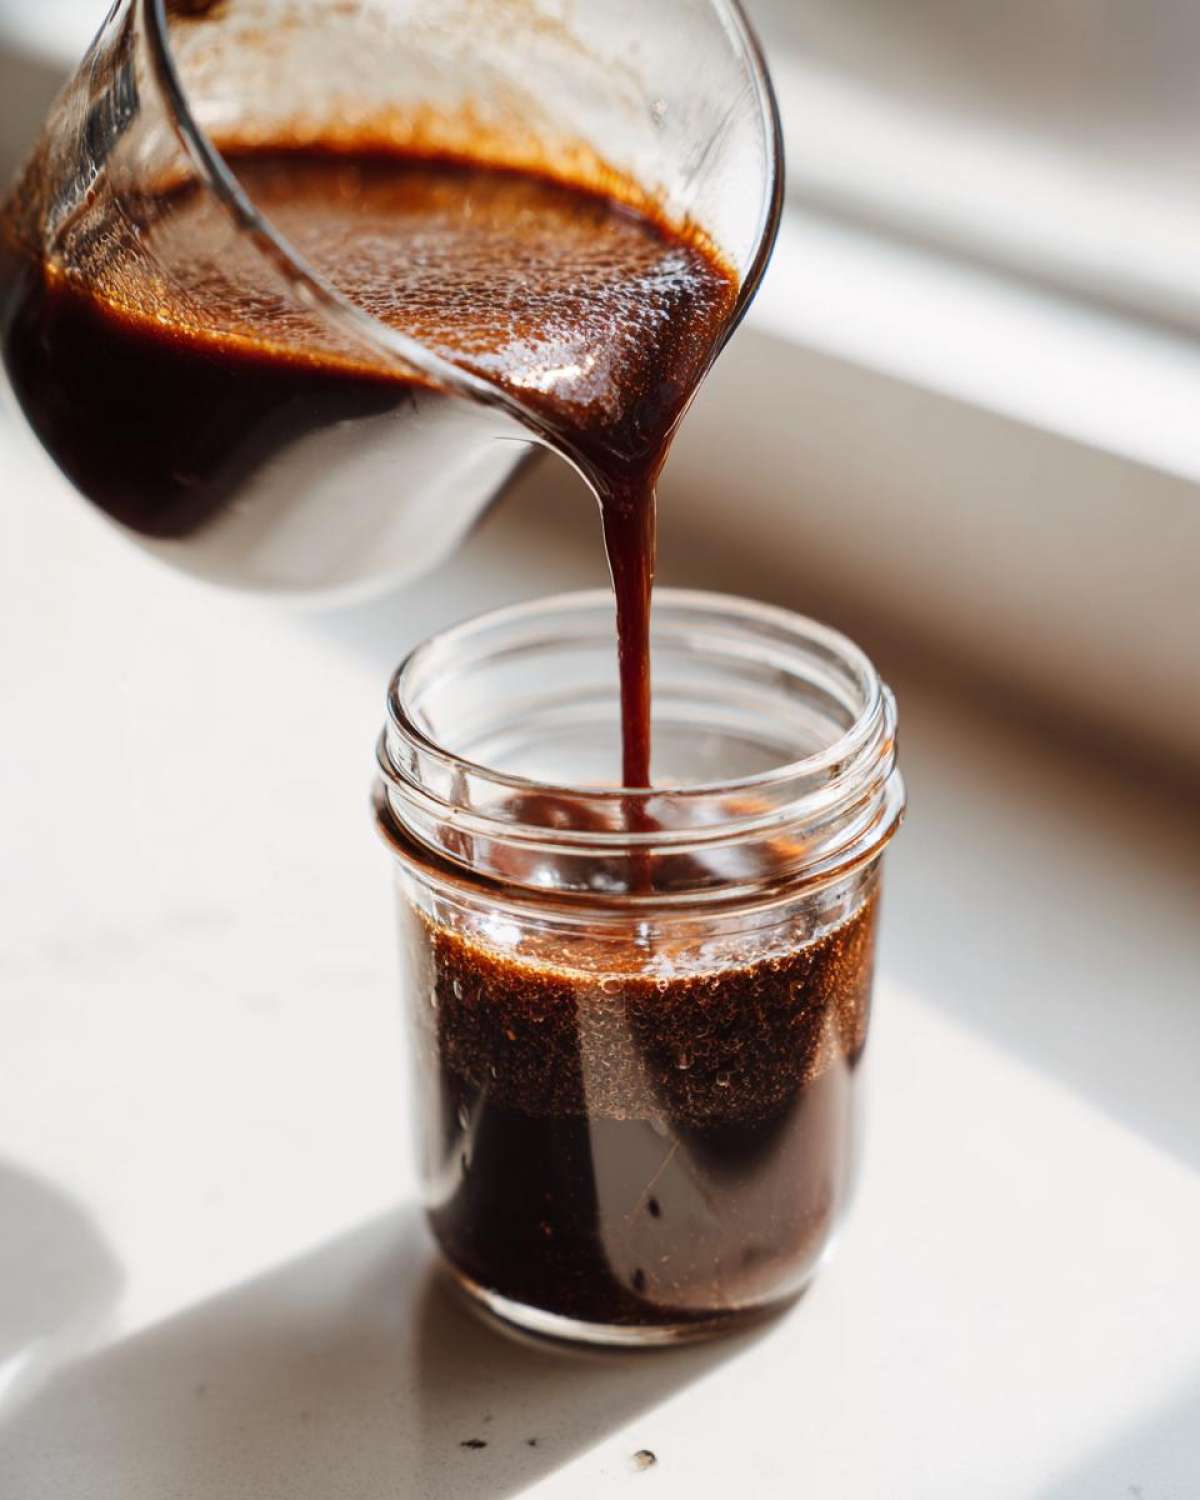
Let’s chat ratios because this is the biggest determinant of whether you end up with delicious, robust coffee or just watery brown iced coffee. The whole genius of this method relies on starting with a super-potent brew—that’s what makes it a concentrate in the first place! We used a 1:4 ratio volume-wise in the instructions (one part coffee grounds to four parts water).
This means your final product is potent; it’s designed to be cut later. If you tried to drink this straight, your heart might stage a protest! This specific Strong Cold Brew Concentrate Ratio is what I found gives me the absolute best flavor extraction paired with the lowest acidity. It’s strong, powerful, and ready to wake up that sleepy brain.
Now, you might be thinking, “That sounds a little strong for me.” And that’s totally okay! The beauty of a Simple Cold Brew Concentrate Recipe like this is that you can totally customize it for next time. If you want something slightly mellower—still concentrated, but easier to mix—try bumping that ratio up to 1 part coffee to 5 parts water next time. That 1:5 might be your perfect morning blend.
Remember, when you are measuring, if you use a cup for coffee, use the same cup to measure the water. It just needs to be consistent. Don’t stress about weighing it unless you get really into this niche hobby! For now, stick to the 1:4 volume rule for the best Easy Homemade Cold Brew Coffee Concentrate you’ve ever made.
How To Make Cold Brew At Home: Serving and Dilution
Okay, we’ve done the hard part—we’ve brewed your gorgeous, strong concentrate! Now you get to enjoy the payoff. This is where people who try making their own Easy Homemade Cold Brew Coffee Concentrate sometimes get confused. Remember, what you have in that jar is STRONG. It’s not meant to be drunk straight unless you’re trying to win a caffeine competition!
The next crucial step in this Make Ahead Coffee Concentrate process is dilution. You need to mix it with something to cut that intensity. The absolute best starting point—the ratio I recommend everyone try first—is a simple 1-to-1 mix. That means one part cold brew concentrate to one part mixer.
Your mixer could be cold filtered water, milk, oat milk, almond milk, or even coconut water if you’re feeling adventurous (I actually have a post about how great coconut water is for electrolytes if you want to try that here!).
Serve it over a big glass full of ice. The ice will melt a little and dilute it even further, giving you the perfect sipping strength as you drink it down. If you find that 1:1 ratio is still too strong for your liking, just add a little more water or milk until you hit that perfect spot where the flavor pops but your stomach is happy.
If you want to make an iced latte, start with the 1:1 ratio, add your sweetener of choice, and then pour in your favorite creamy milk. It seriously tastes better than what I used to buy, and I’m not exaggerating! Experiment until you find the perfect balance for your palate.
Coffee Concentrate Storage Tips for Your Make Ahead Coffee Concentrate
Alright, if you managed to follow the immersion steps and have a jar of that beautiful, dark liquid gold—don’t you dare gulp it all down at once! Making this concentrate is all about planning ahead, so we need to discuss storage. This is your fuel source for the next week or two, so taking care of it is important.
The good news is that since cold brew is naturally lower in acidity and we barely added anything but coffee and water, it lasts a surprisingly long time. Under proper Coffee Concentrate Storage Tips, your concentrate should stay fantastic in the refrigerator for up to two full weeks.
You MUST store it in an airtight container. I use the same heavy-duty glass jar that I brewed it in, making sure the lid seals super tightly. Don’t just loosely rest a plate on top; you want to trap that cold, fresh flavor in there. If you notice any off odors or it starts tasting flat before the two-week mark, it’s best to toss the rest and start a fresh batch, but honestly, I’ve never had a batch go bad that quickly!
Keep it tucked away in the main body of your fridge, not shoved in the door where the temperature fluctuates every time someone grabs the mustard. Treating your Make Ahead Coffee Concentrate right means it’ll be ready when you need that morning jolt, no prep required!
Troubleshooting Common Issues with Cold Brew
Even with this super simple recipe for Easy Homemade Cold Brew Coffee Concentrate, sometimes things don’t go exactly to plan on the first try. Don’t sweat it! Every great home barista has had a batch that wasn’t *quite* right. This is where we lean on that little bit of experience I’ve built up over the years to fix things up so your next batch is perfect.
The great thing about this immersion method is that most issues come down to either your grind size or your brew time/ratio. Let’s tackle the most common complaints I hear when folks try making a Strong Cold Brew Concentrate Ratio for the first time.
If you messed up your filtering, just remember what I said earlier: cloudiness happens! You just need to repeat the straining process. It shows you kept the coffee moving too much during the first pass. Take a minute, wash your gear, and filter that liquid one more time slowly, and those fine particles will disappear.
My Concentrate Tastes Too Weak or Watery
If you take a small taste (diluted, PLEASE!) and you’re thinking, “Man, this is nowhere near concentrated enough,” that’s an easy fix for next time. If you followed the instructions exactly, this usually means your coffee grounds weren’t coarse enough, or you didn’t let it steep long enough. If it only went for 12 hours, try pushing it to 16 next time.
However, if you’re using a 1:4 ratio and you only went 18 hours, the fix for *this* batch isn’t ideal, but it works! You can’t make it instantly stronger, but you can treat it like regular coffee and use less water or milk when you serve it. For the next batch, definitely dial in that Strong Cold Brew Concentrate Ratio to 1:3.5 or even 1:3 if you want it shockingly strong. Think of it as a learning curve!
My Concentrate Tastes Bitter or Over-Extracted
If you taste your diluted brew and it’s harsh, sour, or feels like it’s burning the back of your throat a little, you probably let it steep too long or used grounds that were too fine. If you steeped it for 24 hours, that’s your culprit for sure. Cold brew over-extracts if you leave it soaking forever!
For this batch, try adding that optional pinch of salt again, or mix it with just a tiny bit more water than usual. Next time, try cutting the steep time down to 14 hours exactly. This will keep that bitterness locked away and ensure your Easy Homemade Cold Brew Coffee Concentrate stays tasting gorgeously smooth.
The Grounds Are Clumped Together Like a Brick
This one almost always points back to saturation. When you first added the water, you didn’t stir enough, and the grounds glued themselves together in a compact coffee brick at the bottom of the jar. This means the water couldn’t circulate, and you were only brewing the outside of the clump!
When you pour the water in, you need to gently stir to break up any large dry clumps so every particle is swimming freely in the water. If you see a brick forming, carefully take a long spoon or chopstick and gently break it up—but only in the first five minutes! After that, leave it alone for the rest of the steep time. This ensures even extraction across the whole batch when making your DIY Cold Brew Coffee Concentrate.
Frequently Asked Questions About This Recipe
I get so many questions about this recipe because it’s just so foundational to good mornings! People always ask about speed and strength, so I thought I’d put the most common ones right here. If you have other ideas, feel free to drop a comment below—I love talking coffee!
Can I use finely ground coffee for this Simple Cold Brew Concentrate Recipe?
Oh, please don’t! I beg you, resist the temptation to use fine grounds like you would for drip coffee. If you use fine grounds, you are asking for trouble and sludge. Fine particles over-extract way too quickly in the cold water, which means your resulting Simple Cold Brew Concentrate Recipe will taste bitter, chalky, and harsh. Worse yet, those tiny bits will squeeze through every filter you own, leaving you with a cloudy mess. For this to work perfectly, you absolutely must stick to that coarse grind we talked about!
What is the fastest way to make a batch of Easy Homemade Cold Brew Coffee Concentrate?
I wish I could tell you there’s a magic button for this! The honest truth about Easy Homemade Cold Brew Coffee Concentrate is that the process *requires* time. The slow, low-temperature steeping is what creates the low acidity and smooth flavor we are after. If I’m in a real pinch, I might let it sit out on the counter instead of the fridge to speed up the extraction process just a tiny bit, but even then, you still need that minimum 12-hour steep time. There’s no true “quick” way to get *real* cold brew—it takes patience, but the result is so worth the waiting game!
How long does this strong concentrate last in the fridge?
This is a huge win for anyone looking to plan ahead! Because this is a true concentrate made with only coffee and water, and we’re keeping it cold, your batch of Strong Cold Brew Concentrate will last really well. I typically guarantee it for up to two weeks when stored in a completely sealed, airtight container in the coldest part of your fridge. I usually make a batch right before my weekly grocery run, and it powers me through until the next one. You can even check out my guide on making cozy homemade flavor syrups to mix into this concentrate!
Share Your Best Homemade Cold Brew Concentrate Results
Now that you’ve mastered making your own Easy Homemade Cold Brew Coffee Concentrate, you HAVE to tell me how it went! I truly want to know what you think of the strength level you achieved. Was the 1:4 ratio perfect for your morning kick, or are you already planning to try that 1:5 next time?
Please take a moment to drop a rating right below this section—five stars if you’re energized and your wallet is heavier! It genuinely helps other folks who are hesitant about trying to brew at home for the first time.
Also, I’d love to see pictures of your setup! Did you use a big Mason jar or a repurposed gallon tea dispenser? Snap a photo of your morning glass—whether it’s black, mixed with cream, or flavored with some homemade syrup—and tag me on social media. It’s so encouraging seeing you all ditch the coffee shop lines!
If you need to reach out directly with specific questions about storage or dilution, you can use my contact page right here. Happy brewing, and enjoy that smooth, amazing concentration!
PrintEasy 3-Ingredient Cold Brew Coffee Concentrate Recipe

Make a strong, smooth cold brew coffee concentrate at home using just coffee grounds and water. This simple immersion method requires no special equipment.
- Prep Time: 5 min
- Cook Time: 0 min
- Total Time: 12 hour
- Yield: Approximately 3 cups concentrate
- Category: Beverage
- Method: Immersion Brewing
- Cuisine: American
- Diet: Vegetarian
Ingredients
- 1 cup Coarse Ground Coffee (dark or medium roast recommended)
- 4 cups Cold Filtered Water
- Pinch of Salt (optional, to reduce bitterness)
Instructions
- Combine the coarse ground coffee and cold water in a large jar or pitcher. Add the pinch of salt if you are using it.
- Stir the mixture gently to ensure all grounds are saturated.
- Cover the container and let it steep at room temperature or in the refrigerator for 12 to 18 hours. Do not stir during this time.
- After steeping, strain the mixture. You can use a fine-mesh sieve lined with cheesecloth or a large paper coffee filter placed over a second container.
- Strain slowly to avoid disturbing the sediment at the bottom. You may need to strain twice for a clearer concentrate.
- Discard the used coffee grounds. Transfer the finished concentrate to an airtight container and store it in the refrigerator.
Notes
- This recipe uses a 1:4 coffee-to-water ratio by volume, resulting in a strong concentrate. Adjust this ratio for future batches based on your strength preference.
- Store the finished concentrate in the refrigerator for up to two weeks.
- To serve, mix the concentrate with water, milk, or your preferred liquid at a 1:1 ratio, or to your taste. Start with equal parts concentrate and mixer.
Nutrition
- Serving Size: 1/4 cup concentrate (before dilution)
- Calories: 5
- Sugar: 0
- Sodium: 1
- Fat: 0
- Saturated Fat: 0
- Unsaturated Fat: 0
- Trans Fat: 0
- Carbohydrates: 1
- Fiber: 0
- Protein: 0
- Cholesterol: 0