

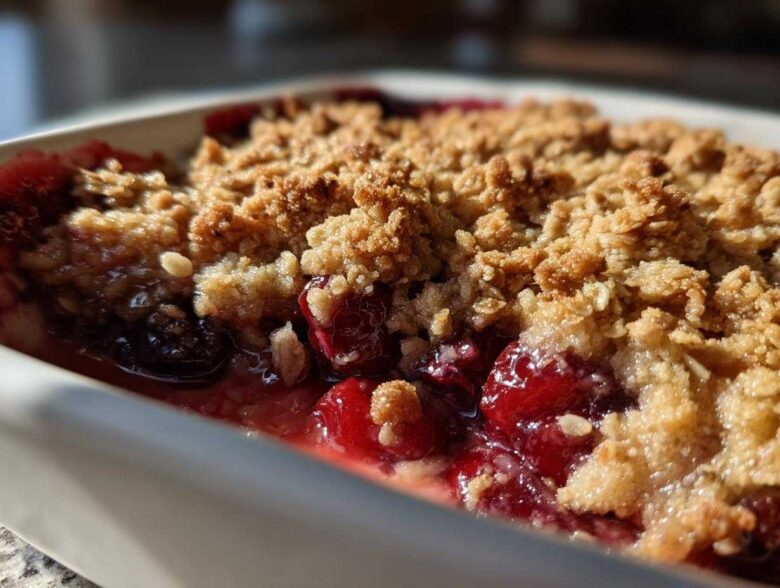
Sometimes you just need that warm, bubbly, sweet-and-tart comfort baked in under an hour, right? When those cravings hit, I skip the fussy pie crusts and the long chilling times. Trust me, that’s why this Easy Cherry Crisp recipe lives permanently taped to my pantry door. It’s my absolute go-to when I need something impressive using ingredients I already have on hand—usually pitted cherries from the freezer!
This crisp manages to deliver that perfect dichotomy: a thick, jammy fruit layer meeting the most buttery, crunchy topping you can imagine. It’s quick, it’s foolproof, and honestly, it tastes far more complicated than it is. I developed this version over years of wanting a better late-night treat, and now it’s the staple dessert for any quick summer gathering. It’s baking magic, truly!
Why This Easy Cherry Crisp Recipe Works for Beginners
I know you might be stressed out by baking, especially when you’re looking short on time. That’s why I made sure this recipe is truly built for accessibility, no fancy pastry skills required!
- It falls squarely into the Easy Baking Recipes category—just mixing and scattering!
- The prep time is only about fifteen minutes, meaning dessert is ready before you even finish cleaning up the cutting board.
- The topping uses common pantry staples, so you don’t have to run to the store.
Quick Dessert with Cherries: Ready Fast
Seriously, you see the oven light come on, and you’re already halfway done. This whole **Quick Dessert with Cherries** comes together, bakes, and is ready to serve in just about an hour total. It’s perfect for last-minute guests!
Foolproof Cherry Topping Recipe Texture
This isn’t one of those fussy crumbles where you have to worry if it’s mixed enough. The goal for our **Foolproof Cherry Topping Recipe** is to leave those little pea-sized chunks of cold butter in there. Those are your secret weapons for ultimate crisp crunch!
Gathering Ingredients for Your Easy Cherry Crisp
Okay, let’s talk ingredients! The beauty of this **Easy Cherry Crisp** is that we really only have two main jobs: making the juicy bottom and the crunchy crown. Don’t sweat the fruit choice here—if you’re using frozen cherries, that’s fantastic! Just toss them in straight from the freezer; it actually helps keep the butter cold for the topping, which is a win in my book.
When you’re shopping, just remember that the sugar level for the fruit really depends on how tart your batch is. Taste before you bake if you can!
For the Sweet Cherry Filling
This part is minimal because the cherries do most of the flavor work. We need that little bit of cornstarch to thicken up the juices so you get a nice thick layer, not a watery soup.
- 6 cups fresh or frozen pitted sweet cherries
- 1/2 cup granulated sugar (see note above—adjust this based on your cherries!)
- 2 tablespoons cornstarch
- 1 teaspoon lemon juice
The Simple Cherry Crumble Recipe Topping
This is where we get that amazing texture! The oats are essential for that hearty chew, so try not to skip them if you want the best **Simple Cherry Crumble Recipe**. And please, keep that butter VERY cold. That’s the trick!
- 1 cup all-purpose flour
- 1 cup rolled oats (I use old-fashioned, not the quick ones!)
- 3/4 cup packed light brown sugar
- 1/2 teaspoon ground cinnamon
- 1/4 teaspoon salt
- 1/2 cup (1 stick) cold unsalted butter, cut into small pieces
Step-by-Step Instructions for the Best Easy Fruit Crisp
Let’s get this show on the road! Since this is one of my favorite Crisp Recipes for Beginners, I’m going to walk you through every move. Seriously, the technique here is super gentle. We aren’t whipping, we are just mixing until things look right. Grab your 8×8 dish, and let’s start baking!
Preparing the Cherry Base
First things first: turn your oven up to 375 degrees Fahrenheit (or 190 Celsius) and give your baking dish a little grease job. Now, grab that big bowl! Toss those 6 cups of cherries—frozen or fresh, remember?—with the granulated sugar, the cornstarch, and that tiny splash of lemon juice. You just want everything lightly coated. Once it looks glossy, pour that whole delicious, heavy mixture right into your prepared pan and spread it out evenly. That’s the bottom layer done!
Making the Foolproof Cherry Topping Recipe
Keep things separate for the topping! In a different bowl, whisk together your flour, those lovely oats, brown sugar, cinnamon, and salt. Now for the critical part: the cold butter pieces. You have to work quickly here, either with a pastry blender or—my favorite, because it’s faster—just use your fingers! Squish that butter into the dry mix until you have coarse crumbs. I mean it: stop when you see some pieces the size of small peas. Overmixing this makes it pasty, and we want *crisp*, not paste!
Baking and Resting Times for Your Easy Cherry Crisp
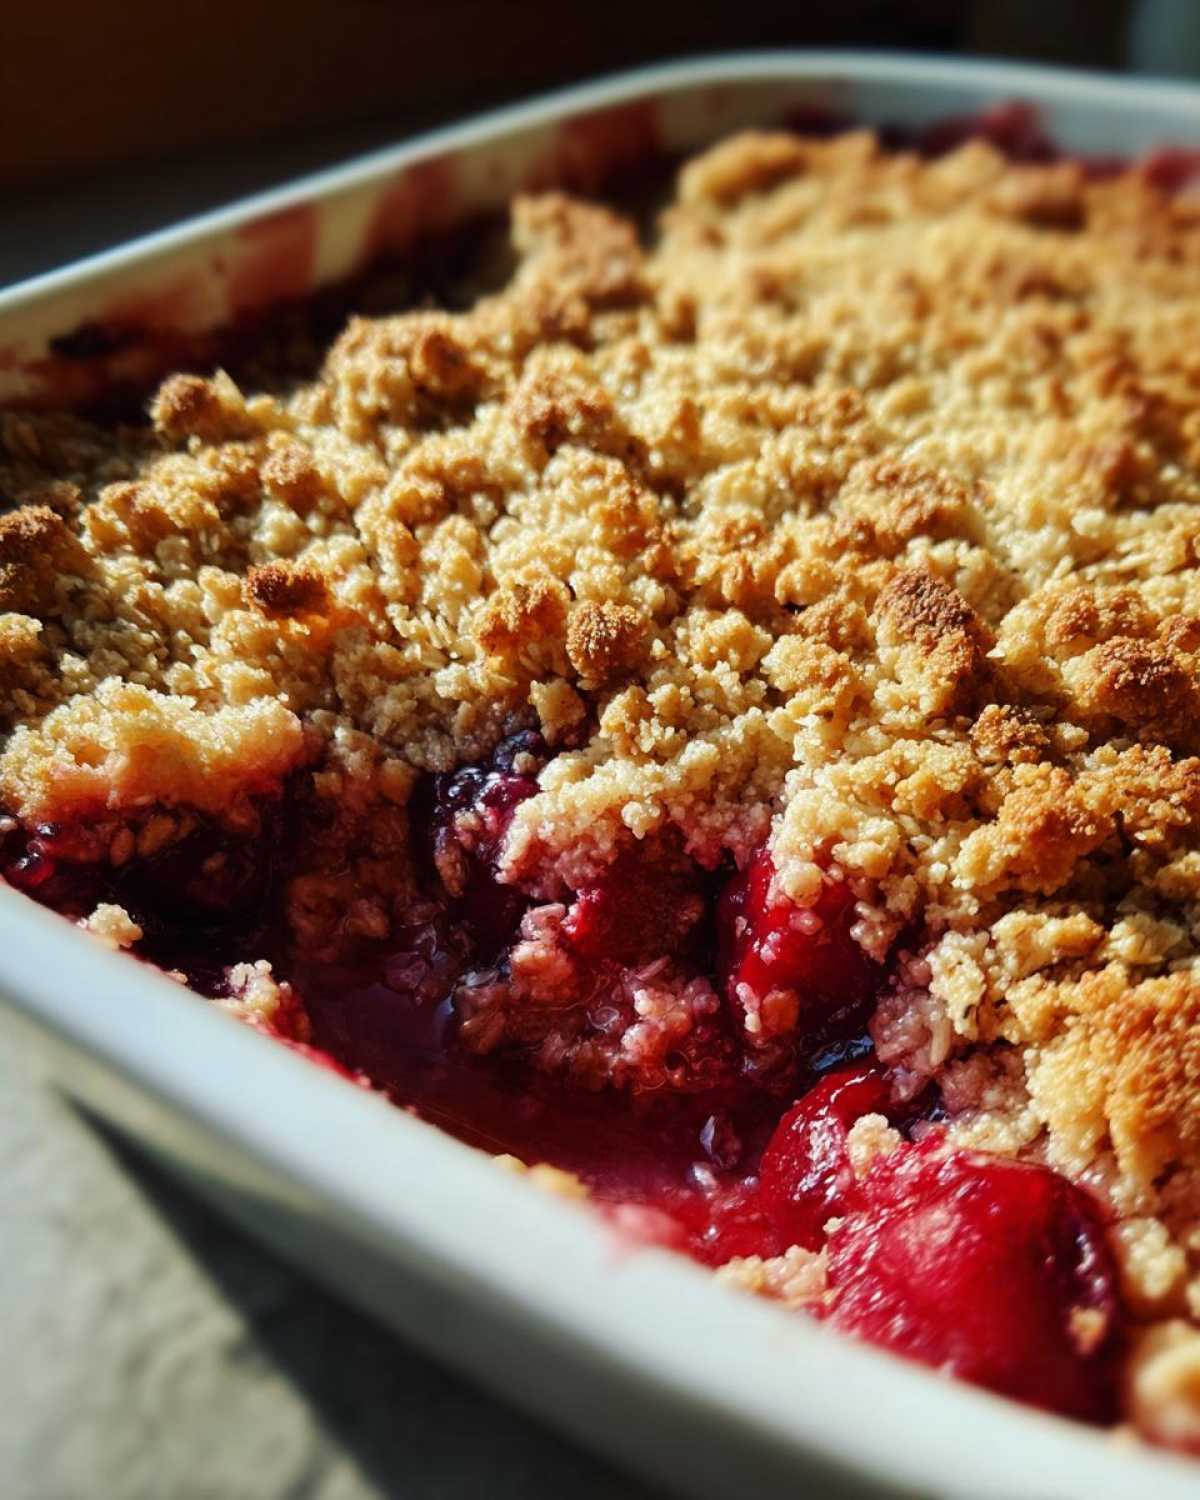
Evenly sprinkle that glorious topping mixture right over those juicy cherries. No patting it down, let it stay loose! Pop it into the hot oven for about 35 to 45 minutes. You’ll know it’s ready when the topping is that gorgeous golden brown color and you can see the cherry filling bubbling up excitedly around the sides. Patience for five more minutes! You absolutely must let it cool on the counter for at least 15 minutes after it comes out. This resting time lets those juices thicken up perfectly.
Tips for How to Make Cherry Crisp Top Crispy
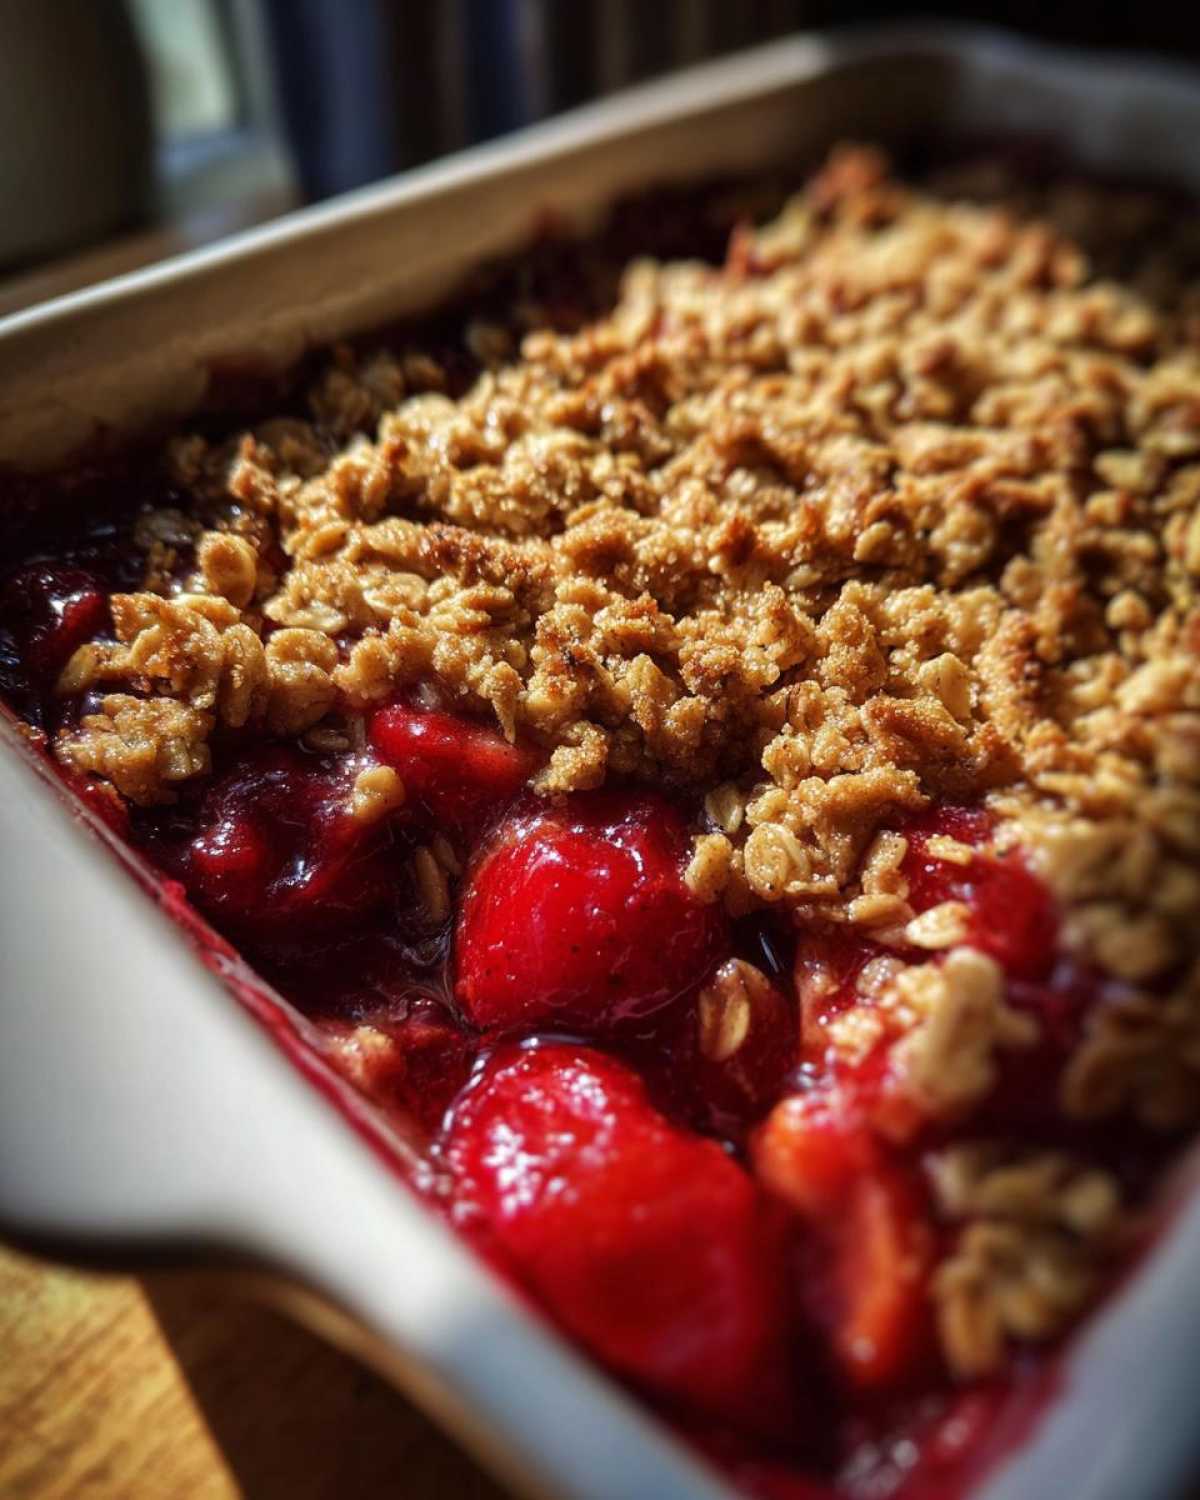
Okay, let’s be real: the filling is great, but the topping is the real star here, isn’t it? If you’ve ever made a fruit crisp only to find the top is still a little pale or soft when you pull it out, I totally get it. We’ve got to trick the butter into staying cold long enough to properly crisp up in the oven!
I mentioned cutting the butter in quickly, but if you are worried about your warm kitchen melting things before they even hit the hot oven, here is the ultimate trick for achieving that shatteringly crisp texture. It’s all about temperature control, even if we’re not being precise about anything else in this **Easy Cherry Crisp**!
If you have time—even just ten minutes—prepare the topping mixture (flour, sugar, oats, and butter) first. Put that entire bowl into the refrigerator while your oven is preheating. Chilling the topping forces the butter to remain hard. When you sprinkle that cold mixture over the warm fruit, the butter melts slower, allowing those oats and flour to toast up perfectly instead of just steaming under a layer of melted fat.
Also, let’s talk about the frozen cherries again because it ties in here! If you use frozen cherries and *don’t* thaw them—which I strongly recommend—the fruit base starts off much colder. This prevents the bottom of the topping from getting soggy right away, giving the top shell that extra time it needs to bake into glorious, golden crunch. It’s a small timing adjustment that makes a huge difference in the final textural payoff!
Ingredient Notes and Simple Substitutions
Part of what makes this the **Best Easy Fruit Crisp** is knowing what you can sneak in or swap out! I always try to keep things flexible around here because heaven knows my pantry doesn’t always cooperate.
If you are out of rolled oats, don’t panic! You can replace them with about 3/4 cup of finely chopped pecans or walnuts. Just know that it will lean more toward a crunchy nut-crumble texture than the classic chewiness we love for an **Oatmeal Cherry Crisp Recipe**, but it’s still delicious!
For folks looking to make this a **Vegan Cherry Crisp Alternative**, you can absolutely use cold, firm coconut oil instead of butter. Just make sure you measure it precisely and keep it chilled right up until you cut it into the flour mixture. You get a slightly different richness, but it works wonderfully!
Making a Gluten Free Cherry Crisp Option
If you need to switch this up to be gluten-free, it’s incredibly simple. You really only have one ingredient that needs swapping out. Just use a good quality 1-to-1 gluten-free baking blend in place of the all-purpose flour. Since the topping needs structure, a blend that already contains xanthan gum works best for this Gluten Free Cherry Crisp Option. You won’t even miss the wheat!
Serving Suggestions for Your No Fuss Baked Cherry Dessert
Wow, your kitchen smells incredible right now, doesn’t it? Serving this **No Fuss Baked Cherry Dessert** is almost as fun as making it, mostly because you get to choose the perfect creamy companion to contrast with that warm, spiced fruit and crunchy top!
You have so many amazing choices, but honestly, you can’t go wrong with the classics. If you’re looking for that perfectly satisfying bite—hot crisp meeting cold cream—I usually reach for vanilla bean ice cream. The way it melts down into the bubbling cherry juices is just heavenly.
Classic Vanilla Pairings
My absolute favorite way to serve this is with a big, beautiful scoop of high-quality vanilla ice cream. The cold shock and the vanilla flavor just amplify the sweetness of the cherries. If you want to get a little fancy, try my recipe for caramel apple crisp with ice cream sometime—that salted caramel drizzle plays SO well with the fruit!
Whipped Cream Dreams
If ice cream isn’t your thing, fresh whipped cream is the next best thing. Homemade whipped cream is always better, you know? Just a quick whip of heavy cream, a splash of vanilla, and a sprinkle of powdered sugar until soft peaks form. It melts slightly on contact with the warm crisp edges and makes the whole thing feel a bit lighter, even though we know it’s not!
A Touch of Extra Sweetness
For special occasions, or when you just want to go all out, consider a drizzle. A really rich, thick caramel sauce poured over the top right before serving elevates this **Easy Cherry Crisp** immediately. Or, if you have some heavy cream left over, a tiny bit of crème fraîche mixed with a little lemon zest offers a lovely, slightly tangy counterpoint to the brown sugar in the topping. Decide what you’re craving, though—this dessert is perfect even on its own!
Make Ahead Cherry Crisp Storage and Reheating
This **Easy Cherry Crisp** is one of those rare baked treats that tastes good the next day, but let’s be honest—it’s usually *best* eaten fresh and piping hot right out of the oven after that brief rest. However, if you’re like me and you like to prep desserts the day before a big dinner, or if you have leftovers (lucky you!), you need to store it right to keep that topping crunchy!
The most important thing to remember for storage is keeping air *away* from that beautiful topping. If the topping sits exposed, it absorbs moisture from the air almost instantly, and suddenly you’re dealing with soft, bread-like topping instead of that satisfying crisp structure we worked so hard to achieve.
Storing Your Leftover Crisp
Once the crisp has cooled completely—and I mean *completely*—cover it tightly with plastic wrap or put on a tight-fitting lid if you’re using a baking dish that has one. You can store the whole thing right on the counter at room temperature for about a day if your kitchen isn’t too warm. For longer storage (up to three or four days), pop it into the refrigerator. The fridge air is drier, which helps slightly, but you’ll definitely notice a texture shift.
Can you make the topping ahead of time? Yes, you absolutely can! Mix up the topping ingredients (flour, oats, butter, sugar) and keep it stored in an airtight container in the fridge for up to two days. When you’re ready to bake, mix your cherries and spread them in the dish, then sprinkle that chilled topping right over the top, just like we did originally!
Reheating to Bring Back the Crunch
Never, ever try to reheat this in the microwave if you care about that crisp texture! The microwave blasts moisture back into everything, guaranteeing soggy oats. We need dry heat to save the day here.
For the best results, use the oven or an air fryer. If reheating the whole pan, pop it into a preheated 350°F oven for about 10 to 15 minutes until it’s warmed through and the juices are bubbling again. If you are heating just a single serving? Toss it into the air fryer at 325°F for about 5 minutes. The air fryer is phenomenal at bringing that buttery, oat topping right back to its original, glorious crispness!
Frequently Asked Questions About This Easy Cherry Crisp
I always get asked the same things about this recipe, mostly because people are worried about messing up the topping! Listen, this is one of the most forgiving Easy Baking Recipes out there, but here are a few pointers to ease your mind.
Can I use other fruits besides cherries in this Easy Baking Recipe?
Oh, absolutely! This structure is amazing for any sturdy fruit. If you swap out the cherries, just remember that fruits release different amounts of liquid. If you use really watery fruit, you might need to bump up that cornstarch by another half tablespoon. Apples or mixtures of berries work beautifully in this **Easy Baking Recipe** format. Just keep tossing the fruit with sugar and a thickener!
How do I ensure the topping stays crunchy if I make it ahead?
This is the crucial question! If you prep the topping (the flour, oat, and butter mix) ahead of time, you MUST store it airtight, preferably in the fridge or somewhere cool. Do not mix it wet or let it sit out on the counter where humidity can sneak in. Keeping the butter rock hard until the absolute last minute is your best strategy for ultimate crunch. Remember, moisture is the enemy of crispness!
Nutrition Estimates for Your Dessert Ready in Under an Hour
Okay, so while this **Easy Cherry Crisp** tastes like pure indulgence, I wanted to give you a little peek at the nutrition facts just in case you’re tracking things. Remember, this is just a general estimate, like a starting point!
I always use the standard measurements for my recipe, but if you swap out brown sugar for maple syrup, or use a different type of butter, that number is going to shift. Because we use whole ingredients like oats and real fruit here, it’s a much more satisfying dessert than some of those highly processed options, but it’s still a treat!
These numbers are based on serving **6 generous portions** of this **Dessert Ready in Under an Hour**. Please treat them as rough guidelines and not strict medical advice. You can always read my full thoughts on accuracy over at my official disclaimer page!
- Serving Size: 1 serving
- Calories: Around 380
- Fat: About 18g (Watch that saturated fat right around 11g—that’s the butter talking!)
- Carbohydrates: Roughly 55g
- Sugar: Peaking near 35g (Again, this is mostly fruit and brown sugar, so it’s tasty sugar!)
- Protein: About 4g
- Fiber: A nice 4g boost from those oats and cherries!
Easy Cherry Crisp

A simple, quick recipe for a baked cherry dessert with a buttery, crunchy oat topping.
- Prep Time: 15 min
- Cook Time: 40 min
- Total Time: 55 min
- Yield: 6 servings
- Category: Dessert
- Method: Baking
- Cuisine: American
- Diet: Vegetarian
Ingredients
- 6 cups fresh or frozen pitted sweet cherries
- 1/2 cup granulated sugar (adjust for tartness)
- 2 tablespoons cornstarch
- 1 teaspoon lemon juice
- 1 cup all-purpose flour
- 1 cup rolled oats
- 3/4 cup packed light brown sugar
- 1/2 teaspoon ground cinnamon
- 1/4 teaspoon salt
- 1/2 cup (1 stick) cold unsalted butter, cut into small pieces
Instructions
- Preheat your oven to 375 degrees Fahrenheit (190 degrees Celsius). Lightly grease an 8×8 inch baking dish or a 9-inch pie plate.
- In a large bowl, combine the cherries, granulated sugar, cornstarch, and lemon juice. Toss gently until the cherries are evenly coated. Pour this mixture into your prepared baking dish.
- In a separate medium bowl, whisk together the flour, rolled oats, brown sugar, cinnamon, and salt for the topping.
- Cut the cold butter pieces into the dry topping mixture using a pastry blender or your fingertips. Work quickly until the mixture resembles coarse crumbs with some pea-sized pieces of butter remaining. Do not overmix.
- Sprinkle the topping mixture evenly over the cherry filling.
- Bake for 35 to 45 minutes, or until the topping is golden brown and the cherry filling is bubbly around the edges.
- Remove from the oven and let it cool for at least 15 minutes before serving.
Notes
- For a crispier topping, chill the topping mixture for 15 minutes before sprinkling it over the fruit.
- If using frozen cherries, do not thaw them first; use them directly from the freezer.
- Serve warm with vanilla ice cream or whipped cream.
Nutrition
- Serving Size: 1 serving
- Calories: 380
- Sugar: 35
- Sodium: 150
- Fat: 18
- Saturated Fat: 11
- Unsaturated Fat: 7
- Trans Fat: 0.5
- Carbohydrates: 55
- Fiber: 4
- Protein: 4
- Cholesterol: 45