

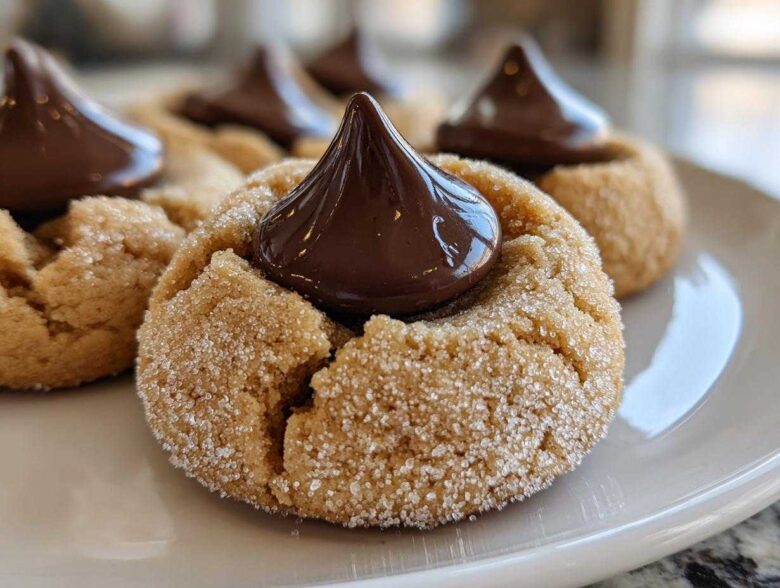
Oh, you are going to *love* this one! When the holidays roll around, or sometimes just when I need a little burst of familiar comfort, nothing beats those cookies with the little chocolate peak right in the middle. These Peanut Butter Blossoms—the most iconic of all the kiss cookies—are pure magic. This recipe is where Spoon and Sprout meet perfectly: it’s built on a foundation of deeply comforting, traditional peanut butter dough (that’s Spoon’s anchor!), but I like to make sure the texture is extra soft and never spreads too wide (that’s my Sprout touch!). Trust me, these soft and chewy delights are mandatory for any cookie platter.
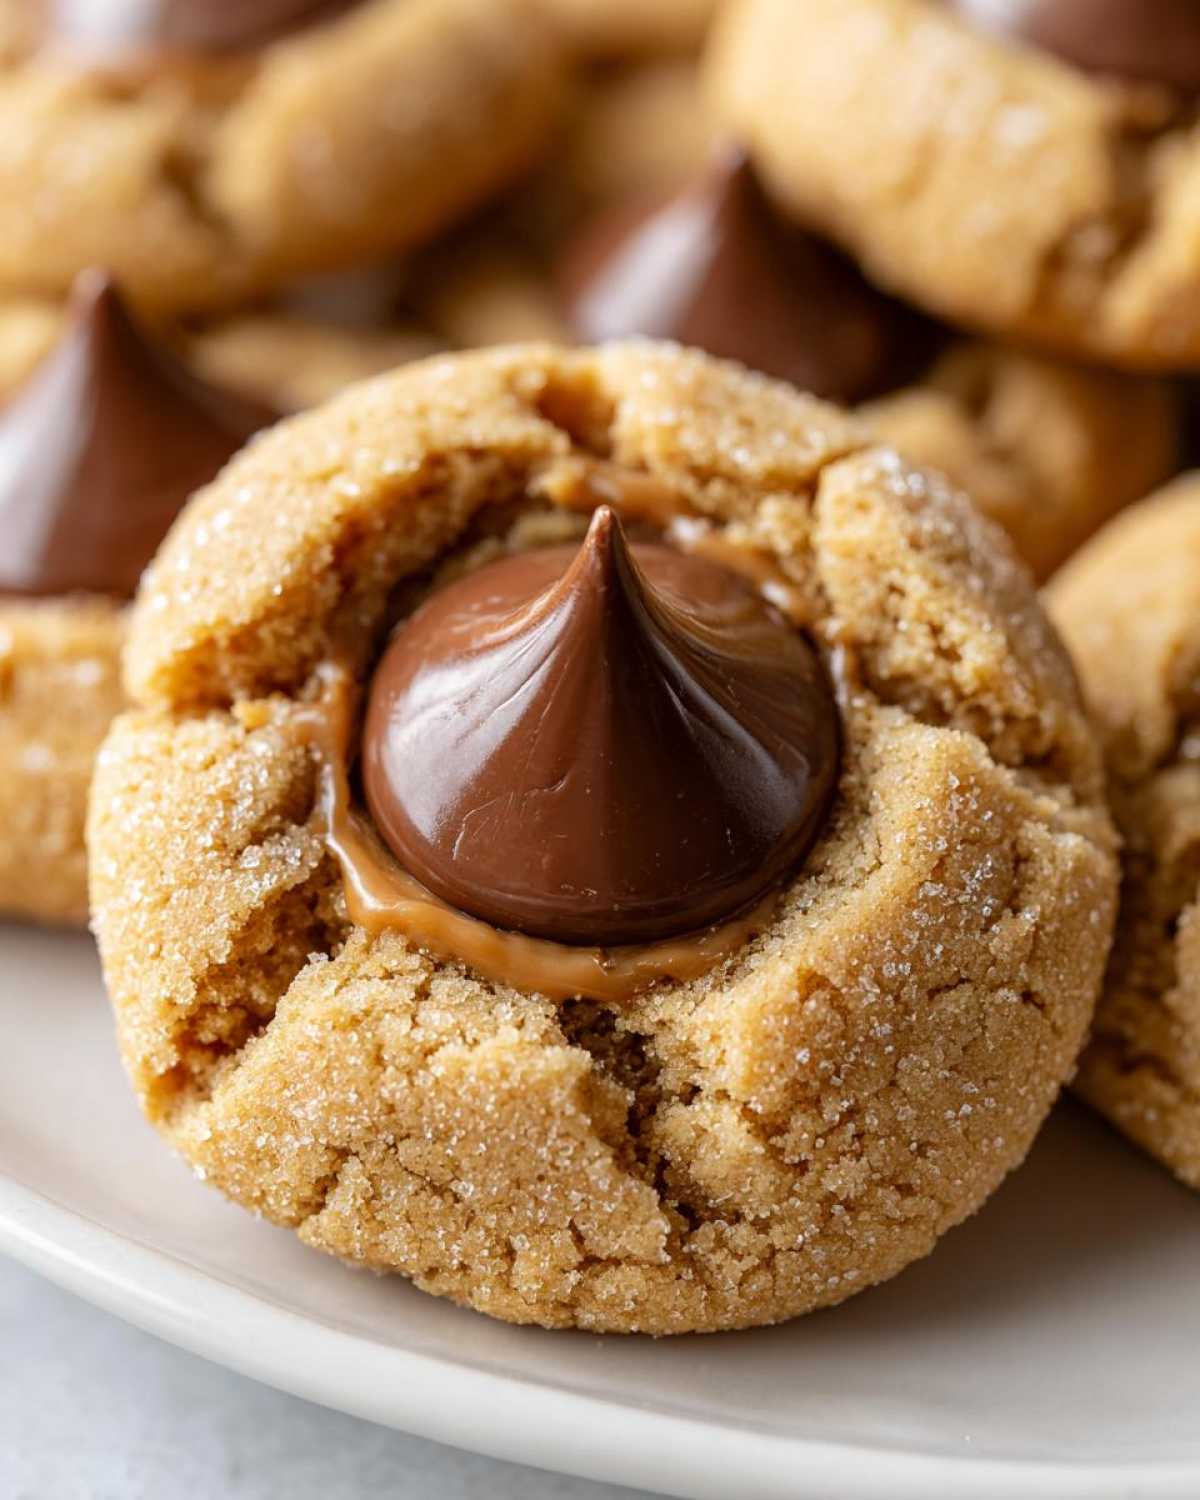
Why These Classic Peanut Butter Kiss Cookies Are a Must-Bake
There is a reason these Peanut Butter Blossoms have been a staple in cookie stands for decades! They hit every high note you want in a holiday cookie, which is why they are the cornerstone of any good batch of kiss cookies. They look festive, they taste incredible, and they bring back all those memories of gathering in the kitchen. If you loved our approach in the apple pie crumb bars, you’ll appreciate that this recipe balances hearty tradition with perfect results!
- They nail that perfect texture: soft and chewy instead of hard or crumbly.
- That combination of salty peanut butter mixing with the sweet, rich chocolate Kiss? Divine!
- They are so easy to make, even if you’re only baking for a small crowd.
If you are putting together a platter for Christmas or Valentine’s Day, these just have to be there. They anchor the chocolate flavors beautifully.
Achieving Soft and Chewy Kiss Cookies Every Time
The secret to keeping these cookies soft is all about the fat. You absolutely must make sure your butter and peanut butter are added when they are truly room temperature—think soft enough to easily mash with a fork. This allows them to cream properly with the sugars, building the essential air pockets that lead to that wonderfully soft and chewy texture we love so much.
Gathering Ingredients for Perfect Peanut Butter Kiss Cookies
When we bake anything here, especially something as beloved as these kiss cookies, the quality of the starting materials really matters—that’s Spoon’s philosophy rubbing off on me! You need to have everything ready before the mixing starts. I’ve written down the exact measurements below, but pay close attention to the state of the ingredients, like needing the butter to be *very* soft and the egg at room temperature. It seems fussy, I know, but these little details turn good cookies into *great* cookies!
Here is what you need:
- 1 ½ cups all-purpose flour
- ¾ teaspoon baking soda
- ½ teaspoon salt
- ¾ cup creamy peanut butter
- ½ cup unsalted butter, very soft
- ⅓ cup granulated sugar (for dough)
- ½ cup granulated sugar (for rolling)
- ⅓ cup light brown sugar, packed
- 1 large egg, room temperature
- 2 teaspoons vanilla extract
- 28 Hershey’s Kiss candies, unwrapped and frozen
Ingredient Notes and Substitutions for Your Kiss Cookies
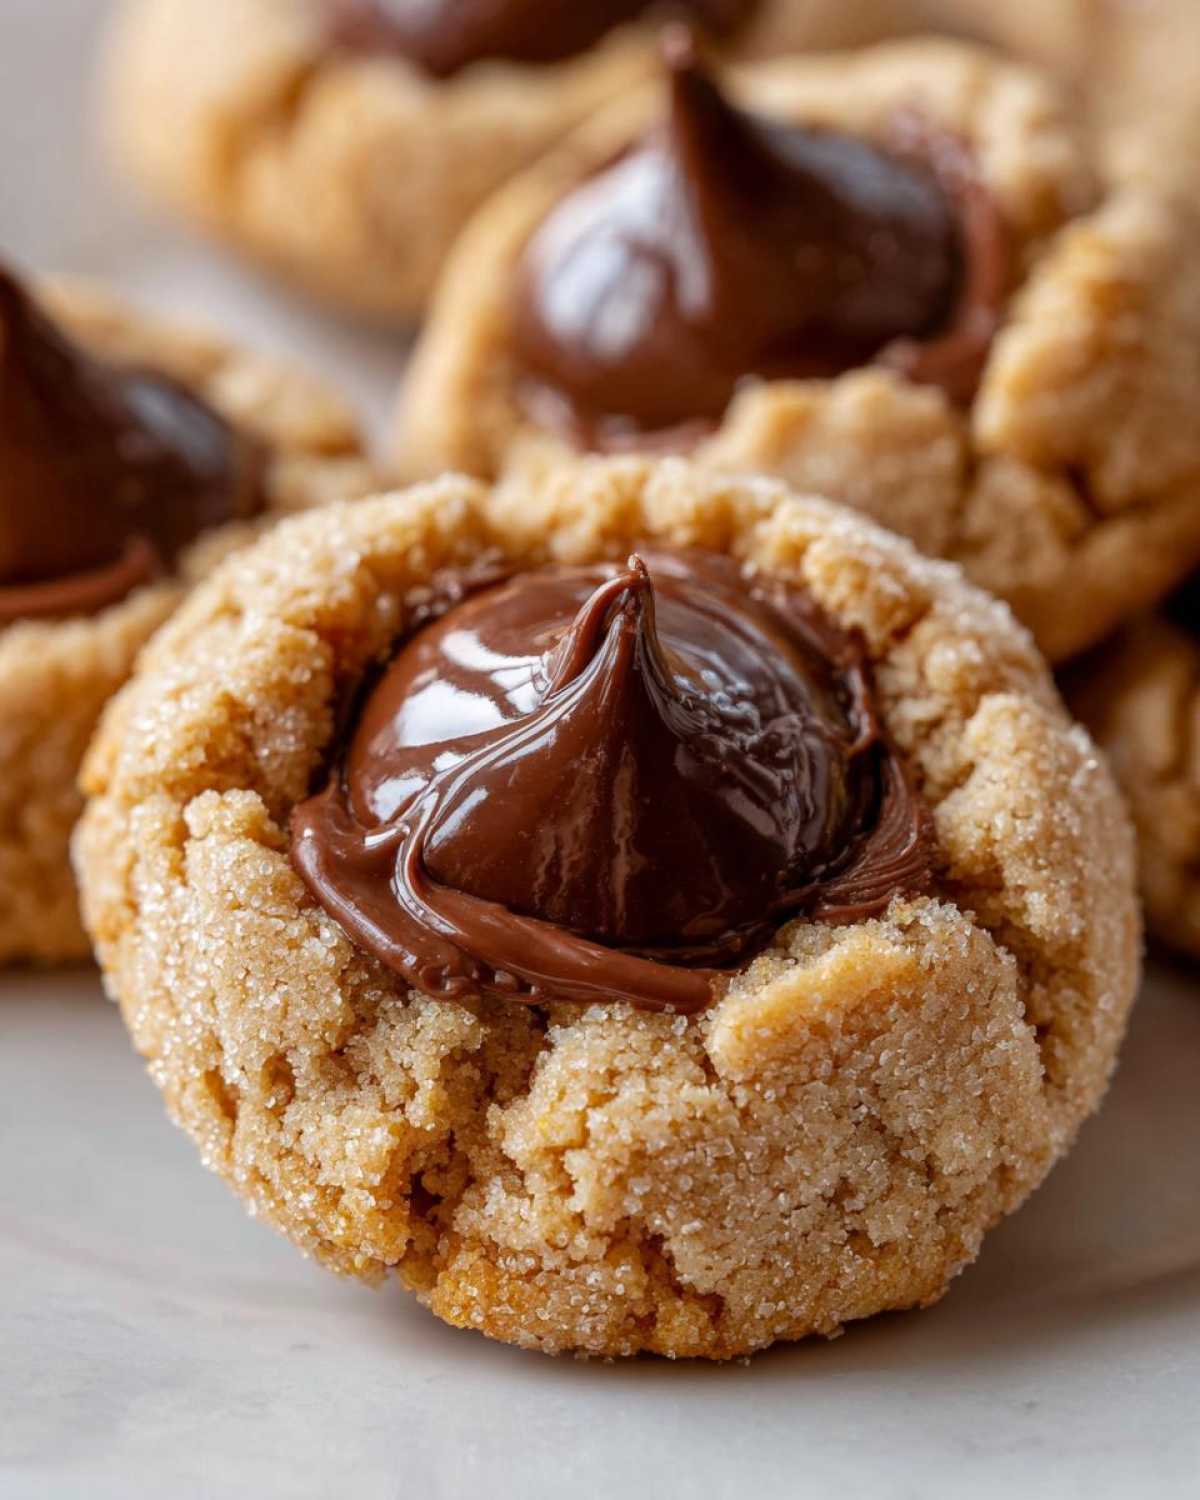
Grab the creamy peanut butter—trust me on this! Crunchy versions tend to make the dough spread too much, and we want that pretty, thick shape for our kiss cookies. Also, that step where we freeze the Kisses? Non-negotiable! If the chocolate isn’t icy cold, it gets too melty when it hits that hot cookie, and you lose the signature little hat shape. I always make sure to use pure vanilla extract; the cheap stuff just doesn’t reflect the depth of flavor we are building here.
Step-by-Step Instructions for Homemade Kiss Cookies
Alright, let’s get baking! Since these are such classic holiday favorites, I want you to have the prettiest batch of kiss cookies possible. We are going to move through this recipe methodically, just like Spoon taught me to approach a layered dish—no rushing the process! First things first: preheat that oven to 375°F (190°C) and get those baking sheets lined with parchment paper. That parchment is our insurance policy against sticking, which is so important when you have all that rich peanut butter.
Once preheating is done, we create our dry mix and our wet mix, and combine them gently. Remember, we are aiming for soft and chewy, which means we don’t want to wake up the gluten in the flour too much! We’ll finish by rolling the dough balls in sugar for that perfect, crackled look before they hit the heat. If you loved the rich, fudgy texture we managed in the no-bake peanut butter cup cheesecake, you’ll appreciate how much patience we use here to build the perfect dough structure!
Mixing the Dough for Soft Kiss Cookies
In a big bowl, you need to beat your room-temperature butter and your peanut butter with the sugars until they are fluffy and light. That’s where the air gets trapped! Next, we’ll add the egg and vanilla. When you bring in the flour mixture (the dry ingredients), stir it in on the lowest setting, or even by hand, just until you see the last streaks of flour disappear. Stop mixing right there! Overmixing is the fastest way to lose that beautifully soft texture.
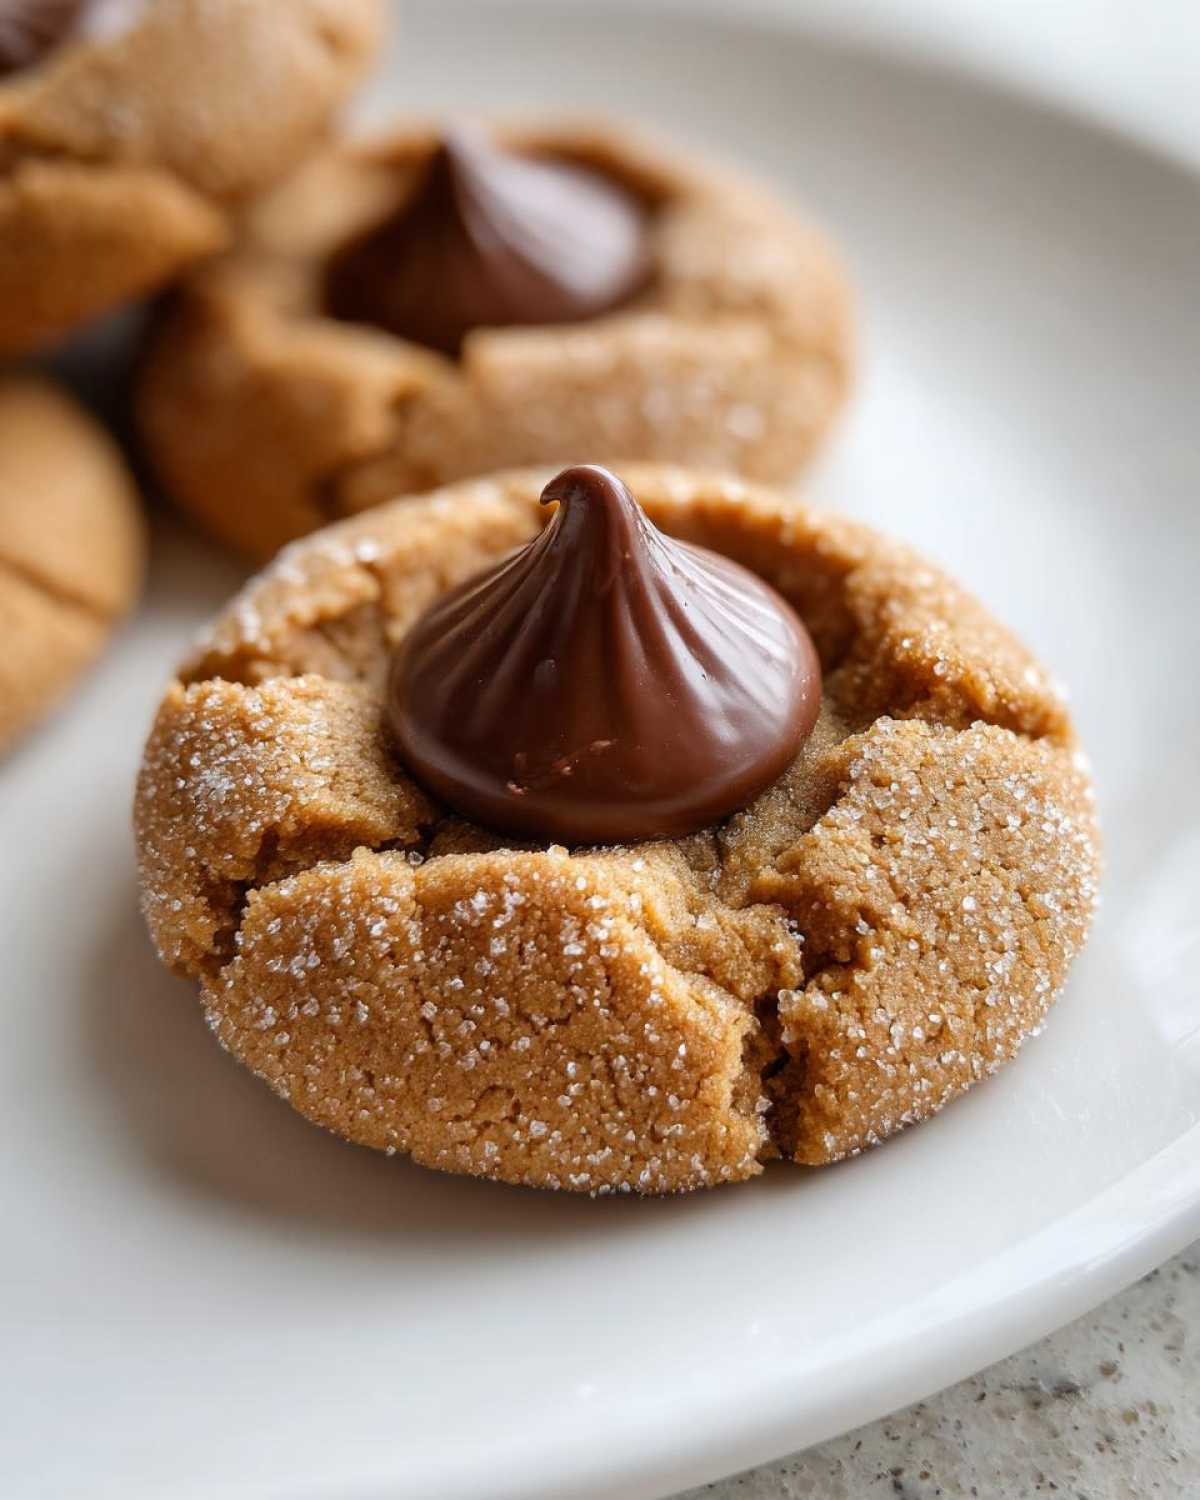
The Critical Step: Pressing the Chocolate Kiss into Kiss Cookies
This part happens fast, so be ready! The cookies need to come out of the oven when the edges are set but the center still looks a little soft—that warmth is what allows the chocolate to melt just enough. As soon as they come out, press one of those rock-hard, frozen Kisses right into the center of each warm cookie. Because the Kiss is frozen, it won’t totally dissolve into the cookie dough; instead, you get that perfect divot and rich chocolate center that makes these kiss cookies so famous! The contrast between the hot cookie and the icy chocolate is what seals the deal.
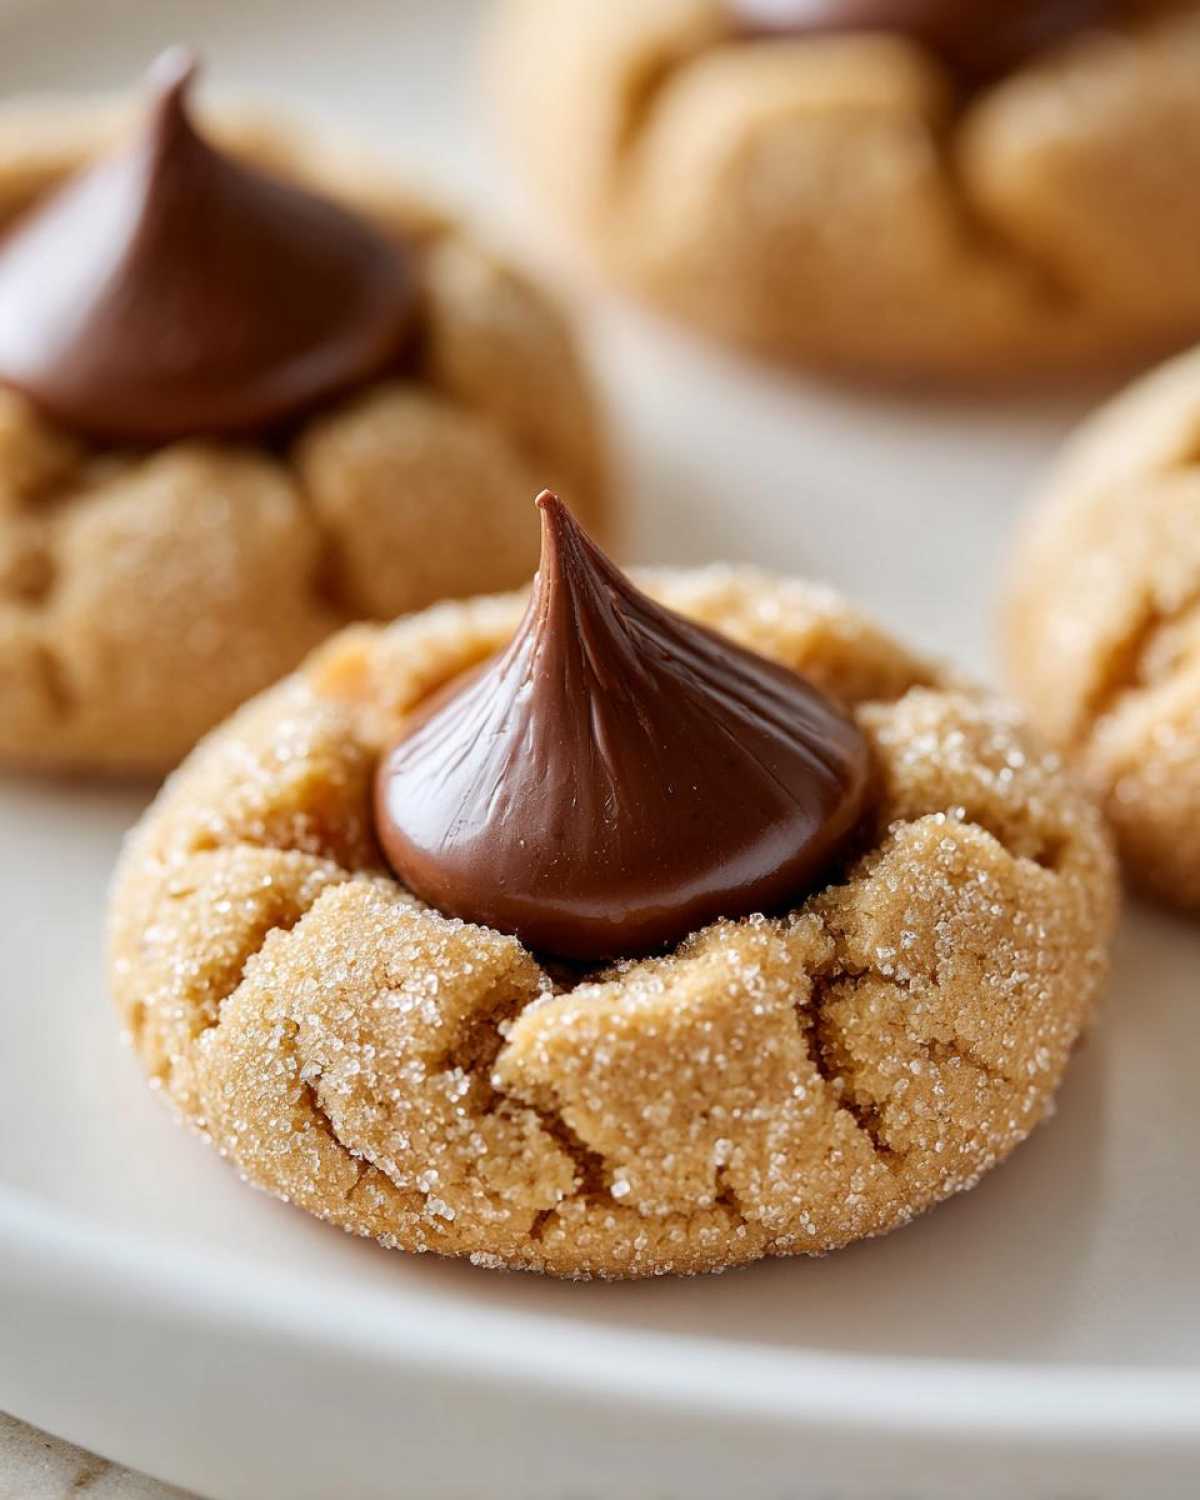
Tips for Perfect Holiday Baking Recipes: Mastering Kiss Cookies
Baking, especially during the high-pressure holiday rush, needs a few good backup tricks up your sleeve. When making these classic kiss cookies, the most common issue I see people run into is spreading. If your Peanut Butter Blossoms flatten out like pancakes on the sheet, it usually means your butter was *too* soft, or worse, slightly melted! We want it soft, but not greasy.
I remember one year when Jun was trying to rush the batch for a cookie exchange, and he skipped chilling the dough for ten minutes before baking. They spread everywhere! We salvaged them by jamming the Kisses in quickly and piling them high on the plate, but they looked a little sad. So, lesson learned like we discuss with our maple pecan sticky buns—a little patience goes a long way. If you’re worried about cracking when you press the Kiss in, make sure those Kisses are absolutely frozen solid!
Storage and Reheating Instructions for Your Homemade Kiss Cookies
These cookies are best enjoyed the day they are made; that’s when the peanut butter base is at its softest! But don’t worry, they keep well for snacking later. Store your finished cookies—Chocolate Kisses and all—in a single layer in an airtight container at cool room temperature. They stay wonderfully soft for about five days. Because the Kiss is solid chocolate, you don’t need to worry about refrigeration!
If you need to save them longer, you can freeze them un-iced, but wait until after baking to press the chocolate in. If freezing them finished, just make sure to keep them in a container that prevents crushing, or they’ll turn into sad, smushed chocolate pebbles.
Serving Suggestions for Classic Kiss Cookies
These rich, decadent cookies beg for something simple alongside them to cut through that indulgent sweetness. My favorite pairing, especially when the weather turns crisp, is a warm, slightly spiced drink. You should absolutely try serving these alongside our spiced maple cocktail if you are having an adult gathering, or just a tall, cold glass of plain milk works wonders!
For dessert platters, these Peanut Butter Blossoms look divine next to something bright, like a lemon bar or a fresh fruit arrangement. That pop of color really sets off the dark chocolate center!
Frequently Asked Questions About Peanut Butter Kiss Cookies
I’ve collected some of the questions I get most often about making the absolute best kiss cookies. Sometimes it feels like there are a million little details, but once you nail these things down, the recipe just flows!
Can I use crunchy peanut butter instead of the creamy kind?
You totally *can*, but I really advise against it if you want the classic, soft texture of these Peanut Butter Blossoms. Crunchy peanut butter changes the structure of the dough a bit, and the cookies tend to spread out more since the nut pieces don’t bind together as smoothly as the creamy stuff. We are aiming for soft and chewy kiss cookies, and creamy just delivers that reliably!
My cookies cracked badly when I pressed the chocolate in. What went wrong?
Ah, cracking! That’s super common, but usually happens for one of two reasons. Either you baked them a minute or two too long, making the cookie too solid before pressing the chocolate, or you didn’t roll the dough ball thickly enough in that coating sugar we discussed. That outer sugar layer helps absorb some of the pressure, preventing deep cracks when you push down with your thumb or a small spoon to seat the Hershey’s Kiss in the center.
What if I don’t have Hershey’s Kisses? Can I use another chocolate candy?
If it’s not a recognized Hershey’s Kiss, it’s not a true Peanut Butter Blossom! Seriously though, you can absolutely use a similar chocolate candy, but you must freeze it just as hard. Some people use chocolate kisses that are slightly larger, which is fine! Just know that if the chocolate piece is too wide, it will cover up more of that beautiful, crackled peanut butter surface. This recipe is designed around the classic cookie shape, so keep the chocolate small!
Nutritional Estimate for These Delicious Kiss Cookies
Now, I know Spoon focuses on flavor and soul, but sometimes we just need to peek at the numbers, right? These estimates are based on the recipe data provided above for one cookie serving. Remember, these are just ballpark figures; using natural honey instead of sugar or switching out brands can certainly shift these totals!
- Serving Size: 1 cookie
- Calories: 170
- Fat: 9g (Saturated Fat: 3g)
- Carbohydrates: 20g (Sugar: 12g)
- Protein: 4g
- Cholesterol: 20mg
Share Your Best Kiss Cookies Creations
When you make a batch of these classic kiss cookies, please let us know how they turn out! Did you use them for a festive Christmas platter or maybe a sweet Valentine’s Day treat? Leave a rating or a comment below so we know your thoughts. And if you captured a gorgeous photo, tag us! We love seeing the Spoon & Sprout recipes out in the world. You can always reach out through our contact page, or feel free to share your favorites over on Facebook too here!
PrintClassic Peanut Butter Blossoms: The Best Kiss Cookies
Make the most popular Hershey Kiss Cookies, Peanut Butter Blossoms. These soft and chewy cookies have a rich peanut butter base topped with a melted chocolate kiss. This is a staple for holiday baking.
- Prep Time: 20 min
- Cook Time: 10 min
- Total Time: 30 min
- Yield: About 28 cookies
- Category: Dessert
- Method: Baking
- Cuisine: American
- Diet: Vegetarian
Ingredients
- 1 ½ cups all-purpose flour
- ¾ teaspoon baking soda
- ½ teaspoon salt
- ¾ cup creamy peanut butter
- ½ cup unsalted butter, very soft
- ⅓ cup granulated sugar (for dough)
- ½ cup granulated sugar (for rolling)
- ⅓ cup light brown sugar, packed
- 1 large egg, room temperature
- 2 teaspoons vanilla extract
- 28 Hershey’s Kiss candies, unwrapped and frozen
Instructions
- Preheat your oven to 375°F (190°C). Line baking sheets with parchment paper.
- In a medium bowl, whisk together the flour, baking soda, and salt. Set this aside.
- In a large bowl, beat the soft butter, peanut butter, ⅓ cup granulated sugar, and brown sugar until the mixture is creamy.
- Beat in the egg and vanilla extract until just combined.
- Gradually add the dry ingredients to the wet ingredients, mixing on low speed until just combined into a soft dough. Do not overmix.
- Place the remaining ½ cup of granulated sugar into a shallow dish.
- Roll the cookie dough into 1-inch balls. Roll each ball thoroughly in the granulated sugar to coat completely.
- Place the sugared dough balls about 2 inches apart on the prepared baking sheets.
- Bake for 8 to 10 minutes, or until the edges are lightly set. The centers should still look slightly soft.
- Immediately upon removing the cookies from the oven, gently press one frozen, unwrapped Hershey’s Kiss candy into the center of each warm cookie.
- Let the cookies cool on the baking sheet for 5 minutes before transferring them to a wire rack to cool completely. The Kiss will set as the cookie cools.
Notes
- Freezing the Hershey Kisses beforehand helps them keep their shape when pressed into the hot cookie.
- Use creamy peanut butter for the best texture in this classic recipe.
- These cookies are excellent for Christmas cookie exchanges or Valentine’s Day treats.
Nutrition
- Serving Size: 1 cookie
- Calories: 170
- Sugar: 12
- Sodium: 110
- Fat: 9
- Saturated Fat: 3
- Unsaturated Fat: 6
- Trans Fat: 0
- Carbohydrates: 20
- Fiber: 1
- Protein: 4
- Cholesterol: 20