

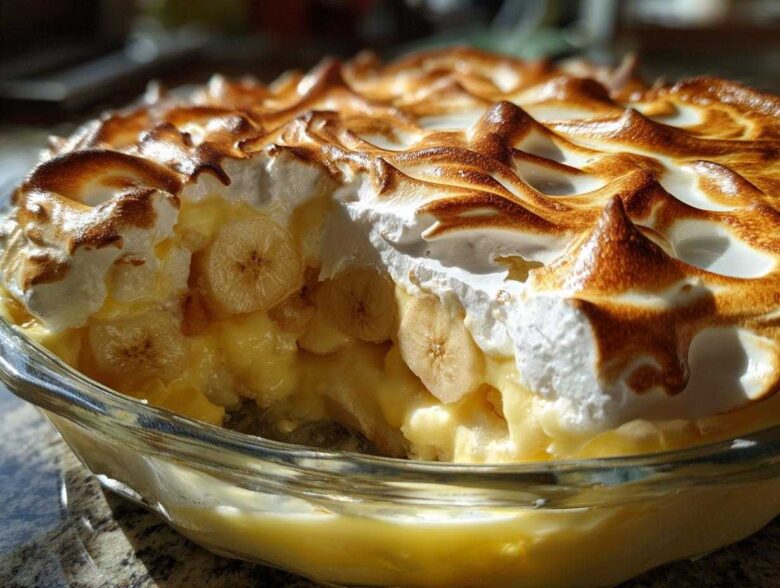
Oh, friend, pull up a chair! When I think about food that wraps you up like a warm quilt on a cold day, nothing quite hits the spot like a truly magnificent bowl of pudding. This isn’t just any dessert; this is The Best Creamy Southern Banana Pudding, and it carries the history of our kitchen right here in its layers. Jun (Spoon) and I, Mei (Sprout), spent years perfecting this recipe. It honors the deep, rooted traditions Spoon cherishes while adding the fresh touch Sprout always seeks. If you’re looking for that perfect, nostalgic comfort that only a homemade dessert can bring, you’ve absolutely come to the right place. This one is pure magic in a dish. You can read more about our kitchen philosophy and how the Spoon met the Sprout over at our little corner of the internet!
Why This Classic Banana Pudding Recipe is The Best Banana Pudding Ever
Listen, I know there are a million ways to make banana pudding, especially those quick, no-bake styles, but if you want the *real* experience—the one your Southern grandmother tucked away in her recipe box—you need this Classic Banana Pudding Recipe. Spoon insists that anything less than homemade custard just doesn’t count. And honestly? He’s right! This version brings you the Best Banana Pudding Ever because we commit to making the pudding from scratch. That commitment pays off big time when you get that luxurious texture. If you love that slow-simmered tradition, you might also adore how we approach our soup recipes, like the one you can find here.
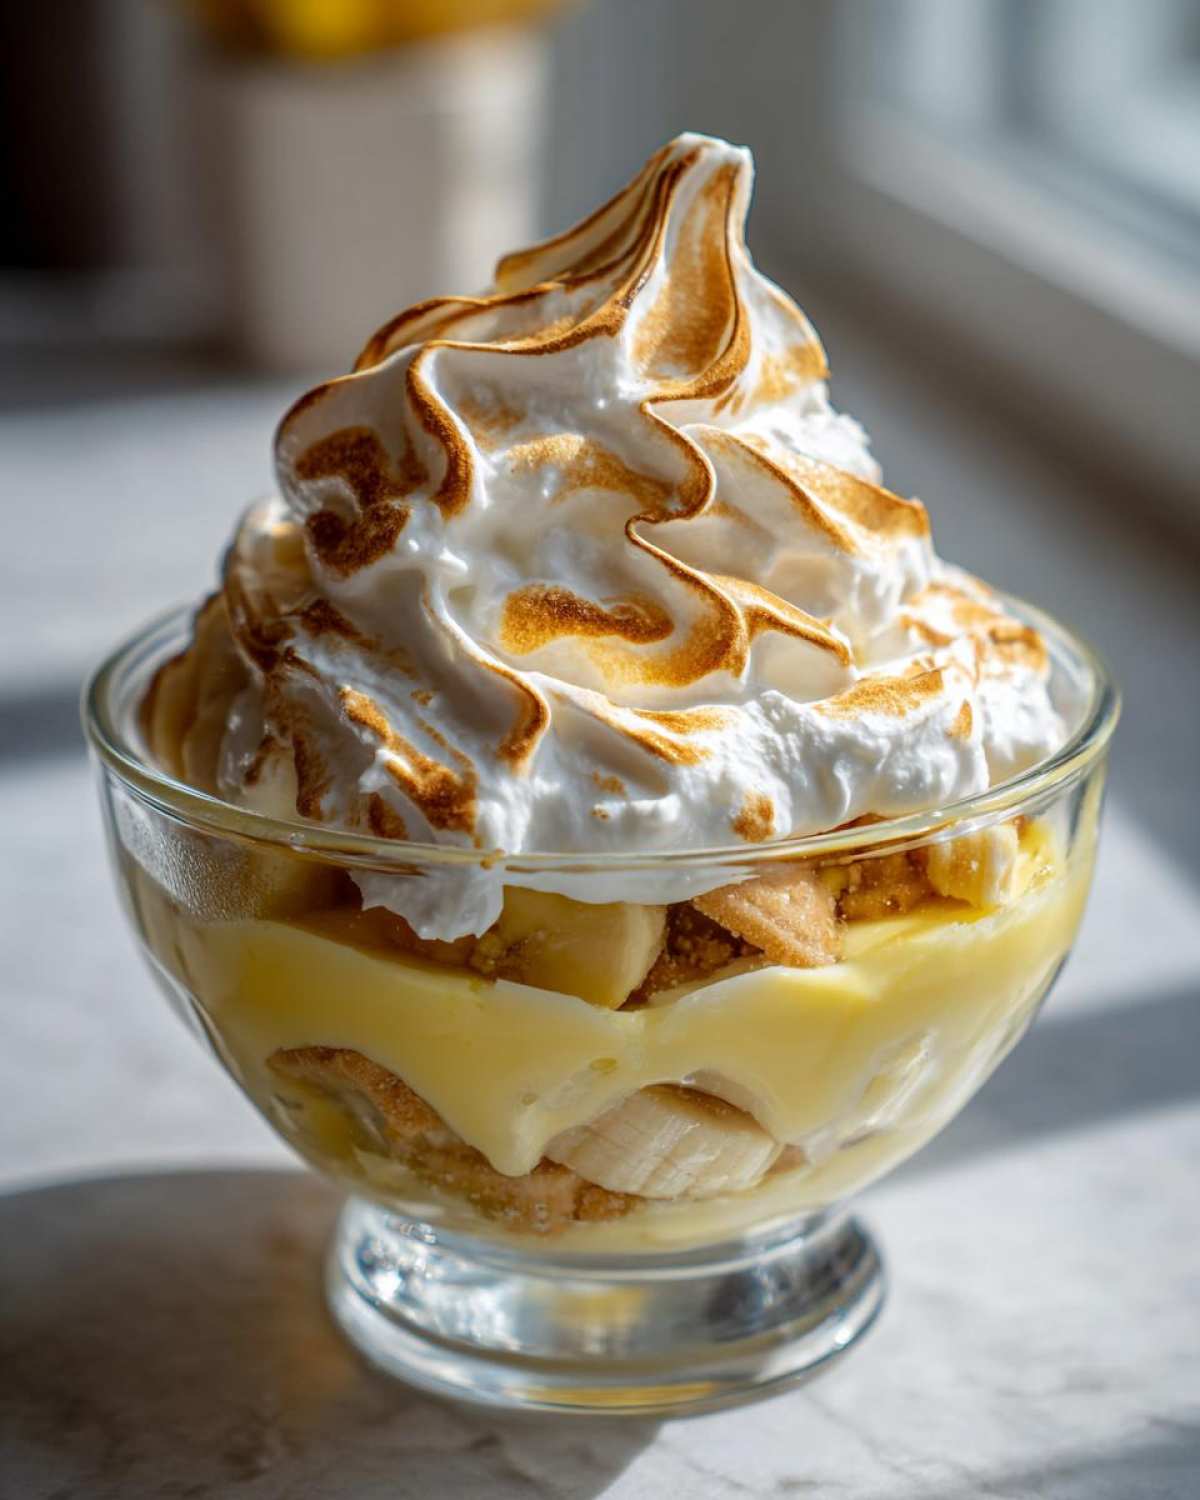
And then there’s the meringue! Baking it just slightly until it gets those beautiful golden peaks? That’s the signature of a Southern masterpiece that’s ready for any potluck or Sunday dinner. It’s warm, it’s comforting, and it feels like a hug in a bowl. It’s worth every extra minute we spend stirring that custard.
Achieving That Signature Creamy Layered Dessert Texture
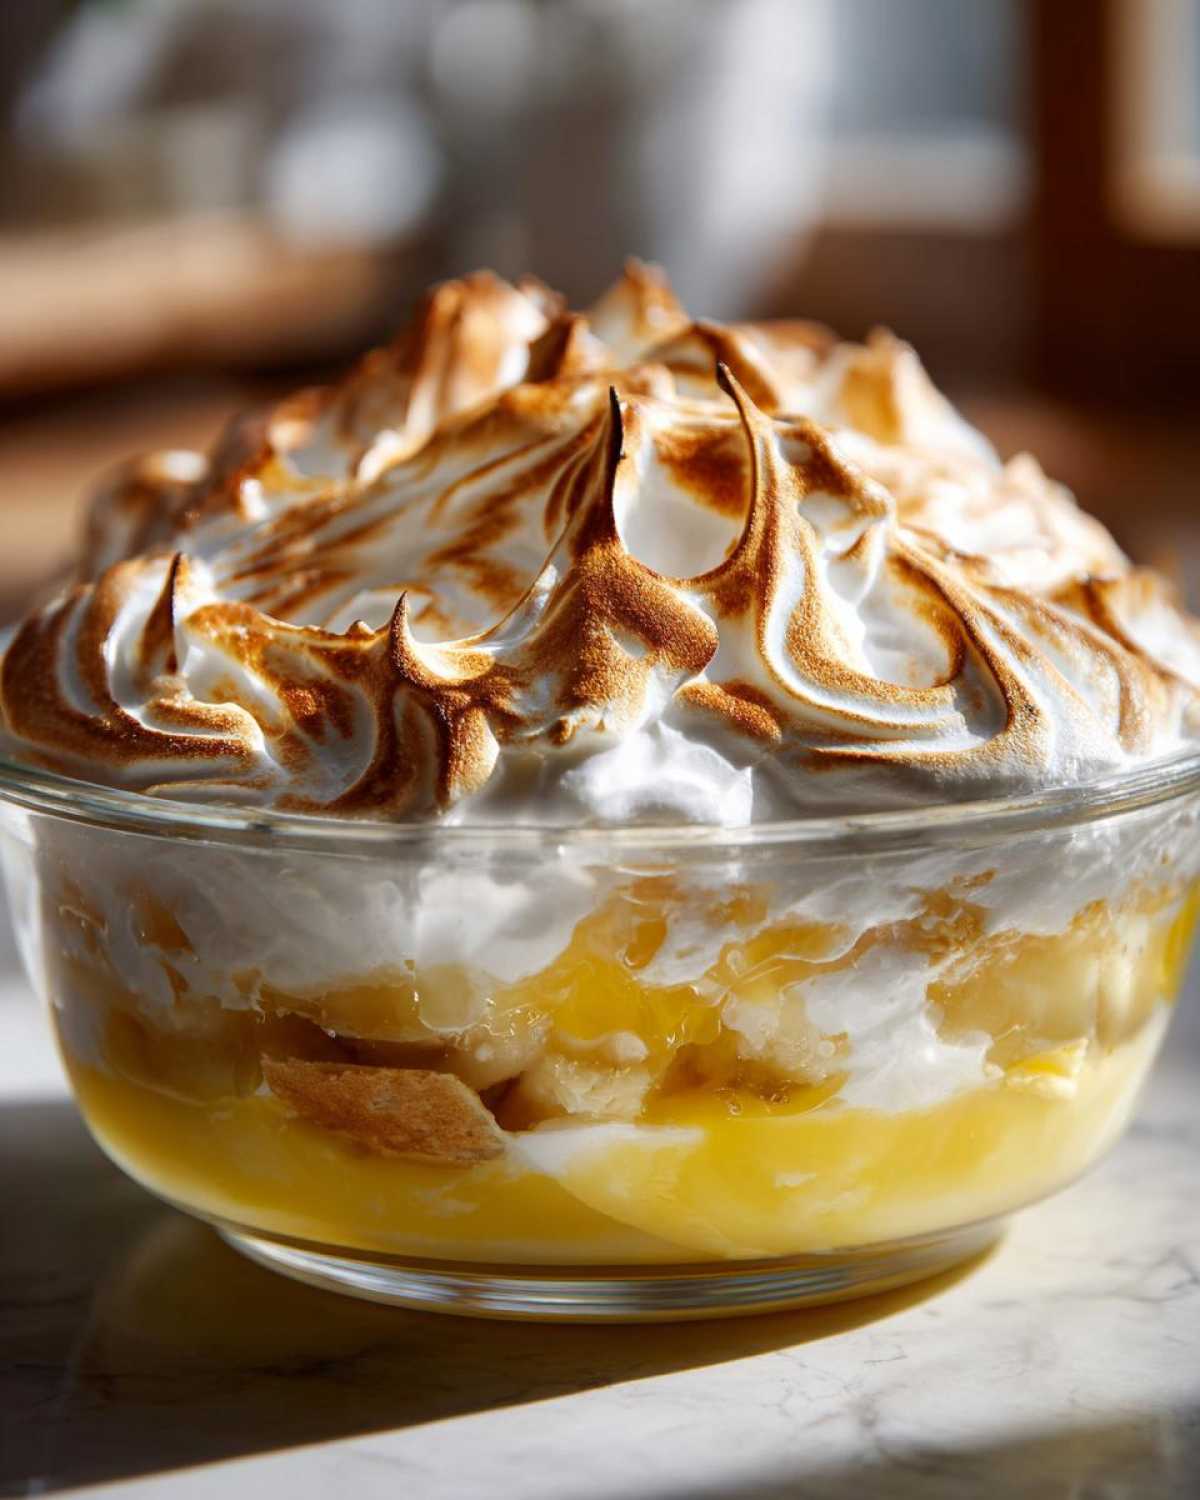
The secret to a truly dreamy Creamy Layered Dessert is ditching the instant box mixes every time. When we use the egg yolks and cornstarch, we’re building structure right into the custard. This takes time, yes, but it prevents that sad, slightly gelatinous texture you sometimes get from powder. My job as Sprout is making sure the pudding is smooth—stirring constantly like Spoon reminds me—so every layer is perfectly velvety before it meets the wafers.
Gathering Ingredients for Your Southern Banana Pudding
Now we talk about the beautiful components! Remember, Spoon insists that the quality of the ingredients truly dictates the soul of our Southern Banana Pudding. We grab exactly what the recipe calls for to make sure our pudding sets up perfectly thick. You’ll need our granulated sugar, that essential cornstarch for structure, a pinch of salt, four large egg yolks for richness, three full cups of whole milk, a teaspoon of vanilla extract, half a stick of unsalted butter cut into little pieces, four egg whites for the meringue, an extra quarter cup of sugar for those whites, and of course, that box of vanilla wafers and about four large, ripe bananas.
Notes on Vanilla Wafers and Bananas for Perfect Banana Pudding
This is where a few people go wrong, so listen up! For the wafers, you absolutely must use Nilla Wafers or a very similar, firm vanilla wafer. They are the backbone that soaks up all that creamy custard! Don’t try substituting a soft cookie here; trust me, it won’t work for this layering process. As for the bananas, you want them ripe—yellow with perhaps just a kiss of brown spotting is perfect. If they are green, they won’t be sweet enough. But if they are brown and mushy, they turn into soup after chilling! We want them slightly firm so they hold their beautiful sliced shape after the long chill we give this dessert.
Step-by-Step Instructions for Homemade Banana Pudding
Alright, let’s get cooking! This is where the magic happens, and trust me, it’s easier than it seems, especially if you give your full attention to the custard base. You’ll notice the instructions are broken down into making the pudding and then building the beautiful layers. This method is how Spoon ensures we get that rich, luscious body that defines true banana pudding.
We’re going to move through this process smoothly, but remember, patience during the cooking stages means you won’t have to worry about anything later! You can see our technique for a similar baked item when you check out our banana bread pudding recipe, which shares some foundational skills.
Making the Custard Base for the Best Banana Pudding Ever
First, you need to get that dry mix going in the saucepan—sugar, cornstarch, and salt. Then, slowly whisk in the milk until it’s totally smooth. We cook this over medium heat, and this is Spoon’s absolute non-negotiable rule: you must stir it constantly! Once it starts getting thick, we lower the heat. The trickiest part is step three: tempering those egg yolks. You take a cup of that hot milk mixture and drizzle it *very* slowly into the beaten yolks while whisking like crazy. If you dump it in, you get scrambled eggs, not the Best Banana Pudding Ever! Return that tempered yolk mixture back to the pan and cook it gentle until it thickens up nicely for two minutes. Take it off the heat, stir in that butter and vanilla until glossy, and let it cool just a touch.
Creating the Meringue Topping for Your Classic Banana Pudding Recipe
While the custard cools, tackle the egg whites. Spoon always reminds me that the bowl *must* be perfectly clean and grease-free, otherwise, the whites won’t whip up right. Beat those whites until they form soft peaks, then slowly stream in the remaining sugar until you get stiff, glossy peaks—that’s glossy meringue! Now, assemble! Layer the wafers, bananas, and that warm pudding. Gently spread that meringue right over the top layer. For the final touch on our Classic Banana Pudding Recipe, you bake it at 350°F for about 10 to 15 minutes, but keep your eye on it! Meringue browns fast, and we want golden kisses, not burnt coal!
Tips for Success: Making Perfect Banana Pudding Every Time
Even with a great recipe, sometimes a dessert needs just a little gentle coaching, right? Jun and I learned these little tricks over decades of making this banana pudding for every special occasion. If you follow these simple guidelines, you’ll nail that famous texture every single time. These are the same notes I found scribbled on the back of Spoon’s original recipe card!
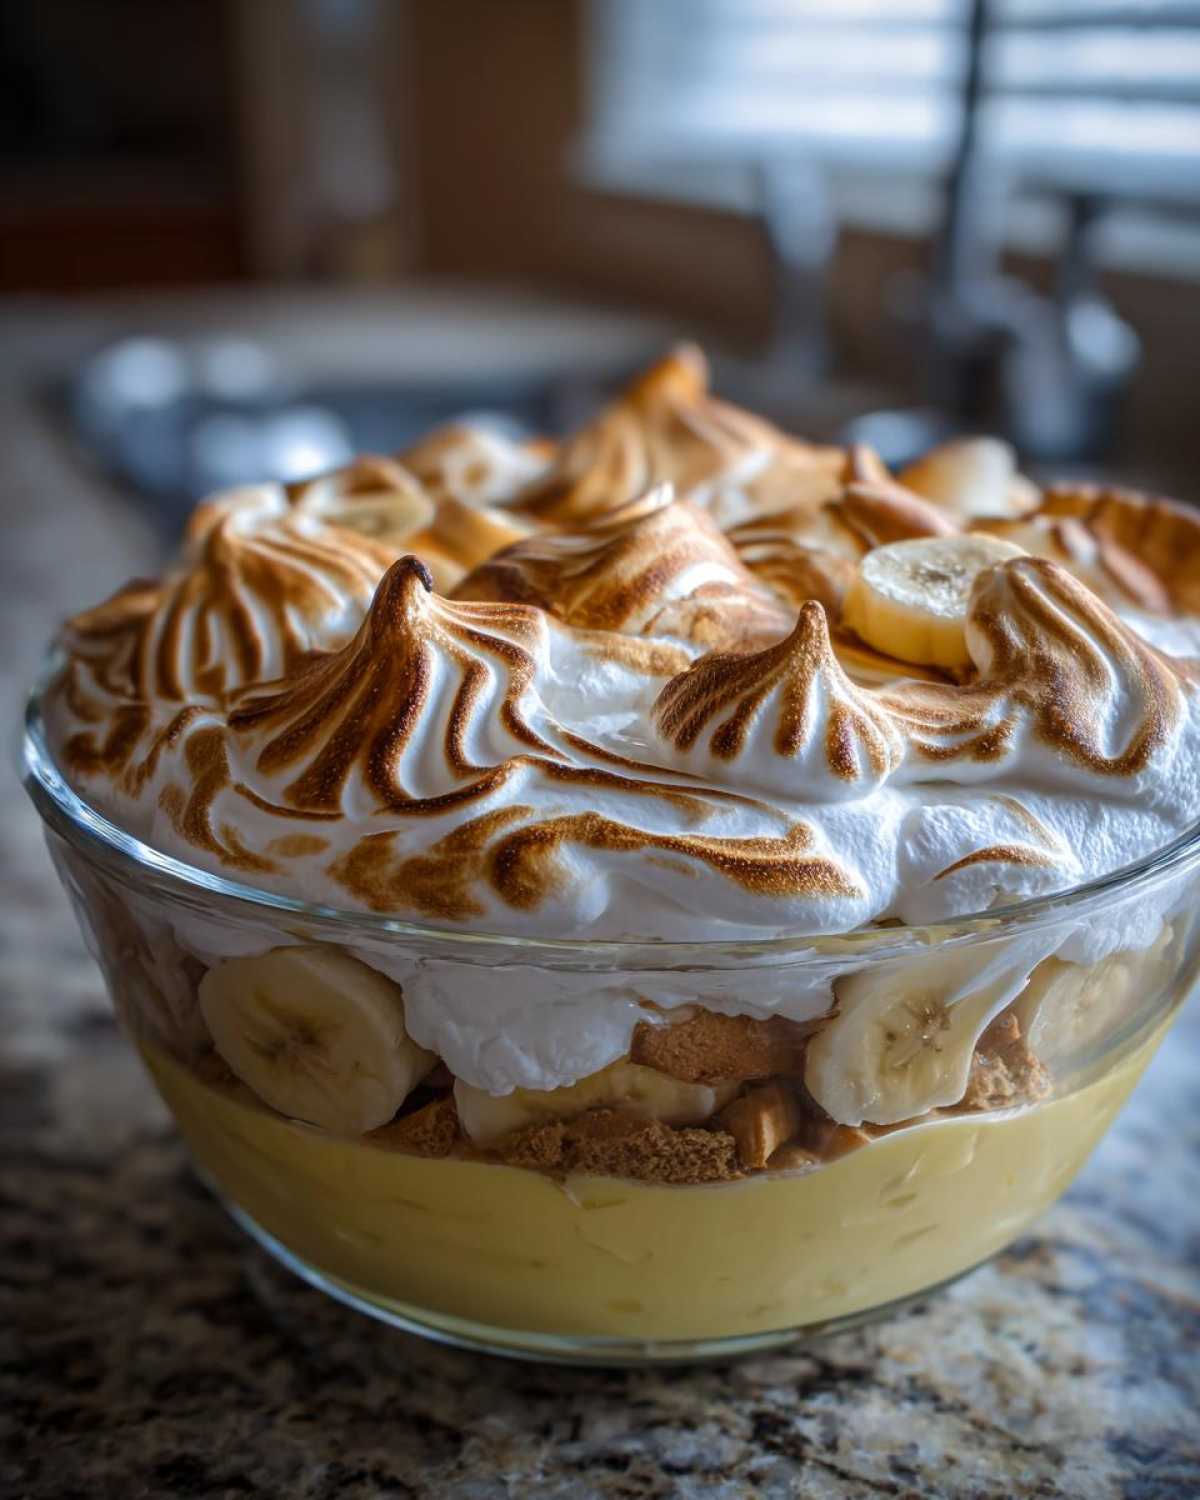
First, remember that under-ripe banana tip—it’s crucial! If you use those mushy, brown ones just because they’re easy to peel, they disintegrate into banana slime after chilling. We want those slices to *stay* slices!
For those of you who decide to bake that gorgeous meringue top, here’s a non-negotiable tip from the Sprout side of things: to keep meringue from weeping or sweating later on, make sure you completely seal the custard edge-to-edge with that fluffy white topping. If there are any gaps where the hot pudding can peek out, moisture will escape underneath and make a stringy mess!
Also, if you’re making this ahead for a big gathering, just assemble all the layers—wafers, bananas, pudding—but skip the meringue completely and cover it tight. Then, whip up that meringue fresh right before you plan to bake it off. If you’re looking for other make-ahead wonders, you might enjoy my crumb bars recipe, too!
Easy No Bake Pudding Variations for Your Banana Pudding
I know, I know. Sometimes life moves too fast, and you just need that gorgeous, creamy dessert without having to dirty all those pots and fuss with the meringue. That’s where the Easy No Bake Pudding trick comes in handy! While Spoon claims nothing beats the baked version, I’m the Sprout who loves a quick win, especially when company is showing up faster than expected. For those days, we ditch the meringue entirely.
To make this a true make-ahead, chill-and-serve dream, you skip steps 4 through 9 completely. Instead of making the custard base and the meringue, you’ll assemble your layers—wafers, bananas, pudding—but for the top layer, substitute that rich homemade custard with stabilized whipped cream or even a good quality store-bought whipped topping. This gets you very close to that iconic texture you see celebrated in things like the famous Magnolia Style Pudding.
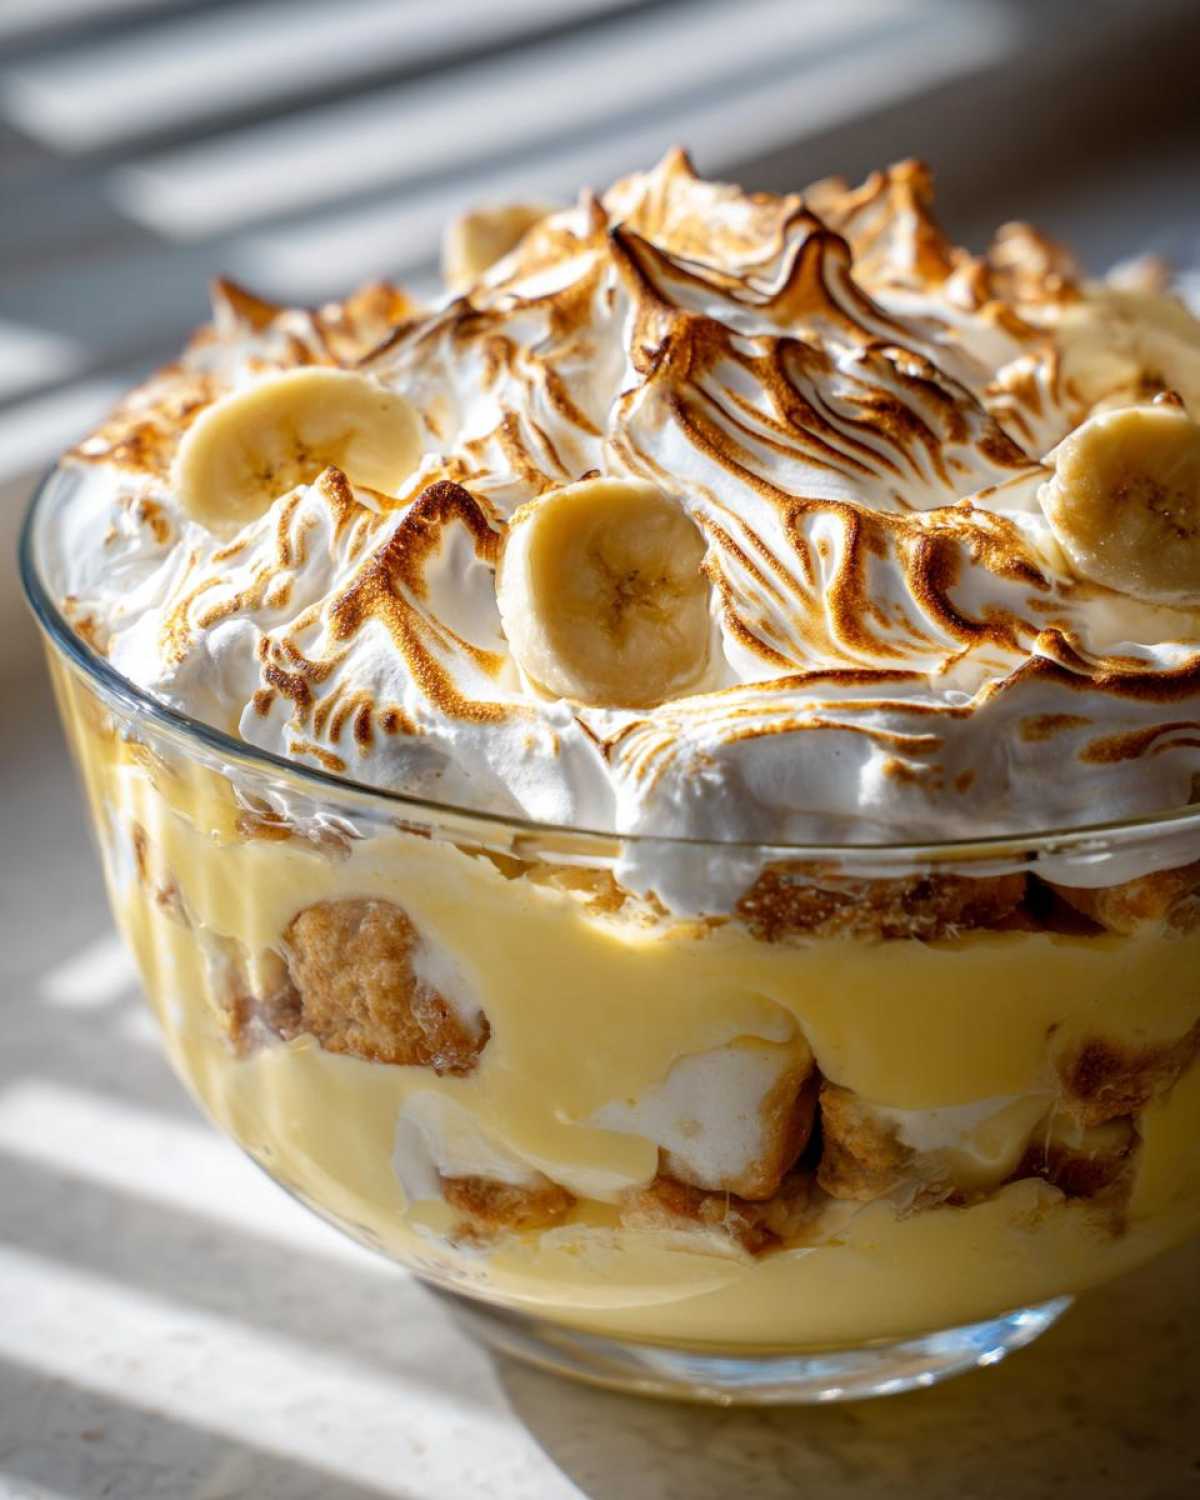
That version is all about speed and maximizing the soft, creamy factor right out of the fridge. It’s still unbelievably delicious, and honestly, it’s a lifesaver. We whip up one of these every summer when we don’t want to heat up the kitchen! It’s so simple, you can find the basic steps for assembling this simpler version in my roundup of no-bake cheesecake tips, which uses a similar layering principle.
If you really want to dive deep into that specific popular no-bake style, I found a fantastic resource that explains the secrets to mastering that creamy topping right here. Either way you go—baked or chilled—it’s going to be better than store-bought, promise!
Make Ahead Desserts: Storing Your Banana Pudding
This is the secret weapon of the busy host: this magnificent banana pudding is one of the best Make Ahead Desserts you can whip up! Seriously, don’t even think about serving this straight after layering it—it just won’t be the same. Step 10 tells us we need at least four hours of chilling time, but Spoon and I agree, overnight is where the real transformation happens.
That chilling time isn’t just about cooling everything down; it’s about texture! The vanilla wafers need a good long soak in that rich custard to soften up just right. If you cut them short, they are still crunchy cookies sitting next to pudding, and that’s just not right for Southern Banana Pudding. When those wafers meld with the bananas and the creamy base, that’s when you’ve achieved perfection.
Cover it tightly with plastic wrap—make sure the wrap isn’t touching the meringue if you baked yours—and pop it in the fridge. It holds up beautifully for two or three days, making it the most stress-free Potluck Dessert Idea ever. If you love making things ahead, you might want to bookmark my recipe for fig and walnut baklava, too!
Serving Suggestions for This Comfort Food Dessert
You’ve made this incredible, rich dessert, so how do you serve it up right? Since this Comfort Food Dessert is so wonderfully rich and sweet, I find it sings when paired with something light and tart to cut through that creaminess. Freshly sliced strawberries or raspberries are just heavenly sprinkled on top when you serve individual portions.
If you’re serving this after a big, heavy Southern meal, a strong, dark-roast coffee is the perfect counterpoint to the vanilla and banana. It truly balances the entire experience. And speaking of cozy balance, if you ever need a warming drink to go alongside your pudding, you should check out my recipe for a maple cinnamon cocktail—it’s unexpected but delicious!
Frequently Asked Questions About Banana Pudding
Can I use instant pudding mix instead of making the homemade custard for this recipe?
Oh, bless your heart for asking! You totally *can* use instant pudding if you are in a massive hurry, but I have to warn you: it fundamentally changes the dessert profile. Our recipe creates a true, dense, Homemade Banana Pudding base because of the cooking process with the cornstarch and egg yolks. If you use instant, you skip all that gorgeous cooking time, and while it’s fast, it won’t have that rich, soul-satisfying taste that Spoon loves so much. It becomes more of a quick snack than a true Old Fashioned Dessert.
How long do the bananas really last before they start to get too soft in the pudding?
This is the million-dollar question! If you are making this as a Make Ahead Dessert, use bananas that are yellow but still slightly firm. If they have heavy brown spots, they will definitely turn mushy by the morning. We aim for minimal exposure time to the cold environment. If you plan to chill it overnight, try to layer the bananas as close to serving time as possible, maybe even saving the bottom layer of bananas for when you assemble it right before chilling. If you wait longer than 24 hours, the banana flavor starts to overtake everything else.
I’m not a fan of the puffy meringue topping; can I skip it?
Absolutely! Spoon and I often disagree on the meringue; he loves the baked cloud, but I often prefer the structure of a no-bake version topped differently. If you skip the meringue, you are moving closer to a true Banana Cream Dessert style. Instead of baking meringue, just top the final layer of pudding with a layer of crushed vanilla wafers or maybe a thin layer of Magnolia Style Pudding topping made from stabilized whipped cream. It’s still divine and much easier!
What is the best way to ensure my vanilla wafers stay distinct and don’t dissolve completely?
That sogginess factor is real! If you want that slight structural integrity in your wafers, you need to play defense! When you are building the layers, make sure every single wafer is touched by the pudding, but try not to drown them. The second most important thing is the chilling time—don’t chill it for seven days! Four hours is minimal, overnight is best, but beyond 36 hours, those wafers start to surrender completely. If you love making other treats that incorporate cookies, you might want to check out our cookie dough truffle recipe!
Estimated Nutritional Snapshot for Creamy Banana Pudding
I’m Sprout, so I sometimes skip straight to the dessert and forget the spreadsheets, but Jun keeps track of everything! For a standard serving size of about one cup of this rich Creamy Layered Dessert (assuming the baked meringue version), here is a very rough idea of what you’re looking at. Remember, this is just an estimate, and using skim milk or less butter will certainly change these numbers!
- Serving Size: 1 cup
- Calories: Roughly 410
- Sugar: About 45 grams (That’s the joy speaking!)
- Fat: Around 18 grams
- Protein: About 8 grams
It’s certainly a treat, not an everyday snack, but good food is meant to be enjoyed! For a look at another sweet treat that we track carefully, check out our lemon berry trifle nutrition.
PrintThe Best Creamy Southern Banana Pudding

You deserve a rich, creamy treat that tastes like pure comfort. This classic homemade banana pudding recipe layers vanilla wafers, fresh bananas, and smooth pudding for a dessert that always impresses at gatherings.
- Prep Time: 25 min
- Cook Time: 15 min
- Total Time: 4 hours 40 min
- Yield: 8 servings
- Category: Dessert
- Method: Baking
- Cuisine: Southern American
- Diet: Vegetarian
Ingredients
- 1 cup granulated sugar
- 1/2 cup cornstarch
- 1/4 teaspoon salt
- 4 large egg yolks
- 3 cups whole milk
- 1 teaspoon vanilla extract
- 1/2 cup (1 stick) unsalted butter, cut into pieces
- 4 large egg whites
- 1/4 cup granulated sugar
- 1 teaspoon vanilla extract
- 1 box (11 ounces) vanilla wafers
- 4 large ripe bananas, sliced
Instructions
- Make the pudding base: In a medium saucepan, whisk together the 1 cup sugar, cornstarch, and salt. Gradually whisk in the milk until smooth.
- Cook the pudding: Heat the mixture over medium heat, stirring constantly, until it thickens significantly and just begins to bubble. Reduce heat to low.
- Temper the egg yolks: In a separate bowl, lightly beat the 4 egg yolks. Slowly pour about 1 cup of the hot milk mixture into the yolks while whisking constantly. This prevents the yolks from scrambling.
- Return the tempered yolks to the saucepan with the remaining milk mixture. Cook over medium-low heat, stirring constantly, for 2 minutes until the pudding is thick. Do not let it boil rapidly.
- Remove the pudding from the heat. Stir in the vanilla extract and the butter pieces until the butter is fully melted and incorporated, creating a smooth texture. Set aside to cool slightly.
- Make the meringue topping: In a clean, grease-free bowl, beat the 4 egg whites until soft peaks form. Gradually add the 1/4 cup sugar and continue beating until stiff, glossy peaks form. Beat in the 1 teaspoon vanilla extract.
- Assemble the pudding: In a large glass bowl or individual serving dishes, create layers. Start with a layer of vanilla wafers, followed by a layer of sliced bananas, and then a layer of the warm pudding. Repeat the layers until all ingredients are used, ending with a layer of wafers or pudding.
- Top with meringue: Gently spread the meringue evenly over the top layer of the pudding. You can create swirls with the back of a spoon.
- Bake the pudding: Bake in a preheated oven at 350 degrees F (175 degrees C) for about 10 to 15 minutes, or until the meringue is lightly golden brown. Watch carefully to prevent burning.
- Chill: Let the banana pudding cool to room temperature, then cover and chill in the refrigerator for at least 4 hours, or preferably overnight. This chilling time allows the wafers to soften and the flavors to meld, giving you that perfect creamy texture.
Notes
- For a no-bake version, skip steps 4, 5, and 6. Instead, use store-bought whipped topping or stabilized whipped cream to top the chilled pudding layers.
- Use slightly under-ripe bananas; overly soft bananas can become mushy after chilling.
- If you prefer a less sweet meringue, reduce the sugar in the meringue to 3 tablespoons.
Nutrition
- Serving Size: 1 cup
- Calories: 410
- Sugar: 45
- Sodium: 250
- Fat: 18
- Saturated Fat: 9
- Unsaturated Fat: 9
- Trans Fat: 0
- Carbohydrates: 60
- Fiber: 2
- Protein: 8
- Cholesterol: 120