

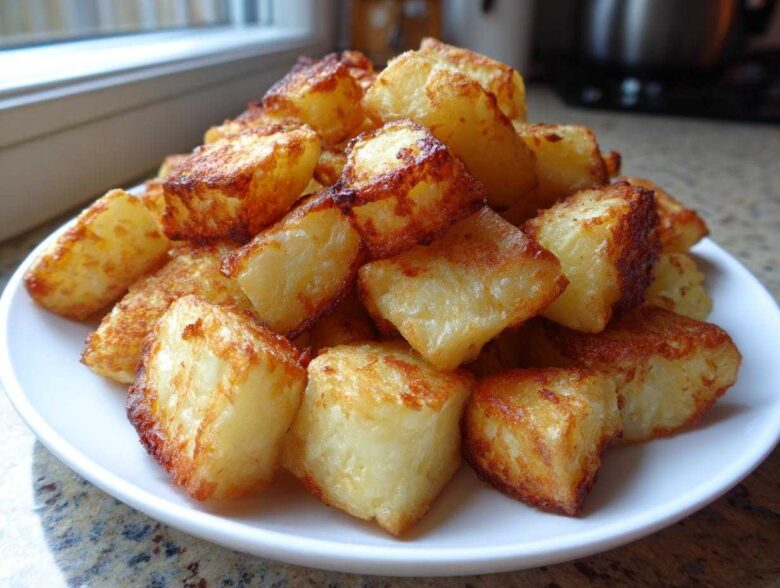
Ah, the morning ritual! Jun is usually happy as long as there’s coffee, but I know what truly makes a weekend breakfast sing—it’s the side dish that ties the whole plate together. I’m talking about breakfast potatoes, of course! Now, we’ve tried every version out there, from the sad, pale lumps you get sometimes, to the great hash we make when we’re feeling adventurous.
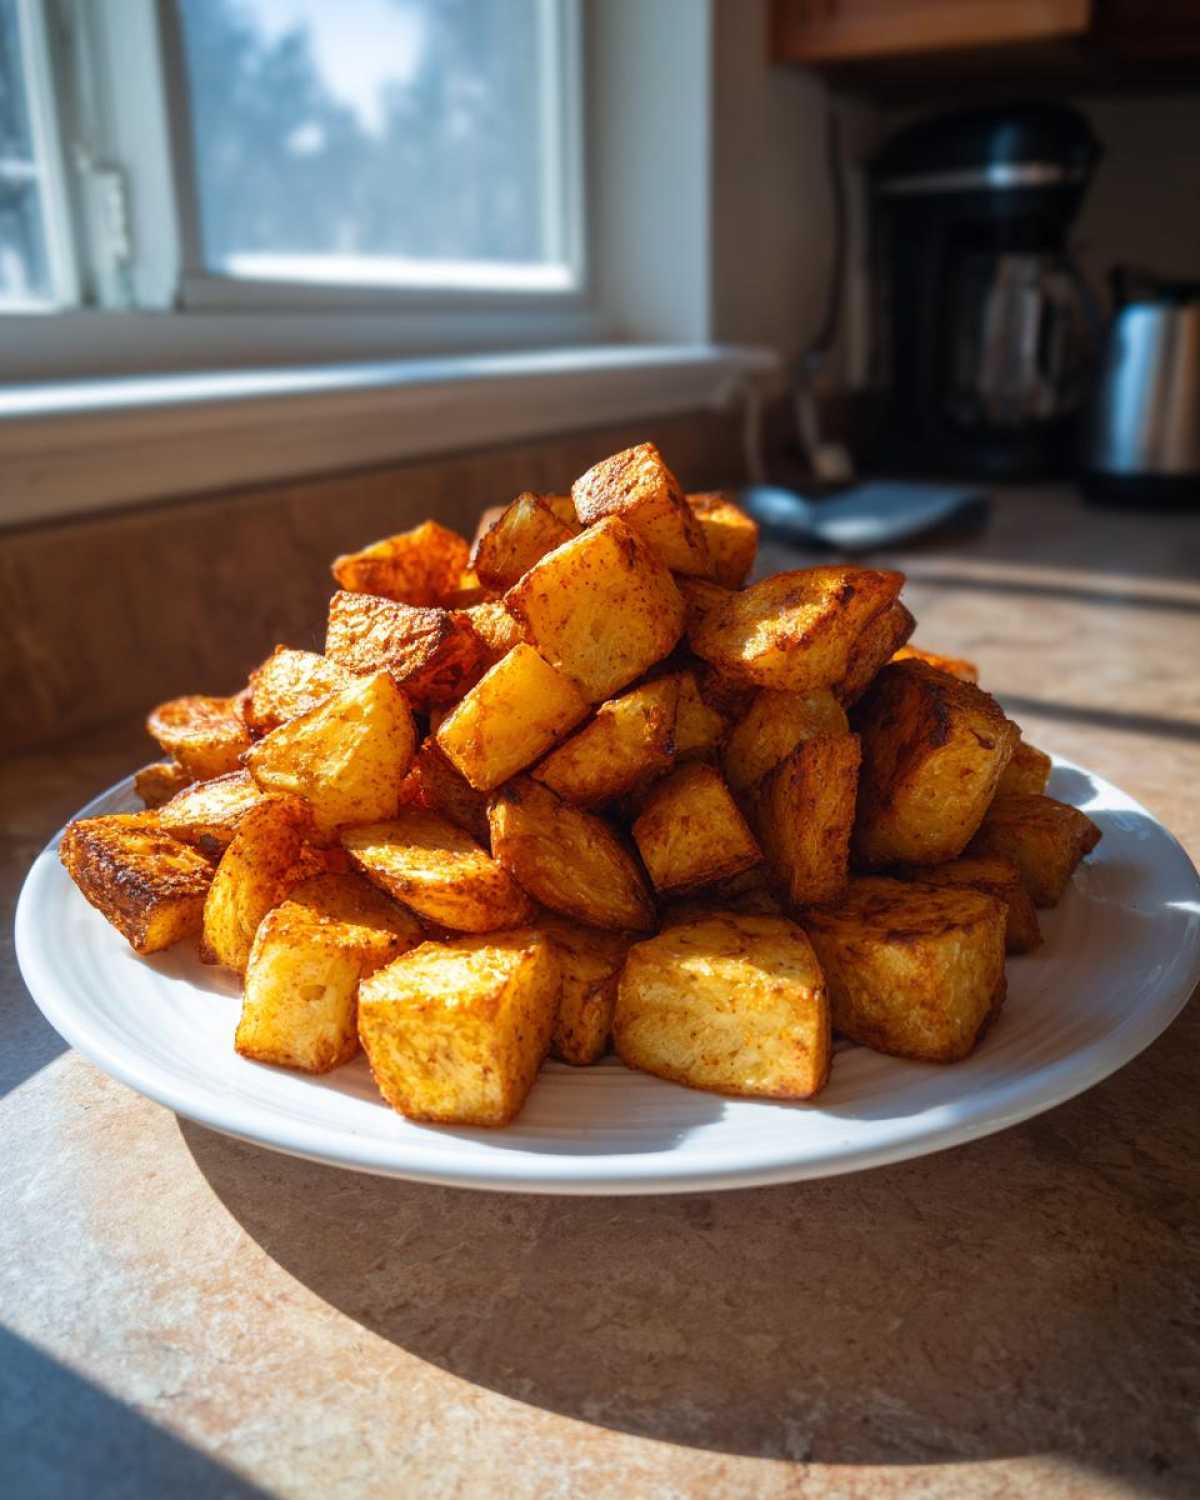
But Spoon and I, we are perfectionists when it comes to the classics. We’ve spent so many mornings trying to nail that magical texture: golden, shatteringly crisp on the outside, but melt-in-your-mouth fluffy on the inside. That’s what this recipe is all about! We perfected this method to ensure you get that ideal diner-style result every single time. If you’re looking for the absolute best side to anchor your eggs and bacon, you’ve found it right here. You can see more of our favorite morning eats over in our breakfast category!
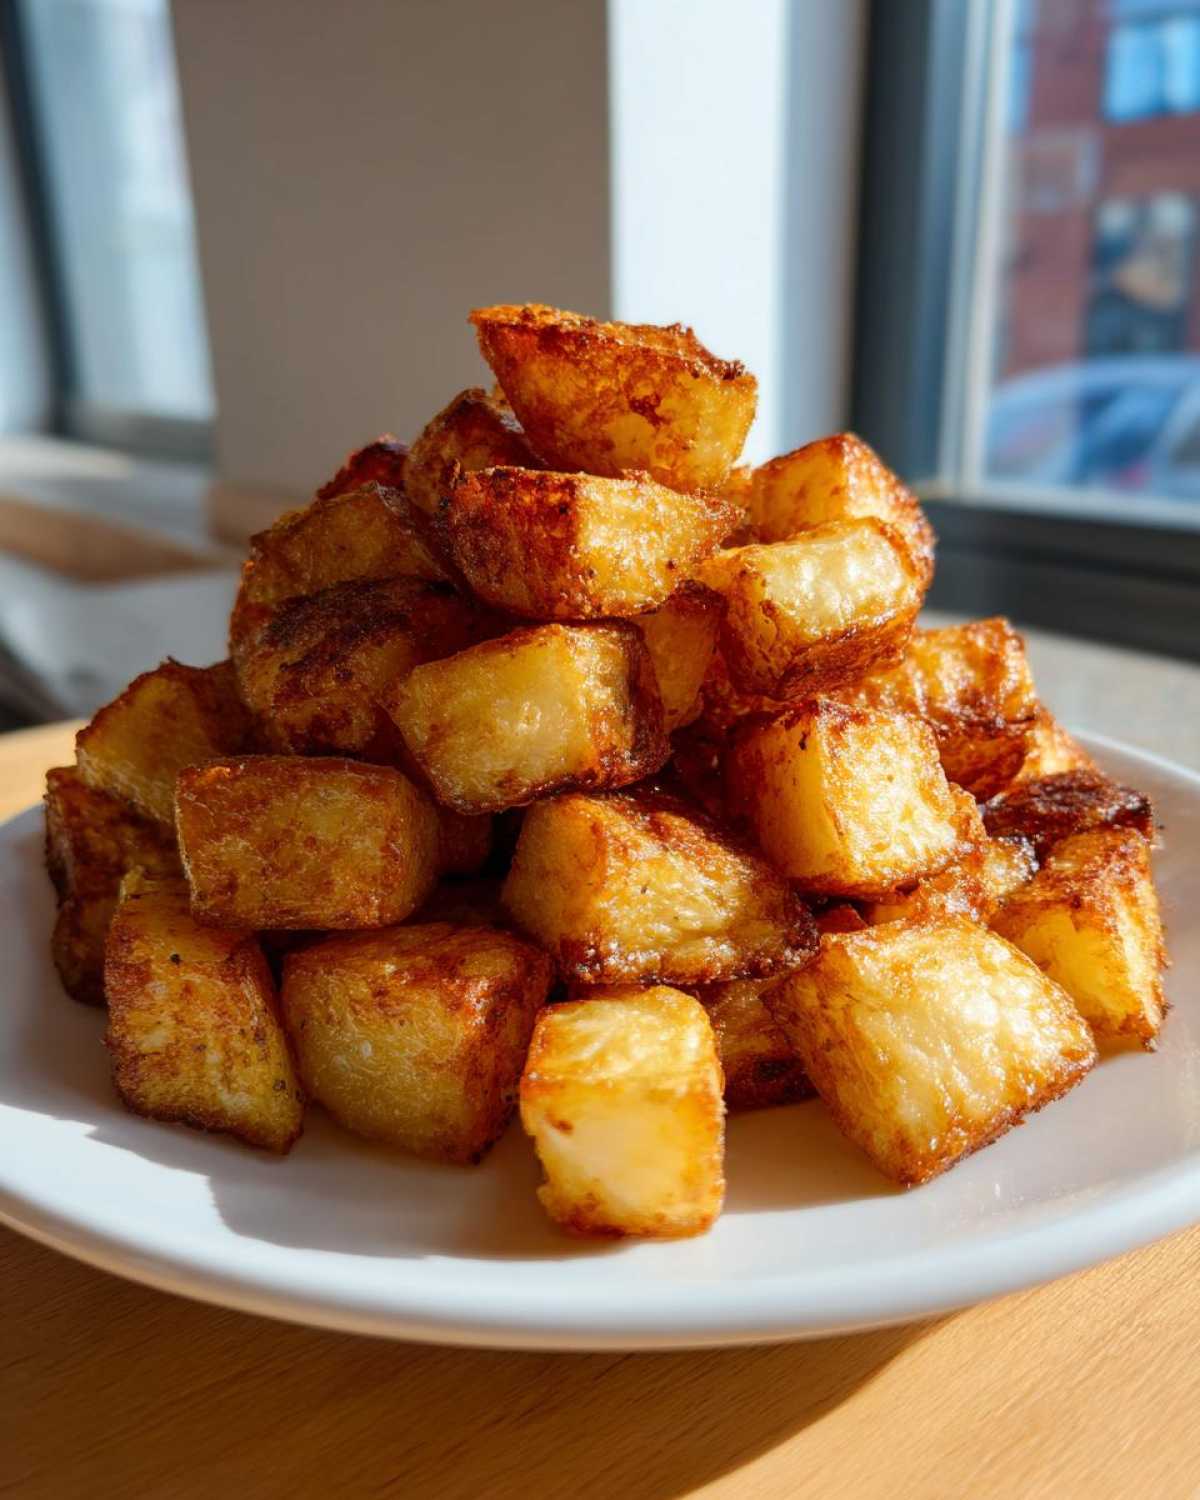
Why These Are the Best Breakfast Potatoes You Will Ever Make
If there’s one thing you shouldn’t settle for in the morning, it’s a limp, greasy potato. We worked hard to crack the code on truly great Crispy Breakfast Potatoes that deliver that satisfying crunch without being dried out. Consistency is everything when you’re cooking for a crowd!
Here’s why our method stands head and shoulders above the rest:
- We get that perfect fluffy inside, every single time.
- They cook up surprisingly fast! We’re talking ready in about 35 minutes total.
- The seasoning blend here is simple but absolutely coats every single bite.
- They work beautifully whether you use a skillet or the oven—your choice!
Achieving Ultimate Crispy Breakfast Potatoes Texture
The real magic—the thing that takes these from good to wow—is what we do before they even see oil! You have to remove that surface starch. I promise this small extra step is worth it. You can either soak the diced potatoes in cold water for about fifteen minutes, or, if you’re feeling fancy, parboil them for five minutes until they just start to get tender around the edges. Either way, make sure you pat them bone-dry afterward. If you skip drying, you’ll end up steaming them instead of getting that gorgeous crispy exterior!
Gathering Ingredients for Perfect Seasoned Breakfast Potatoes
When Spoon taught me the basics, he always stressed that you can’t build a beautiful home on a weak foundation. That absolutely applies to our breakfast potatoes! The ingredient list is short, which is why we need great quality and attention to detail. We aren’t messing around with weird substitutes here; we want classic flavor that shines.
Here’s what you need to pull together these Seasoned Breakfast Potatoes for about four happy people:
- 2 lbs Russet potatoes, scrubbed clean and diced into uniform 1/2-inch cubes (this size is key for quick, even cooking!)
- 3 tablespoons avocado oil or other high-heat oil (we need something that won’t smoke right away)
- 1 teaspoon kosher salt
- 1/2 teaspoon black pepper
- 1/2 teaspoon garlic powder
- 1/2 teaspoon onion powder
- 1/4 teaspoon smoked paprika (this is where the color comes from!)
- A tiny pinch of cayenne pepper (only if you like a little morning zing!)
Remember what I said earlier? If you soak and dry these first, you’ve already done most of the hard work for a great crispy result. Now that we have our ingredients ready, let’s talk about why we chose them.
Ingredient Notes and Substitutions for Your Breakfast Potatoes
Russets are my absolute go-to for this recipe, hands down. They have the highest starch content, which means when you soak and dry them, the exterior gets super craggy and crisp while the inside turns beautifully fluffy. If you try using Yukon Golds, they’ll be creamier, but you won’t get that diner-style crispiness we are aiming for.
What about oils? We insist on avocado oil because it can handle the high heat needed for that great sear. If you don’t have that, canola or grapeseed oil will work just fine. However, please, please don’t try to use olive oil in the initial crisping stage unless you lower your heat significantly. You want everything to brown, not burn!
As for the spices, feel free to adjust the salt and pepper to your taste, but don’t skip the onion and garlic powder. They toast up in the oil beautifully and give these Easy Breakfast Potatoes Recipe its signature flavor base.
How to Prepare Quick Breakfast Potatoes Using the Skillet Method
Okay, if you need those perfect, golden potatoes quickly—maybe for a busy weekday brunch or just because you can’t wait to eat—the skillet method is your superhero. This is how we make those satisfying, Diner Style Potatoes right on the stovetop! The absolute key here, and I mean *the* most important thing, is heat management.
Get your big, heavy-bottomed skillet—cast iron is absolutely the best friend you’ll find in that drawer—hot over medium-high heat. You want it hot enough that the oil shimmers a little, but not so hot that it smokes the second you drop the seasoned potatoes in. We need to create a fantastic crust.
Spoon always watches intently during this first stage. He says there’s nothing better than hearing the sizzle when those starchy cubes finally hit the heat. Spread them out so they form a single layer; do not stack them! If you overcrowd the pan, they end up steaming, and we want crisp, remember? Let them sit undisturbed for five to seven minutes. You have to trust the process and resist stirring!
After that first glorious gold crust forms, go ahead and stir them gently, spread them back out, and cook for another five to seven minutes on the second side. Then, reduce the heat to medium-low, pop a lid on, and let them steam/cook through for about five to ten minutes until they’re tender all the way through. Serve these beauties immediately alongside some eggs and maybe even our amazing breakfast tacos!
Mastering Oven Roasted Breakfast Potatoes for Hands-Off Cooking
Now, if you’re making a huge spread for the family or just don’t want to stand over a hot skillet when you could be sipping your coffee, the oven method for our Oven Roasted Breakfast Potatoes is your ticket. This is my preferred way when we have company over on the weekends—it’s so much easier for making big batches of Weekend Breakfast Ideas!
First things first: preheat that oven until it is screaming hot at 425°F (that high heat is crucial for crispiness!). Spread your perfectly seasoned, oil-coated potato cubes onto a large, rimmed baking sheet. Now, listen carefully: do not crowd the pan! Seriously, if they are piled on top of each other, they will bake instead of roast, and we want crispiness, not mush. If you need to, grab a second sheet pan. That’s what I do every time!
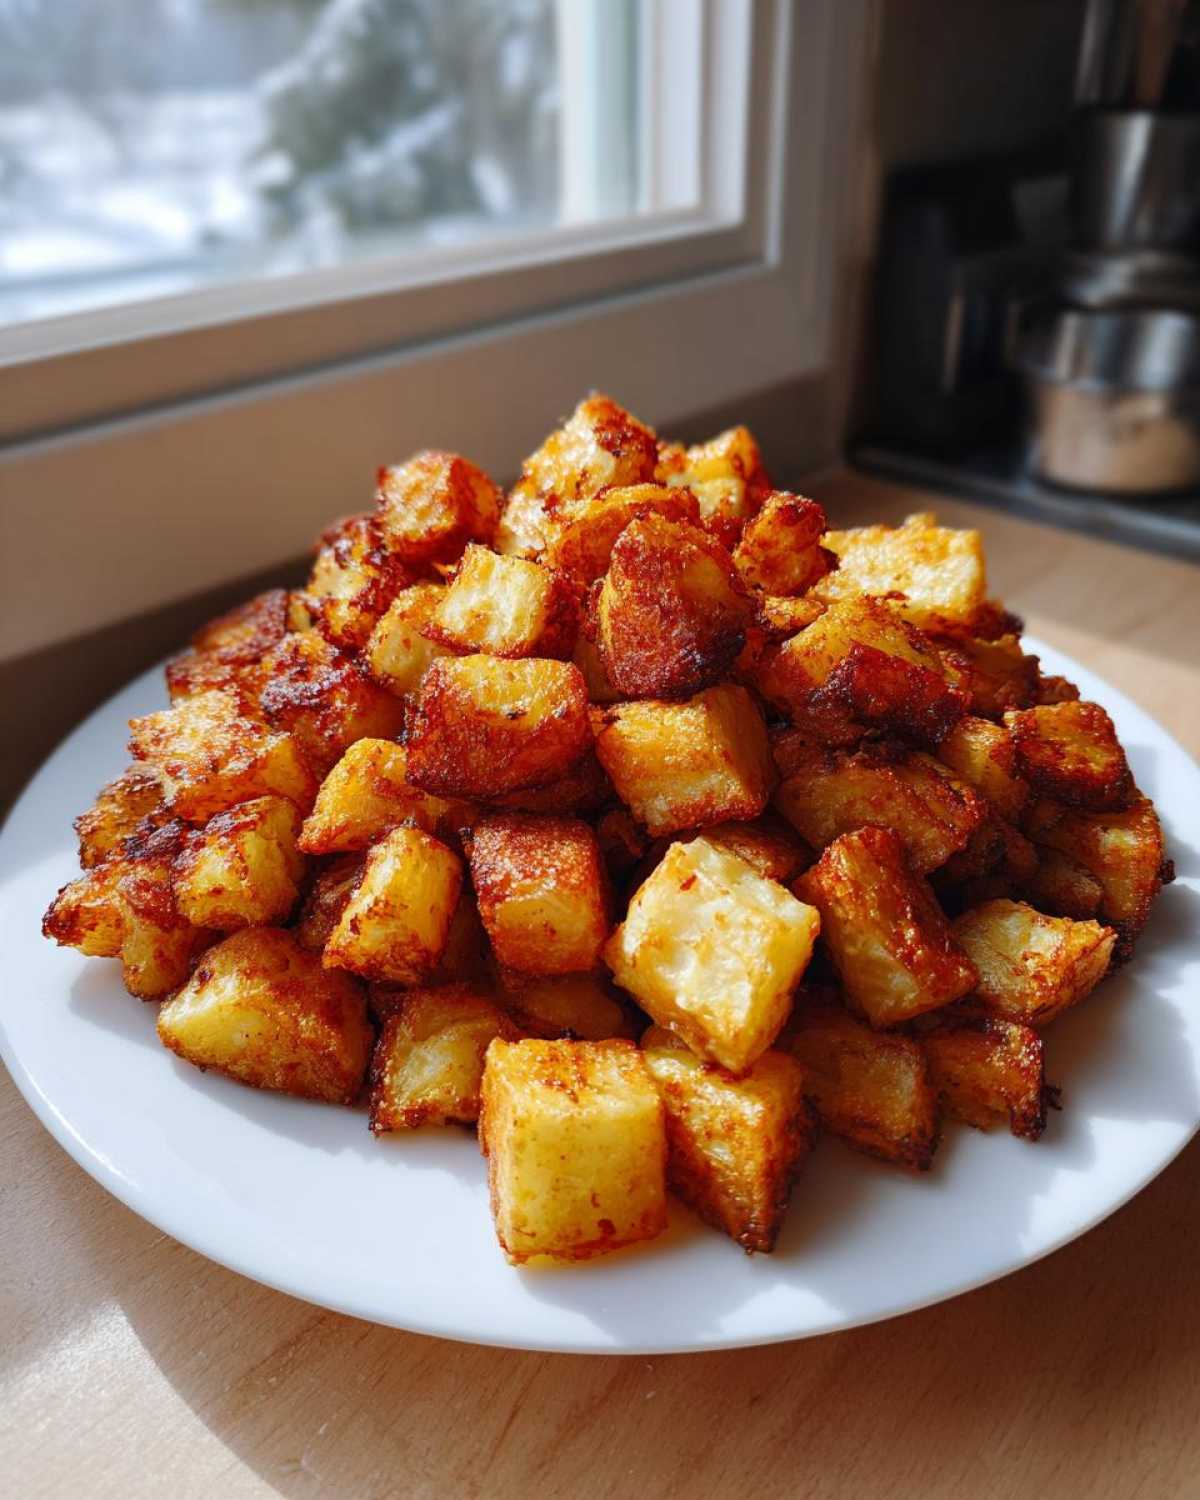
They roast for about 20 minutes before you pull them out to flip them. Flip them gently so you get that second side golden brown. Back into the oven they go for another 15 to 20 minutes until they are crackly and perfect. You can see how these compare to another favorite roasted side of mine, the sweet potato breakfast hash. For another take on achieving ultimate crispiness, check out the tips from Daily Kitchen Dose!
Variations: Making Air Fryer Breakfast Potatoes
I know, I know, not everyone has room for another gadget in their life, but if you happen to have an air fryer hanging around, you absolutely have to try these Air Fryer Breakfast Potatoes! Honestly, I fought Jun on getting one for ages, but I have to admit, this little machine is fantastic for making small batches of crispy sides, fast.
The air fryer excels at drying out the surface of the potato quickly, which is exactly what we want for that wonderful crunch. The setup is basically the same as the oven method, but faster. Make sure your seasoned potatoes aren’t touching each other too much inside the basket, or you’ll get soft spots. I usually work in two batches so they have room to breathe!
Set your air fryer to 380°F (about 195°C). Cook them for about 15 to 20 minutes total. You’ll want to shake the basket halfway through—around the 8-minute mark—to flip them so both sides get that golden glow. They come out perfectly golden and fluffy inside so quickly. If you want to see someone else’s take on using this method, check out the air fryer masters over at What Molly Made!
Tips for Success with Your Breakfast Potatoes Recipe
Look, even the best recipes can sometimes end up a little disappointing if the technique isn’t quite right. I know Jun has blamed me more than once for soggy hash browns when really, we just rushed the drying process! I want to make sure you avoid all those little traps so you get truly amazing, restaurant-quality sides every morning.
Here are the absolute must-dos to guarantee crispy breakfast potatoes without fail:
First, we need to talk about the pan for the skillet method. If you are cooking these stovetop, you simply must use a cast-iron skillet if you have one. It retains heat so much better than thinner pans. That heavy, consistent heat is what creates that immediate sear and that wonderful crust. Don’t rush getting the pan hot before adding the oiled potatoes!
Second, never, ever skip the drying step after soaking or parboiling. I mean it! Water is the enemy of crispiness. Use a clean, lint-free kitchen towel and really work those potatoes until they feel dry to the touch. If you’re in a hurry, you can blot them with paper towels, but trust me, a good kitchen towel works so much better at pulling off that surface moisture.
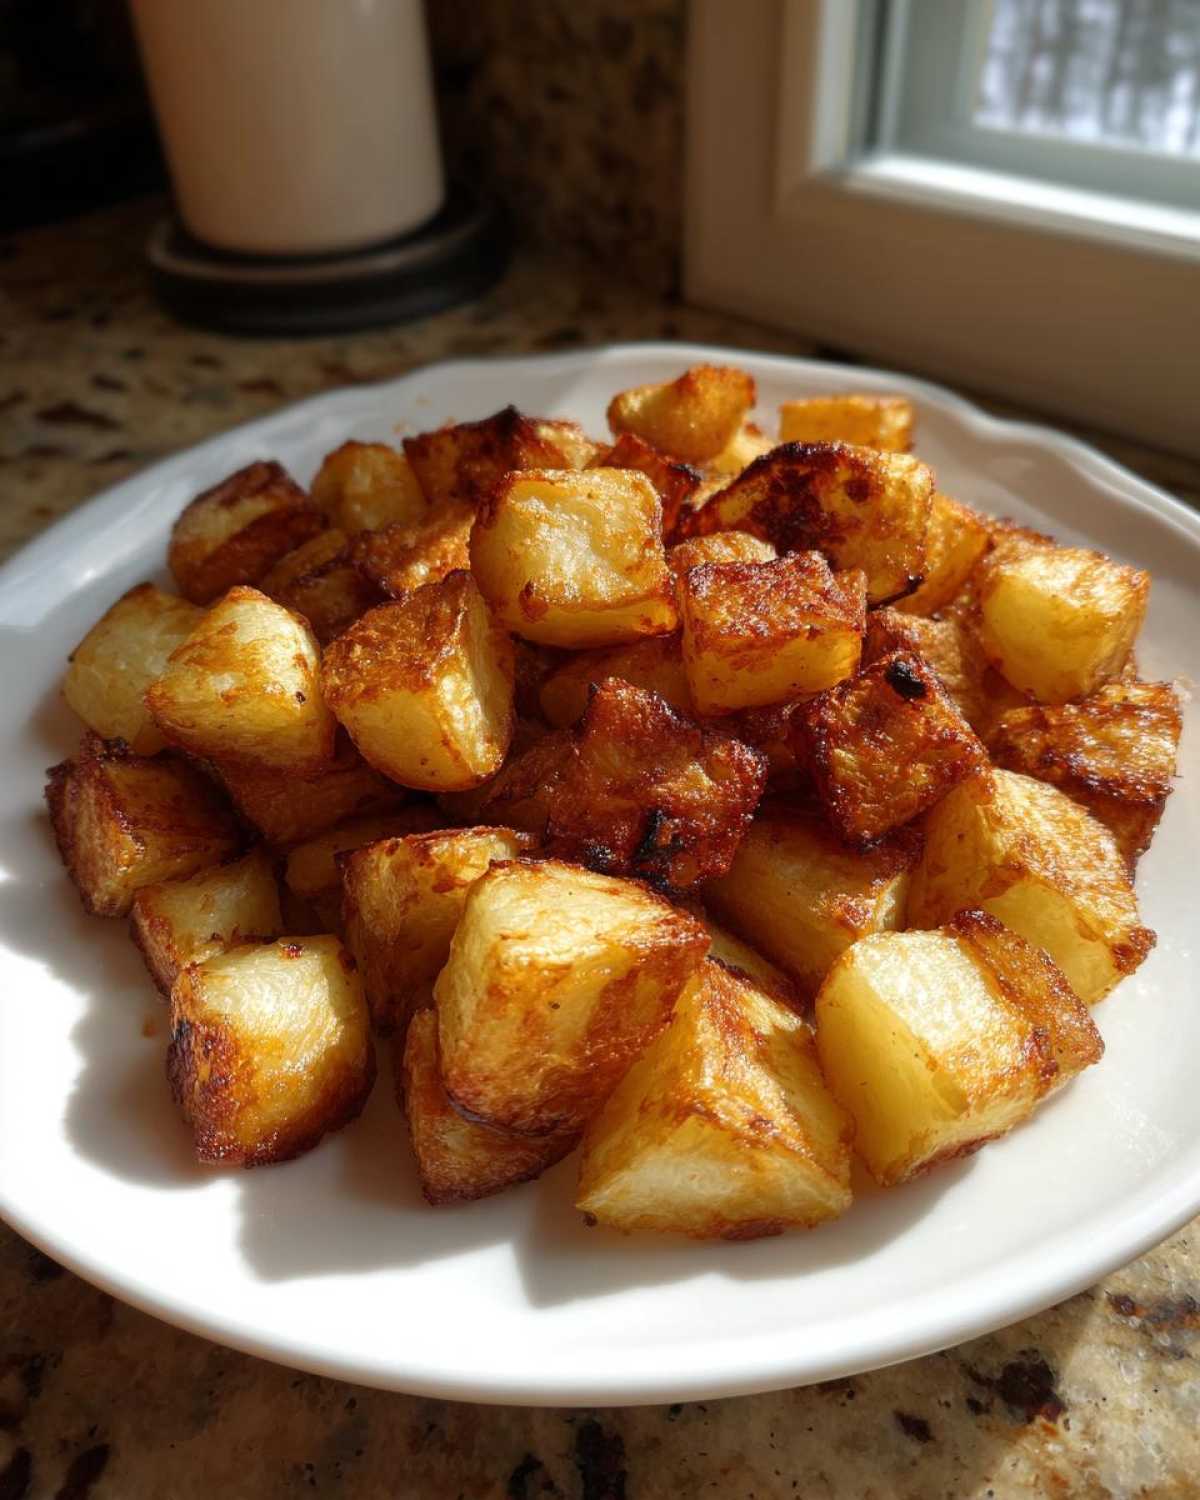
Also, remember that high heat is your friend initially, but you need to back off! If the heat stays too high once the potatoes are browned, the outside will burn before the inside cooks through. That’s why we reduce the heat and cover them for that last stretch—it steams the inside tenderly while the outside stays crunchy. These little tricks are similar to the principles I use when making our hash brown waffles!
If you’re interested in other expert ways people guarantee crispy edges, the folks at Kitchen User have some fantastic insights, too. Happy cooking, and let me know when you achieve that perfect golden crunch!
Serving Suggestions for Your Crispy Breakfast Potatoes
Now that you’ve mastered the art of the perfect crunch, the next logical question is: what do we eat them with? These Side Potato Recipes are so versatile, they can anchor almost any meal, even if it’s not strictly breakfast!
Of course, the classic pairing is eggs, right? Scrambled, fried—it doesn’t matter. These potatoes are the perfect bed for two runny yolks that melt right into the crevices. But don’t stop there! They are fantastic alongside savory sausage links or some maple-glazed bacon. This is how we elevate a simple Sunday brunch into something truly special.
If you’re looking for something a little more unified, try folding them into a hash. Once these Seasoned Breakfast Potatoes are cooked through and crispy, just toss them back into the skillet with some sautéed onions, bell peppers, and maybe some crumbled chorizo. It instantly becomes a hearty, rustic meal. We often do this for dinner when we want a Quick Breakfast Potatoes fix!
For something a little different, I love serving these alongside my spinach and feta breakfast pinwheels. The salty, savory crunch of the potatoes really balances the creamy tang of the cheese filling. They are honestly the perfect foundation for almost anything you pull out of the fridge for an impromptu meal!
Storage and Reheating Instructions for Leftover Breakfast Potatoes
Oh, this is a really important one! Leftover breakfast potatoes? Yes, please! I always make a double batch just so I can have them for breakfast the next day. But the trick—and trust me on this—is how you handle the leftovers. If you just toss them in a plastic container and stick them in the fridge, they are going to turn sad and soggy overnight. We can’t have that after all the effort we put into getting them crispy!
First, you have to let them cool down completely after you cook them. Seriously, don’t put hot food right in the fridge; it traps steam and ruins the crunch factor. Once they are totally cool, layer them between sheets of paper towels in an airtight container. This helps absorb any residual moisture that tries to creep back in. They keep nicely in the fridge for three or maybe four days. When we have leftovers from a big brunch, Jun often uses them later in the week to stuff into his quick lunch wraps, just like how I repurpose our enchiladas here.
Now, for reheating: you absolutely, positively must avoid the microwave if you value crispiness. The microwave steams them instantly, and you’ll be back to limp potatoes! The best way to bring these back to life and maximize that golden exterior is to use dry heat. I highly recommend giving them 5 to 10 minutes in a 400°F oven, or tossing them into the air fryer basket at 375°F for just 4 minutes. They crisp right back up, and they taste almost exactly like they did the first time around. That little bit of effort is totally worth saving yourself the time of starting over!
Frequently Asked Questions About Breakfast Potatoes
I know sometimes you just need a quick answer when you’re standing in the kitchen looking at the potatoes wondering what to do next. We get asked so many great questions about whipping up the perfect batch of breakfast potatoes, so I gathered the most common ones here for you. Whether you’re planning a big brunch or just need a quick side, hopefully, this clears things up!
We cover everything from the best potato choice to how to prep them for that amazing crunch. If you’re looking for more inspiration on simple sides, you can check out Jun’s favorite simple potato recipes!
Can I make these breakfast potatoes ahead of time?
Oh yes, you absolutely can make Make Ahead Breakfast Potatoes! This is a lifesaver for busy mornings. The trick is to stop right before the final cooking stage. You can dice them, soak them (or even parboil them!), dry them thoroughly, and then store them, uncooked and seasoned, in the fridge for up to two days. Make sure they are sealed well. When you are ready to eat, just jump straight into the high-heat skillet step or roast them in the oven—you might need to add just a couple of extra minutes to the cooking time since they are starting cold.
What is the best potato type for crispy breakfast potatoes?
If you want truly Crispy Breakfast Potatoes that manage to stay fluffy inside, stick with Russet potatoes. These are fantastic because they have a very high starch content. When you soak or parboil them, that starch washes off easily, leaving you with a rougher exterior texture that crisps up beautifully when it hits the hot oil or baking sheet. Yukon Golds are yummy, but they are too waxy; they tend to steam and end up creamy instead of crunchy.
How long can I soak the potatoes?
Fifteen minutes of soaking in cold water is usually enough to release enough surface starch for great crispiness, especially if you dry them really well afterward. If you’re boiling them, five minutes is plenty—you want them barely tender, not soft all the way through. Any longer than 20 minutes of soaking time, and you risk the potato absorbing too much water, which can make them gummy rather than golden.
Can I use these for potato hash too?
Absolutely! These Seasoned Breakfast Potatoes are basically a perfect base for Potato Hash. Once they are fully cooked and crispy, just return them to a hot skillet, toss in some chopped onion and peppers, and maybe some leftover meat if you have it. A beautiful, hearty hash is ready in minutes!
PrintUltimate Crispy Breakfast Potatoes: Fluffy Inside, Golden Outside

Learn the simple technique to make the best breakfast potatoes that are perfectly crispy on the outside and fluffy inside. This easy recipe works well in a skillet or the oven.
- Prep Time: 10 min
- Cook Time: 25 min
- Total Time: 35 min
- Yield: 4 servings
- Category: Side Dish
- Method: Skillet or Oven Roasting
- Cuisine: American
- Diet: Vegetarian
Ingredients
- 2 lbs Russet potatoes, scrubbed and diced into 1/2-inch cubes
- 3 tablespoons avocado oil or other high-heat oil
- 1 teaspoon kosher salt
- 1/2 teaspoon black pepper
- 1/2 teaspoon garlic powder
- 1/2 teaspoon onion powder
- 1/4 teaspoon smoked paprika
- Pinch of cayenne pepper (optional, for a little kick)
Instructions
- Prepare the potatoes: Dice the potatoes into even 1/2-inch cubes. For extra crispiness, soak the diced potatoes in cold water for 15 minutes. Drain them completely and pat them very dry with a clean kitchen towel. This step removes starch and helps them crisp.
- Season: In a large bowl, toss the dry potatoes with the avocado oil, salt, pepper, garlic powder, onion powder, smoked paprika, and cayenne pepper until evenly coated.
- Skillet Method (Quickest): Heat a large, heavy-bottomed skillet (cast iron works best) over medium-high heat. Add the seasoned potatoes in a single layer, avoiding overcrowding. Cook for 5-7 minutes without stirring until the bottom side is deeply golden brown and crispy.
- Flip and continue cooking: Stir the potatoes gently, spreading them back into a single layer. Cook for another 5-7 minutes until the second side is browned. Reduce heat to medium-low, cover the skillet, and cook for 5-10 minutes more until the potatoes are tender when pierced with a fork.
- Oven Method (Hands-Off Crisp): Preheat your oven to 425°F (220°C). Spread the seasoned potatoes in a single layer on a large, rimmed baking sheet. Do not overcrowd the pan; use two sheets if necessary.
- Roast: Bake for 20 minutes. Remove the pan, flip the potatoes, and return to the oven for another 15-20 minutes, or until they reach your desired level of golden crispiness.
- Serve immediately alongside your eggs and bacon for the best breakfast experience.
Notes
- For the fluffiest inside, try parboiling the diced potatoes in salted water for 5 minutes before seasoning and cooking. Drain and dry them thoroughly before adding oil.
- If you are making a large batch for a crowd, the oven method is easier to manage than the skillet method.
- These seasoned breakfast potatoes are a great side for any meal, not just breakfast.
Nutrition
- Serving Size: 1/4 of recipe
- Calories: 280
- Sugar: 1
- Sodium: 350
- Fat: 12
- Saturated Fat: 1.5
- Unsaturated Fat: 10.5
- Trans Fat: 0
- Carbohydrates: 40
- Fiber: 4
- Protein: 4
- Cholesterol: 0