

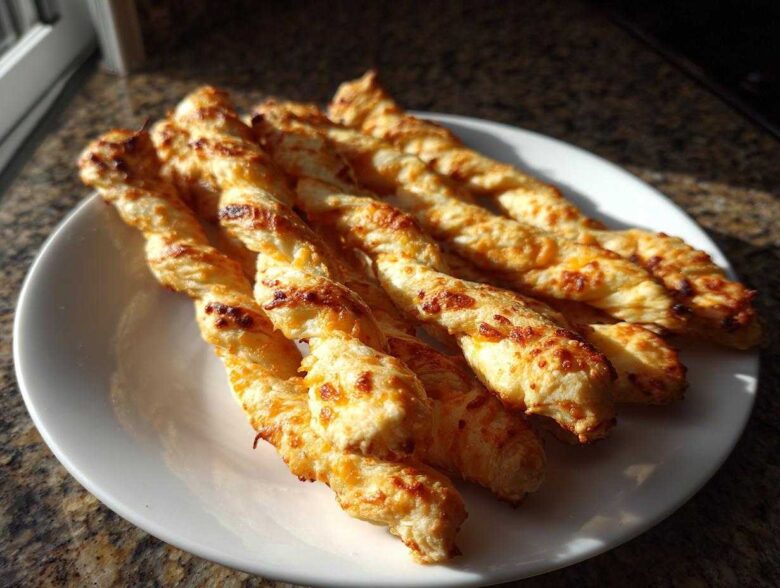
Oh, my heart! You know how some snacks just vanish the second you put them out at a party? That’s the magic of cheese straws. Spoon and I have seen rooms full of people stop mid-conversation just for one of these golden, savory bites. I’m telling you, getting that perfect crunch is an art, but I’ve finally unlocked the very best cheese straws recipe for you. This isn’t some flimsy puff pastry thing; this is the real deal—classic, crispy Southern cheese straws that taste like pure comfort and sharp cheddar love. I remember setting a platter of these out at a church social years ago, and they were gone before I could even pour myself a glass of sweet tea. They hold a deep, buttery root in our family’s baking history!
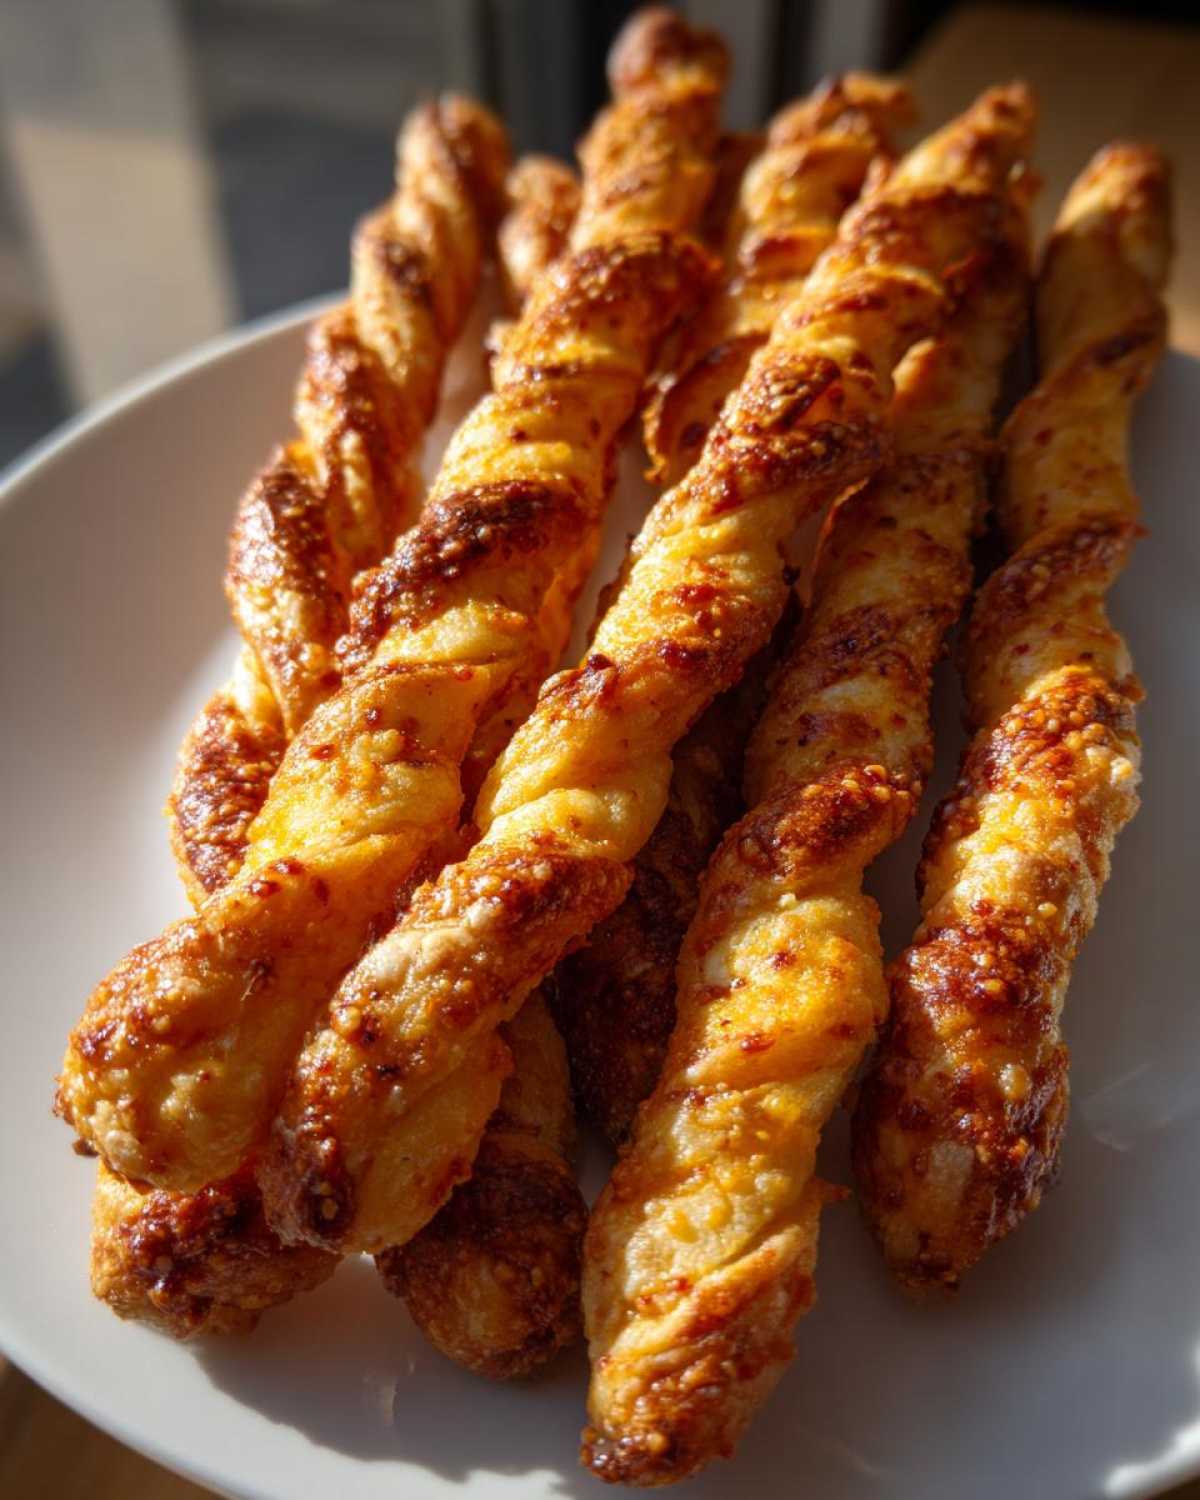
Why This cheese straws recipe Delivers the Best Southern Cheese Straws
Listen, when Spoon and I talk about the best cheese straws recipe, we mean serious, crunchy flavor. A lot of lighter recipes out there just don’t have the necessary backbone—they’re too fragile! What sets this savory bake apart is our commitment to richness and technique. We use a heavy hand with sharp cheddar cheese because you need that strong, buttery flavor to shine through. And cold butter? That’s non-negotiable! It’s the secret weapon we use to ensure these taste authentically Southern every single time.
Achieving Maximum Crispiness in Your cheese straws recipe
If you want crispy cheese straws, you’ve got to treat the dough right. Seriously, don’t even think about skipping the preheat step—get that oven blazing hot at 400°F! Also, when you roll it out, make sure it’s thin, about 1/8-inch thick. If it’s too puffy, it steams instead of crisping up. Keeping all those butter pieces cold right until they hit the flour is what causes those flaky layers once they bake. Trust me, a little extra effort here guarantees that perfect snap.
Gathering Ingredients for Your Homemade cheese straws recipe
Now for the fun part—gathering our supplies! When we talk about making the best cheese straws recipe, the quality of your ingredients really shows through, especially since there’s nowhere to hide! You must use two full cups of sharp cheddar cheese, and please, shred it yourself! You also need two sticks of very cold unsalted butter, cut into little cubes, because that cold fat is vital for our texture. Don’t forget the little kick from the cayenne pepper and black pepper to give the dough some spice!
Ingredient Notes and Substitutions for Savory Snacks
If you want to make your savory snacks even more interesting, I highly recommend swapping out about half of that sharp cheddar for some good Parmesan cheese. That adds a wonderful salty depth! Spoon even sneaks in a teaspoon of dry mustard powder sometimes—it just amplifies that cheesy flavor without tasting like mustard. But honestly, sticking to sharp cheddar means you get that strong, unapologetic cheddar punch these easy cheese straws are famous for!
Step-by-Step Instructions for the Perfect cheese straws recipe
Alright, here’s the breakdown! Making these cheese straws recipe is less about following rigid steps and more about feeling the dough come together. First thing, get that oven warming up to 400°F; we need it hot! When you mix the dry stuff, you’ve got to be careful cutting in that cold butter. Keep working it until it looks exactly like coarse, pebbly crumbs. That’s when you know you’ve done the hard work correctly. Stir in that sharp cheese like you’re giving it a gentle hug, then add your liquid mix. We’re aiming for a stiff dough here, no soft, sticky messes allowed!
Mixing the Dough for Easy Cheese Straws
When you mix, your goal is just to bring everything together—this is where toughness creeps in if you aren’t careful! Cut that cold butter into the flour mixture until it truly looks like chunky sand or coarse crumbs. Then, fold in that shredded cheddar; don’t beat it! When you add the egg and water mixture, only combine it until a stiff dough barely clumps up. If you overmix, you develop gluten, and suddenly your easy cheese straws turn into chewy sticks. We want delicate, tender, cheesy bites, not tough breadsticks!
Shaping and Twisting Your Crispy Cheese Straws
Now for the fun, slightly fiddly part that gives them that classic Southern look! You need to roll that firm dough out thin—I mean really thin, about 1/8-inch thickness. Cut your strips about half an inch wide and maybe four or five inches long. For the perfect look, gently take one strip and give it a single little twist right in the middle before popping it onto your baking sheet. This little twist helps them brown unevenly and ensures they look just like the ones Mother used to serve at parties—beautifully crinkled and ready to snap!
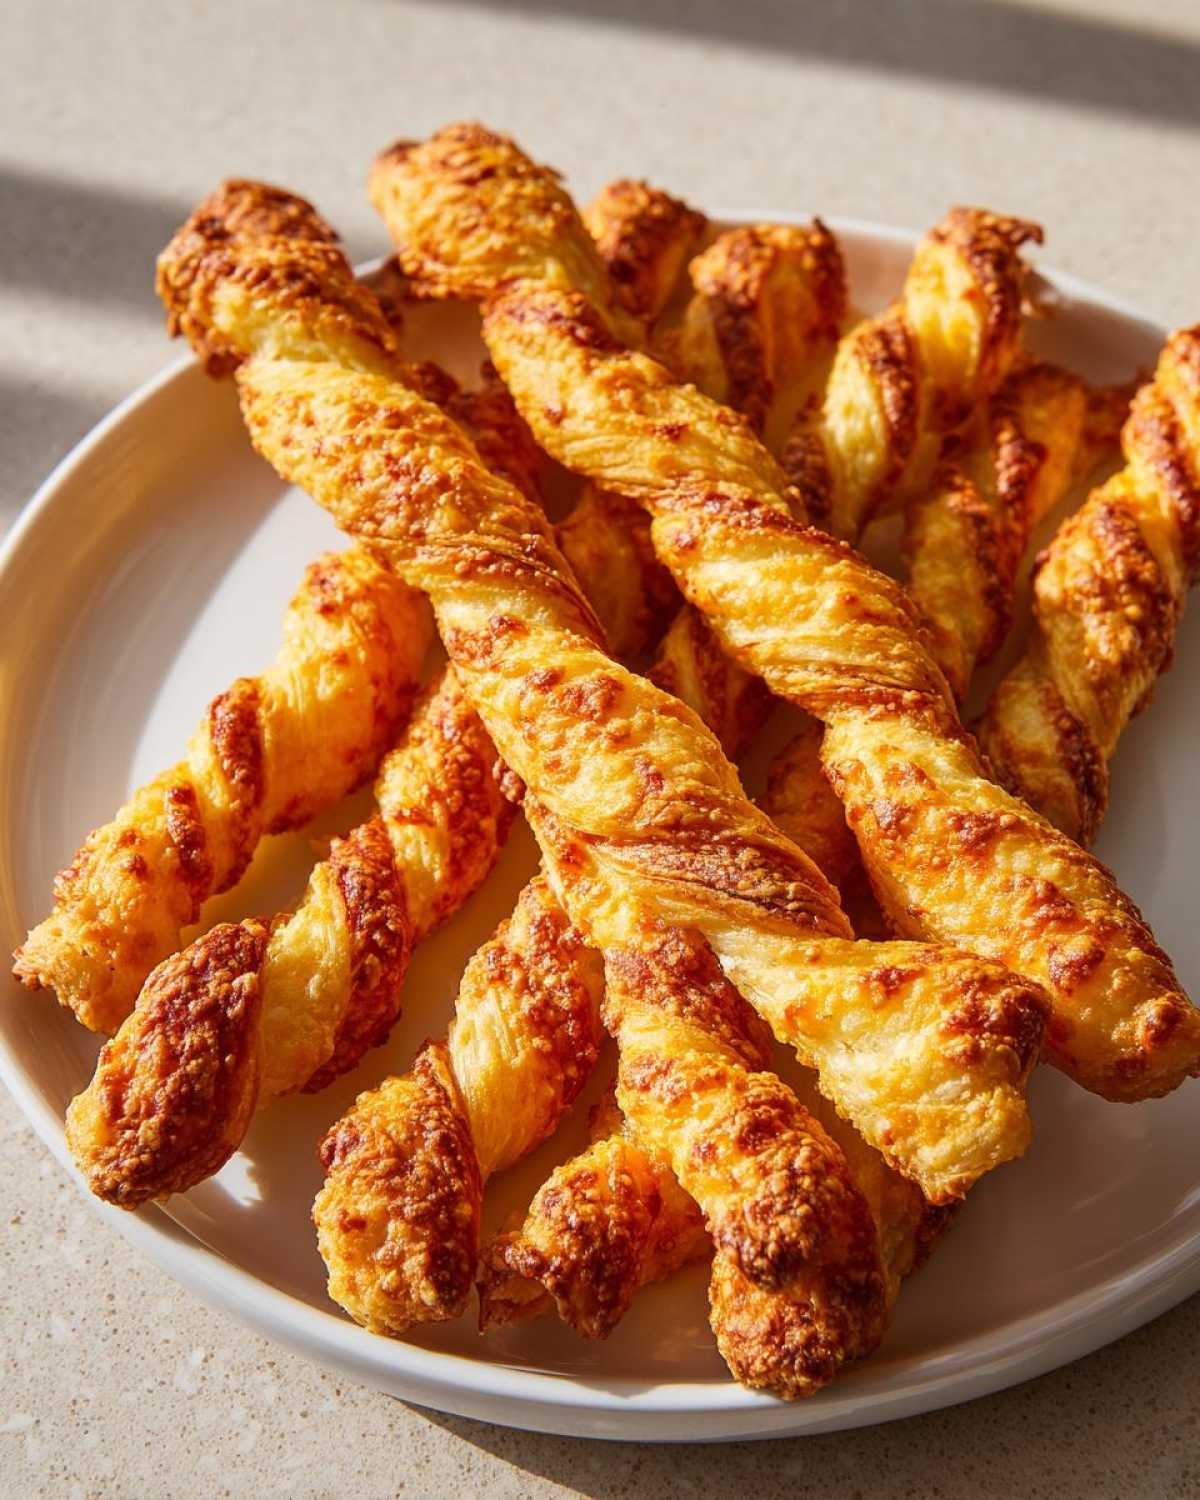
Baking Times and Cooling for Golden cheese straws recipe
Once you’ve twisted those beautiful strips, get them straight into that screaming hot 400°F oven! These cheese straws recipe elements bake quickly, usually just about 10 to 12 minutes. You’re looking for that gorgeous deep golden brown color—that’s how you know they’re done and crispy inside. But here’s the tip that builds your trust: Don’t touch them immediately! Move them right onto a wire cooling rack. I know, I know, you want to sneak one, but they need that air circulation underneath, or they’ll steam themselves soft. They firm up and get truly crisp as they cool down!
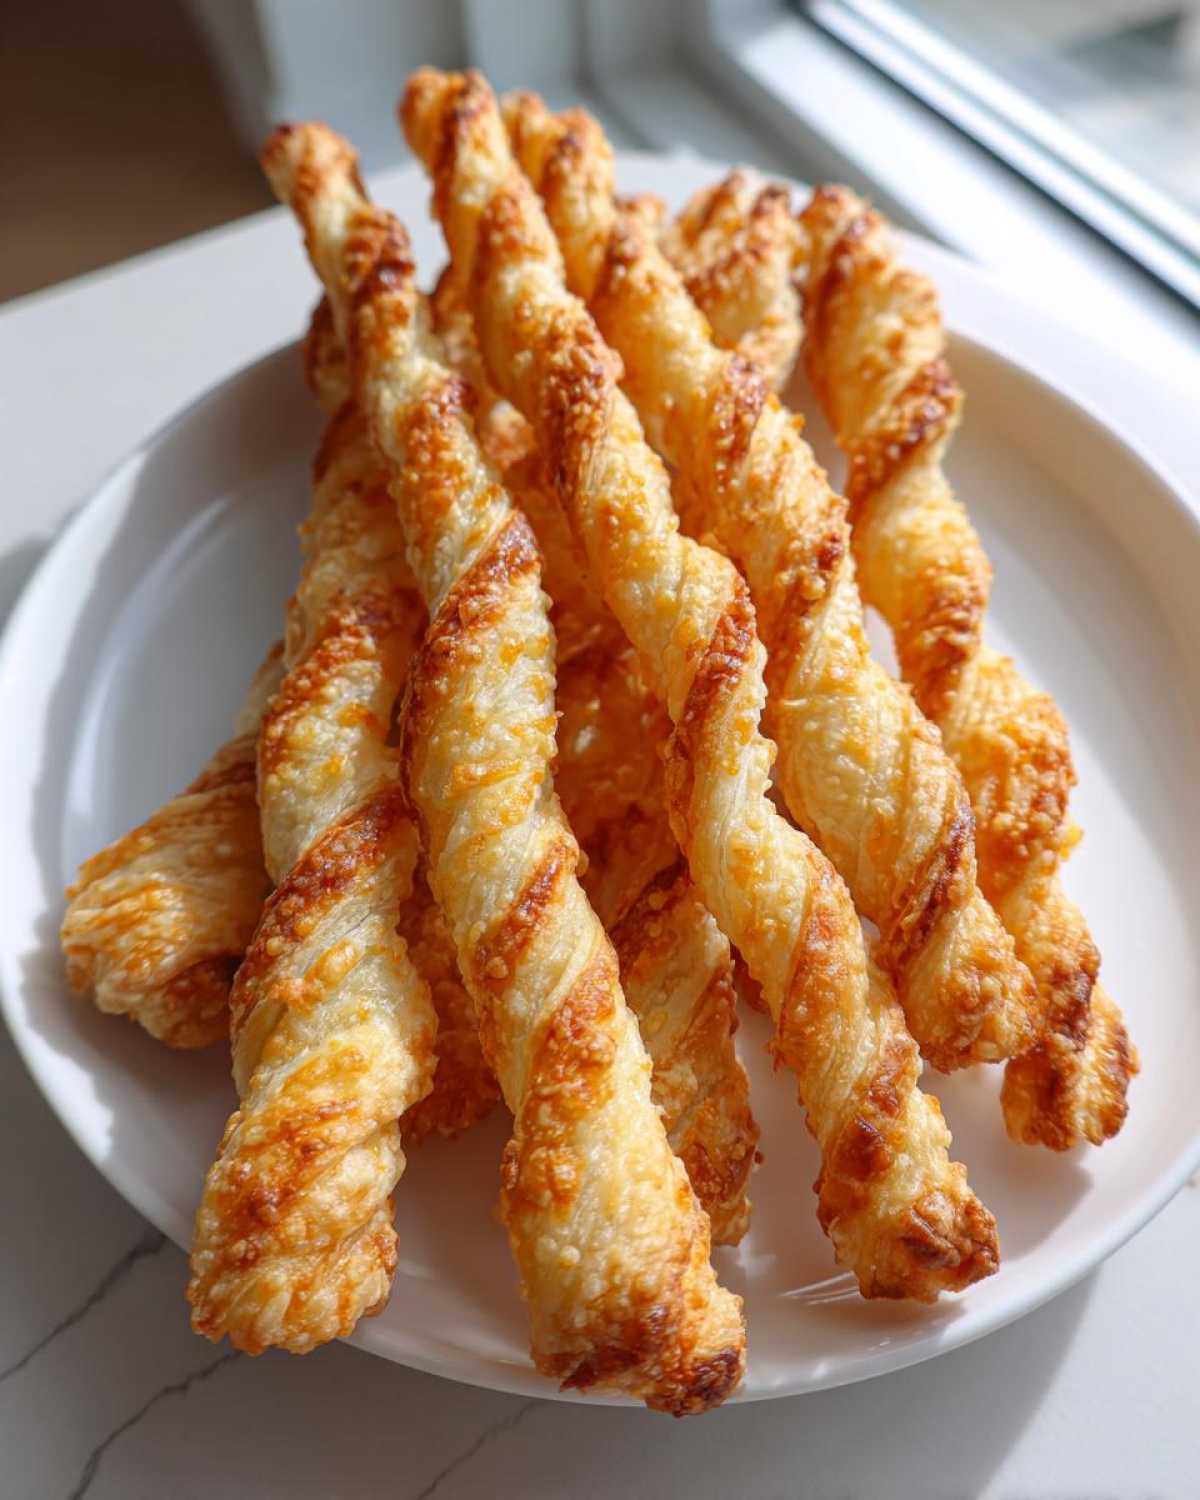
Tips for Making the Best Cheese Straws for Parties
When I’m prepping for one of our big family gatherings, these cheese straws for parties always, always make the list. They are the quintessential savory snack! Here’s my best advice: you can absolutely make the dough ahead of time! Just wrap it up tightly and pop it in the fridge for up to two days. It keeps the butter nice and cold, which is key for that crispy texture when you finally roll them out. When you serve them, they are divine alongside a glass of white wine or even crushed over a warm bowl of creamy tomato soup. Don’t forget to check out how others make their favorites over at House of Nash Eats!
Storage and Reheating Instructions for cheese straws recipe
Once these lovely babies are completely cool, you need to treat them gently! Store your finished cheese straws recipe treats in an airtight container. If, heaven forbid, they sit out too long and get a little soft—we’ve all been there—don’t panic! Just spread them on a baking sheet and pop them back into a low oven, maybe 300°F, for about five minutes. That little trip heats them up and dries them out just enough to bring back that magnificent snap you love.
Creative cheese straws variations: Beyond Cheddar Herb
While our main cheese straws recipe relies on that bold cheddar, the beauty of a good base dough means we can dress it up! I love playing around based on what I have growing in the garden or in the spice rack. For starters, don’t forget the cayenne we put in the dough—that’s our built-in heat source! But if you want something truly elegant for a grown-up gathering, try leaning into the cheese straws variations.
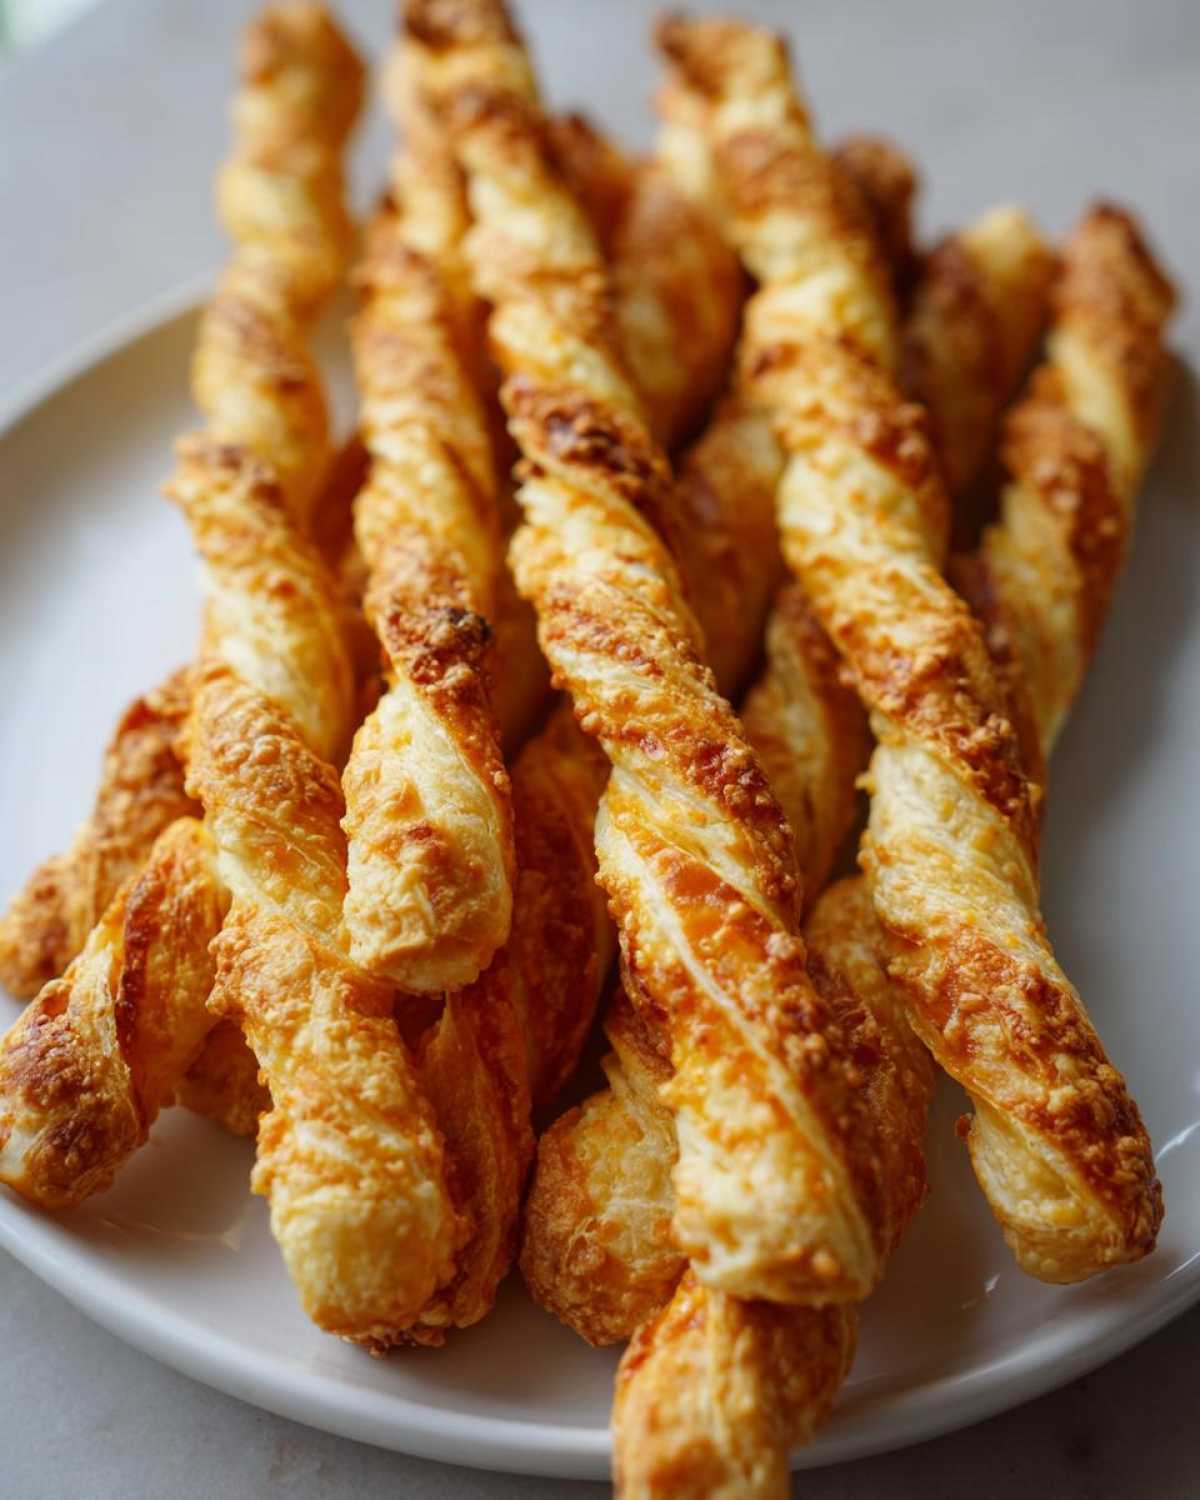
Rosemary Parmesan straws are magnificent; just swap half the cheddar for Parmesan and mix in finely chopped fresh rosemary with the flour. The fragrant pine smell is incredible! You can also experiment with a pinch of dried thyme or smoked paprika for a totally different vibe. It all starts with keeping that dough cold and thin, no matter what additions you make!
Serving Suggestions for These Savory Finger Foods
Honestly, these little bites, these savory snacks, are the perfect accompaniment to nearly everything! They fly off the platter when they are served as party appetizers. Spoon always insists we make a double batch because they disappear so fast at gatherings. They are amazing simply served alongside a chilled glass of Moscato or a crisp gin cocktail—the salty, buttery crunch just balances the drink so well.
But don’t just limit them to cocktail hour! I often crumble a few of these over a creamy bowl of tomato soup instead of crackers. That extra layer of cheesy texture makes dinner feel way more special. They look beautiful scattered across a charcuterie board too, nestled right next to some salty olives or sliced apples. They just make everything look festive and delicious!
Frequently Asked Questions About Making cheese straws recipe
I always get so many questions when people see these little golden sticks—I swear, they vanished before I could even explain how easy they are! Here are the things I hear most often about nailing this cheese straws recipe, especially if you’re aiming for that classic Southern crunch!
Can I use pre-shredded cheese for the cheese straws recipe?
Oh, please don’t! I know it feels like a time-saver with these easy cheese straws, but trust me here: it’s much better if you shred that sharp cheddar yourself right before you start. Pre-shredded cheese is coated in anti-caking agents, usually starch or cellulose, and that stuff fights against us creating that beautiful, flaky texture we want. It makes the dough a little grainy and stops the cheese from melting into those perfect little crispy edges!
What makes these southern cheese straws different from others?
That’s a fantastic question, and it taps right into the heart of tradition! What sets our southern cheese straws apart from the ones you might grab from the grocery store or even some fancy bakery versions is the base. A lot of modern recipes use puff pastry, which gives you flaky layers, sure, but it doesn’t give you that rich, buttery density from a proper shortbread-style dough. Plus, we rely on that mix of salt, pepper, and a dash of cayenne to give them the signature subtle kick that defines the authentic Southern experience!
How long do homemade cheese straws stay fresh?
This is the best part about homemade cheese straws—they have a wonderful shelf life if you treat them right! As long as they are completely cool before you store them, pop them into a good, airtight container at room temperature, and they should stay perfectly crisp for about three to four days. If the humidity in your kitchen is high, they might soften slightly. But Spoon taught me that a quick five-minute trip back into a low oven (like 300°F) will rebake that crispness right back into them!
Nutritional Estimates for This Savory Bake
I always feel a little funny sharing numbers because we cook with love, not spreadsheets! But for those of you tracking things, here are the estimates for one of these gorgeous, savory bake straws. We’re looking at about 75 calories each, with around 5.5 grams of fat. Now, remember, because we use real, high-quality sharp cheddar, these are definitely rich! These numbers are just a guideline, though, based on the ingredients listed, so your exact count might wobble a bit depending on the brand of butter or cheese you use. Enjoy them guilt-free!
Share Your Perfect cheese straws recipe Experience
Now that you’ve mastered the art of the crispy, buttery crunch, I genuinely want to hear all about it! Have these party appetizers managed to vanish as fast as ours do at a gathering? Please hop down below and leave a rating for this cheese straws recipe. Even better, if you snap a photo of your perfectly twisted golden straws, tag us! Spoon and I love seeing our family’s traditions come alive on your tables. Happy baking, my friends!
PrintCrispy Southern Cheddar Cheese Straws Recipe

Make these classic Southern cheese straws for a savory, crispy snack perfect for parties or casual gatherings. This easy recipe delivers buttery, cheesy flavor.
- Prep Time: 20 min
- Cook Time: 12 min
- Total Time: 32 min
- Yield: About 4 dozen
- Category: Appetizer
- Method: Baking
- Cuisine: American
- Diet: Vegetarian
Ingredients
- 2 cups all-purpose flour
- 1 teaspoon salt
- 1/2 teaspoon cayenne pepper
- 1/4 teaspoon black pepper
- 1 cup (2 sticks) cold unsalted butter, cut into small pieces
- 2 cups sharp cheddar cheese, shredded
- 1 large egg, lightly beaten
- 1 tablespoon cold water
Instructions
- Preheat your oven to 400°F (200°C). Line two baking sheets with parchment paper.
- In a large bowl, whisk together the flour, salt, cayenne pepper, and black pepper. This is the dry base for your savory bake.
- Cut in the cold butter using a pastry blender or your fingertips until the mixture resembles coarse crumbs.
- Stir in the shredded sharp cheddar cheese until evenly distributed.
- In a small bowl, mix the beaten egg with the cold water. Add this liquid mixture to the flour and cheese mixture. Mix until a stiff dough forms. Do not overmix.
- Divide the dough in half. On a lightly floured surface, roll out one half of the dough to about 1/8-inch thickness.
- Cut the dough into strips about 1/2-inch wide and 4 to 5 inches long. You can twist each strip once or twice for a classic look.
- Place the strips onto the prepared baking sheets, leaving a little space between them.
- Bake for 10 to 12 minutes, or until the cheese straws are golden brown and crisp.
- Transfer the crispy cheese straws to a wire rack to cool completely. They will crisp up more as they cool.
- Repeat with the remaining dough. Serve these homemade cheese straws as party appetizers.
Notes
- For extra flavor, you can add 1 teaspoon of dry mustard powder to the flour mixture.
- If you prefer a richer flavor, use all sharp cheddar. For a variation, try substituting half the cheddar with Parmesan cheese.
- You can prepare the dough ahead of time, wrap it tightly, and chill it for up to two days before rolling and baking.
Nutrition
- Serving Size: 1 straw
- Calories: 75
- Sugar: 0.1
- Sodium: 110
- Fat: 5.5
- Saturated Fat: 3.5
- Unsaturated Fat: 2.0
- Trans Fat: 0.1
- Carbohydrates: 4.5
- Fiber: 0.2
- Protein: 2.5
- Cholesterol: 15