

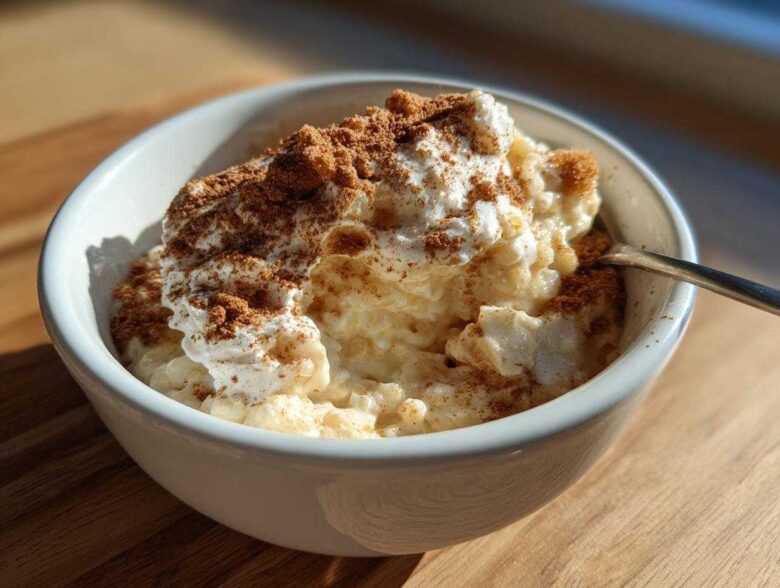
When the world outside feels a little too sharp and fast, my heart always leans toward simple, slow-cooked comfort. There’s nothing quite like finding that deep, soulful warmth in a bowl, and for me, that means this rice pudding. This recipe isn’t fancy—it’s the real deal, the kind that tastes like a hug from a very kind relative, which is why I call it The Ultimate Creamy Old-Fashioned Stovetop Rice Pudding. Mei remembers eating spoonfuls of homemade pudding made by her own grandmothers, and when I cook this up now, I feel that strong connection to tradition. Every slow stir brings back those quiet, food-filled memories we talk about over at Spoon & Sprout. Get ready for true comfort.
Why This Old Fashioned Rice Pudding Recipe is the Ultimate Creamy Dessert
Lots of recipes promise something special, but this old fashioned rice pudding delivers pure soul-soothing comfort every time. Why is it superior? It comes down to control, and that’s what the stovetop method gives us. When we make this dessert from scratch, we manage every single bubble and simmer, ensuring we don’t rush the process. This isn’t one of those quick, five-ingredient tricks; this is how you develop real depth. It’s the kind of dessert that wraps you up like a favorite blanket. For more stories from our kitchen, feel free to browse over on the Spoon & Sprout blog.
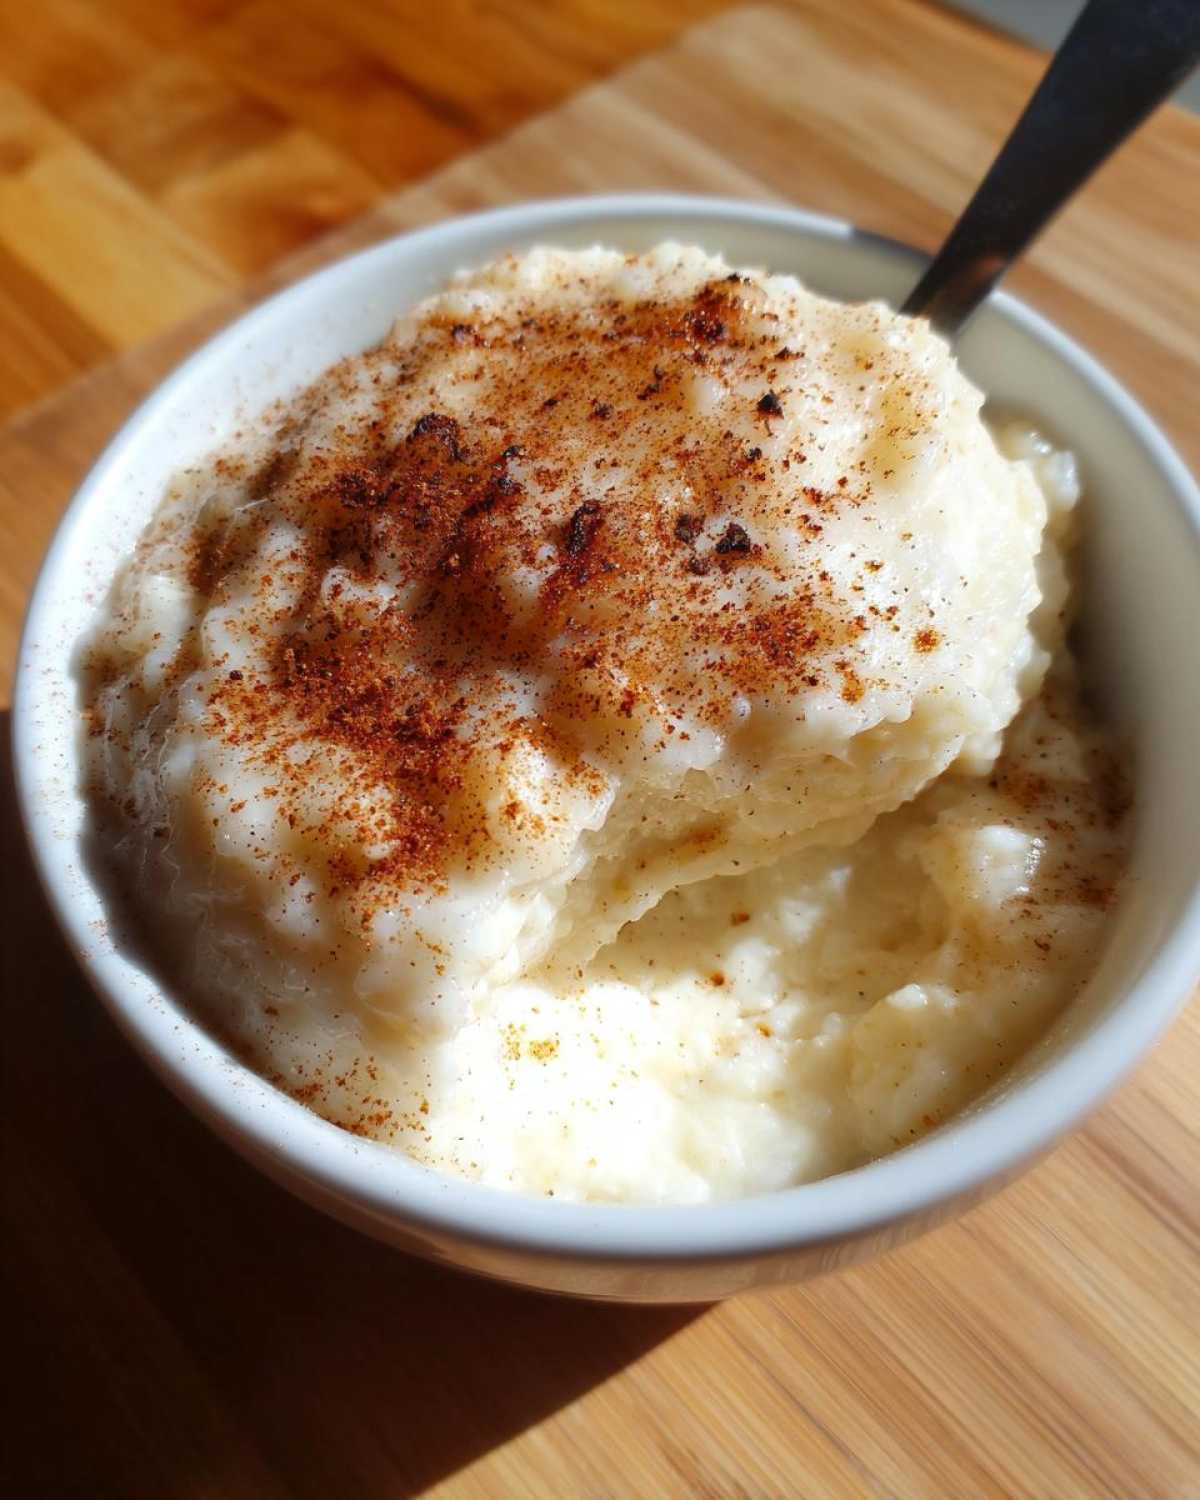
Achieving That Soul-Soothing Creamy Rice Pudding Texture
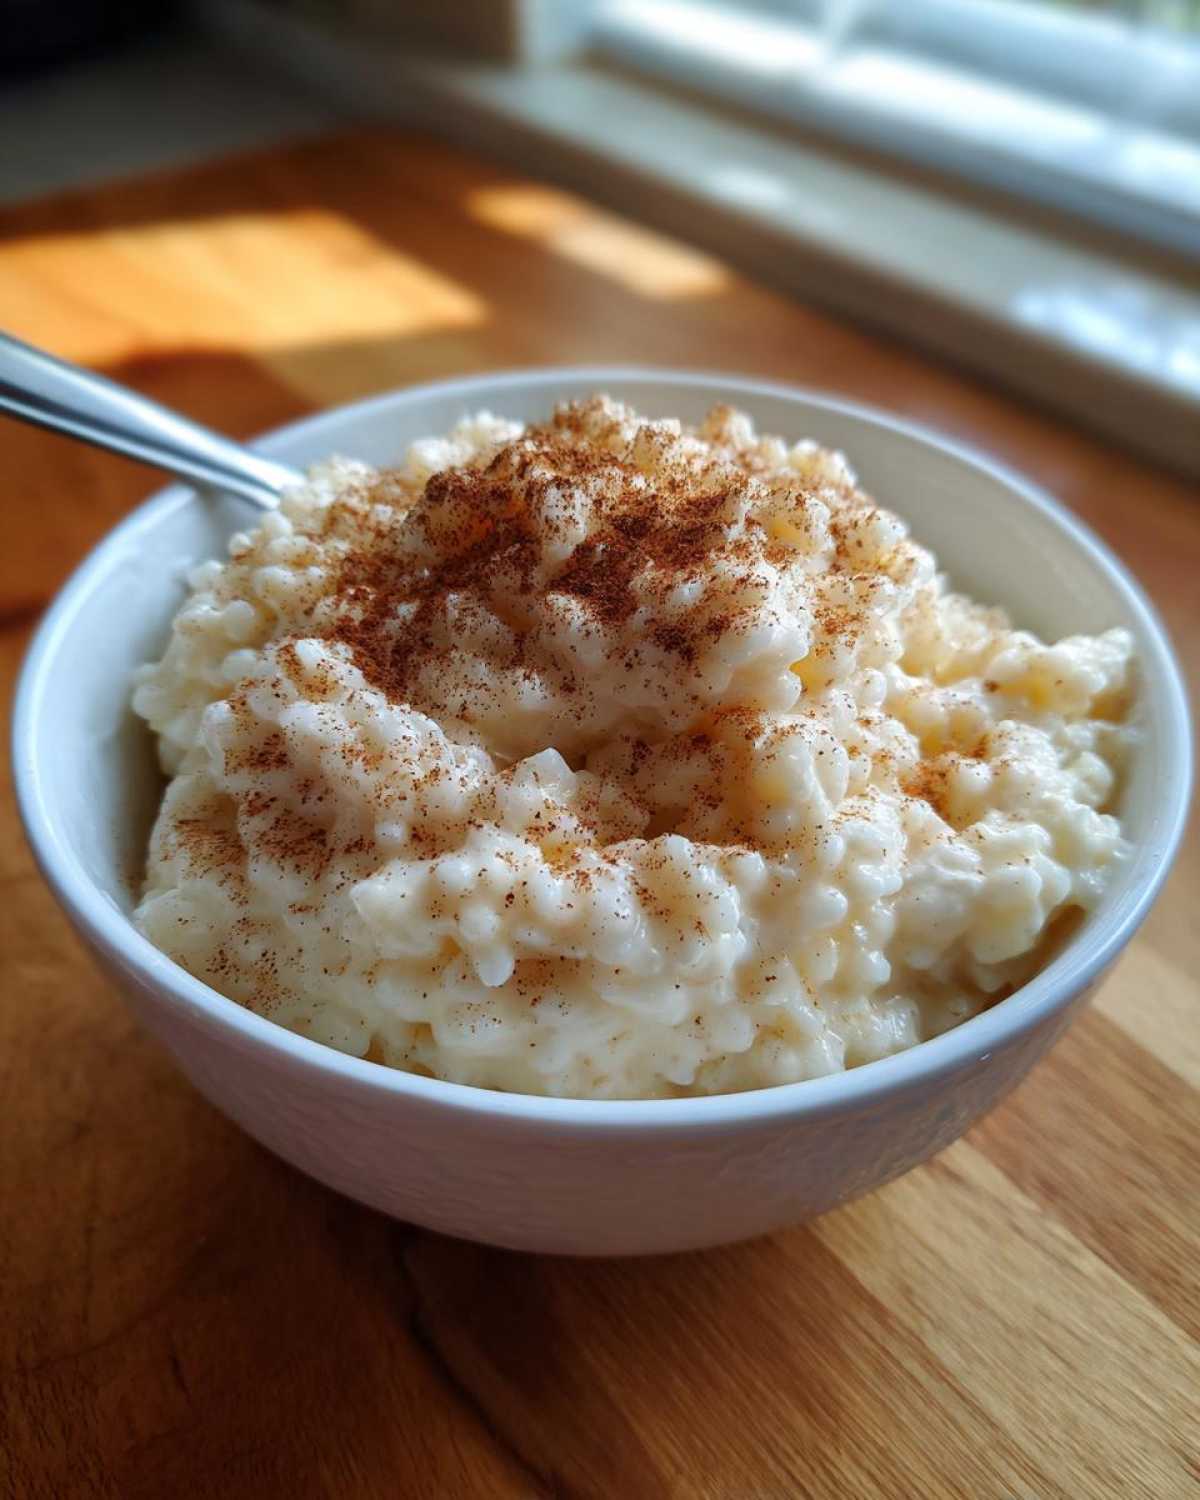
To make the ultimate creamy dessert, the magic lies in the starch. We absolutely must use short-grain rice, like Arborio, because those plump little grains release more of that beautiful, thick starch as they cook slowly in the milk. If you rush it by using high heat, you just end up with sticky rice bits floating in warm milk—not the goal! Low and slow simmering is the key to that velvety, spoon-coating texture that makes a truly great creamy rice pudding recipe.
Gathering Ingredients for Your Classic Rice Pudding
Before we even think about turning on the heat, we need to talk about what’s going into the pot. Remember, we are aiming for that deep, traditional flavor here, the kind that only comes from quality ingredients—no shortcuts allowed if you want the best rice pudding! The heart of this recipe is the rice itself. You absolutely need short-grain rice; Arborio, which you use for risotto, is my personal favorite because it breaks down perfectly and releases all that gorgeous starch. Medium-grain is fine too, but please, leave the long-grain for savory dishes!
The liquids matter just as much. You’ll notice the recipe calls for whole milk. Now, Mei always jokes that I judge people who buy skim for baking, but honestly, the fat content in whole milk is non-negotiable here. It’s what transforms this from a thin snack into a substantial, deeply satisfying dessert. Don’t try to skimp; that richness is half the battle won.
Ingredient Notes and Substitutions for Perfect Rice Pudding
If you’re wondering about dairy substitutions, I’d say use what the recipe calls for, but if you absolutely must lighten it up, use 2% milk, but know that the result will be notably thinner. You might have to cook it longer and stir even more often, which I really don’t recommend for your first batch! The vanilla and cinnamon are what give us that classic vanilla cinnamon pudding aroma that instantly takes you back home. If you want to bump up the flavor, try grating a tiny bit of fresh nutmeg into the mix along with the cinnamon. And yes, raisins are optional! If you love them, soak them in warm water for ten minutes first so they plump up nicely; otherwise, they’ll steal moisture from your beautiful pudding.
Step-by-Step Stovetop Rice Pudding Instructions
Alright, friends, this is where the patience Spoon always talks about really comes into play. Making incredible homemade pudding really relies on following these steps exactly, especially Step 1. If you nail this initial setup for your rice pudding, the rest flows beautifully.
First, grab your heaviest saucepan—I mean it, the thickest bottom you own. Combine the short-grain rice, that cup of water, and just one cup of your whole milk. Set that over medium heat. We are going to bring this just to a simmer and cook down that water for maybe five to seven minutes. Stir often! You’re just trying to get the rice plumped up before we introduce the rest of the milk.
Once that water is mostly gone, pour in the other three cups of milk, plus your sugar and that pinch of salt. Give it a good stir so nothing clumps up. Now, listen close: reduce the heat way down to low. We want a very gentle presence of heat—a slow bubble, not a rolling boil. This phase takes the longest, usually 45 to 60 minutes. Keep stirring every few minutes, making sure you scrape the bottom thoroughly every time.
The rice is releasing its starch, which is what creates that gorgeous, thick texture we can only dream of with store-bought versions. If you decided you wanted raisins in your easy homemade pudding, toss those in during the last 15 minutes! When the mixture looks thick enough to coat the back of a spoon nicely, pull it off the heat. Stir in that wonderful vanilla extract and the cinnamon right at the end.
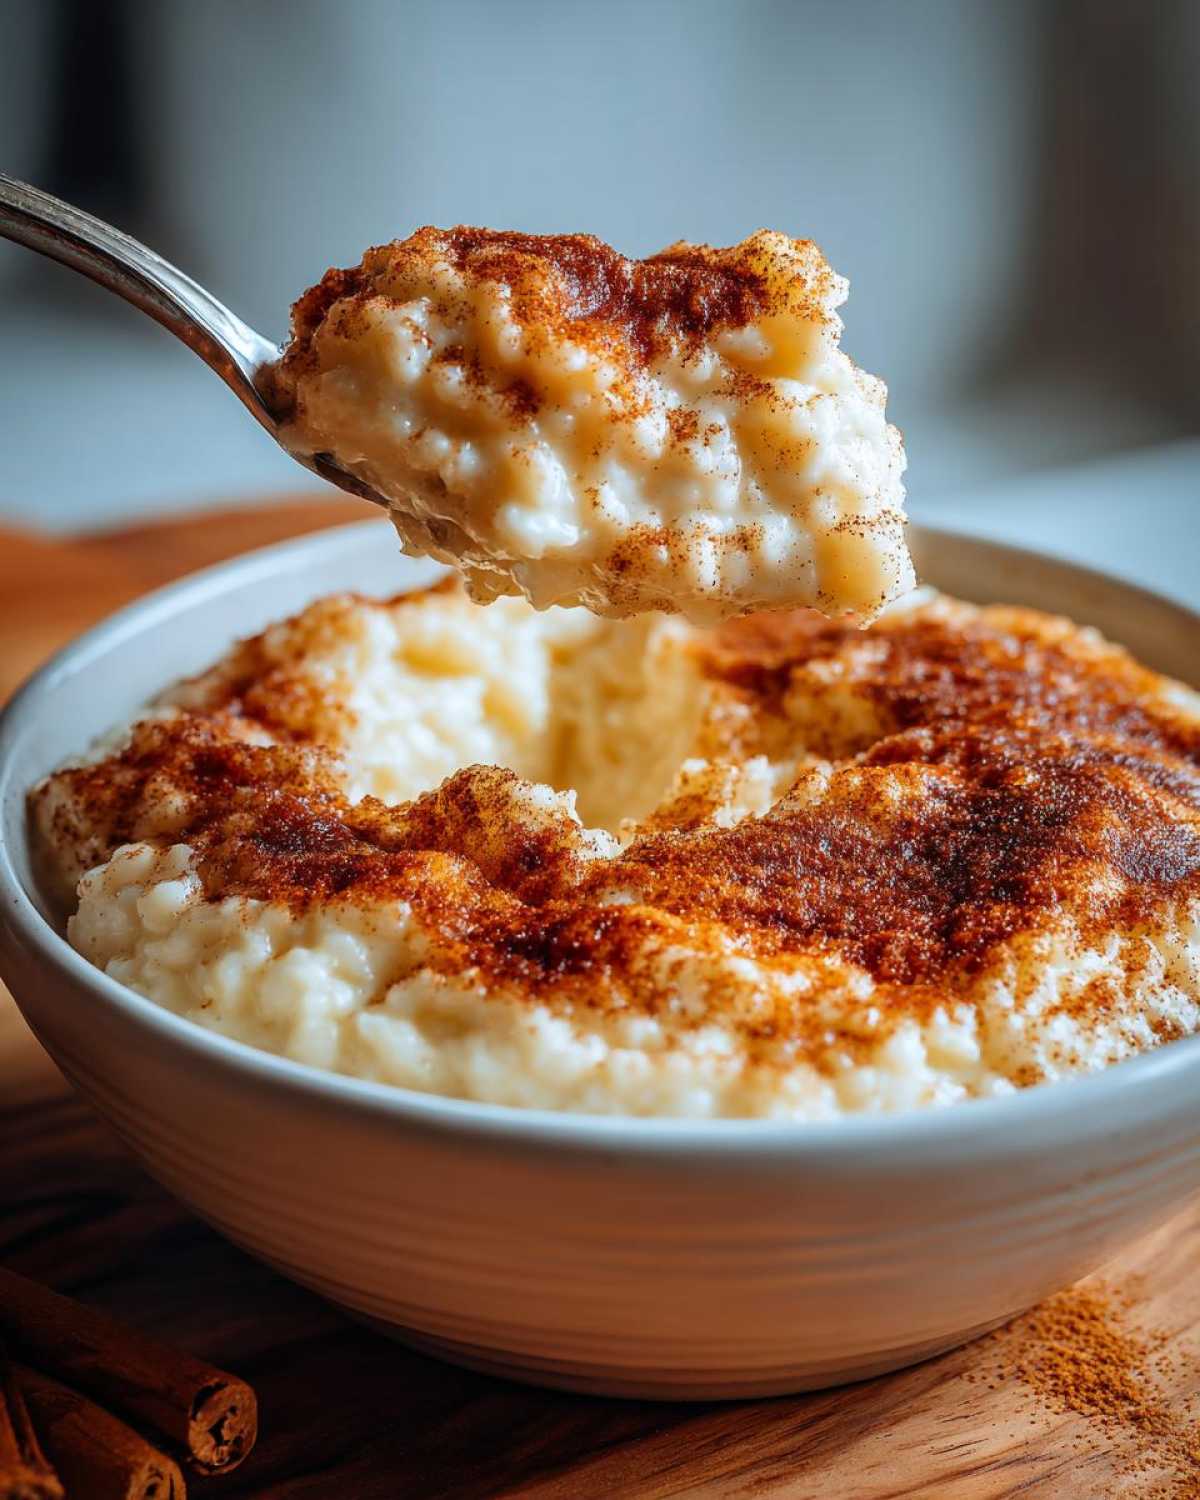
If it seems a little too loose when you pull it off, don’t panic! Remember, it tightens up as it sits. A splash of extra milk now will compensate if you want it thinner when served warm. Check out this guide for our deep dive on slow-simmering techniques, which applies here, too!
The Key to Preventing Scorching in Your Stovetop Rice Pudding
Scorching is the bain of our existence when making pudding, but Spoon taught me the ancient secret: use that heavy pot and keep the heat low! Don’t you dare walk away because you think low heat means you can ignore it. You need to stir and scrape the bottom frequently—like every five minutes minimum. That burnt spot on the bottom will ruin the entire pot’s flavor, trust me. Keep that spoon gliding along the surface of the pan bottom!
Making Variations of the Classic Rice Pudding
While I absolutely adore our stovetop method for that ultimate creamy rice pudding, sometimes you want to switch things up, right? Mei often likes to pivot to a baked version when we’re having people over because it’s lovely to set and forget. If you want to try a baked rice pudding tutorial, the transition is simple! After you finish Step 2—meaning you’ve mixed the rice, water, milk, sugar, and salt—just pour that whole mixture into a baking dish instead of keeping it on the stove. Pop it in the oven at 325°F (160°C), and let it bake for about an hour and a half, stirring it once halfway through. It gets this gorgeous, slightly set top!
If baking isn’t your speed today, keeping things stovetop but still interesting is easy. For a brighter flavor profile—a nice contrast to the deep comfort—try adding the zest of one lemon or half an orange right when you add the vanilla. It really brightens up the flavor of the sweet rice and milk dessert. You can also swap out the cinnamon for cardamom, which gives it a really elegant, almost exotic spice note. Even if we stick to the core recipe, these little tweaks keep our traditional pudding recipes feeling fresh!
If you’re looking for more traditional inspiration, check out this classic recipe on Allrecipes, but I promise, our stovetop version beats it for pure, scoopable creaminess, though some folks just love the baked texture.
Tips for the Best Creamy Rice Pudding Ever
Now that you have a pot full of liquid gold, let’s talk about the final stretch to achieving the best rice pudding ever. The cooling process is almost as important as the cooking, surprisingly enough! Remember how I said the pudding thickens as it cools? That’s your final consistency control. If you pull it off the heat and it seems just a hair too thin, don’t be tempted to overcook it on the stove. Just let it sit off the heat for ten minutes, and you’ll see the starch set up beautifully.
I remember one time Mei served it right away because she was eager, and it was runny—like soup! We quickly learned that taste-testing right out of the pot is fun, but to truly appreciate the texture, you have to let it rest. For the absolute creamiest result, I stir mine vigorously right before I portion it into bowls just as it’s cooling down, breaking up any potential ‘skin’ before it solidifies. If you want to see how we manage texture in other recipes, take a peek at tips for our gnocchi sauce process; slow structure building is key there too.
If you want to see how others approach this classic, I always enjoy peeking at different techniques, like what the folks over at Smart Cook Recipes suggest for their traditional take.
Serving Suggestions for Your Sweet Rice and Milk Dessert
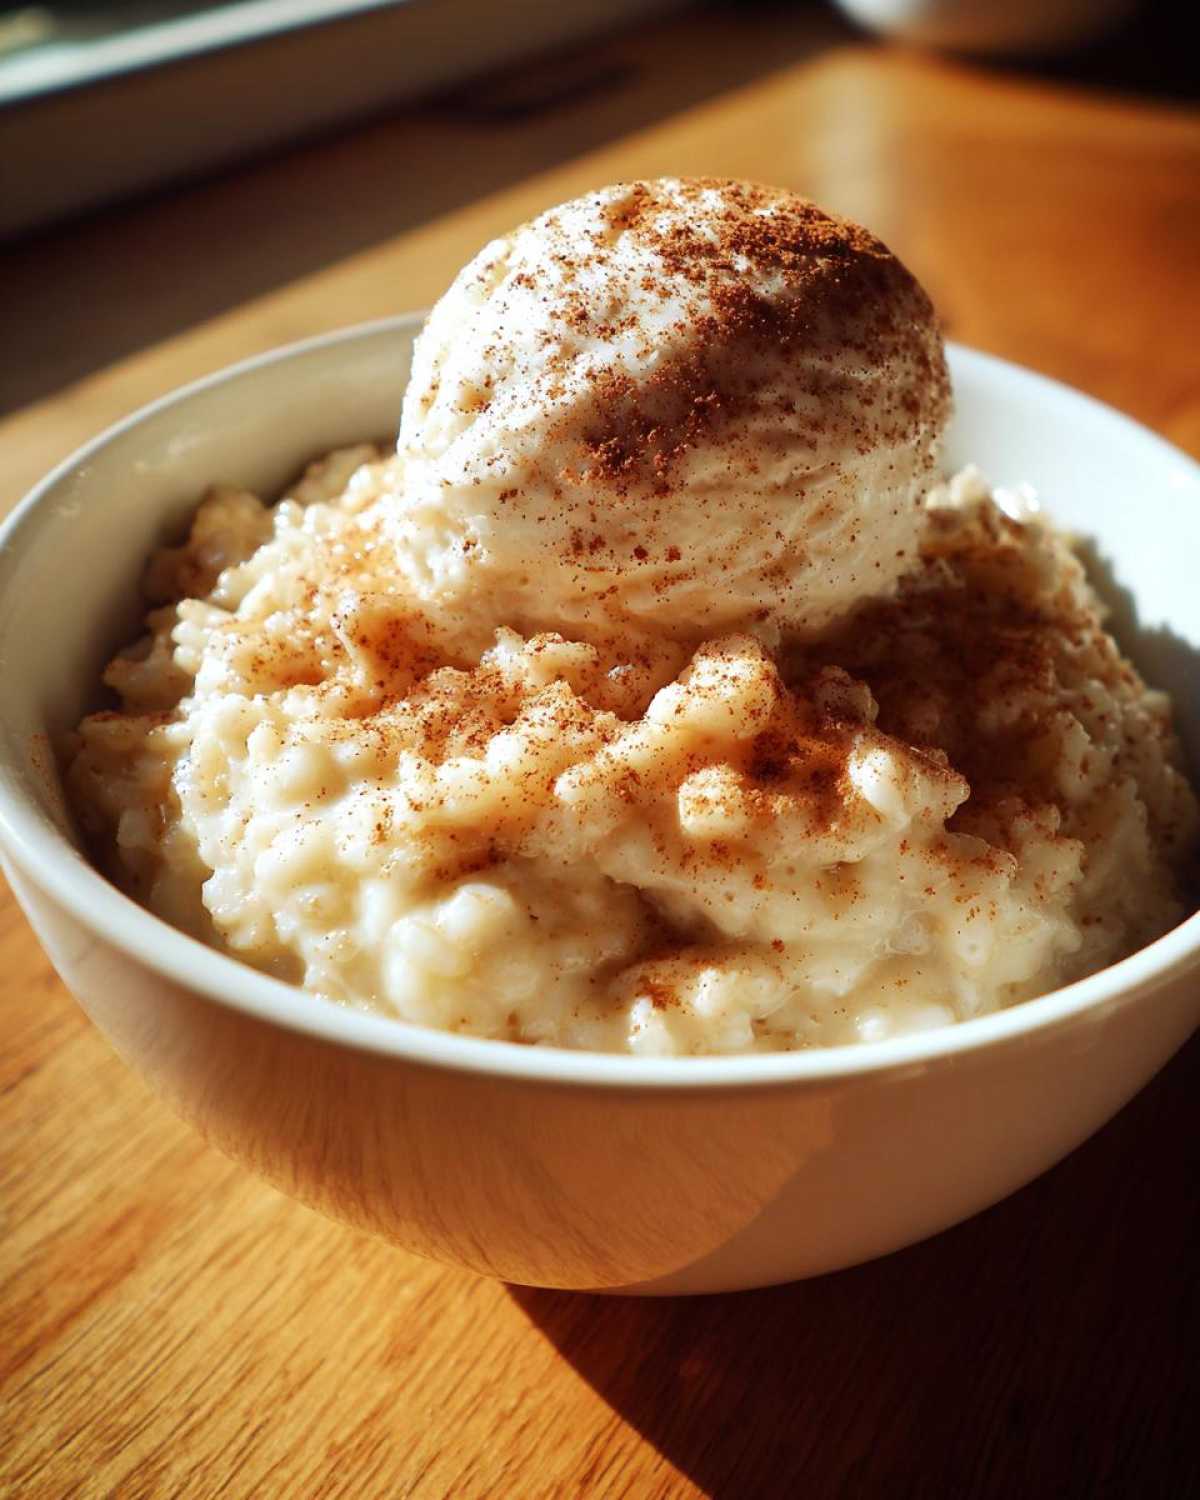
So, you have this incredible, soul-soothing bowl of rice pudding ready. Now what? This versatile comfort food dessert truly shines hot off the stove, but honestly, I think it’s even better chilled the next day when it firms up into a dense, luscious scoop. Don’t just stick to plain cinnamon on top, though—that’s lovely, but we can do better!
If you’re serving it warm, a tiny pat of butter melting slowly on top is divine. For chilled servings, whip up a quick fruit compote—maybe some tart cherries or berries? A spoonful of that bright fruit cuts through the richness of the whole milk beautifully. You can also toast some pecans or walnuts really quickly; that crunch against the creamy texture is just magnificent. We use similar ideas for texture contrast in our apple pie crumb bars, and it works wonders here too!
Storage and Make Ahead Desserts: Keeping Your Rice Pudding Fresh
One of the best parts about making this rice pudding from scratch is that it doubles perfectly as a make ahead dessert! You don’t need to worry about leftovers disappearing the next morning; this keeps beautifully. You can store it in the refrigerator for up to four days. Just make sure you put it in an airtight container right after it cools down a bit. If you let it sit on the counter too long, that skin can form, and we definitely want to avoid that!
When you pull it out later, it will be much, much firmer than when it first came off the stove. That’s totally normal! If you’re serving it cold, you might barely need to do anything. If you prefer that softer, just-cooked texture, just warm a serving gently in the microwave for about 15 to 20 seconds, stirring halfway through. I’ve got some other tips for dishes that hold up well for later over on my post about make ahead desserts.
Frequently Asked Questions About Traditional Pudding Recipes
I know when you’re trying out a new take on an old classic, like these traditional pudding recipes, you always have a few burning questions. Don’t worry, that’s just the cook in you coming out! I’ve gathered the most common things Mei and I always get asked when we share this recipe.
Can I use long-grain rice instead of short-grain for this rice pudding?
Oh, I really, really advise against it. When we talk about making a truly creamy rice pudding recipe, the rice type is your foundation. Long-grain rice, like Basmati or Jasmine, is bred to stay separate; it doesn’t release nearly enough starch when it cooks down. You’ll end up with rice swimming in runny milk, and no amount of stirring will fix that structural lack. Stick to medium-grain or Arborio for that luscious, thick texture we’re aiming for!
How do I prevent the skin from forming on my rice pudding?
Ah, the dreaded rice pudding skin! It forms because the proteins in the milk rise to the top as it cools and dry out where they meet the air. The trick, which Spoon swears by, is addressing it right when you take it off the heat. If you see even the slightest film forming, just plunge your spoon right back in and give everything a very vigorous stir before you dish it out or pour the leftovers into a container. Stirring it back into the body of the pudding breaks up the fragile skin immediately. Don’t let it set!
Is this rice pudding recipe suitable for a quick breakfast?
You know, this really is the perfect sweet rice and milk dessert to transition into breakfast! When chilled overnight, it firms up beautifully. It’s hearty because of the whole milk and the rice, giving you slow-release energy. I’ve certainly eaten leftovers straight from the fridge with a few fresh berries on top before heading out to the garden. It works just as well as a comforting breakfast as it does for dessert!
Nutritional Estimates for This Creamy Rice Pudding Recipe
Now, I’m Spoon, and I cook with my heart first, never my calculator! When we’re making something as traditional as this rice pudding, we aren’t overly concerned with macros, but I know some of you are watching the numbers. So, just so you have a guide, here are the ballpark estimates for one generous serving of our creamy stovetop version. Keep in mind these are based on the wholesome, full-fat ingredients we love, so they reflect real, delicious food!
This is a hearty dessert, packed with satisfying milk and rice, so enjoy it mindfully. For a truly accurate reading for your specific needs, you’d need to weigh your exact portion, of course. But for reference, here’s what you can generally expect:
- Serving Size: 1 serving
- Calories: 320
- Sugar: 25g (That’s mostly from the milk and added sugar, naturally!)
- Fat: 8g
- Protein: 9g
We always advise folks to check out our full full disclaimer page regarding nutritional information, as recipes can always have slight variations based on brands and exact ingredient amounts. But knowing that this ultimate creamy dessert is built on simple milk and rice gives me peace of mind!
PrintThe Ultimate Creamy Old-Fashioned Stovetop Rice Pudding

Make this classic, soul-soothing rice pudding on the stovetop for a truly creamy, old-fashioned dessert. It tastes like comfort in a bowl.
- Prep Time: 10 min
- Cook Time: 60 min
- Total Time: 70 min
- Yield: 6 servings
- Category: Dessert
- Method: Stovetop
- Cuisine: American
- Diet: Vegetarian
Ingredients
- 1 cup short-grain white rice (Arborio or medium-grain works best)
- 4 cups whole milk
- 1 cup water
- 1/2 cup granulated sugar
- 1/4 teaspoon salt
- 1 teaspoon pure vanilla extract
- 1/2 teaspoon ground cinnamon (plus extra for topping)
- Optional: 1/2 cup raisins
Instructions
- Combine the rice, water, and 1 cup of the whole milk in a heavy-bottomed saucepan. Bring the mixture to a simmer over medium heat. Cook until the water is mostly absorbed, stirring often, about 5 to 7 minutes.
- Add the remaining 3 cups of whole milk, sugar, and salt to the saucepan. Stir well to combine.
- Bring the mixture back to a gentle simmer over medium-low heat. Reduce the heat to low. You must keep the heat low to prevent scorching the bottom.
- Cook uncovered for 45 to 60 minutes, stirring every 5 to 10 minutes, especially scraping the bottom of the pot. The pudding thickens as the rice absorbs the milk and releases starch. If you are using raisins, add them during the last 15 minutes of cooking.
- When the pudding is thick and creamy, remove it from the heat. Stir in the vanilla extract and cinnamon.
- The pudding will thicken significantly as it cools. If you prefer a thinner consistency, stir in a splash of extra milk now.
- Serve the rice pudding warm, or chill completely for a thicker, scoopable texture. Sprinkle with extra cinnamon before serving.
Notes
- For the creamiest texture, use whole milk. Skim milk results in a thinner pudding.
- If you see a skin forming on top while cooling, stir it in immediately to maintain creaminess.
- This recipe makes a wonderful make ahead dessert; it stores well in the refrigerator for up to 4 days.
- If you prefer a baked rice pudding, transfer the mixture to a baking dish after step 2, sprinkle with nutmeg, and bake at 325°F (160°C) for 1.5 hours, stirring halfway through.
Nutrition
- Serving Size: 1 serving
- Calories: 320
- Sugar: 25g
- Sodium: 150mg
- Fat: 8g
- Saturated Fat: 4g
- Unsaturated Fat: 4g
- Trans Fat: 0g
- Carbohydrates: 55g
- Fiber: 1g
- Protein: 9g
- Cholesterol: 25mg