

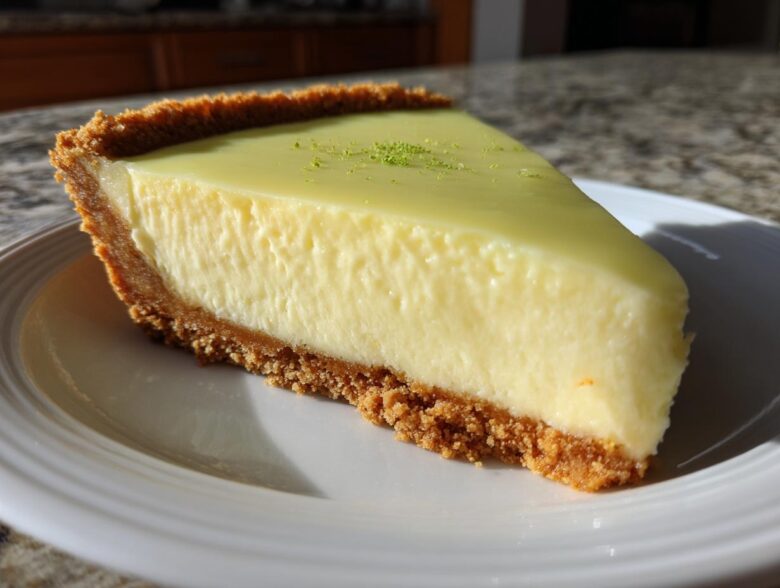
Oh, you have to trust me on this one. There is nothing—and I mean *nothing*—like that perfect, puckering kiss of a truly Tangy Key Lime Pie (Classic Baked Version). Forget those pale, wobbly refrigerator imposters! I spent way too many summers chasing Floridian secrets, tweaking ratios until I got that unforgettable, zesty flavor locked down. This recipe isn’t just good; it’s my tried-and-true method for creating an authentic, perfectly baked custard pie. If you love that sharp, tropical hit balanced by a sweet, buttery crust, you’ve come to the right place. I’ve tested this until my kitchen smelled like sunshine and lime for a week straight!
If you want to see more of my baking deep dives, check out my main blog archive for delicious finds!
Why This Tangy Key Lime Pie (Classic Baked Version) Works So Well
So, what separates my pie from every other recipe out there? It all comes down to following the rules of the classic technique. We’re not cheating with gelatin or hoping the fridge does all the hard work. A proper, **Tart Key Lime Pie** demands time in the oven to develop that incredible, creamy set. I learned this the hard way after wasting three batches that wouldn’t set!
This method is how you get that **Perfectly Set Key Lime Pie** consistency that melts in your mouth instead of sliding right off the plate. Trust your oven; it’s the secret weapon here!
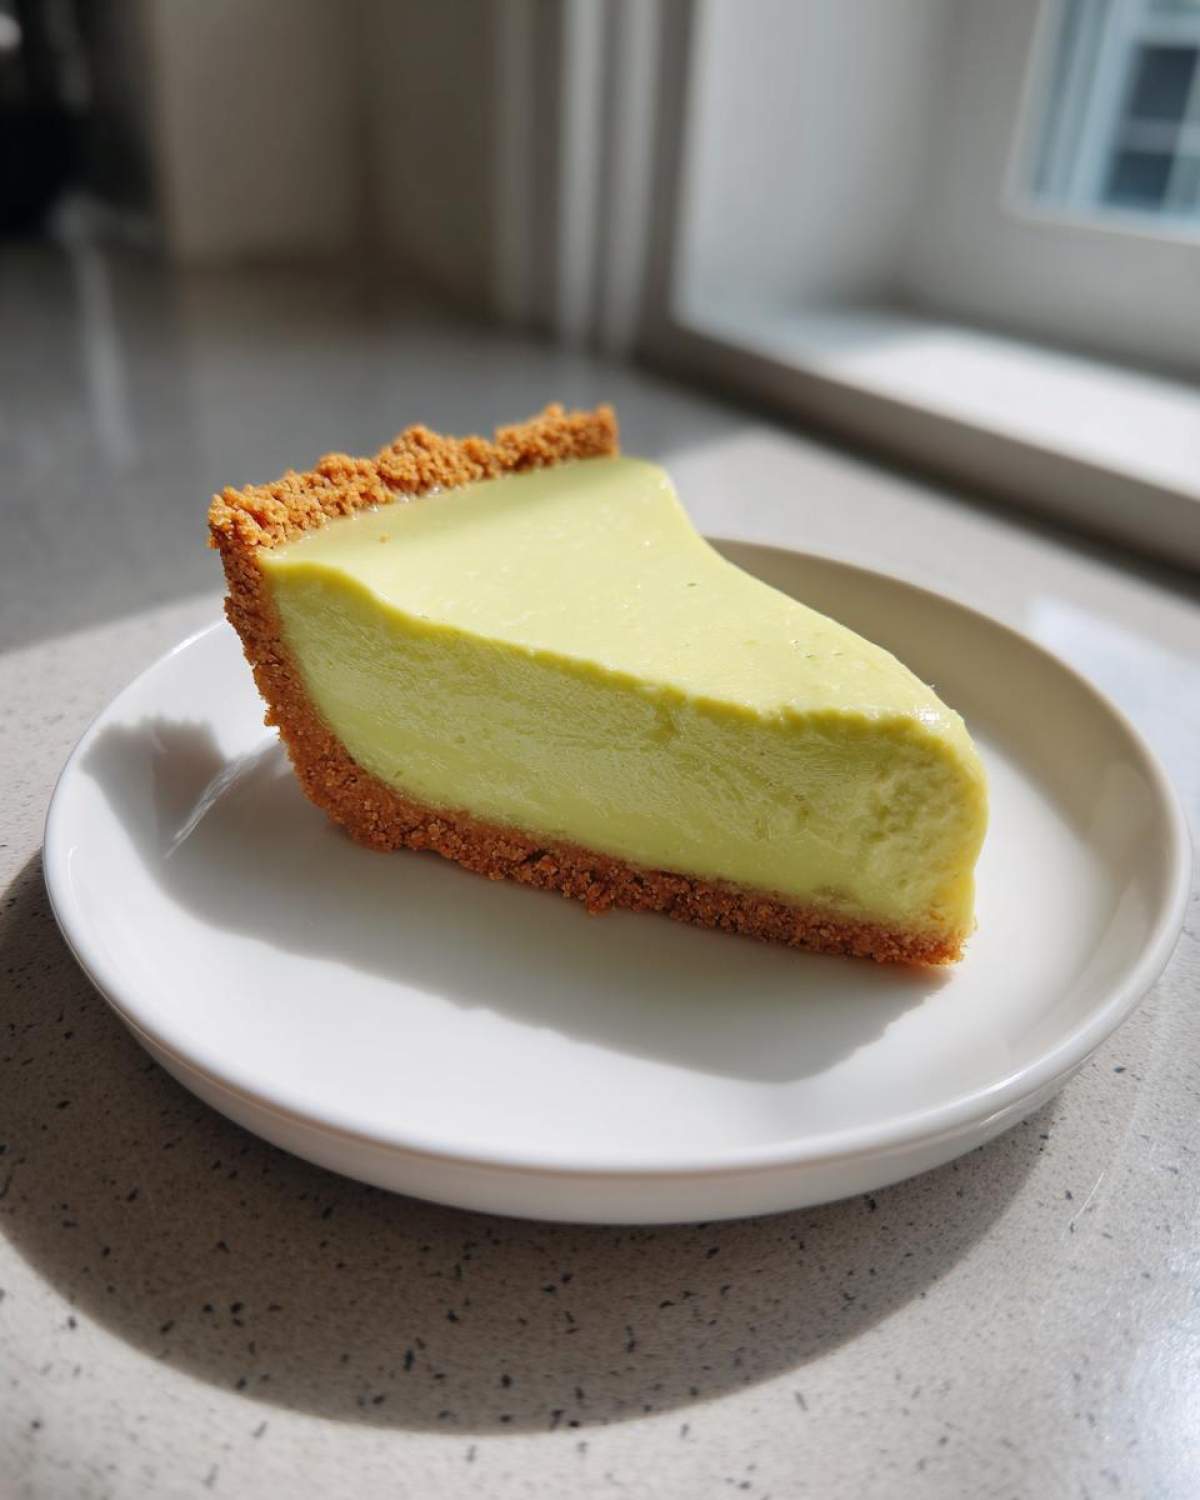
Achieving Authentic Tartness in Your Tangy Key Lime Pie (Classic Baked Version)
You simply cannot substitute bottled lime juice here. I know the little key limes are sometimes tough to track down, but their unique flavor profile—sharp, fragrant, and intensely tart—is the entire point of this dessert! The zest plays a huge supporting role too; don’t skip that teaspoon because the oils are where a lot of that zesty aroma lives. This step is non-negotiable for a real tart flavor blast.
The Texture Secret: Why We Bake This Tangy Key Lime Pie (Classic Baked Version)
When you’re figuring out **How to Make Baked Key Lime Pie**, remember this: baking cooks the yolks and allows the acid from the lime juice to coagulate the milk proteins slowly. This creates a smooth, rich custard. No-bake versions often feel gummy or overly sweet, but baking locks in that luxurious, creamy interior. It’s a short bake, usually just 15 minutes, but that time transforms the filling completely!
Ingredients for Your Tangy Key Lime Pie (Classic Baked Version)
Let’s talk about what goes into this masterpiece. Getting the right balance is crucial, especially since we want that signature tanginess to shine through. I always keep my ingredients measured out ahead of time—it makes the pouring process so much smoother when you’re dealing with custards! Knowing exactly what you need builds confidence, which is exactly what you need when tackling an Authentic Key Lime Pie recipe.
If you’re looking for other ways to use tart elements in your baking, I’ve got a great collection of dessert recipes with lime curd that might inspire you next!
Graham Cracker Crust Key Lime Pie Components
First up is the mandatory, buttery foundation: your crust! For this classic base, you’ll need about one and a half cups of graham cracker crumbs. Don’t stress about finding a special brand; just make sure they’re fine enough to pack well. To that, we mix in a quarter cup of granulated sugar—just a touch to help it caramelize slightly. The magic binder, of course, is about six tablespoons of unsalted butter, melted until it’s glistening. You need just enough butter so that when you mix it, every crumb is coated. Remember, this crust really needs to be pressed in there! Pack it tight along the bottom and up the sides of your nine-inch pie plate so the filling doesn’t seep down during baking.
Homemade Key Lime Pie Filling Essentials
Now for the star of the show—the filling! This is where we guarantee that tart punch. You absolutely must start with four large egg yolks; they give the custard body without the heaviness of using whole eggs. Next, grab that sweet, thick goodness: one standard 14-ounce can of sweetened condensed milk. Whisk that into the yolks until it’s totally smooth. Then comes the juice! We need about half a cup of fresh key lime juice—that usually means squeezing about ten to twelve limes, so put on some music and get juicing! Finally, don’t forget the essential 1 teaspoon of lime zest. The zest wakes up the natural oils in that juice, intensifying how Tangy your Key Lime Pie tastes!
Step-by-Step Instructions for Tangy Key Lime Pie (Classic Baked Version)
Alright, here’s where we put all those lovely ingredients to work! This is truly an **Easy Baking Recipe** when you follow the steps correctly, but timing is everything with a baked custard like this. Preheat your oven to 350°F (175°C) right away so it’s roaring hot when your crust is ready. We move quickly from the crust to the filling, but we let the pie cool slowly—that’s the secret to a **Perfectly Set Key Lime Pie**.
If you need a refresher on the simpler techniques, I cover lots of basic methods in my tips section for easy baking recipes.
Preparing and Pre-Baking the Graham Cracker Crust Key Lime Pie Base
First, combine your graham cracker crumbs and sugar. Pour in that melted butter and mix it around until it looks like damp beach sand—every bit should be coated! Then, you need to press hard! Use the bottom of a measuring cup to really compact the mixture into the bottom and up the sides of your 9-inch pie plate. Don’t be shy; a loose crust crumbles later! Pop that firmly packed crust into the oven for exactly 8 minutes until it smells warm and set. Then, pull it out and let it rest while you tackle the filling.
Mixing the Perfectly Set Key Lime Pie Filling
Time for the luscious, **Tart Key Lime Pie** filling! Grab a medium bowl and start by whisking just those four egg yolks until they look smooth and unified. Next, slowly rain in the sweetened condensed milk while you whisk constantly. You want zero streaks! Once that’s combined, take your freshly squeezed key lime juice and your zest and mix them in. As soon as you add that acid, the mixture is going to start thickening up almost immediately. That’s the magic happening right before your eyes!
Baking and Chilling Your Tangy Key Lime Pie (Classic Baked Version)
Pour that thickened filling right into your warm, pre-baked crust. Pop it into the oven and set a timer for 12 minutes. You are watching for the edges to look set—firm to the touch—but the very center should still have a tiny bit of jiggle, like gelatin. Do NOT overbake this! This residual heat will finish setting it as it cools. After those crucial 12 to 15 minutes, take it out, let it sit on the counter for a full hour, and *then* cover it and let it chill in the fridge for at least four hours. Overnight is even better for that ideal texture!
Expert Tips for the Best Baked Key Lime Pie Recipe
Even with a rock-solid recipe like this, there are always little tips and tricks that elevate it from “great” to “legendary.” I’ve learned a few things over the years trying to recreate that authentic taste you find down in the Keys. Focusing on these details really makes the difference between a good pie and what I call a *wow* pie. Seriously, this is how you nail the classic, ultra-tart flavor profile that defines a true **Florida Key Lime Pie Recipe**.
If you want to dive deeper into maximizing citrus flavor in all your creations, check out my guide on baking with fresh lime juice!
Lime Juice Sourcing for Maximum Tang
Listen, I can’t stress this enough: You need that fresh squeeze! If you look at the ingredients list, I say fresh key lime juice is the non-negotiable item for achieving that signature, mouth-watering tang. Those tiny key limes pack way more punch and aroma than the big, watery Persian limes we usually see in the store. If you absolutely cannot find the tiny ones—and trust me, try the farmers market first—you can use Persian limes, but you’ll need to bump up the lime zest a little bit more. The zest helps cover the flavor gap when the juice isn’t quite as intense.
Avoiding Over-Baking Your Tangy Key Lime Pie (Classic Baked Version)
This is where most people ruin a perfectly good custard pie; they wait until the center is completely firm when they pull it out of the oven. Watch out! When you think it’s done, it’s actually *almost* done. For a **Perfectly Set Key Lime Pie** that’s creamy and not rubbery, you need to remove it when the edges are set but the dead-center still has that nervous little wobble. That’s called carry-over cooking! The heat trapped in the crust and the edges will finish cooking the middle as it cools on the rack. If you wait for that center wobble to disappear in the oven, you’ll end up with a dry, tough pie once it chills.
Serving Suggestions for This Zesty Citrus Dessert
Now that you have pulled that beautifully baked, intensely tangy pie from the fridge, the final presentation is almost as fun as the initial taste test! Since this is the Classic Baked Key Lime Pie, we stick to toppings that complement the sour punch, not fight it. I’ve seen people try to top this with everything under the sun, but honestly, simple is best when the filling is this good.
For a stunning finish, I highly recommend a cloud of freshly whipped cream. Forget the stuff from a can—you want real cream whipped until stiff peaks form, maybe with just a hint of powdered sugar added. The rich coolness of the cream is the perfect soft foil to the sharp lime custard. If you want to get extra decadent, a little extra lime zest sprinkled over the top of the whipped cream looks gorgeous and smells incredible.
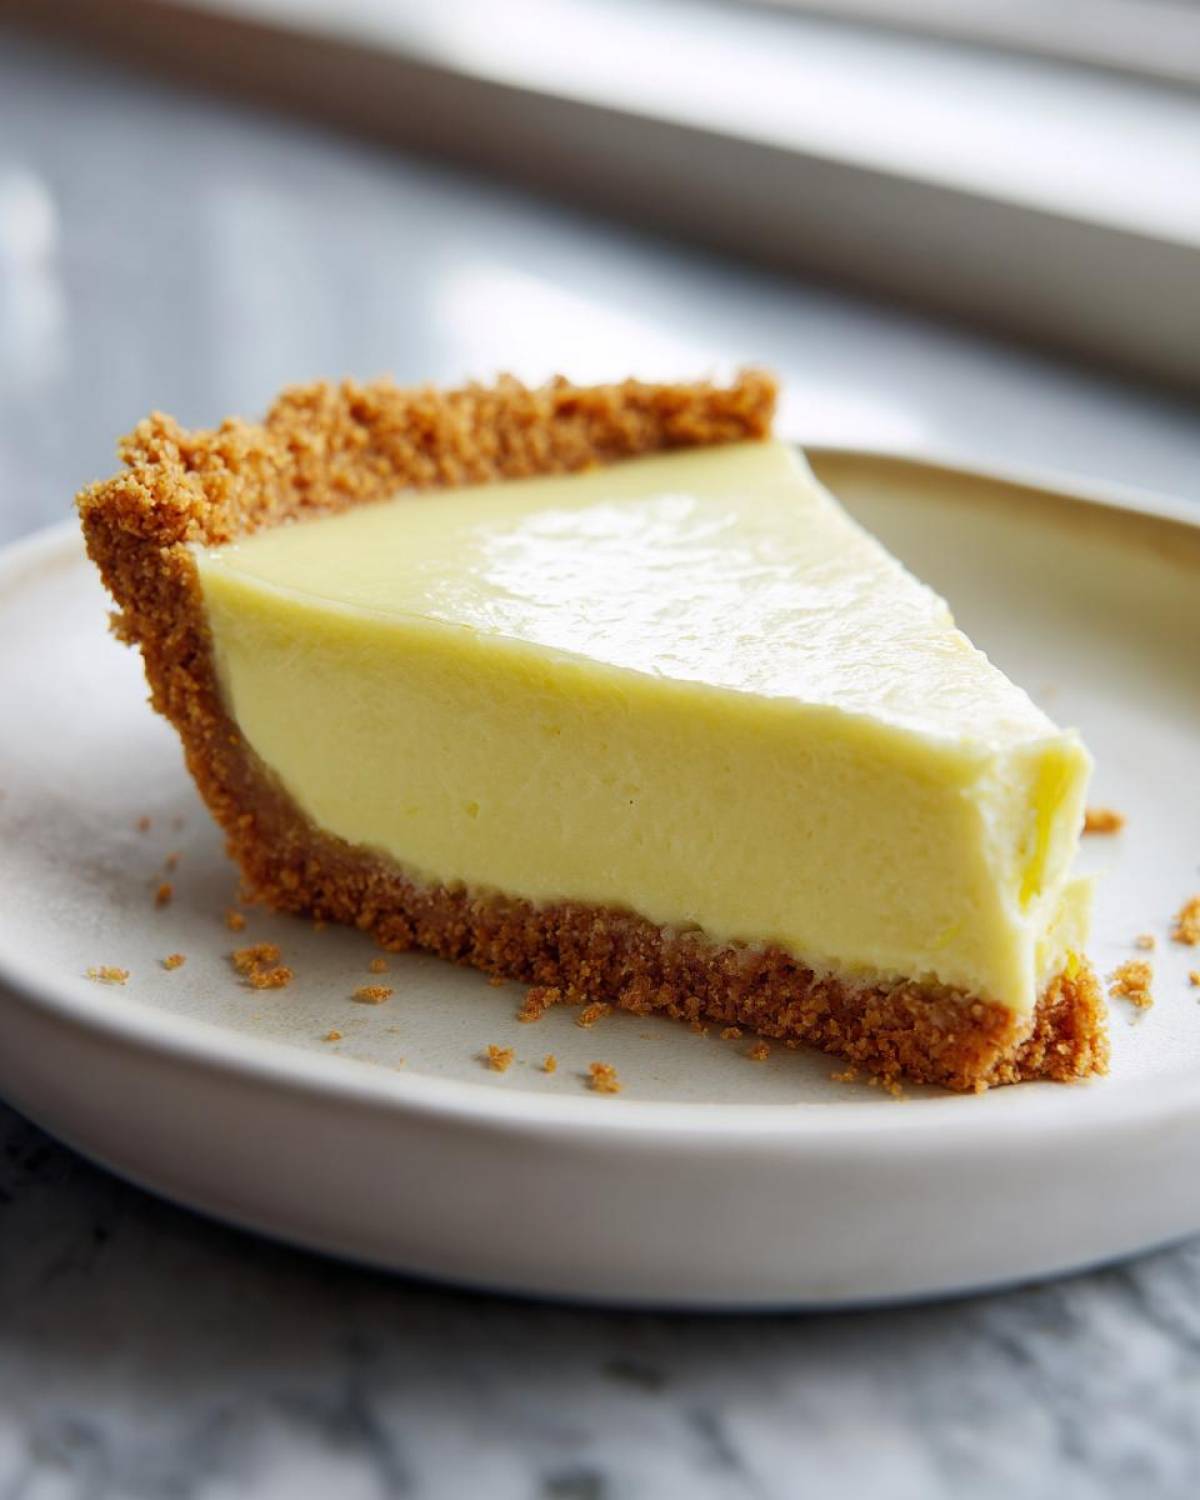
If you’re looking for more ways to bring tropical vibes to your table, you have to check out my favorite tropical dessert ideas. But honestly, nothing beats the clean finish of this simple, perfect slice! Keep it chilled, serve cold, and watch everyone immediately ask for a second piece!
Storage and Reheating Instructions for Tangy Key Lime Pie
Okay, let’s talk about the aftermath! Because this is a richly decadent, full-butter crust pie made with real egg yolks and dairy, proper storage is absolutely essential. You can’t just leave this beauty sitting on the counter like some sturdy cookie; this is a proper custard pie, and we need to respect that!
Once your pie is fully chilled—and remember, that’s at least four hours, but really, overnight is best for a truly Tangy Key Lime Pie (Classic Baked Version)—wrap the leftovers snugly. I usually use plastic wrap first, followed by a layer of aluminum foil, or I just pop the whole pie plate into a large, sealed container. This keeps any weird fridge smells away from that perfect lime fragrance.
You can keep this homemade pie in the refrigerator for about three to four days. Honestly, it usually doesn’t last that long in my house, but that’s the safe window! It stays beautifully firm and deliciously tangy throughout that time. Don’t even think about trying to reheat a slice!
Reheating a baked custard pie like this is just asking for trouble; you’ll end up with curdled, separated filling because those eggs have done their job of setting properly in the cold. This dessert is designed to be served chilled! Pull it out of the fridge maybe ten minutes before you plan to eat it, just so it isn’t totally ice-cold, but keep it cool. The contrast between the crisp crust and the cool, zesty filling is exactly what makes this the Best Baked Key Lime Pie Recipe!
Frequently Asked Questions About This Tangy Key Lime Pie (Classic Baked Version)
I totally expect folks to have questions when tackling a true classic like this! After all, getting that perfect balance of setting agent (the egg yolks) and the acid (the lime juice) can feel a little like chemistry, right? I’ve gathered up the questions I get asked most often by people trying to make their first, or their best, **Homemade Key Lime Pie**.
If you want to see more specific baking science, I detailed a lot of my methods in my post about the classic baked key lime pie recipe!
Can I use bottled lime juice in this Traditional Key Lime Pie?
Oh, honey, please don’t. I know it sounds convenient when you’re grabbing ingredients for a **Zesty Citrus Dessert**, but bottled lime juice is the quickest way to ruin the magic here. Bottled lime juice often has additives and lacks the intense, volatile oils found in fresh juice. Those oils give you that wonderful, complex aroma and the super bright, authentic tang that this **Traditional Key Lime Pie** is famous for. If you use bottled, it will taste flat, maybe too sweet, and just generally disappointing. Stick to the fresh squeeze for the real deal!
What is the difference between this Baked Key Lime Pie and a no-bake version?
This is a huge point because the texture is completely different! A no-bake version relies on chilling time and sometimes cornstarch or gelatin to firm up that condensed milk base. It ends up being softer, almost like a very thick pudding or a cold mousse. Our Baked Key Lime Pie, however, uses the heat of the oven to cook the egg yolks, which gently sets the milk into a true, creamy custard. It’s firmer, it slices beautifully, and it has a richer mouthfeel. You get that perfectly set slice every time!
Can I make the crust for this Tangy Key Lime Pie ahead of time?
Yes, you absolutely can, and I often do this when I’m making a big spread for company! The crust is super sturdy once it’s baked. You can mix, press, and pre-bake the crust exactly as the instructions say—that 8-minute bake is important! Let it cool completely on the counter until it’s room temperature. Then, you can wrap the empty crust tightly in plastic wrap and leave it on the counter for a day, or you can chill it for up to three days. Just make sure it is completely cool before you pour the liquid filling in! If you pour the filling into a warm crust, it ruins the temperature control we rely on for that **Perfectly Set Key Lime Pie** finish.
Estimated Nutritional Data for Your Homemade Key Lime Pie Filling
Okay, let’s talk numbers for a second, because while this Tangy Key Lime Pie (Classic Baked Version) is absolutely an indulgence, it’s fun to know what you’re working with! We all know that condensed milk and butter aren’t exactly diet food, but hey, we bake for joy, right? I’ve popped the rough estimates below based on one slice, which is my standard serving size—though let’s be honest, sometimes I cut mine a little smaller if I’m having two!
Remember, these numbers are just a guide. If you use light cream cheese instead of full-fat butter in the crust, or if you use slightly less sugar, these figures will absolutely change! For a full breakdown of how I calculate these estimates, you can check out my general recipe disclaimer page.
- Serving Size: 1 slice
- Calories: 350
- Sugar: 35 grams (Yes, that’s the condensed milk doing its work!)
- Sodium: 150 mg
- Fat: 18 grams
- Saturated Fat: 10 grams
- Unsaturated Fat: 8 grams
- Trans Fat: 0 grams (Hooray for real butter!)
- Carbohydrates: 42 grams
- Fiber: 1 gram
- Protein: 6 grams
- Cholesterol: 85 mg
See? It looks scary on paper, but when it tastes this good, who cares? It’s a special occasion Zesty Citrus Dessert, and it’s worth every single gram of that sugar!
Share Your Tangy Key Lime Pie (Classic Baked Version) Creations
Now that you’ve baked this incredible pie, the best part is sharing it! I truly miss seeing your creations. Baking is always better when we share the results, isn’t it? I put my heart into giving you the absolute best instructions for an Authentic Key Lime Pie, and I’d love to know how it turned out for you.
Did you manage to find those perfect key limes? Did you stick with the simple powdered sugar dusting, or did you go for a big swirl of homemade whipped cream on top? Tell me everything!
Please take a moment to rate this recipe right down below—even just a quick five stars tells me you loved this Zesty Citrus Dessert. And if you snap a picture of your perfectly set slice, tag me on social media! Seeing that bright, tart green color reminding everyone what a real Tangy Key Lime Pie (Classic Baked Version) should look like makes my day. Thanks for baking with me!
PrintTangy Classic Baked Key Lime Pie

Follow this recipe to make an authentic, baked Key Lime Pie featuring a distinctly tart filling and a homemade graham cracker crust.
- Prep Time: 20 min
- Cook Time: 15 min
- Total Time: 5 hours 35 min
- Yield: 8 servings
- Category: Dessert
- Method: Baking
- Cuisine: American
- Diet: Vegetarian
Ingredients
- 1 1/2 cups graham cracker crumbs
- 1/4 cup granulated sugar (for crust)
- 6 tablespoons unsalted butter, melted
- 4 large egg yolks
- 1 (14 ounce) can sweetened condensed milk
- 1/2 cup fresh key lime juice (about 10-12 limes)
- 1 teaspoon lime zest
Instructions
- Preheat your oven to 350°F (175°C).
- Prepare the crust: Mix graham cracker crumbs and 1/4 cup sugar in a bowl. Pour in melted butter and mix until crumbs are evenly moistened. Press the mixture firmly into the bottom and up the sides of a 9-inch pie plate.
- Bake the crust for 8 minutes. Remove from the oven and let it cool slightly.
- Prepare the filling: In a medium bowl, whisk the egg yolks until smooth.
- Gradually whisk in the sweetened condensed milk until fully combined.
- Stir in the fresh key lime juice and lime zest. The mixture will thicken slightly.
- Pour the filling into the pre-baked crust.
- Bake for 12 to 15 minutes, or until the edges are set but the center still has a slight jiggle. Do not overbake.
- Cool the pie completely on a wire rack at room temperature for 1 hour.
- Refrigerate the pie for at least 4 hours, or preferably overnight, before slicing and serving.
Notes
- Use only fresh key lime juice for the best tangy flavor; bottled juice will change the taste significantly.
- For a perfectly set pie, avoid baking longer than necessary; the residual heat will finish setting the center as it cools.
- If you cannot find key limes, use regular Persian limes, but you may need to increase the zest slightly to boost the aroma.
Nutrition
- Serving Size: 1 slice
- Calories: 350
- Sugar: 35
- Sodium: 150
- Fat: 18
- Saturated Fat: 10
- Unsaturated Fat: 8
- Trans Fat: 0
- Carbohydrates: 42
- Fiber: 1
- Protein: 6
- Cholesterol: 85