

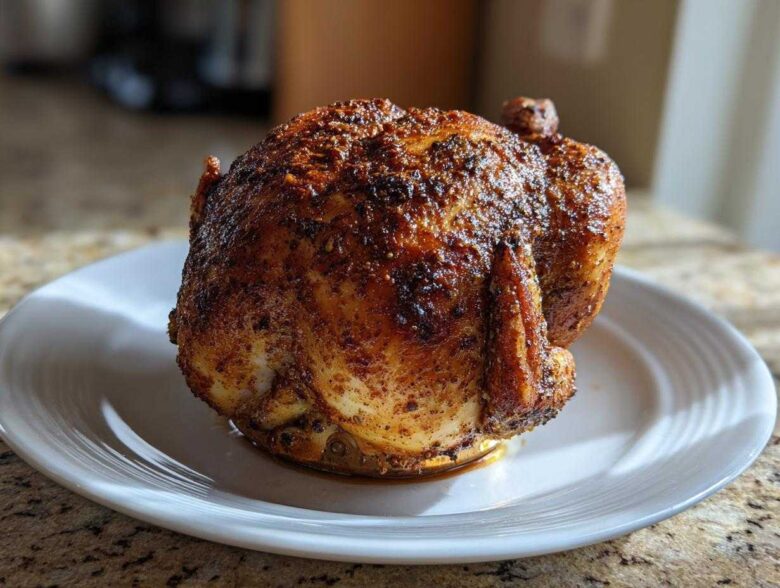
Alright, listen up! We’ve all been there, right? You pull that gorgeous whole chicken off the grill, and while the skin looks amazing, the breast meat turns out drier than a week-old cracker. It’s frustrating! Well, put those worries aside because I’m finally sharing my tried-and-true, battle-tested Juicy Beer Can Chicken Recipe. After years spent hovering over hot coals in my backyard, learning what works and what sends smoke signals of failure, I cracked the code. This method guarantees moisture infusion from the inside out while giving you that shatteringly crisp skin everyone fights over. Forget complicated brines; this is the real secret to simple, unbelievably moist grilled chicken!
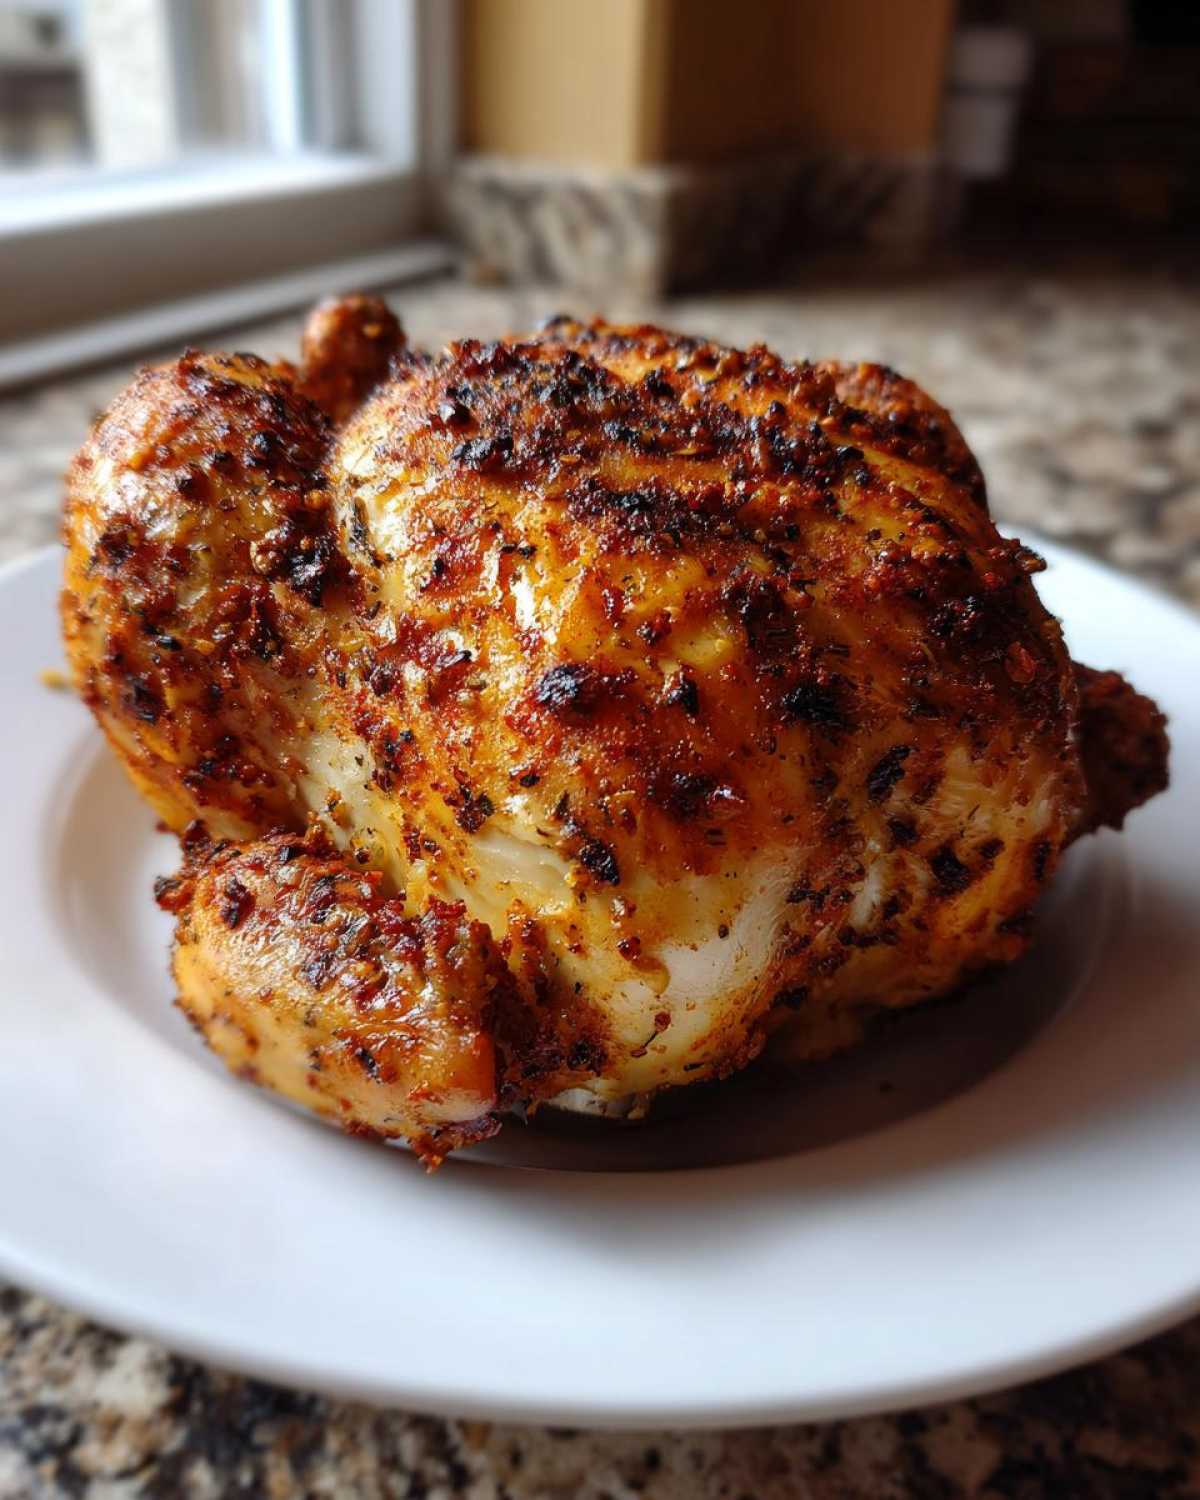
Why This Juicy Beer Can Chicken Recipe Works (The Science of Moisture)
I know, I know, “Beer Can Chicken” sounds like a gimmick you see on bad infomercials, but trust me, the science behind this technique is solid gold for achieving incredible results. When you set that chicken upright, the beer starts warming up and, crucially, creating steam right inside the chicken cavity. This hot, moist vapor works from the inside, gently cooking the meat and locking in all the natural juices. It keeps the breast—that notoriously tricky part—super tender while the dark meat finishes up. This is officially my favorite method for any juicy grilled chicken recipe because it’s practically foolproof.
The magic is in the constant, gentle steam bath mingled with the heat from your grill. It’s much more consistent than trying to baste constantly, which just opens up your grill lid and lets all the heat escape!
Achieving Crispy Skin on Your Juicy Beer Can Chicken Recipe
So, how do we get those crispy edges without drying out the meat? It all starts before the chicken even touches the can! You absolutely must pat that skin bone-dry. I mean, soak it with paper towels until you think you’ve blotted out every speck of moisture. When your skin is dry, the heat does its job perfectly, rendering the fat and crisping that paprika-laced rub. The vertical roasting also lets heat circulate all the way around the bird, avoiding that soggy bottom side you sometimes get in a roasting pan.
Ingredients for the Ultimate Juicy Beer Can Chicken Recipe
Okay, gathering your ingredients is where we start building real flavor and trust. Don’t just throw things in! With this Juicy Beer Can Chicken Recipe, the quality and state of your simple items make a huge difference in how moist that final bite is. We aren’t using a million things, which is what I love about this; it lets the chicken and the beer shine through.
You’ll need one nice, four-pound bird—nothing too huge, or it won’t cook evenly on the can. Then there’s the beauty pageant winner: the beer! And finally, a handful of pantry spices that turn into magic once they hit heat.
Ingredient Notes and Beer Selection for Juicy Beer Can Chicken Recipe
Let’s talk about the beer first because that’s the star player for moisture. You want something light—a crisp lager or a pilsner works beautifully. Avoid heavy stouts or IPAs; that deep, dark flavor can turn bitter once it steams inside your bird. Also, get that can—yes, the one you’re about to use—out of the fridge about an hour before you start! A room temperature liquid starts steaming faster, meaning you get that internal moisture working its magic sooner. We want immediate action for maximum juiciness!
When it comes to the chicken size, stick close to four pounds. Anything much bigger and the cooking time gets unpredictable, risking dry edges while you wait for the center to hit that perfect internal temp for your moist chicken breast technique.
Preparation Steps for Your Juicy Beer Can Chicken Recipe
Okay, this is where we separate the backyard cooks from the master grillers. You can’t just salt and throw this bird on the heat! Getting your chicken ready for its vertical bath is the crucial step that guarantees that incredible, flavorful crust and helps us achieve that moist chicken breast technique everyone raves about. We start with the most important, non-negotiable action: drying that chicken like there’s no tomorrow.
Use lots and lots of paper towels to get every bit of surface moisture gone. Seriously, pat it until you think you’re rubbing off the skin! Moisture equals steam initially, and we want actual dry heat to crisp that skin up later. Once it’s bone dry, grab that olive oil; it acts like the glue for our flavor bomb.
Creating the Best Beer Can Chicken Rub
Now for the flavor profile! My go-to rub is simple but punchy. We’re mixing up salt, paprika for that gorgeous color, pepper, garlic powder, onion powder, and just a whisper of thyme. The salt is essential—it actually helps draw out a little more surface moisture while it sits, ensuring crispiness later. You can find the exact amounts I use in my dedicated guide on the best beer can chicken rub, but the ratio of savory spices to salt needs to be spot-on.
Here’s my personal tip for maximum flavor penetration in preparation for this Juicy Beer Can Chicken Recipe: once you’ve rubbed the outside, gently lift the skin over the breast and leg meat and rub about half of that spice mixture directly onto the meat underneath the skin. It protects the meat from drying out during the long roast and ensures that every single bite is seasoned, not just the outside layer!
How to Cook Beer Can Chicken: Grilling Instructions for a Juicy Beer Can Chicken Recipe
This is the moment of truth! Getting the heat right on the grill is what ties the whole Juicy Beer Can Chicken Recipe together. We are aiming for gentle, consistent heat, not a raging inferno that chars the outside before the inside is safe to eat. Remember, we want that steam doing its job!
First things first: preheat your grill to medium-low, which means we’re targeting about 325°F (160°C). If you’re using charcoal, this is the time to bank your coals onto the sides of the grill basin. You want the chicken assembly sitting squarely over the empty center—that’s indirect heat, folks. Direct heat will burn your spices before that beer even gets warm!
Once the temperature is stable, carefully—and I mean CAREFULLY—place your chicken assembly right onto the grate, centered over the coals. Close that lid! That steam needs to build up. You’re looking at a total cook time of about an hour and fifteen minutes up to an hour and a half. Every grill runs a little differently, so you need to trust your thermometer more than the clock.
For more general tips on keeping your meat happy on the grill, you need to check out my guide on grilling techniques for moisture. But for this setup, just leave it alone and let the physics do the hard work!
Monitoring Temperature for the Perfectly Cooked Whole Chicken
Temperature is the absolute key to safety and ensuring you nailed that moist chicken breast technique. You cannot guess this part! You need an instant-read thermometer, and you need to use it correctly. Don’t just poke the breast; that can be thinner than the thigh and will tell you it’s done way too soon.
Insert that probe deep into the thickest part of the thigh, making absolutely sure you’re not touching the bone. The bone will read hotter and lie to you! You are aiming for 165°F (74°C). When you hit that number, pull it immediately. If you let it sit even five minutes past that point, you risk losing some of that beautiful internal moisture we worked so hard to trap in there. This final temperature check guarantees you have a perfectly cooked whole chicken.
Tips for Success with Your Juicy Beer Can Chicken Recipe
So, you nailed the temperature, the skin looks golden, and you’re ready to carve—hold your horses for just one more crucial minute! If you skip this step, all that work creating the Juicy Beer Can Chicken Recipe goes right down the drain. Honestly, I used to rush this part when I first started grilling, and I paid the price every single time. But now? This step is sacred!
We’re talking about resting the bird. It feels counterintuitive when you’re hungry, but patience pays off huge dividends in moisture retention for that notoriously tricky breast meat. Trust me on this one; this ties directly into the secret to juicy grilled meat.
The Critical Resting Period for Moist Chicken Breast Technique
Once that chicken comes off the grill at 165°F, carefully lift it off the can (it’s hot!) and set the whole bird onto a clean cutting board. Now, forget about it for a full fifteen minutes. Why fifteen? Because during cooking, all the internal liquids are rushing around like crazy. If you slice it right away, all that beautiful steam and flavor just floods out onto the board instead of staying where it belongs—in the meat.
Resting allows those muscle fibers to relax and reabsorb the moisture. When you finally carve it, the juices stay where they should be. This single action is the most reliable part of the moist chicken breast technique, ensuring that perfect, tender bite even hours later.
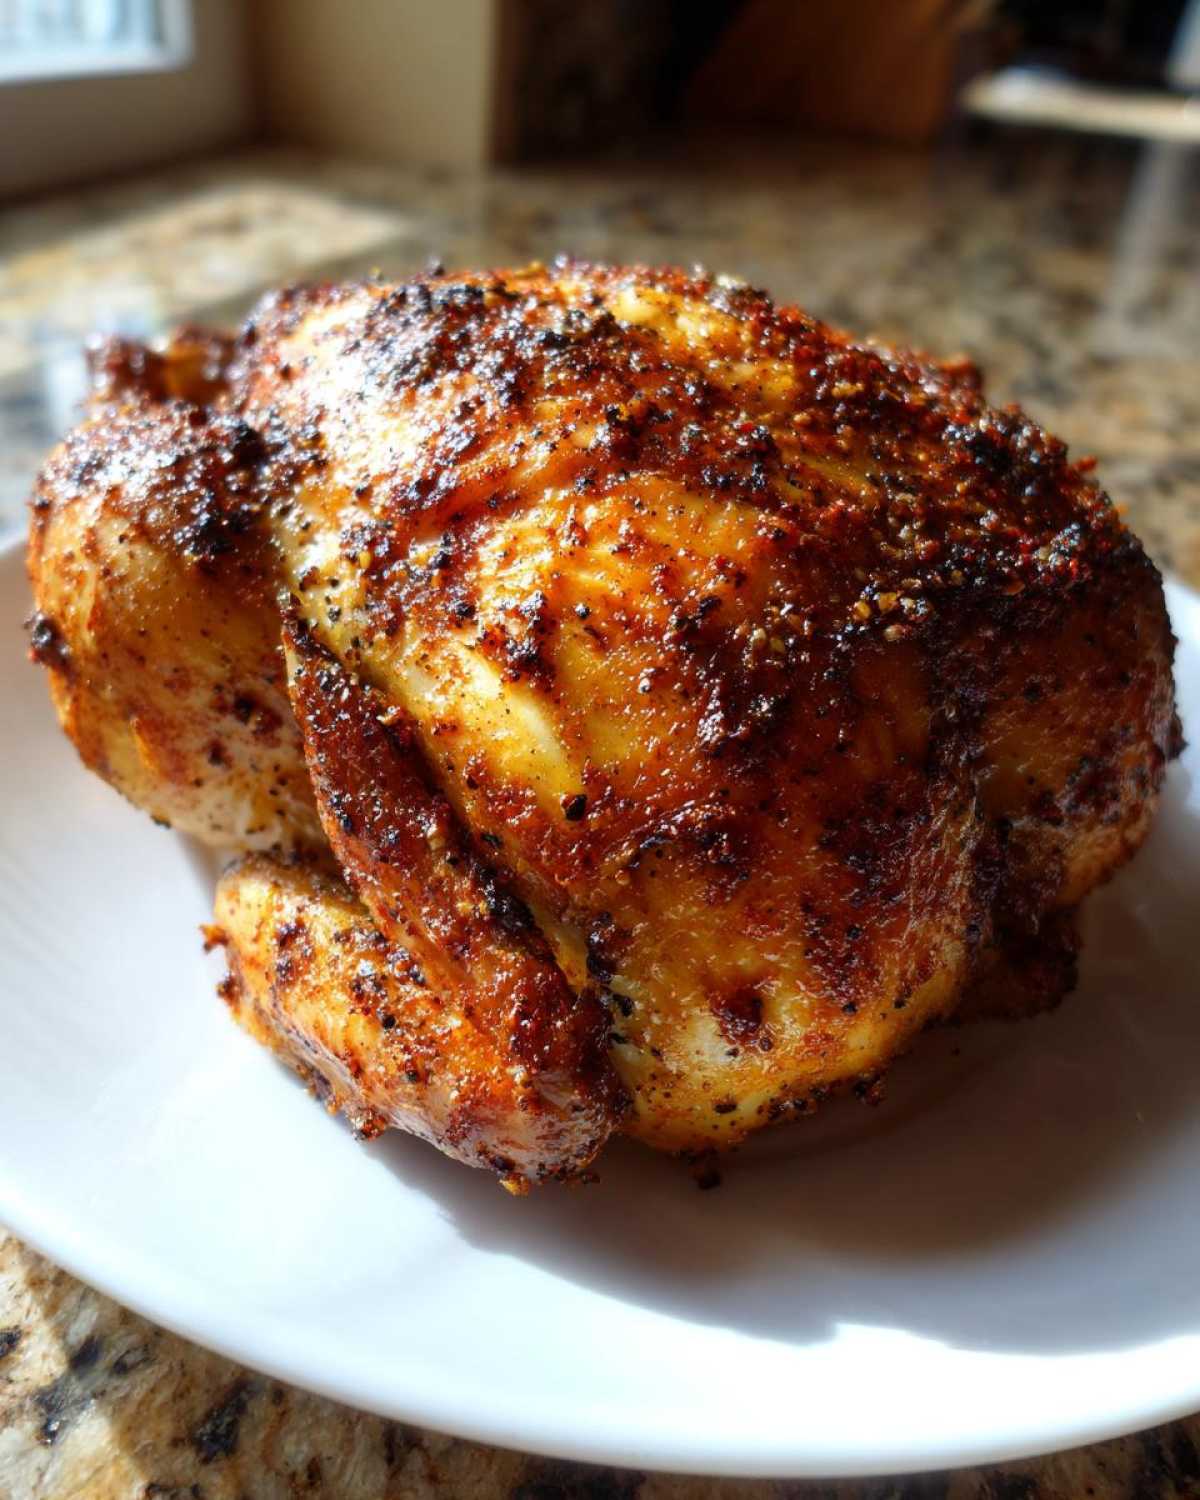
Serving Suggestions for Beer Infused Poultry
Wow, you did it! Your kitchen probably smells absolutely incredible right now. That savory, smoky aroma mixed with that faint whisper of beer is just heaven! Now that you’ve mastered the Juicy Beer Can Chicken Recipe, the next question is always, “What should I serve with this masterpiece?” You don’t want a heavy side dish competing with that perfectly seasoned chicken skin, you know?
Since we cooked this on the grill, I always try to keep the sides simple and ideally something I can toss on the grates next to the chicken while it rests. This keeps cleanup low and keeps the backyard BBQ vibe going!
- Grilled Asparagus or Green Beans: Toss them lightly in olive oil, salt, pepper, and maybe a squeeze of lemon juice right before they hit the grill grates. They get tender-crisp perfection in about 8 minutes while the chicken is relaxing.
- Creamy Coleslaw or Potato Salad: There’s just something about rich, tangy coleslaw next to smoky poultry. It cuts through the richness beautifully. It’s a classic for a reason!
- Roasted Garlic Cauliflower Mash: If you want something a little fancier but still comforting, you have to try roasting the cauliflower alongside the garlic first. The deeper flavor works perfectly with the beer infusion. You can find my favorite way to make it super creamy—without all the fuss—over on my guide to roasted garlic cauliflower mash with butter. It’s a game-changer!
- Simple Corn on the Cob: You can boil it first and then butter and char it slightly on the grill for a little smoky kiss. Sweetness always pairs well with savory protein.
Whatever you choose, make sure you carve that chicken right after the 15-minute rest. That golden skin and shockingly moist meat are best enjoyed immediately!
Storage and Reheating Instructions for Leftover Juicy Beer Can Chicken Recipe
You made extra? Good for you! Leftover chicken is the best second meal, but only if you treat it right. Since this is such a fantastically juicy bird thanks to our vertical roasting method, we need to be careful not to dry it out when we warm it up later. My biggest rule here is speed—you want to get that chicken put away while it’s still good. Don’t let it sit out on the counter for more than two hours, seriously. Bacteria loves cooked poultry just as much as we do!
When you’re ready to store it, cut the meat off the bones first. Trying to keep a whole carcass cold and maneuvering it into containers is just a pain, and it takes up too much fridge space. Wrap the carved pieces tightly in foil or pop them into airtight containers.
Now, how do we bring that moisture back to life? You might think the microwave is the answer, but no, that just turns things rubbery fast. We want gentle heat to coax those juices back out.
I generally go with the oven for any large chunks. Set your oven super low, like 275°F (135°C). You can add just a tiny splash of water or even some leftover chicken broth to the bottom of the baking dish, cover it tightly with foil, and let it warm through slowly. This traps just enough steam to re-moisturize the meat without steaming it to death.
If I just have a few slices of breast meat and I’m in a huge rush, I’ll skip the oven completely. Slice the meat thinly against the grain, toss it in a hot skillet with just a drizzle of olive oil, and pan-fry it quickly for a minute or two. That flash of heat warms it up while protecting the structure. Perfect for topping a salad or throwing into tacos the next day! This ensures you still get that tender feeling, even when it’s leftovers from our amazing Juicy Beer Can Chicken Recipe.
Frequently Asked Questions About Beer Can Chicken
I always get a ton of questions once people decide to tackle this incredible bird. Honestly, most of the things people worry about are easily managed with a quick tip or two, especially regarding safety and setup. It’s not scary, I promise! Mastering the vertical chicken roasting method is easier than you think, and once you do it, you’ll never go back to just roasting flat on a pan.
Let’s clear up some of the common hurdles people run into when trying this beer infused poultry for the first time. Mostly, folks worry about tipping over or whether the beer is actually doing anything useful! For more specific technique walkthroughs, you can always check out my full guide on how to cook beer can chicken.
Can I use the oven instead of the grill for this Juicy Beer Can Chicken Recipe?
Absolutely, you can! While I prefer the smoky char the grill gives this Juicy Beer Can Chicken Recipe, the mechanics work exactly the same in your home oven. The essential part of this simple poultry roasting guide isn’t the flame; it’s the vertical position allowing the steam to work. If you move this indoors, just set your oven slightly lower, maybe around 300°F to 325°F, and expect the cooking time to increase slightly as the oven tends to hold heat differently than an open grill.
Make sure whatever pan you use can safely hold the assembly, and remember, you’re still aiming for that 165°F internal temperature in the thigh. It’s a fantastic way to get a moist chicken breast technique indoors during the off-season!
Is it safe to drink the beer left in the can after cooking?
Oh, goodness, no! Please do not even think about it. That leftover liquid is NOT beverage quality anymore. It’s basically super-heated, concentrated chicken-and-spice-infused beer sludge. It’s been sitting under a whole bird on a hot grill for an hour and a half. Toss it out immediately after you pull the chicken off the heat. We want the flavor inside the bird, not in our glasses!
How do I stop the chicken from tipping over on the grill?
This is the big one! Tipping equals disaster, scorching your precious rub, and losing all that beautiful steaming liquid. If you don’t have one of those fancy vertical stands, which I highly recommend for true peace of mind, you need to make sure your beer can is sturdy and your heat is low. When placing the chicken on the grill, you want the legs spread out wide, acting like a tripod base, with the can providing the central support. For easy backyard BBQ chicken, sometimes I gently wedge some balled-up foil around the base of the can on the grate just to give it extra lateral support. Stability is key for this ultimate whole chicken recipe!
Should I use a full can of beer or only half a can?
I learned this the hard way! Use a full can, but you pour out about half before you put the bird on. Why? If you start with a full can, the initial boil will bubble over and run down the outside of the can and onto your grill grates, wasting that precious steam flavor. Pouring out half leaves enough liquid to generate steam for the whole cooking process without causing a major messy overflow early on. It’s all part of my secret for ensuring this is a truly juicy grilled chicken recipe.
Estimated Nutritional Data for This Recipe
Now, I always tell people not to sweat the numbers too much when you’re cooking something this phenomenal, but I know some of you track macros! The good news is that by roasting vertically and not adding tons of extra fat halfway through, this is a relatively lean way to cook a whole bird. Remember, this is based on using a standard 4lb chicken and the light beer specified in the recipe.
These estimates are for one serving, which is exactly one-quarter of the finished chicken (dark and white meat combined).
- Calories: Approximately 450 per serving
- Protein: A solid 50 grams! That’s why it’s such a great main course.
- Total Fat: Around 25 grams (much of that comes from the skin, which you can control!)
- Carbohydrates: Very low, just about 2 grams, since we aren’t using sugary sauces.
As always, this data is just a guideline. If you substitute a darker, heavier beer, those numbers might shift slightly. Enjoy this amazing dish and know you’ve made an incredibly flavorful—and decently balanced—meal!
PrintJuicy Beer Can Chicken Recipe

Follow these steps to make a whole chicken that stays moist inside while achieving crispy skin using the vertical beer can roasting method.
- Prep Time: 15 min
- Cook Time: 90 min
- Total Time: 105 min
- Yield: 4 servings
- Category: Main Course
- Method: Grilling
- Cuisine: American
- Diet: Low Fat
Ingredients
- 1 whole chicken (about 4 lbs)
- 1 can (12 oz) beer, room temperature
- 2 tablespoons olive oil
- 1 tablespoon kosher salt
- 1 tablespoon paprika
- 1 teaspoon black pepper
- 1 teaspoon garlic powder
- 1 teaspoon onion powder
- 1 teaspoon dried thyme
Instructions
- Remove giblets and neck from the chicken cavity. Pat the chicken completely dry, inside and out, using paper towels.
- In a small bowl, mix the salt, paprika, pepper, garlic powder, onion powder, and thyme to create the dry rub.
- Rub the olive oil all over the exterior of the chicken. Sprinkle the dry rub evenly over the entire surface of the chicken.
- Open the beer can and pour out about half of the liquid. Do not discard the liquid.
- Carefully position the chicken upright over the open beer can, inserting the can into the cavity so the chicken balances on the can and its legs. The beer will steam inside the chicken as it cooks.
- Preheat your grill to medium-low heat (around 325°F or 160°C). If using charcoal, bank the coals on the sides to create indirect heat.
- Place the chicken assembly (chicken on the can) on the cooler side of the grill, away from direct heat. Close the lid.
- Grill for approximately 1 hour and 15 minutes to 1 hour and 30 minutes, or until an instant-read thermometer inserted into the thickest part of the thigh (avoiding bone) registers 165°F (74°C).
- Carefully remove the chicken from the grill using tongs and heat-safe gloves. Let the chicken rest on a cutting board for 15 minutes before carving. Do not drink the remaining beer in the can.
Notes
- Use a light-colored beer, like a lager or pilsner, as dark beers can sometimes impart a bitter flavor.
- If you do not have a dedicated vertical chicken roaster stand, you can use a sturdy, empty soda can that has been cleaned thoroughly.
- For extra crispy skin, you can briefly move the chicken over direct heat for the last 5 minutes of cooking, watching closely to prevent burning.
Nutrition
- Serving Size: 1/4 chicken
- Calories: 450
- Sugar: 1
- Sodium: 450
- Fat: 25
- Saturated Fat: 8
- Unsaturated Fat: 17
- Trans Fat: 0
- Carbohydrates: 2
- Fiber: 0
- Protein: 50
- Cholesterol: 180