

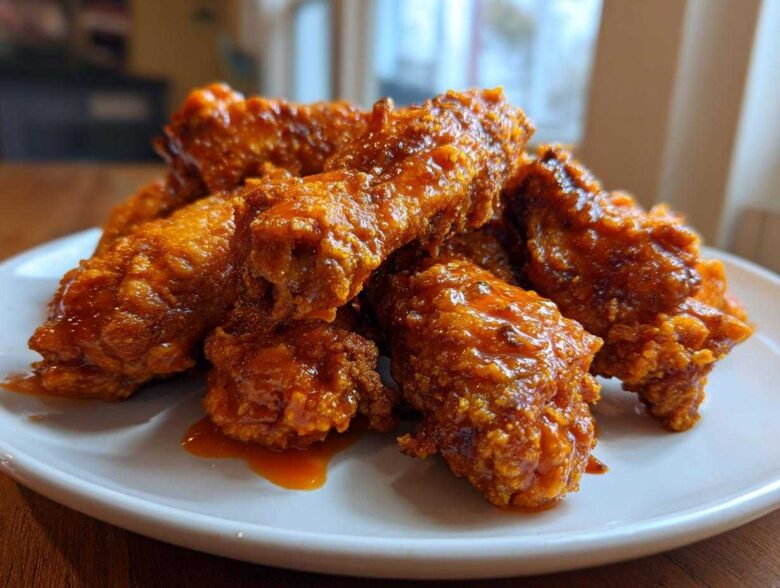
Listen, I’ve been there. You haul out the grill, you manage to get those beautiful wings on the grates, and ten minutes later? They’re boiled, charred, or somehow still raw in the middle. Forget that sad BBQ fate! I spent years trying to crack the code for truly Crispy Grilled Chicken Wings with Buffalo Sauce without resorting to deep-frying, and I finally figured out the trick.
The secret ingredient isn’t some fancy rub; it’s patience built into a two-step system: we start them in the oven (or air fryer if you have one handy!) and *then* we hit the fire. This primes the skin so perfectly that when they hit the high heat of the grill, they develop that shatteringly crisp texture that usually only comes from submersion in oil. Trust me, this is the ultimate backyard bbq wings method, and once you try it, you won’t ever go back to grilling bare wings again. No more soggy skin, just smoky, tangy perfection. If you’re ready for the best outdoor cooked crispy chicken wings of your life, check out more tips over at our main recipe index!
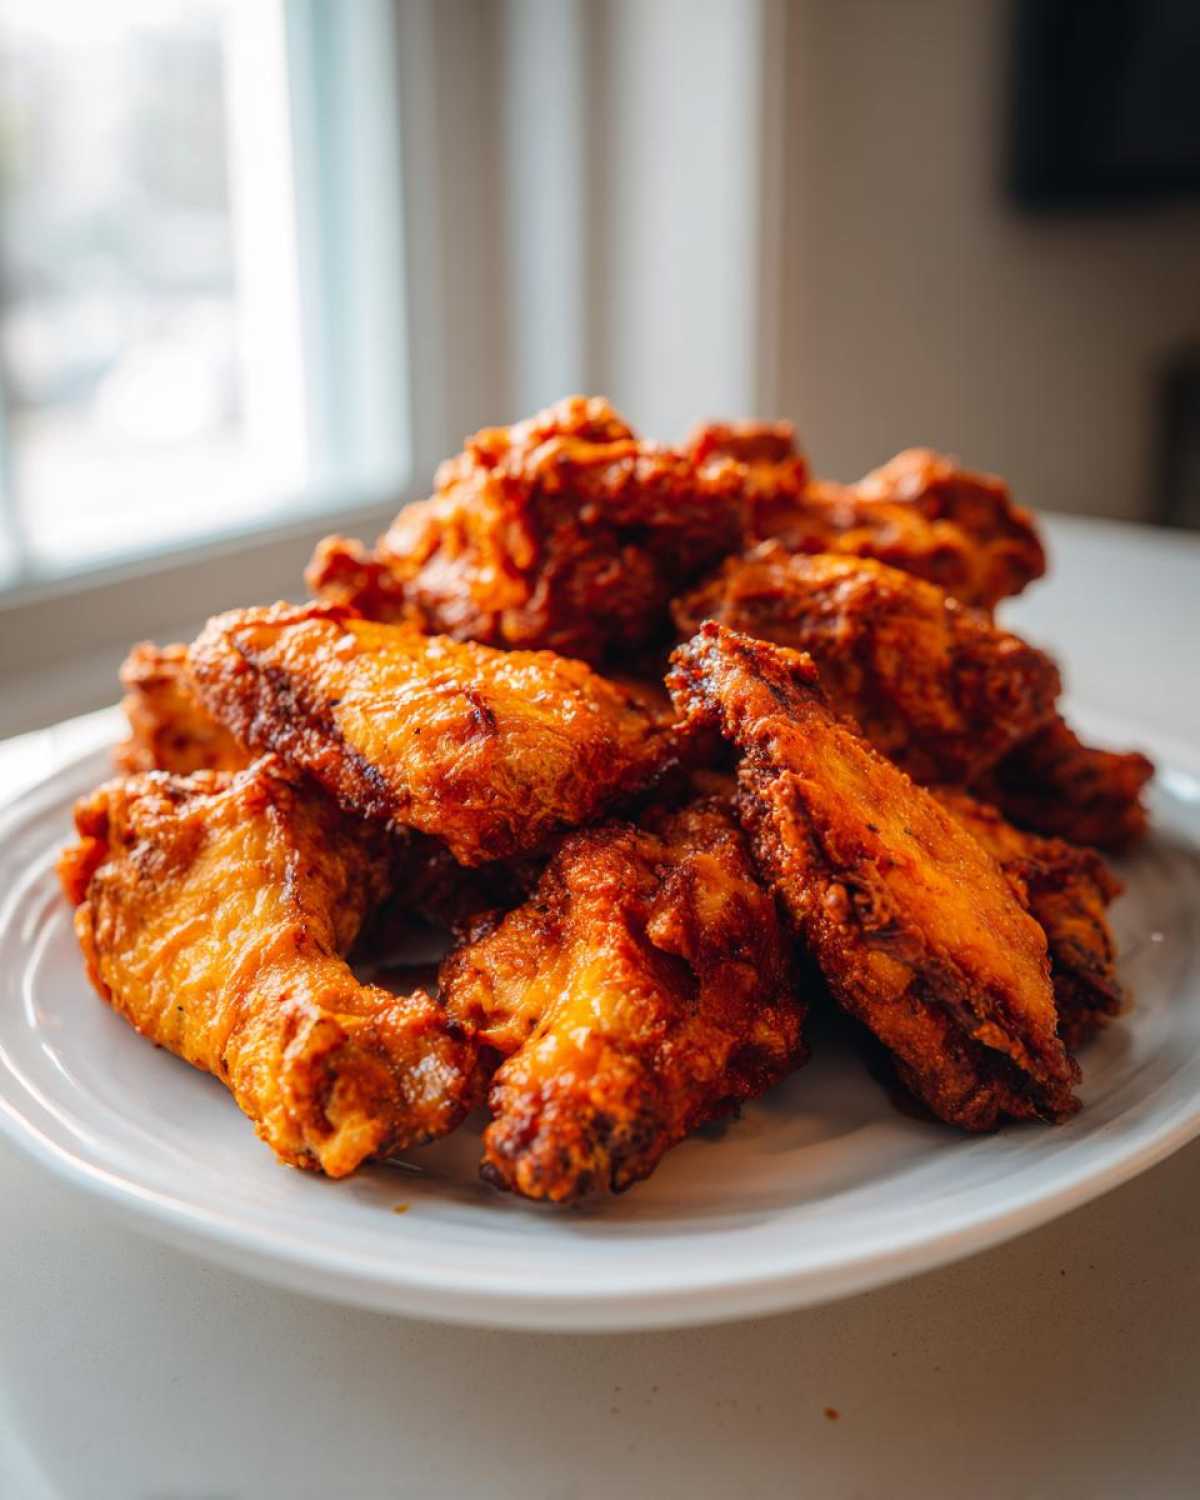
Why You Will Master Crispy Grilled Chicken Wings with Buffalo Sauce
I know you’ve been burned (literally!) by grilled wings before. Direct heat loves to steam chicken skin, but not this time around. That initial oven blast totally changes the game, prepping the skin so the grill only has to worry about getting that smoky char onto already rigid skin. This method means we’re cutting down on active cook time while still delivering incredible results. You’re going to nail that perfect texture every single time you fire up the charcoal.
Key Benefits for Your Backyard BBQ Wings
- Genuine Crispness: Achieves shatteringly crisp skin without needing a deep fryer.
- No More Soggy Mess: The two-step process locks in texture so the sauce stays clinging, not sliding off.
- Authentic Flavor Fusion: You get the char of the grill mixed perfectly with that classic tangy kick.
- Ultimate backyard bbq wings flavor profile guaranteed for your next party.
Ingredients for Crispy Grilled Chicken Wings with Buffalo Sauce
Okay, let’s get down to what actually goes into these game-changers. The ingredient list is super short, which I love for busy weekend cooking! But two items are non-negotiable if you want that crunch we’re aiming for. That’s why I broke the list into two parts—what hits the wings before they see the heat, and what makes up that irresistible sauce.
Don’t let the simplicity fool you; the magic really is in the baking powder. It does something funny to the chicken skin that lets the fat render out better and keeps everything super dry for the grilling step. Trust me on this one, it’s the secret to incredible grill safe crispy chicken wings!
For the Crispy Dry Rub for Grilled Wings
- 2 lbs chicken wings, separated into flats and drumettes (make sure they are bone-in for better texture!)
- 1 tablespoon baking powder (Seriously, use baking powder, NOT baking soda. They are chemical opposites!)
- 1 teaspoon salt
- 1/2 teaspoon black pepper
For the Homemade Buffalo Sauce for Grilling
When you make this, remember to keep the heat low. We’re melting, not boiling, so that sauce stays emulsified and ready to coat perfectly later.
- 1/4 cup unsalted butter
- 1/2 cup cayenne pepper hot sauce (If you want that authentic tang, stick to a classic brand like Frank’s—it’s worth it!)
- 1 tablespoon white vinegar
- 1/2 teaspoon Worcestershire sauce
The Perfect Grilled Wings Technique: Oven Then Grill Chicken Wings
This is it, the moment where we solve the age-old problem of How to make crispy wings on the grill! Seriously, if you’ve ever wondered if you could get that fried texture outside over hot coals, the answer is yes, but only if you use this oven then grill chicken wings technique. We’re essentially pre-cooking the wing so that when it hits the extreme heat of the grill, the skin immediately crisps up instead of steaming.
I resisted this method for years because I thought grilling should be a one-step process. Oops! My first few batches were sad, rubbery disappointments. Now, I swear by separating the rendering from the charring. This gives you amazing control. Follow these two steps exactly, and you’ll have the best smoky wings imaginable.
Step 1: Prepping and Baking for Maximum Crispiness
First things first: moisture is the enemy of crisp! Take your whole wings and pat them down with paper towels until you think they can’t possibly get any drier. I go over them three or four times!
Next, toss them in that baking powder mixture—don’t skip it! Then, you’re preheating your oven to a solid 400°F. Line a sheet pan with foil (for easier cleanup, obviously!) and put a wire rack on top. Arrange those seasoned wings on the rack in a single layer. We bake them for exactly 25 minutes. Coming out of the oven, they won’t be fully browned, but the skin will feel tight and ready for battle.
Step 2: High Heat Grilling Chicken Wings
Now we move outside! Get your grill fired up to medium-high, aiming for about 400°F on the gauge. I always lightly brush the grates with oil right before the wings go on—don’t want them sticking right when they’re almost perfect.
Transfer those oven-crisped wings straight onto the hot grill. You only need about 4 to 6 minutes on each side. The key here is turning them frequently. We’re looking for deep, beautiful browning and that loud crackle of perfectly rendered skin. No more waiting around for them to cook through; we just need that final smoky sear. For more flavor ideas on your grill, check out my recipe for honey garlic wings!
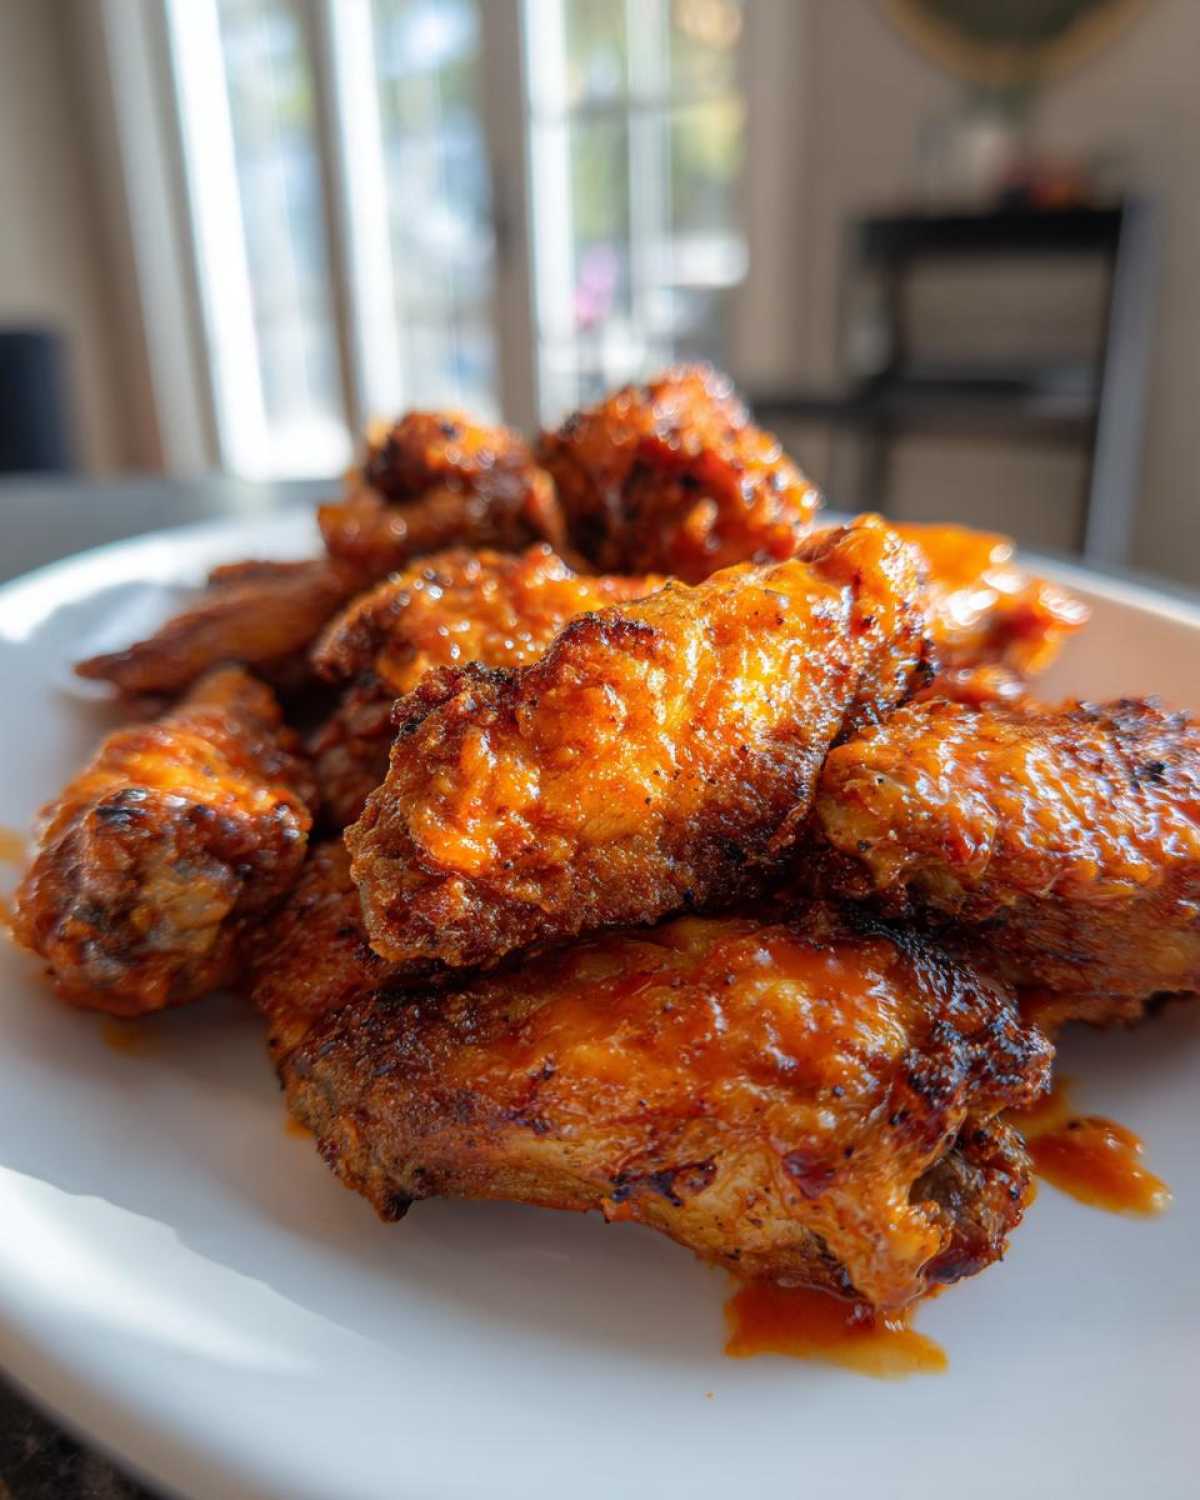
Making the Classic Buffalo Sauce for Grilling
Once those wings are about halfway done in the oven, it’s time to whip up the sauce. This step is so simple—it’s just melting things together, but pay attention to the heat! You need a small saucepan on the absolute lowest setting your stove will allow. We take the butter and just let it get soft and runny. Don’t let it brown or sizzle!
Once it’s melted, whisk in your hot sauce, that tiny splash of white vinegar for tang, and the Worcestershire sauce. Take the pan off the heat as soon as everything is smoothly combined. This quick warming ensures your homemade buffalo sauce for grilling stays perfectly emulsified and glossy, ready to coat your crispy wings just before serving. It’s that easy!
Saucing Timing for Saucy Grilled Wings That Stay Crispy
This is often where people fail when making Crispy Grilled Chicken Wings with Buffalo Sauce on an outdoor grill. They see those beautiful, charred wings coming off the grate and immediately dunk them right back into the sauce pan sitting on the side burner, or they try basting them right on the heat. Big mistake! If you sauce them while they are still on the high heat of the grill, two bad things happen immediately.
First, the sugar and vinegar in the sauce burn almost instantly, giving you this sharp, acrid taste instead of tangy heat. Second, that moisture hits the perfectly crisp, rendered skin we worked so hard to build up in the oven—and bam! It turns instantly rubbery. We want our wings saucy, but they need to stay crispy, right?
The key is Step 8 in the instructions. Once those wings look perfect coming off the grill, you whisk them straight into a large, clean bowl—where they’ve never been before. Pour about half of that beautiful homemade Buffalo sauce right over the top and toss them gently but quickly until every piece is glistening.
Tossing them off the heat coats them evenly in a thin layer of sauce, letting the crisp exterior hold up against the moisture. Serve them immediately with the rest of the sauce on the side for extra dipping if folks want more punch. For more amazing chicken tips that hold up well under sauce, you absolutely have to check out my honey garlic butter chicken recipe—the technique for getting that glaze to stick is similar!
Tips for Success with Crispy Grilled Chicken Wings with Buffalo Sauce
Achieving that perfect, smoky crunch takes a little foresight, but I promise, these little hacks make it totally fail-proof. If you’re using an air fryer instead of the oven as the first step—which I totally recommend sometimes—just cook them at 380°F until they are mostly cooked through, which is usually about 18 minutes. That counts as a great grill safe crispy chicken wings technique!
Another huge thing is sauce amount. When you do the final toss, don’t drown them! Use just enough to coat them lightly. If you want that extra saucy flavor, save extra sauce for dipping like we talked about earlier. If you need quick ideas for how to cook wings without the grill, you should absolutely check out my guide to speedy air fryer wings—it’s a lifesaver on a busy weeknight!
Serving Suggestions for Tangy Spicy Grilled Wings
Those tangy spicy grilled wings are pretty much perfect standing alone, right? But since these are definitely destined for a party—whether it’s a backyard cookout or the legendary Sunday football marathon—you always need the perfect supporting cast. I love keeping the sides simple so the wings stay the true star of the show.
When I’m prepping for a big spread, I always make sure I have two things ready: a great cooling dip and something crunchy to cleanse the palate between bites of heat. These wings fly off the platter way too fast when they are center stage!
First up, the dips! You absolutely have to have blue cheese or ranch dressing. It’s not optional; it’s the law of Buffalo wings! I usually whip up a big bowl of ranch because it’s a crowd-pleaser, but if you’re feeling fancy, a good, chunky blue cheese dip is iconic. I recently made my amazing Ultimate Game Day Loaded Nachos for the same crew, and believe me, the ranch from that recipe works just as perfectly here!
For the crunch factor, grab a big platter and pile it high with celery sticks and carrot sticks. They offer a cool, watery break from the heat, and they’re perfect for scooping up any extra blue cheese dressing left behind. While these game day grilled wings are awesome tucked into a slider bun if you’re feeling ambitious, I highly recommend sticking to the classic finger-food format.
Storage and Reheating Instructions for Leftover Crispy Grilled Chicken Wings
Oh, leftovers! If you managed to have any of these beauties left over—which I seriously doubt, because they disappear fast—you need to store them correctly. The sauce is vinegar and butter based, so don’t leave them sitting out! Get them into an airtight container and pop them in the fridge as soon as they cool down a little bit. They’ll keep fine for about three days, tops.
The biggest challenge with sauced wings is reheating, because the microwave just turns that glorious crisp skin into sad, damp leather. We absolutely cannot have that! If you want to bring back the texture we worked so hard for, you need dry heat.
The oven is my go-to, even for just four wings. Preheat it to about 375°F. Pop the wings right onto a baking sheet—no rack needed this time—and let them bake for about 8 to 10 minutes. You’ll hear the sauce start to crackle again!
If you’re feeling lazy or only have a few left, the air fryer is faster. Set it to 350°F and crisp them up for about 4 minutes. It blasts that residual moisture right off the skin. Just avoid the microwave at all costs unless you’re planning on turning them into a sad wing soup!
Frequently Asked Questions About Crispy Grilled Chicken Wings
I know you might have a few lingering concerns after reading about our two-step dance between the oven and the fire. Grilling wings feels tricky, but once you apply the science, it’s totally easy! People always ask me similar things when they look at this recipe, so I gathered the top ones here for you.
Can I skip the oven step and just grill the wings?
Look, you *can*, but I won’t pretend it’s going to give you the same results as this recipe. When you put raw, wet wings straight onto high heat, the first thing that happens is the moisture under the skin turns to steam. That steam cooks the skin in a bad way, making it rubbery or chewy before it even has a chance to crisp up and render that fat. If you absolutely have to skip the oven, you need to make sure your wings are ridiculously dry, and you’ll need to use much, much lower heat for a longer time, maybe 20 minutes, turning constantly, before cranking the heat up for a final sear. Spoiler: the oven step is what gets you that shatteringly crispy texture!
Is this recipe gluten free grilled buffalo wings friendly?
Great question, especially with so many dietary needs these days! Yes, this entire recipe is naturally gluten free grilled buffalo wings friendly, which is awesome. The wings themselves are meat, and the coating we use is baking powder, salt, and pepper. The homemade Buffalo sauce is just butter, hot sauce, vinegar, and Worcestershire—which are typically gluten-free across major brands.
However, I always tell people to double-check the label on their specific bottle of hot sauce and Worcestershire sauce. Sometimes stabilizers or flavorings sneak in that might contain wheat derivatives, though it’s rare in the classic versions. If you are cooking for someone with a severe allergy, just take that extra second to confirm the bottle labels!
What is the best type of hot sauce for authentic Buffalo flavor?
If you want the real deal, you need a sauce that leans heavily on cayenne peppers and vinegar. The tanginess from the vinegar is just as important as the heat! I stick to the classic bottled cayenne pepper sauces—you know the bright red ones. They are formulated to mimic the original sauce served in Buffalo, NY. If you use a thick, garlic-heavy sauce, your homemade Buffalo sauce for grilling won’t melt as nicely and might burn quicker on the grill grates. Keep it simple, keep it cayenne, and keep that vinegar kick!
If you have any other questions about technique or substitutions, feel free to check out our full recipe guidelines, but honestly, following the two-step heat method is the only true secret here!
PrintCrispy Grilled Chicken Wings with Buffalo Sauce
Follow this method to make chicken wings crispy on the grill using a two-step cooking process and coat them in a classic homemade Buffalo sauce.
- Prep Time: 15 min
- Cook Time: 35 min
- Total Time: 50 min
- Yield: 4 servings
- Category: Appetizer
- Method: Oven then Grill
- Cuisine: American
- Diet: Gluten Free
Ingredients
- 2 lbs chicken wings, separated into flats and drumettes
- 1 tablespoon baking powder (not baking soda)
- 1 teaspoon salt
- 1/2 teaspoon black pepper
- 1/4 cup unsalted butter
- 1/2 cup cayenne pepper hot sauce (like Frank’s RedHot)
- 1 tablespoon white vinegar
- 1/2 teaspoon Worcestershire sauce
Instructions
- Preheat your oven to 400°F (200°C). Line a baking sheet with foil and place a wire rack on top.
- Pat the chicken wings completely dry with paper towels. This step is crucial for crispiness.
- In a large bowl, toss the wings with baking powder, salt, and pepper until evenly coated.
- Arrange the wings in a single layer on the wire rack. Bake for 25 minutes.
- While the wings bake, prepare the Buffalo sauce. Melt the butter in a small saucepan over low heat. Whisk in the hot sauce, white vinegar, and Worcestershire sauce. Remove from heat.
- Preheat your outdoor grill to medium-high heat (about 400°F). Lightly oil the grates.
- Transfer the partially cooked wings directly to the hot grill. Grill for 4 to 6 minutes per side, turning frequently, until the skin is deeply browned and crispy.
- Remove the wings from the grill. Place them in a large, clean bowl. Pour about half of the prepared Buffalo sauce over the wings and toss to coat thoroughly.
- Serve immediately with the remaining sauce on the side for dipping.
Notes
- Baking powder helps raise the skin’s pH level, promoting better browning and crisping during cooking.
- Do not sauce the wings until they are fully cooked on the grill; this prevents the sauce from burning.
- If you prefer a smokier flavor, use a grill that burns wood chips or chunks.
Nutrition
- Serving Size: 5 wings
- Calories: 350
- Sugar: 1
- Sodium: 650
- Fat: 25
- Saturated Fat: 10
- Unsaturated Fat: 15
- Trans Fat: 0
- Carbohydrates: 2
- Fiber: 0
- Protein: 28
- Cholesterol: 110