

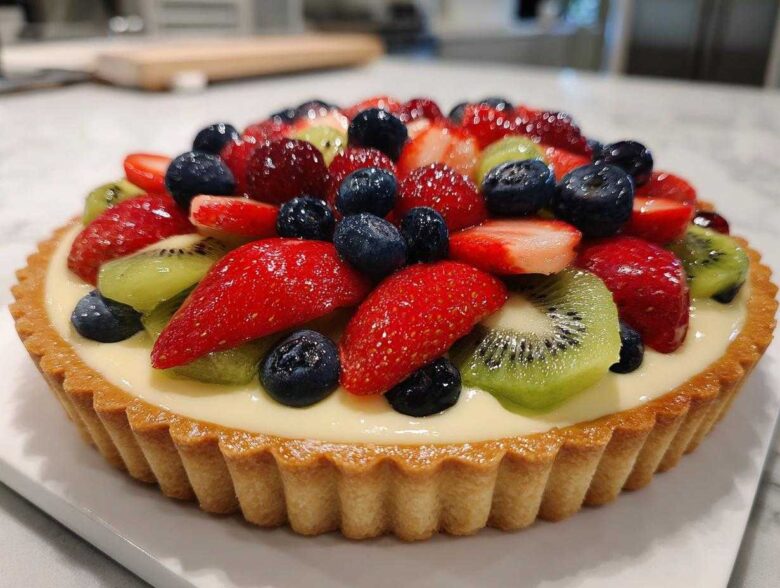
Oh, the fresh fruit tart. It looks like something that should only come out of a Parisian patisserie window, right? But trust me, achieving that show-stopping elegance right in your own kitchen is totally doable! I remember the first time I tried making a classic French pastry like this; the crust cracked, and the cream sagged a little. I was so ready to give up! But after much testing (and probably too much sugar), I finally nailed the perfect process. This is my definitive, step-by-step guide to creating the most beautiful Fresh Fruit Tart with Vanilla Pastry Cream that will truly impress everyone.
Forget those flimsy imitations; we’re going classic here. We’re talking crisp, buttery shortcrust, a silky, vanilla-packed filling, and a dazzling array of fresh fruit. Get ready to unlock the secrets to this elegant summer dessert!
Why This Fresh Fruit Tart with Vanilla Pastry Cream Recipe Works
This isn’t just any dessert; it’s a structural masterpiece designed to stay perfect until the last bite. People come back to this recipe time and time again because it delivers on texture and appearance every single time. Building trust starts with knowing why these specific components matter so much in your Fresh Fruit Tart with Vanilla Pastry Cream.
- The shell shatters beautifully when you cut into it—no soggy bottoms here!
- The vanilla pastry cream is rich, tastes deeply of real vanilla, and holds its shape perfectly under the fruit.
- It creates an impressive, vibrant centerpiece for any gathering.
The Perfect Sweet Shortcrust Tart Dough
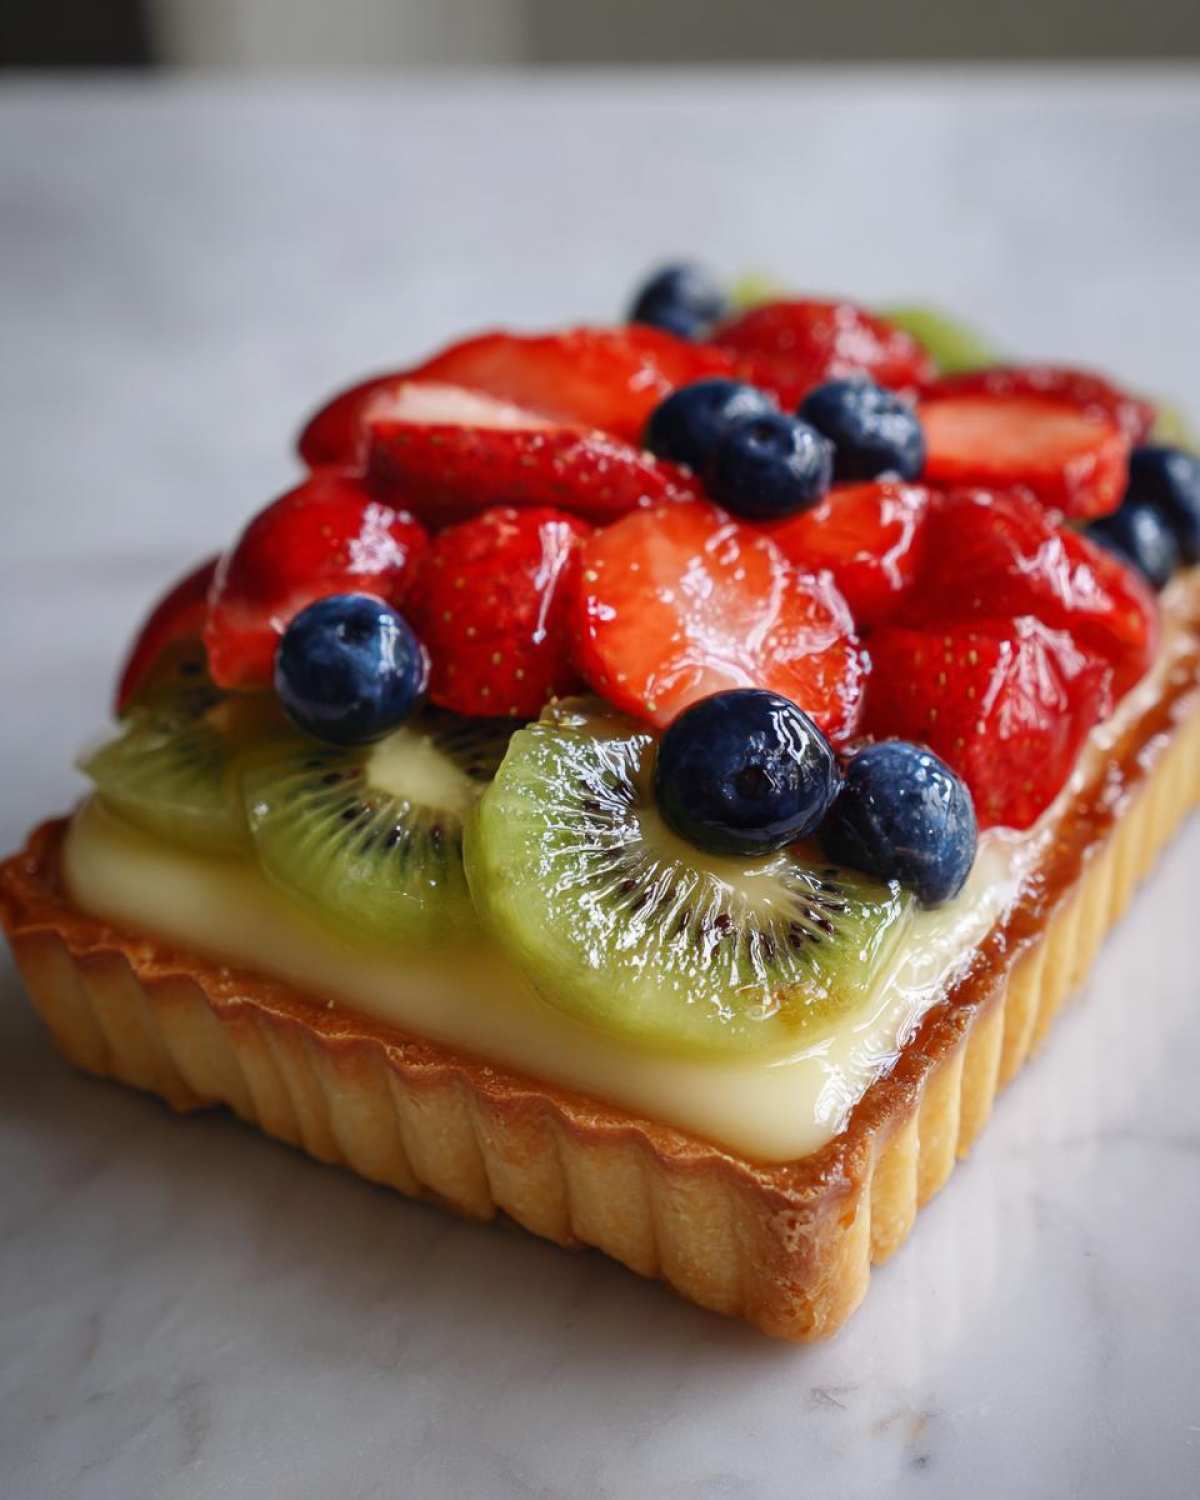
The key to avoiding that dreaded soggy shell is all in the preparation and chilling of your sweet shortcrust tart dough. We work quickly with cold ingredients so the butter doesn’t melt before it hits the oven. Chilling the rolled-out dough right in the tart pan ensures the edges stay sharp and crisp during the blind bake. It creates that wonderful, buttery snap!
Achieving Silky Vanilla Pastry Cream Recipe
The vanilla pastry cream recipe is where all the magic happens for your filling. Nobody wants grainy or weirdly flavored cream, right? We treat the yolks carefully when tempering so we guarantee that incredibly smooth finish. This component becomes the best fruit tart filling because the vanilla bean paste we use gives it that gorgeous flecked look you see in professional Fresh Fruit Tart with Vanilla Pastry Cream.
Essential Ingredients for Your Fresh Fruit Tart with Vanilla Pastry Cream
Okay, let’s get our mise en place sorted! I know listing ingredients can be boring, but for a classic tart like this, precision matters. If you don’t have the right things ready, the whole process gets messy fast. When I first made this, I used slightly soft butter by accident, and the whole dough ended up in the trash! So, take a second, grab what you need, and let’s break this down by component. This way, when it’s time to mix, we’re ready for action. For even more ideas on great pastry, check out this guide to decadent tarts.
For the Sweet Shortcrust Tart Dough
Remember, the dough needs to be cold, cold, cold! The butter should be firm and cubed, not squishy. We want those little buttery chunks to create flakes when they melt in the oven! Also, make sure that vanilla extract is handy; it adds such a lovely background note to the shell.
- 1 1/4 cups all-purpose flour
- 1/2 cup (1 stick) cold unsalted butter, cubed
- 1/4 cup granulated sugar
- 1 large egg yolk
- 1 tablespoon ice water (seriously, use ice water!)
- 1 teaspoon vanilla extract (for dough)
For the Vanilla Pastry Cream Filling
This is the star of the show, so don’t skimp on the vanilla! I prefer vanilla bean paste because those little specks look so beautiful against the fruit, but a really good extract works too. And please, use whole milk here; low-fat just doesn’t give you the same luxurious texture when it thickens.
- 2 cups whole milk
- 1/2 cup granulated sugar (for cream)
- 1/4 cup cornstarch
- 4 large egg yolks (for cream)
- 1 teaspoon vanilla bean paste or extract (for cream)
- 2 tablespoons unsalted butter (for cream) – added at the end!
For the Fruit Topping and Glaze
This part is flexible, which is why I love this dessert for summer! You can use whatever looks gorgeous at the market. Just make sure you have something that can turn into a glaze at the end to keep everything shiny and protected.
- 3 cups mixed fresh fruit (like strawberries, kiwi, blueberries, or mandarin oranges)
- 1/4 cup apricot jam or neutral glaze (for topping)
How to Make the Sweet Tart Shell (Pâte Sablée)
Making the how to make fruit tart shell is our very first hurdle, but don’t sweat it! Success here means avoiding that soggy bottom forever. Start by grabbing your food processor—it makes quick work of this, though you can use your hands if you prefer feeling the cold butter melt (which I don’t recommend!). Pulse the flour, sugar, and cold, cubed butter until it looks like rough sand. Then, quickly add the egg yolk, vanilla, and ice water. Pulse just until it barely holds together. Seriously, the second it clumps, stop!
Wrap that dough into a tidy disk and send it straight to the fridge for at least an hour. This chilling time is non-negotiable; it lets the gluten relax so you can roll it out without shrinking later. Once chilled, roll it out thin—about 1/8 of an inch—and gently coax it into your 9-inch tart pan. Press it in gently, trim the edges, and then poke the bottom all over with a fork. Pop the whole thing in the freezer for 30 minutes! Freezing helps it hold that final shape.
Finally, it’s time to blind bake! Preheat your oven to 375°F (190°C). Line the frozen shell with parchment paper and fill it generously with pie weights or dried beans. Bake it for 15 minutes like that. Then, carefully lift out the paper and weights—careful, it’s hot!—and put the shell back in for another 10 to 15 minutes until it’s perfectly golden brown. Let it cool completely before we even think about filling it!
Mastering the Vanilla Pastry Cream Recipe for Your Fresh Fruit Tart
This vanilla pastry cream recipe is the absolute heart of your creation. If this is runny or lumpy, the whole Fresh Fruit Tart with Vanilla Pastry Cream suffers! My promise to you is that once you get the hang of tempering, you’ll never stress about making smooth crème pâtissière for tarts again. We need that filling to be thick enough to hold the fruit high, but creamy enough to melt in your mouth.
Start by heating your whole milk until it’s just simmering. While that’s warming, whisk your sugar, cornstarch, and those four egg yolks until they get pale and fluffy. The next part requires a steady hand and constant motion. Once your milk is hot, you’re going to drizzle just a little bit in—slowly!—while whisking the egg mixture like mad. This is tempering, and it warms the eggs without scrambling them. Once you’ve added about a cup of milk this way, you can pour the whole mixture back into the pan.
Now, keep whisking constantly over medium heat. You’ll feel it start to thicken, and then, just as it starts bubbling merrily, let it boil for a full minute while you whisk like your life depends on it! Boiling cooks out that starchy taste from the cornstarch. Off the heat, stir in the final butter and the rich vanilla. Transfer it to a shallow dish immediately, and this is key: press plastic wrap directly onto the surface of that gorgeous cream. If you leave a gap, you’ll get a skin on your pastry cream that is impossible to smooth out later. Chill it completely—at least three hours!
Tempering Eggs for Smooth Crème Pâtissière
Tempering is crucial; don’t skip this slow introduction of heat! You are essentially convincing the eggs that they are about to enter a hot bath without shocking them into scrambled bits. Add the hot milk stream by stream, whisking the egg mixture vigorously in between each pour. This technique builds the foundation for the perfectly smooth crème pâtissière that makes this tart shine.
Assembling Your Beautiful Fresh Fruit Tart with Vanilla Pastry Cream
Alright, the waiting is over! Our shell is cool, and our vanilla pastry cream is firm, cold, and ready to transform into the smooth filling we dreamed of. Before spreading it, give that chilled cream a good whisk—it’ll look stiff at first, but incorporating air again makes it spreadable. Spread that lovely filling evenly into your cooled tart shell. Now for the fun part: the **beautiful fruit arrangement**! This is what makes people grab their phones before they grab a plate. You want visual texture and color contrast in your Fresh Fruit Tart with Vanilla Pastry Cream.
Use the largest fruits first, like sliced kiwi or strategically placed strawberries, and then fill in the gaps with smaller berries like blueberries or raspberries. The goal is complete coverage—no pastry cream peeking through if you can help it! Once everything is placed, warm up your apricot jam slightly until it’s thin and brushable. A quick, light coat of that glaze over all the fruit seals in the color and gives it that incredible, professional shine. Don’t skip the glaze—it’s like the varnish on a painting! Pop the whole thing into the fridge for at least 30 minutes to let the glaze set up before slicing. You’ve just made a masterpiece! This assembly process is similar to the techniques we use for no bake fruit tart assembly, just with a baked base.
Seasonal Fruit Tart Ideas and Preparation
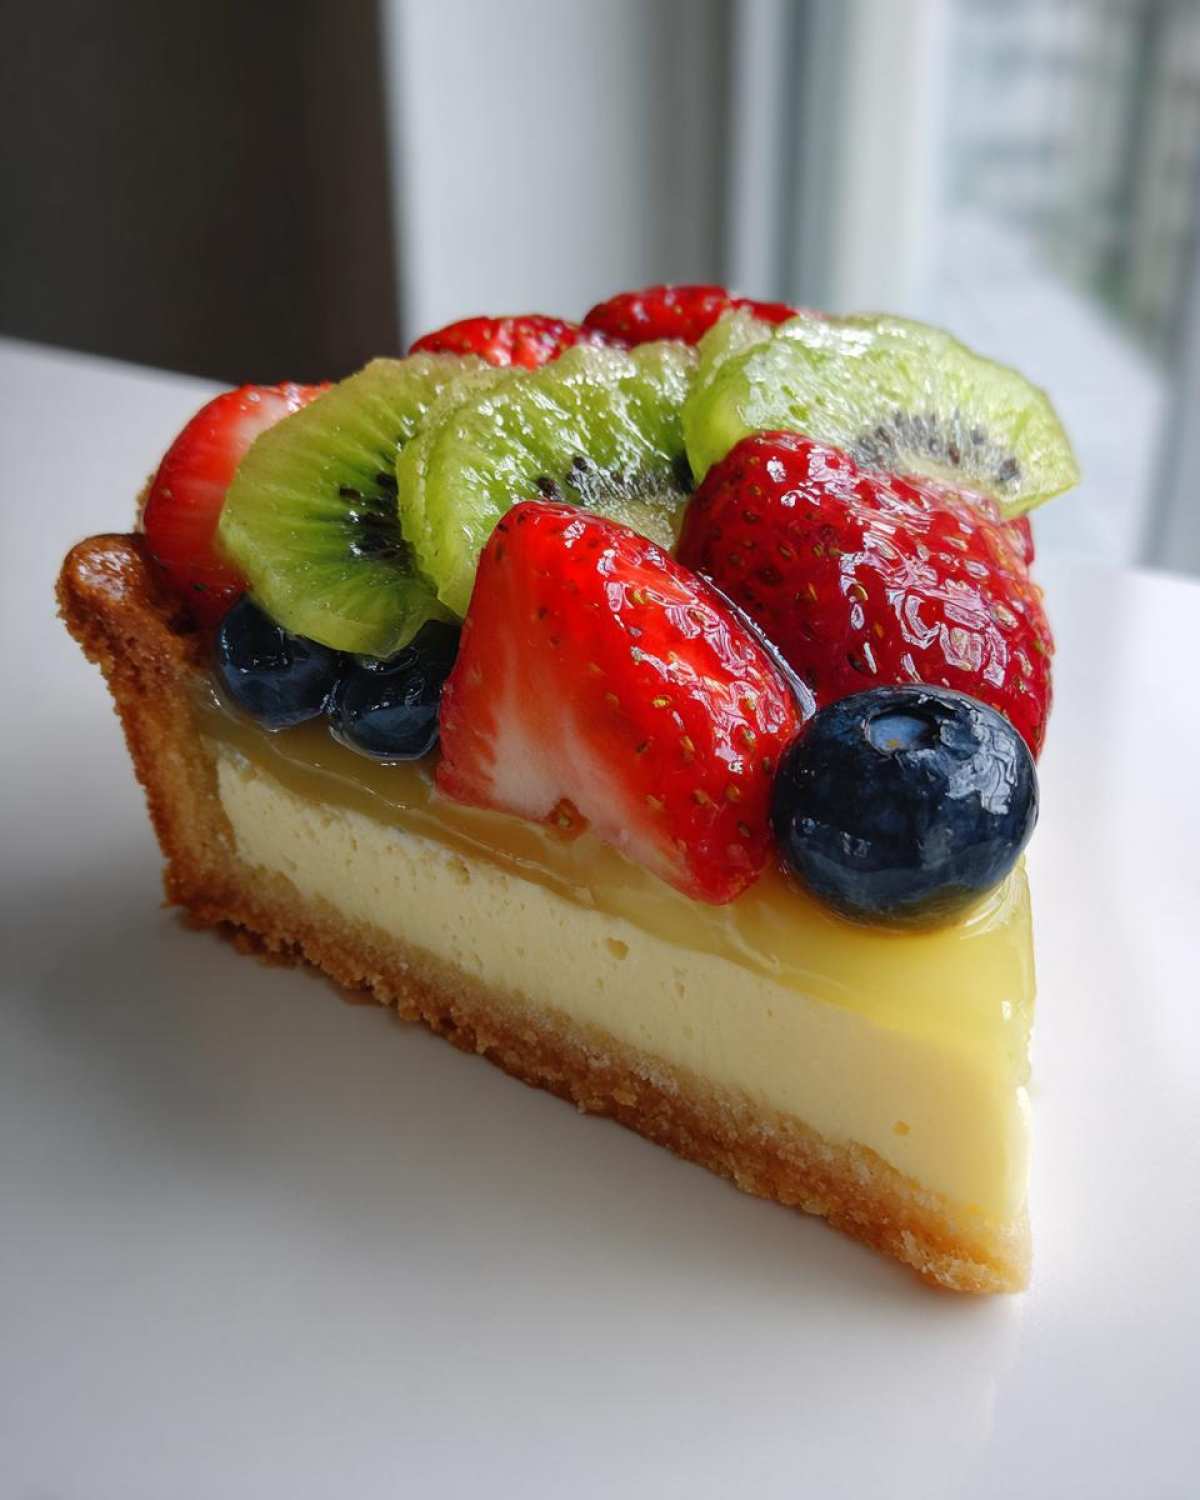
Choosing your fruit is key for the best flavor in your seasonal fruit tart ideas. In spring, think vibrant berries and maybe some thinly sliced mango. Summer screams stone fruit or just heaps of colorful mixed berries! For aesthetics, uniformity is everything. Slice strawberries and kiwi to the exact same thickness so they tuck in next to each other neatly. Make sure every piece of fruit is completely dry before it touches the pastry cream, too—water mixes really poorly with that lovely filling!
Tips for Success Making a Fresh Fruit Tart with Vanilla Pastry Cream
Even with the best recipe, little things can go wrong, especially with something as delicate as this classic French dessert. If you want your Fresh Fruit Tart with Vanilla Pastry Cream to look professional, listen to these final warnings. First, never skip the freezing step for the raw dough before baking; that shock from freezer to hot oven is what keeps your crust edges sharp and prevents it from melting down the sides of the pan.
Second, when you’re chilling that finished pastry cream, make sure you press the plastic wrap right against the surface. If you don’t, that firm, rubbery skin forms, and no amount of whisking can save you from lumps! Also, use your eyes when arranging the fruit—always overlap slightly for a lush look, kind of like tiling a roof. Following these small rules ensures the best texture outcome for your delicious dessert.
Storage and Reheating Instructions for Your Fruit Tart
This gorgeous Fresh Fruit Tart with Vanilla Pastry Cream really shines on the day you make it. Since we are dealing with fresh dairy in the filling and raw fruit on top, it needs to stay chilled. Cover it gently with plastic wrap (don’t smoosh the fruit!) and keep it in the fridge. It’s generally best eaten within two days. After that? The crust starts getting a little sad and softer from the moisture, so enjoy it fast!
Frequently Asked Questions About This Fresh Fruit Tart Recipe
Whenever I share photos of my homemade fresh fruit tart, I get flooded with questions! That’s totally fine; this recipe uses classic French techniques, so it’s natural to have a few queries about the process before you get started. I’ve gathered up the ones I hear most often about the crust, the filling, and the timing.
Can I use store-bought pastry shells for this recipe?
Oh, that’s the eternal question for bakers in a rush! You *can*, technically, but honestly, you’ll be missing out on the best part. The homemade sweet shortcrust tart dough is what provides that necessary delicious, buttery snap. Store-bought ones often taste a little dull or bake up too thick. Trust me, take the extra hour for chilling and baking the shell; it makes all the difference!
What is the best way to prevent the fruit from weeping on the cream?
This is where weeping—or fruit juice seeping into your beautiful filling—comes in. First, make sure your fruit is totally dry after washing it; paper towels are your best friends here! Second, and this is the real secret, use that glaze! Brushing the fruit with warmed apricot jam or neutral pastry glaze seals the fruit’s surface. It’s like giving every berry a little raincoat, keeping all that lovely moisture right where it belongs.
How far in advance can I make the vanilla pastry cream?
You are in luck here, because this is a great part to prep the day before! The **vanilla pastry cream recipe** needs that long chill time anyway to firm up properly. You can make the pastry cream filling easy way ahead of time—up to two days in advance—as long as you keep that plastic wrap pressed directly onto the surface. Just remember to re-whisk it really well before spreading it into your cooled tart shell to restore that smooth texture!
Nutritional Estimates for Fresh Fruit Tart with Vanilla Pastry Cream
Every good cook believes in being upfront about what goes into their masterpieces, and that includes the numbers! Because our Fresh Fruit Tart with Vanilla Pastry Cream is packed with butter in the crust and yolks in the cream, it is certainly a treat! These figures below are my best estimates based on the ingredients listed in the recipe, calculated per slice serving.
Now, here’s the crucial part: these numbers aren’t set in stone! If you use a lower-fat milk in the cream or swap out some of the fruit for something naturally lower in sugar, the final totals will shift. Think of this as a handy guideline rather than a strict rulebook for our amazing dessert.
- Serving Size: 1 slice
- Calories: 380
- Sugar: 28g
- Sodium: 120mg
- Fat: 20g
- Saturated Fat: 12g
- Unsaturated Fat: 8g
- Trans Fat: 0g
- Carbohydrates: 45g
- Fiber: 2g
- Protein: 6g
- Cholesterol: 110mg
Remember, baking, especially classic French pastry, is all about enjoyment! For more information on how we calculate these figures and what they mean for your cooking journey, feel free to check out our full detailed nutritional disclaimer. Enjoy every delicious, buttery slice!
PrintFresh Fruit Tart with Vanilla Pastry Cream
A recipe for a classic French fruit tart featuring a crisp sweet shortcrust pastry shell, smooth vanilla pastry cream, and fresh seasonal fruit.
- Prep Time: 45 min
- Cook Time: 35 min
- Total Time: 4 hours 20 min
- Yield: 8 servings
- Category: Dessert
- Method: Baking and Chilling
- Cuisine: French
- Diet: Vegetarian
Ingredients
- 1 1/4 cups all-purpose flour
- 1/2 cup (1 stick) cold unsalted butter, cubed
- 1/4 cup granulated sugar
- 1 large egg yolk
- 1 tablespoon ice water
- 1 teaspoon vanilla extract (for dough)
- 2 cups whole milk
- 1/2 cup granulated sugar (for cream)
- 1/4 cup cornstarch
- 4 large egg yolks (for cream)
- 1 teaspoon vanilla bean paste or extract (for cream)
- 2 tablespoons unsalted butter (for cream)
- 3 cups mixed fresh fruit (e.g., strawberries, kiwi, blueberries)
- 1/4 cup apricot jam or neutral glaze (for topping)
Instructions
- Prepare the Tart Shell (Pâte Sablée): In a food processor, pulse the flour, sugar, and cold butter until the mixture resembles coarse crumbs. Add the egg yolk, vanilla extract, and ice water. Pulse until the dough just comes together. Do not overmix.
- Form the dough into a disk, wrap it in plastic, and chill for at least 1 hour.
- On a lightly floured surface, roll the chilled dough out to about 1/8 inch thickness. Carefully transfer the dough to a 9-inch tart pan with a removable bottom. Press the dough into the bottom and up the sides. Trim the excess dough.
- Prick the bottom of the shell all over with a fork. Freeze the shell for 30 minutes.
- Preheat your oven to 375°F (190°C). Line the frozen shell with parchment paper and fill with pie weights or dried beans.
- Bake for 15 minutes. Remove the weights and parchment paper. Bake for another 10-15 minutes until the crust is golden brown. Let the shell cool completely on a wire rack.
- Prepare the Vanilla Pastry Cream (Crème Pâtissière): Heat the milk in a saucepan over medium heat until it just simmers.
- In a separate bowl, whisk together the sugar, cornstarch, and 4 egg yolks until pale and smooth.
- Slowly temper the hot milk into the egg mixture, whisking constantly.
- Pour the entire mixture back into the saucepan. Cook over medium heat, whisking constantly, until the cream thickens significantly and comes to a boil. Boil for 1 minute while continuing to whisk.
- Remove from heat. Whisk in the 2 tablespoons of butter and the vanilla extract/paste until smooth.
- Pour the pastry cream into a shallow dish. Press plastic wrap directly onto the surface of the cream to prevent a skin from forming. Chill for at least 3 hours, or until very cold and firm.
- Assemble the Tart: Once the shell and cream are cold, whisk the pastry cream briefly to smooth it out. Spread the chilled pastry cream evenly into the cooled tart shell.
- Prepare the Fruit: Wash and dry all fruit. Slice strawberries and kiwi thinly.
- Arrange the fruit decoratively over the pastry cream. Start with larger fruits and fill gaps with smaller berries.
- Make the Glaze: Gently warm the apricot jam or neutral glaze in a small saucepan or microwave until liquid. Brush the warm glaze lightly over all the fruit to give it shine and help preserve it.
- Chill the finished tart for at least 30 minutes before slicing and serving.
Notes
- For the best texture, use cold butter and water when making the tart dough.
- If you do not have a tart pan, you can use a standard 9-inch pie plate, but the presentation will be less formal.
- To achieve a smooth pastry cream, make sure to whisk vigorously when boiling to break up any lumps.
- Select fruits that are in season for the best flavor in your tart.
Nutrition
- Serving Size: 1 slice
- Calories: 380
- Sugar: 28g
- Sodium: 120mg
- Fat: 20g
- Saturated Fat: 12g
- Unsaturated Fat: 8g
- Trans Fat: 0g
- Carbohydrates: 45g
- Fiber: 2g
- Protein: 6g
- Cholesterol: 110mg