

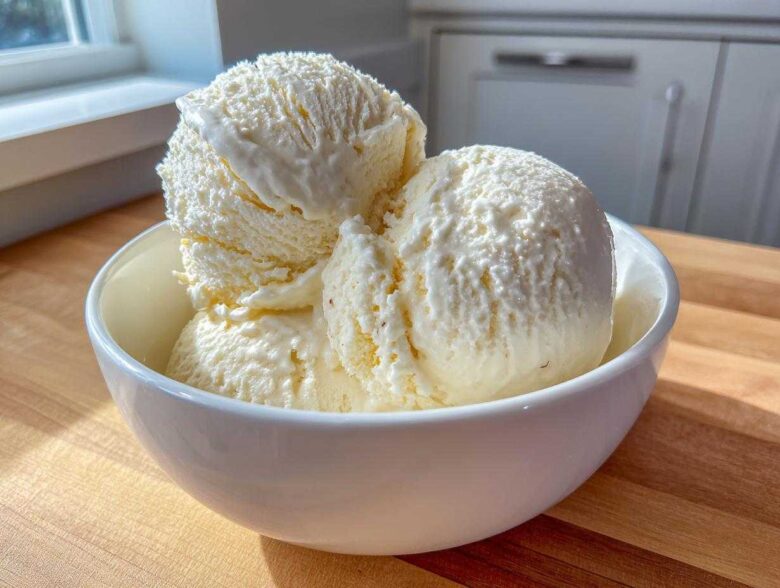
Oh, tell me if this isn’t true: sometimes you just *need* ice cream, right now. But when you don’t have an ice cream maker humming away, it feels like a dessert emergency! Trust me, I’ve been there staring into the empty freezer, wishing for something cold, rich, and pure. That’s why I finally cracked the code on making the most decadent, dreamy **No-Churn Vanilla Bean Ice Cream** you’ll ever taste, all without that special machine.
When I first tried the no-churn route, I expected icy disappointment, but wow, was I wrong! After a few attempts with various ratios, I found the magic combination that yields a truly scoopable, creamy dessert. The secret weapon is definitely getting that heavy cream whipped up perfectly stiff. When you see those sweet vanilla specks swimming in the base, you’ll know you’ve made something special. Find all my tips for avoiding freezer burn over at my main recipe index!
Why This No-Churn Vanilla Bean Ice Cream Recipe Works
Making ice cream without a machine sounds impossible, right? But trust me, the magic here is actually quite simple chemistry! We skip the constant churning because we rely on two powerhouse ingredients to do the heavy lifting and keep things smooth.
We use just two main components, which is why this is such an easy no churn vanilla ice cream base. You don’t need any fancy gadgets, just a good electric mixer! Check out my favorite backup recipes for when I need something quick, like my no-bake cheesecake!
Achieving Creamy No Churn Vanilla Ice Cream Without Machine
The biggest fear with homemade ice cream is those horrible hard ice shards—nobody wants that! We stop those big crystals from forming thanks to two things working together.
- First, whipping that heavy cream gives us all the air we need. It creates volume and lightness, acting just like the churning process does in a traditional machine.
- Second, the sweetened condensed milk is packed with sugar. That high sugar content drastically lowers the freezing point of the mixture. This means it stays softer and slushier when it freezes, making it perfectly scoopable! It’s truly the best way to get that creamy texture without an ice cream maker.
Ingredients for Your Creamy No Churn Vanilla Bean Ice Cream
Okay, gather ’round, because this list is almost ridiculously short—that’s the beauty of this technique! We are making magic with just a few quality ingredients. Please, please, make sure everything is cold before you start, especially the heavy cream. That’s non-negotiable for getting the proper volume!
Here’s what you need for about one quart of the best frozen dessert you’ll ever make. If you’re looking for great flavor pairings, you can check out my spicy pork recipe sometime, though this ice cream is better paired with something sweet like my sweet and spicy pork!
- 2 cups heavy whipping cream, cold
- 1 (14 ounce) can sweetened condensed milk, cold
- 1 whole vanilla bean, split lengthwise
- 1 teaspoon pure vanilla extract
Ingredient Notes and Substitutions for No Churn Vanilla Bean Ice Cream
I know some of you are thinking, “I don’t have a whole vanilla bean!” Don’t sweat it, but you *must* use something good here since vanilla is the star flavor. If the whole bean isn’t available, use 2 teaspoons of high-quality vanilla bean paste. That paste gives you tiny visible specks, which is what we want for that authentic homemade vanilla bean dessert recipe look!
And speaking of quality, stick to full-fat heavy whipping cream. If you use half-and-half or milk, you simply won’t build the volume needed to keep this creamy. We need that fat content to avoid icy texture points!
Simple Steps for Making No-Churn Vanilla Bean Ice Cream
This is the part where we bring it all together! Don’t feel rushed; the prep is quick, but we’re letting time do some of the mixing magic for us. Follow these steps exactly, and you’ll have the best no churn ice cream without machine chilling in your freezer. Remember, the key to keeping this light is making sure we don’t knock out all the wonderful air we whip into the cream later!
Infusing the Sweetened Condensed Milk for Rich Flavor
First things first: flavor extraction! Take that beautiful whole vanilla bean and slice it right down the middle lengthwise with a sharp knife. Use the back of the knife to scrape out all those tiny, wonderful black seeds—that’s pure vanilla gold! Pop both the seeds and the empty pod right into your cold can of sweetened condensed milk. Let this sit and get friendly for at least 15 minutes. This resting time is crucial for getting deep vanilla flavor into the base of your **No-Churn Vanilla Bean Ice Cream**.
After it sits, just pull the pod out—we don’t want to accidentally chew on hard bean skin! Give the milk a stir, add your pure vanilla extract, and set it aside.
Whipping Cream to Stiff Peaks for No-Churn Vanilla Bean Ice Cream
This step requires focus! Make sure your heavy cream is straight from the fridge. Pour it into a large, chilled bowl. Start mixing on medium speed, and gradually increase it. You are looking for stiff peaks, which means when you lift the whisk attachment, a peak stands straight up without curling over at the tip. This usually takes about 3 to 5 minutes with a hand mixer. If you overbeat it, you get butter, so stop right when those peaks look firm!
Folding Technique for Light and Scoopable No Churn Ice Cream
Now we combine our airy cream with our flavorful milk base. This needs a light touch! Take about a third of your whipped cream and gently fold it into the vanilla condensed milk mixture. This first addition lightens the condensed milk so it won’t crush the rest of the air bubbles.
Next, add the remaining whipped cream. You need to fold, not stir! Use a big spatula, cutting down the middle and folding the bottom mixture up and over the top. Stop mixing the moment everything looks incorporated. Seriously, if you still see a few white streaks of cream, that’s perfect! Overmixing will deflate your texture, and we want that scoopable result for our **No-Churn Vanilla Bean Ice Cream**.
Freezing and Storage for Perfect No-Churn Vanilla Bean Ice Cream
Okay, we’ve mixed it up, and now it’s time for hibernation! If you followed my advice from earlier, your freezer-safe container should already be chilling in the back of the freezer—pre-chilling helps big time! Pour your beautifully light batter into that cold pan, smoothing the top slightly.
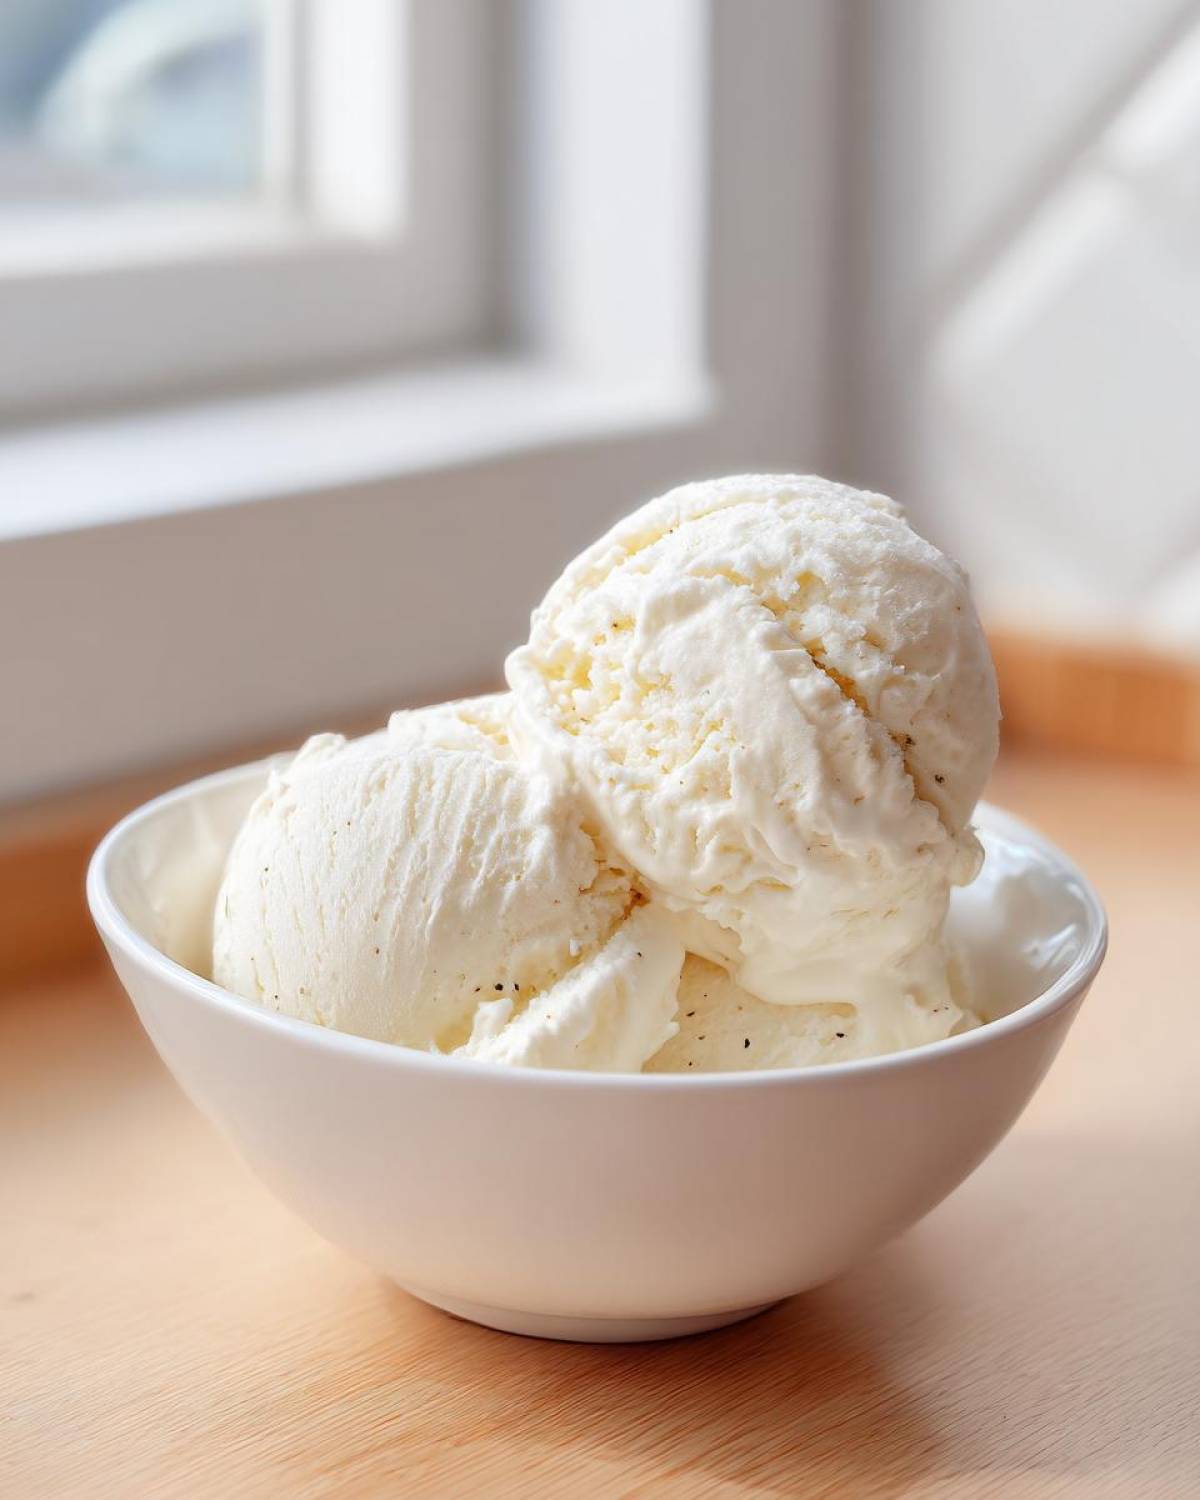
Here’s a major tip for keeping things soft for easy scooping: take a piece of plastic wrap and press it directly onto the surface of the ice cream base. Don’t just cover the top of the container; press it right onto the mixture. This locks out any freezer air and prevents those annoying ice crystals from forming on top. Cover the container securely, and then let your **No-Churn Vanilla Bean Ice Cream** freeze for at least 6 hours. Honestly, overnight is even better for the absolute best texture! You can find more of my no-machine frozen dessert recipes when you’re ready for the next batch.
Tips for Success with Your Homemade Vanilla Bean Dessert Recipe
Even though this recipe is incredibly simple, a few sneaky little tricks can take your **creamy homemade vanilla ice cream tutorial** from good to absolutely stunning. We want that luscious, scoopable texture every single time, right? We’re aiming for that perfect rich vanilla ice cream alternative, not a block of flavored ice!
My absolute number one tip, which I mentioned briefly before, is to treat your container like it’s part of the recipe! If you’re using a metal loaf pan, pop it in the freezer for at least an hour while you’re whipping your cream. A cold container slows down the initial freezing speed just enough so the ice cream doesn’t freeze too hard right against the sides. It truly helps cut down on those hard edges that lead to freezer burn later on.
Also, let’s talk about serving. If you pull this **sweetened condensed milk ice cream recipe** straight from the deep freeze, it might fight you a little—and nobody wants to wrestle with their dessert!
- The 10-Minute Temper: Always plan to let your container sit on the counter for 5 to 10 minutes before you try to scoop. It softens just enough to glide through beautifully, making it perfect for topping my amazing apple pie crumb bars!
- Airtight is Right: That plastic wrap pressing right against the surface is your best friend for preventing air exposure, which causes freezer burn. Once it’s frozen hard, I still like to cover the whole container with a layer of foil over the plastic wrap. Double protection for that pure flavor!
- If It Gets Hard: Occasionally, if the rest of the house is colder or if it’s been in the deep freeze for a week, it might seize up. If that happens, just pulse it in your food processor for about 15 seconds. It breaks up any small ice structures without melting it completely, bringing back that wonderfully creamy texture.
Follow these little cheats, and you’ll always have the **best no churn ice cream without machine** ready for spontaneous dessert emergencies!
Serving Suggestions for No-Churn Vanilla Bean Ice Cream
Now that you have this perfect, beautiful base, the real fun starts! This **No-Churn Vanilla Bean Ice Cream** is fantastic all by itself, served chilled and ready for scooping on a warm afternoon. But why stop there?
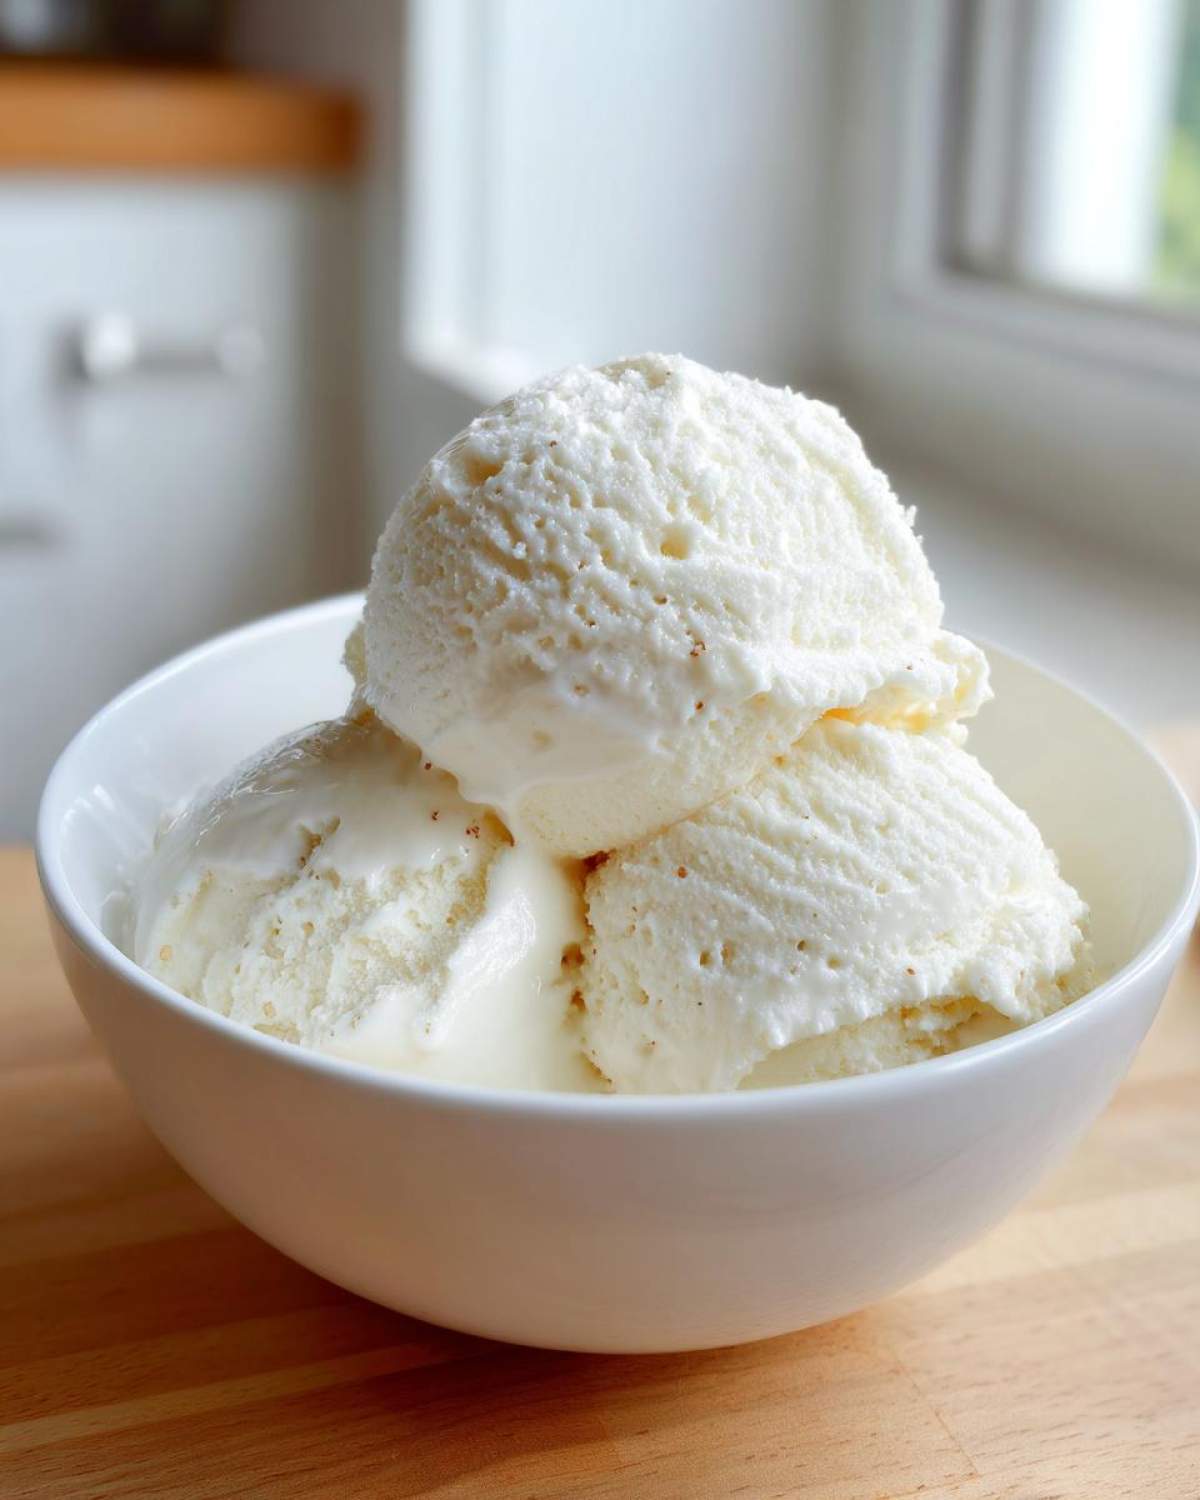
It’s the ultimate partner for warm desserts. Try spooning a big scoop over my pear and ginger cobbler—the contrast between the warm spice and the cold, rich vanilla is just heavenly. Or, if you’re feeling indulgent, it’s absolutely mandatory alongside that gooey caramel apple crisp. A little drizzle of chocolate sauce and you are set!
Common Questions About Making Ice Cream with Condensed Milk and Cream
I always get so many messages when people try this method for the first time because they have a few crucial questions! It’s smart to ask, though, especially when you’re replacing a machine with just technique. I want to make sure you get that perfect scoop every single time you try this amazing frozen dessert recipe.
Can I use regular milk instead of heavy cream for this easy no churn vanilla ice cream?
Oh, I wish you could! I really do. But for this specific *no-churn* magic to happen, you really can’t substitute the heavy cream. See, the whipping process incorporates all the air we need to keep it light, and the high fat content in the heavy cream is what holds onto that air structure once it starts freezing.
If you use regular whole milk, or especially skim milk, it just won’t whip up properly, and the end result will be a dense block of watery ice. We need that richness of the fat to guarantee we get that lovely, creamy texture.
How do I get the best vanilla flavor in my homemade vanilla bean dessert recipe?
This is where those tiny black specks come into play, and honestly, it’s my favorite part of the whole process! To get the richest flavor possible, you have to infuse the vanilla bean seeds directly into the chilled sweetened condensed milk. Don’t just dump everything in and mix it immediately!
Let those scraped seeds—and the empty pod, which still has flavor trapped inside—sit in the condensed milk for at least 15 minutes before you move on. This slow steeping allows the natural oils of the vanilla to fully bloom and permeate that sweet base. If you skip this, you’ll end up with vanilla-flavored ice cream, but we want deep, complex *vanilla bean* flavor!
How long does the No-Churn Vanilla Bean Ice Cream take to freeze completely?
This is the big waiting game, isn’t it? As I noted in the instructions, you need a bare minimum of 6 hours before you even attempt to scoop it. That gives the mixture enough time to firm up nicely in the freezer.
However, if you want that truly perfect paddle-through consistency, especially if your freezer runs very cold, I always recommend leaving it overnight. When you freeze it for 10 to 12 hours, the crystallization stabilizes even better, and you’ll find the texture is closer to a high-end scoop shop. Don’t worry, though; the hard part—the whipping—is done in minutes!
Estimated Nutritional Data for No-Churn Vanilla Bean Ice Cream
When you’re dealing with heavy cream and sweetened condensed milk, you know you’re headed for a rich treat, and that’s perfectly fine!
Here is a peek at what’s in a standard half-cup serving of this wonderful dessert. Remember, this is just an estimate based on standard ingredient brands, so your numbers might vary just a bit. For the full rundown on things like fat content—which is essential for that creamy texture—you can always check out the detailed information on my disclaimer page!
- Serving Size: 1/2 cup
- Calories: 350
- Total Fat: 20g
- Saturated Fat: 12g
- Carbohydrates: 38g
- Sugar: 35g
- Protein: 6g
Share Your Creamy Homemade Vanilla Ice Cream Experience
Honestly, seeing your creations is my absolute favorite part of sharing these recipes! If you whipped up a batch of this **No-Churn Vanilla Bean Ice Cream**, I want to know how it turned out. Did you get those gorgeous vanilla specks in every scoop?
Please take a second to leave a star rating right below the recipe card. It helps other busy cooks know this recipe is a winner! If you took pictures, tag me on social media—I love seeing how you serve up your homemade vanilla bean dessert recipe!
If you ran into any little questions or had a substitution that worked great for you, drop a note in the comments section. I check in on my comments page frequently, and I’d love to chat with you or help clear up any confusion! If you ever need to reach me directly outside the comments, you can always use the contact page!
PrintNo-Churn Vanilla Bean Ice Cream
Make rich, creamy vanilla bean ice cream at home without an ice cream maker using just two main ingredients.
- Prep Time: 15 min
- Cook Time: 0 min
- Total Time: 6 hr 15 min
- Yield: About 1 quart
- Category: Dessert
- Method: Freezing
- Cuisine: American
- Diet: Vegetarian
Ingredients
- 2 cups heavy whipping cream, cold
- 1 (14 ounce) can sweetened condensed milk, cold
- 1 whole vanilla bean, split lengthwise
- 1 teaspoon pure vanilla extract
Instructions
- Scrape the seeds from the split vanilla bean pod using the back of a knife. Place the seeds and the empty pod into the cold sweetened condensed milk. Let this mixture sit for at least 15 minutes to infuse.
- Remove the vanilla pod from the sweetened condensed milk mixture. Stir in the vanilla extract.
- In a large bowl, use an electric mixer to whip the cold heavy cream until stiff peaks form. This takes about 3 to 5 minutes.
- Gently fold about one-third of the whipped cream into the vanilla condensed milk mixture to lighten it.
- Carefully fold the remaining whipped cream into the lightened mixture until just combined. Do not overmix; streaks are acceptable.
- Pour the mixture into a freezer-safe container, such as a loaf pan or an airtight container. Cover the surface directly with plastic wrap to prevent ice crystals.
- Freeze for a minimum of 6 hours, or until firm enough to scoop.
Notes
- For the best texture, place your freezer-safe container in the freezer while you prepare the ice cream base.
- If you do not have a whole vanilla bean, use 2 teaspoons of high-quality vanilla bean paste instead.
- Allow the ice cream to sit at room temperature for 5 to 10 minutes before scooping for easier serving.
Nutrition
- Serving Size: 1/2 cup
- Calories: 350
- Sugar: 35
- Sodium: 80
- Fat: 20
- Saturated Fat: 12
- Unsaturated Fat: 8
- Trans Fat: 0
- Carbohydrates: 38
- Fiber: 0
- Protein: 6
- Cholesterol: 70