

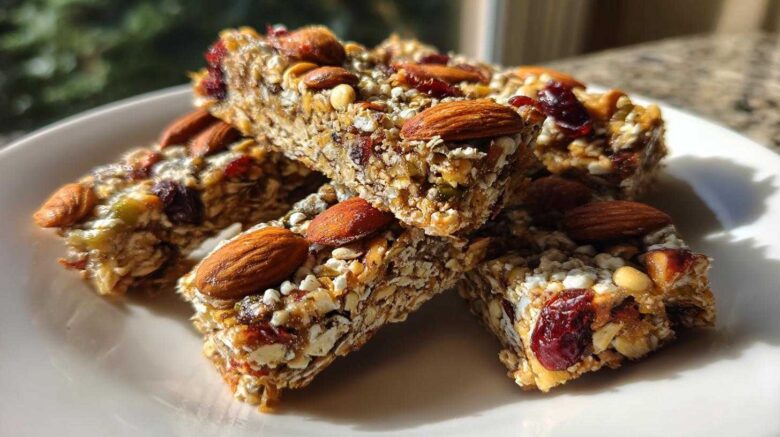
Welcome, friends! Jun and Mei here, ready to share another kitchen conversation with you. We’re so excited to introduce these fantastic No-Bake Trail Mix Energy Bars. They’re a true testament to how the old and new can blend beautifully in our cooking. These little powerhouses are incredibly simple to make, packed with wholesome goodness, and just perfect for those busy days when hunger strikes. Think of them as a little bit of Spoon’s comforting tradition meeting Sprout’s fresh, vibrant energy, all rolled into one delicious, no-fuss snack!
Why You’ll Love These No-Bake Trail Mix Energy Bars
Honestly, what’s not to love? These No-Bake Trail Mix Energy Bars are a lifesaver for busy schedules. You can whip them up in just minutes, no oven required! They’re wonderfully customizable, letting you play with your favorite nuts, seeds, and dried fruits. Plus, they’re a fantastic way to fuel your day with natural energy, making them a guilt-free treat. They truly embody that Spoon & Sprout balance we cherish.
A Note from Spoon & Sprout
Jun (that’s Spoon!) often talks about how food connects us to our roots, to memories made around the table. Mei (Sprout!) loves how fresh ingredients can spark new joy. These energy bars feel like that perfect blend. They’re simple, like the straightforward meals of the past, but adaptable, like a garden reaching for the sun with new possibilities. We hope they bring a little bit of that shared kitchen magic to your home, too.
Gather Your Ingredients for No-Bake Trail Mix Energy Bars
Ready to make some magic happen? Gathering your ingredients for these No-Bake Trail Mix Energy Bars is a breeze. You’ll likely have many of these pantry staples already. It’s all about simple, wholesome components coming together. Let’s see what you’ll need to create these delightful energy boosters.
Core Ingredients
- 1 cup rolled oats (not instant)
- 1/2 cup creamy peanut butter (or your preferred nut/seed butter)
- 1/3 cup liquid honey (or maple syrup for a vegan option)
- 1/2 cup mixed nuts and seeds (e.g., almonds, walnuts, sunflower seeds, pumpkin seeds, roughly chopped)
- 1/4 cup chopped dried fruit (e.g., raisins, cranberries, apricots)
- 1/4 cup dark chocolate chips (optional, for a touch of sweetness)
Ingredient Swaps and Additions
The beauty of these bars is their adaptability! Don’t have peanut butter? Almond butter or sunflower seed butter work wonderfully. For a vegan version, swap the honey for maple syrup. Feel free to mix up the nuts and seeds; pecans, cashews, chia seeds, or flax seeds are great additions. Dried cherries, blueberries, or chopped dates can replace the standard dried fruit. Want an extra crunch or flavor? Try adding a couple of tablespoons of shredded coconut or a sprinkle of cinnamon. Just remember, the binder (peanut butter and honey) is key to holding everything together, so adjust slightly if you make big changes to the dry ingredients.
Crafting Your No-Bake Trail Mix Energy Bars
Now for the fun part! Making these No-Bake Trail Mix Energy Bars is so simple, it feels more like playing than cooking. You’ll be amazed at how quickly these come together without even turning on the oven. It’s all about mixing, pressing, and chilling. Let’s get started on creating these wholesome, delicious treats!
Step 1: Combine the Base
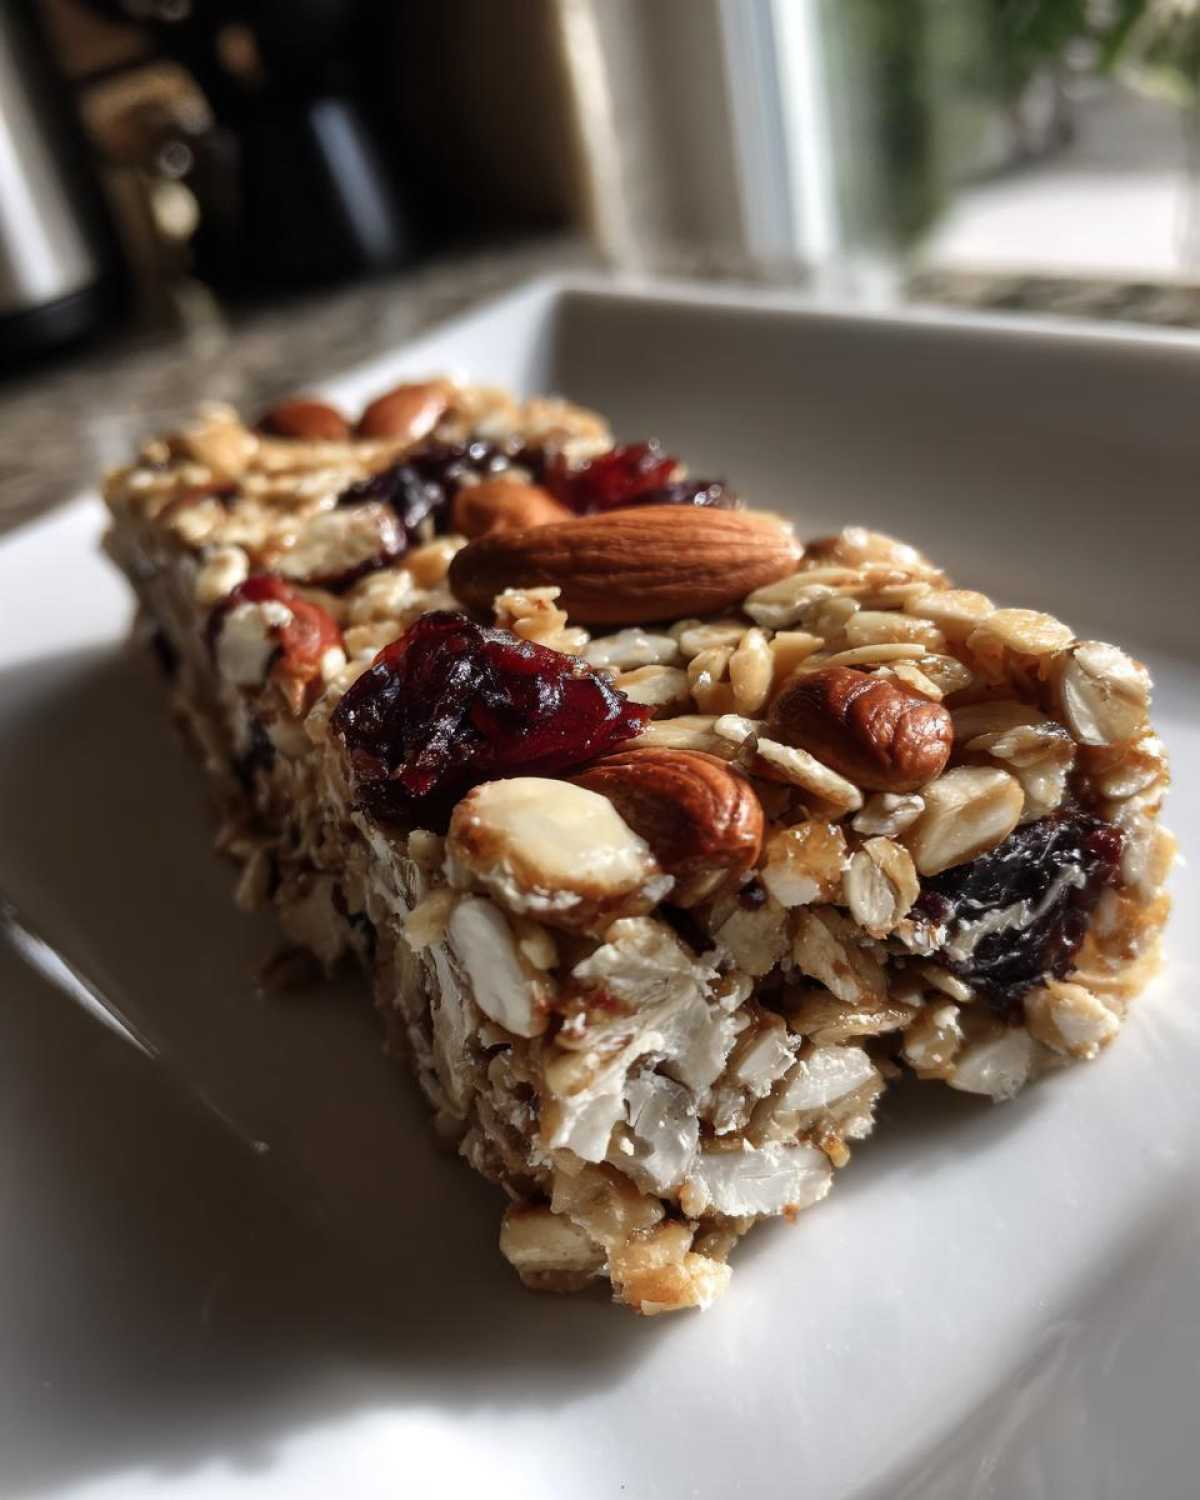
Grab a medium-sized bowl. Toss in your rolled oats, creamy peanut butter, and liquid honey. I like to use a sturdy spoon or even my hands for this part. You want to mix everything until it’s really well combined. It should start to look and feel like a sticky, cohesive dough. This sticky mixture is what holds all our wonderful ingredients together, so make sure it’s nice and unified!
Step 2: Add the Trail Mix Elements
Once you have that lovely sticky base, it’s time to add the stars of the show! Gently stir in your mixed nuts and seeds, your chopped dried fruit, and those optional dark chocolate chips. Mix everything gently but thoroughly. You want to make sure all those tasty bits are evenly distributed throughout the oat mixture. No one wants a bite that’s all nuts or all raisins!
Step 3: Press and Chill
Line an 8×8 inch baking pan with parchment paper. This is super important for easy removal later. Scoop your glorious mixture into the pan. Now, get your hands in there or use the bottom of a glass to press the mixture down firmly and evenly. The firmer you press, the better your bars will hold their shape. Once it’s all smooth and compact, pop the pan into the refrigerator. Let it chill for at least 30 minutes. This step is crucial for letting the bars set up properly.
Step 4: Cut and Serve
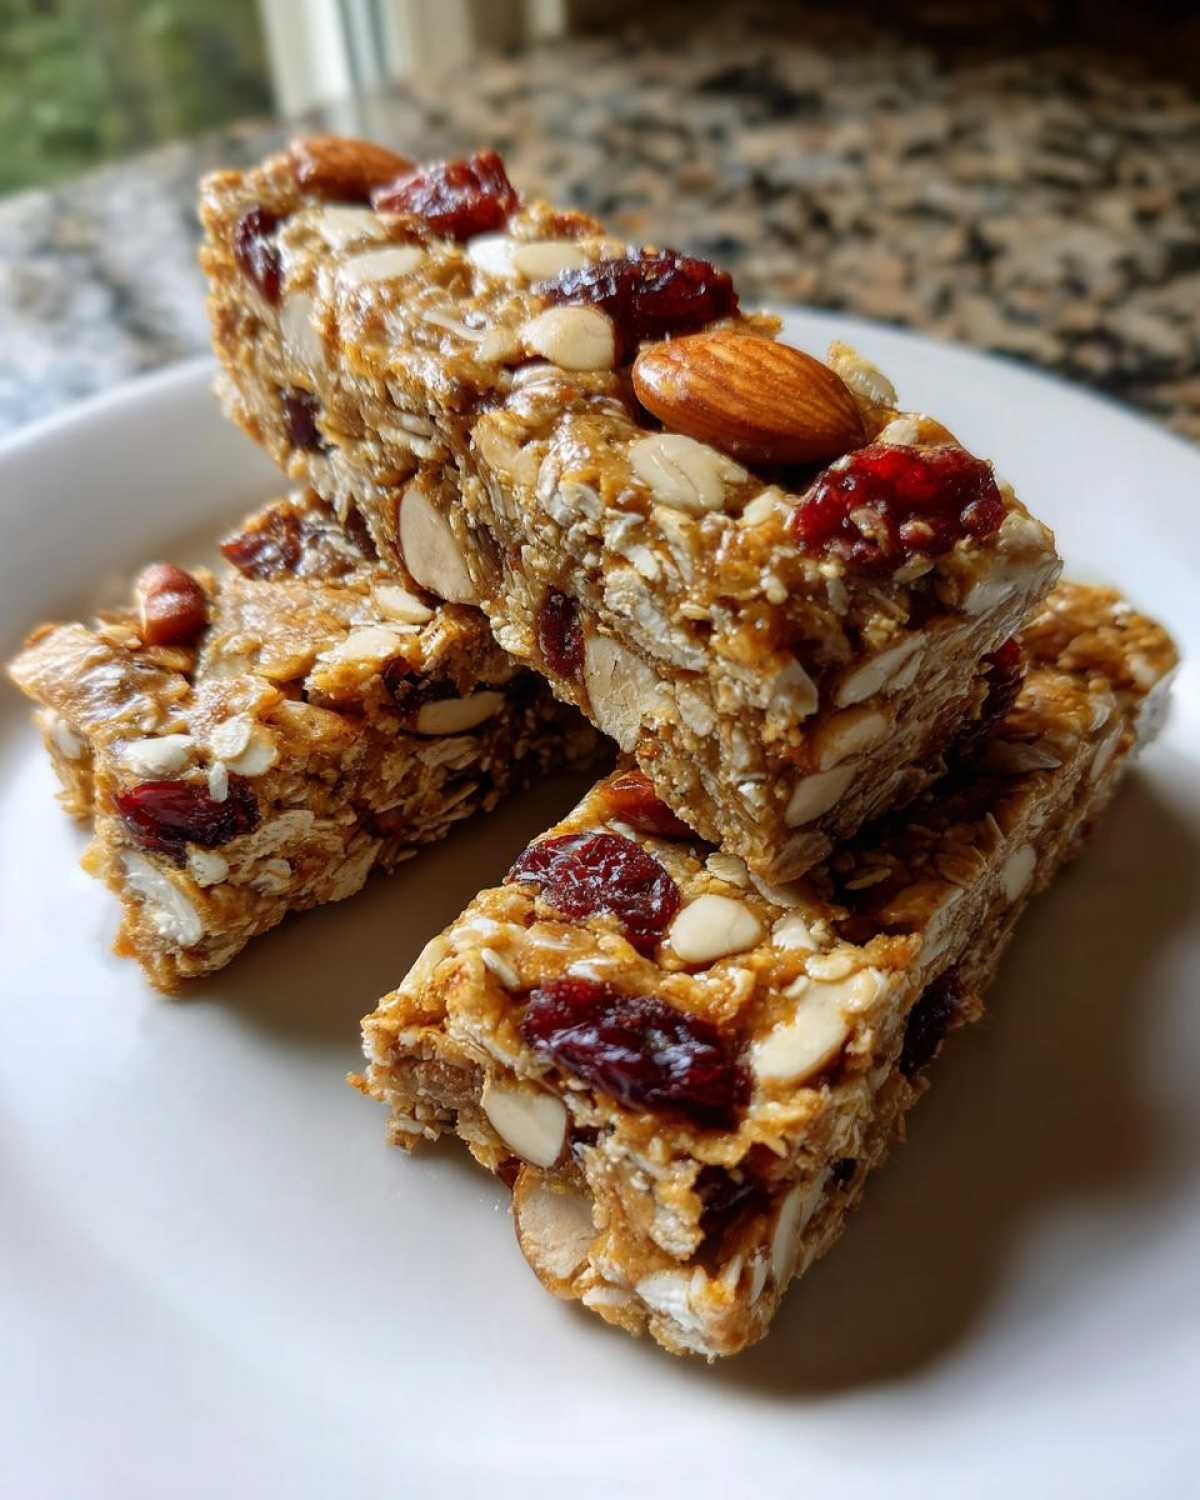
After chilling, your mixture should be firm enough to handle. Lift the parchment paper out of the pan. Place the block on a cutting board. Using a sharp knife, cut the block into your desired bar shapes. I usually aim for about 12 bars. And there you have it! Your homemade No-Bake Trail Mix Energy Bars are ready to be devoured. Enjoy them right away or pack them for later!
Tips for Perfect No-Bake Trail Mix Energy Bars
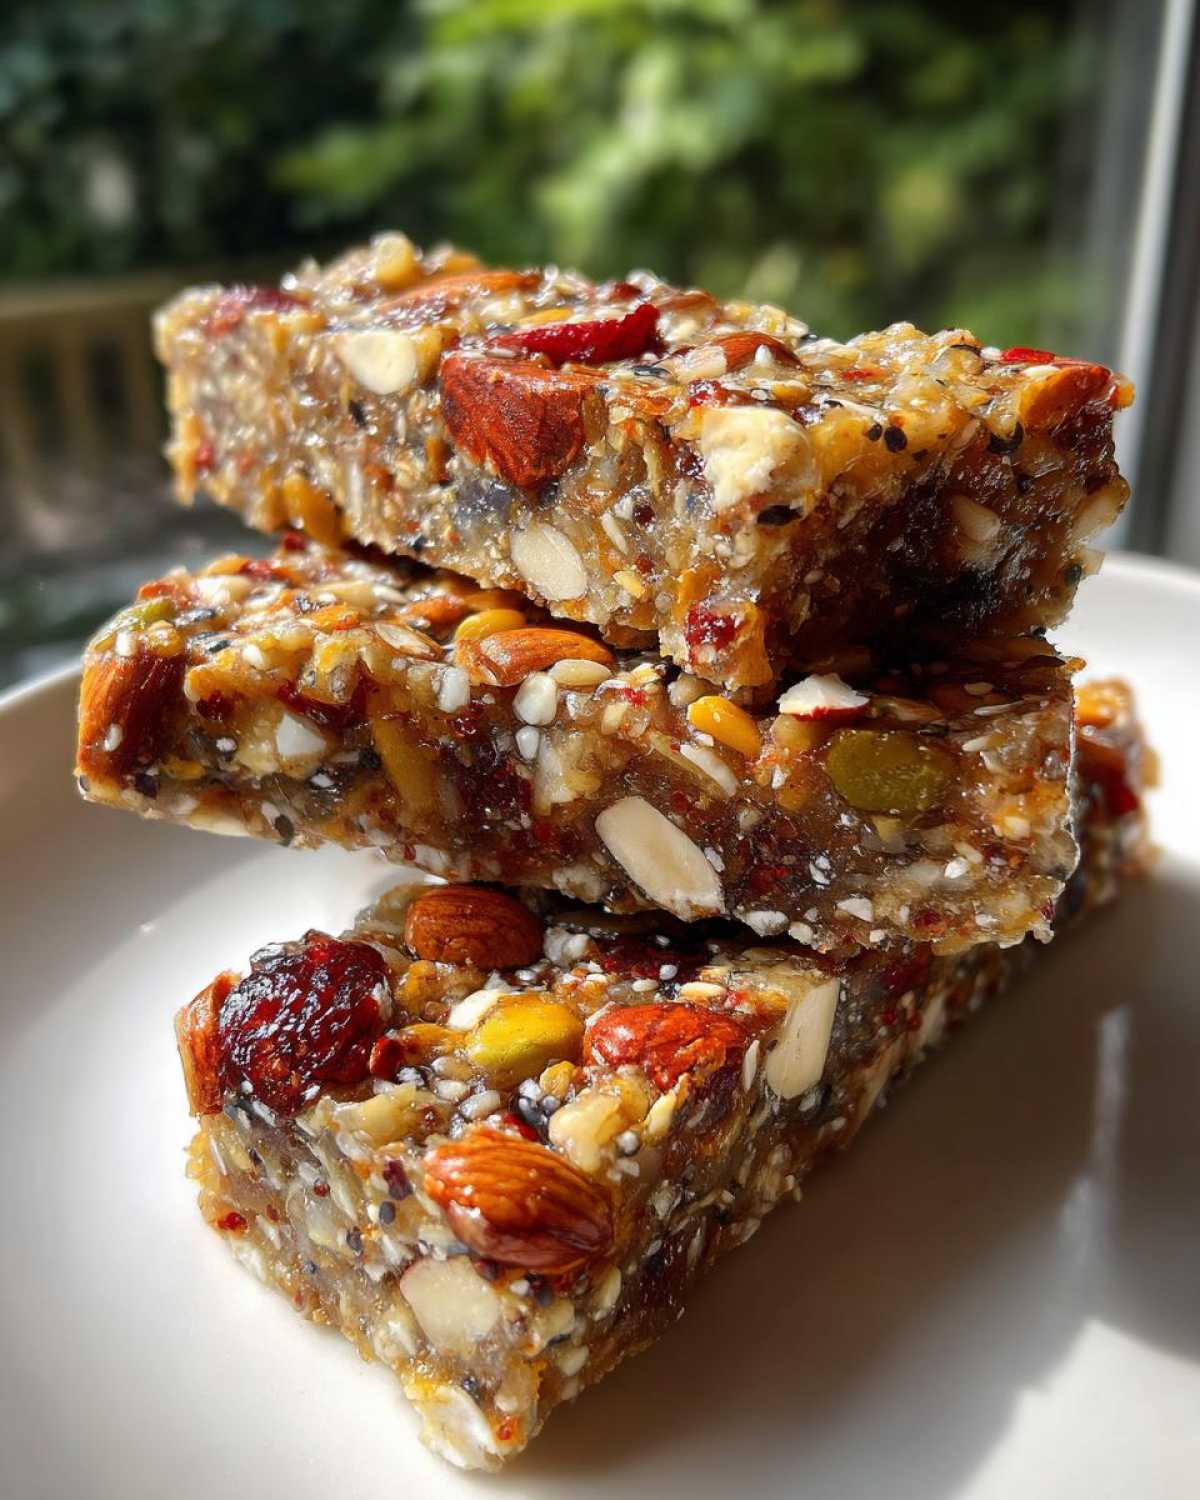
Sometimes, even the simplest recipes need a little nudge to be absolutely perfect. I’ve made these No-Bake Trail Mix Energy Bars more times than I can count, and I’ve learned a few tricks along the way. These little tips will help you achieve that delightful texture and ensure your bars are a hit every single time. Let’s make sure your homemade energy bars are just right!
Achieving the Right Stickiness
The key to bars that hold together is the right binder consistency. If your mixture seems too dry and crumbly, add another tablespoon of peanut butter or honey. If it feels too wet and sticky, like it won’t hold shape, gently stir in a tablespoon more of oats. It’s a bit of a feel thing, so trust your instincts!
Uniform Bars
Pressing the mixture into the pan evenly is crucial. Use a piece of parchment paper over the top and press down firmly with your hands or a flat-bottomed glass. This compacts the ingredients and prevents them from crumbling. Make sure the surface is smooth and level for neat, consistent bars.
Storage Best Practices
Keep these delicious bars fresh by storing them in an airtight container. I usually keep mine in the refrigerator, as they tend to hold their shape best when cool. They’ll stay wonderfully fresh for up to a week. If you’re taking them on an adventure, wrap them individually in parchment paper or plastic wrap.
Frequently Asked Questions About No-Bake Trail Mix Energy Bars
Got questions about these yummy No-Bake Trail Mix Energy Bars? I’ve got answers! It’s always good to know the little details. Let’s clear up any confusion so you can enjoy making and eating these wholesome treats.
Can I make these No-Bake Trail Mix Energy Bars vegan?
Absolutely! To make these vegan, simply swap the honey for maple syrup. Make sure your chocolate chips are also dairy-free if you’re using them. It’s a simple switch that keeps all the deliciousness intact! For more vegan options, check out our vegan zucchini muffins.
How long do these energy bars last?
You can store these bars in an airtight container in the refrigerator for up to a week. They stay nice and firm that way. If you’re bringing them on an outing, they’ll hold up well for a day or two without refrigeration, especially if it’s not too warm out.
What are some other healthy snack ideas?
Beyond these bars, think about fresh fruit, a handful of nuts, or yogurt with berries. Simple, whole foods are always a great choice for a quick energy boost. Easy-to-prep options are key for busy days! You might also enjoy our oatmeal chocolate chip energy bites.
Can I use different nuts or seeds in my No-Bake Trail Mix Energy Bars?
Yes, you can! Feel free to use any nuts or seeds you love. Almonds, pecans, cashews, sunflower seeds, and pumpkin seeds are all fantastic. I recommend giving them a rough chop so they mix in better and provide a nice texture in every bite of your energy bars.
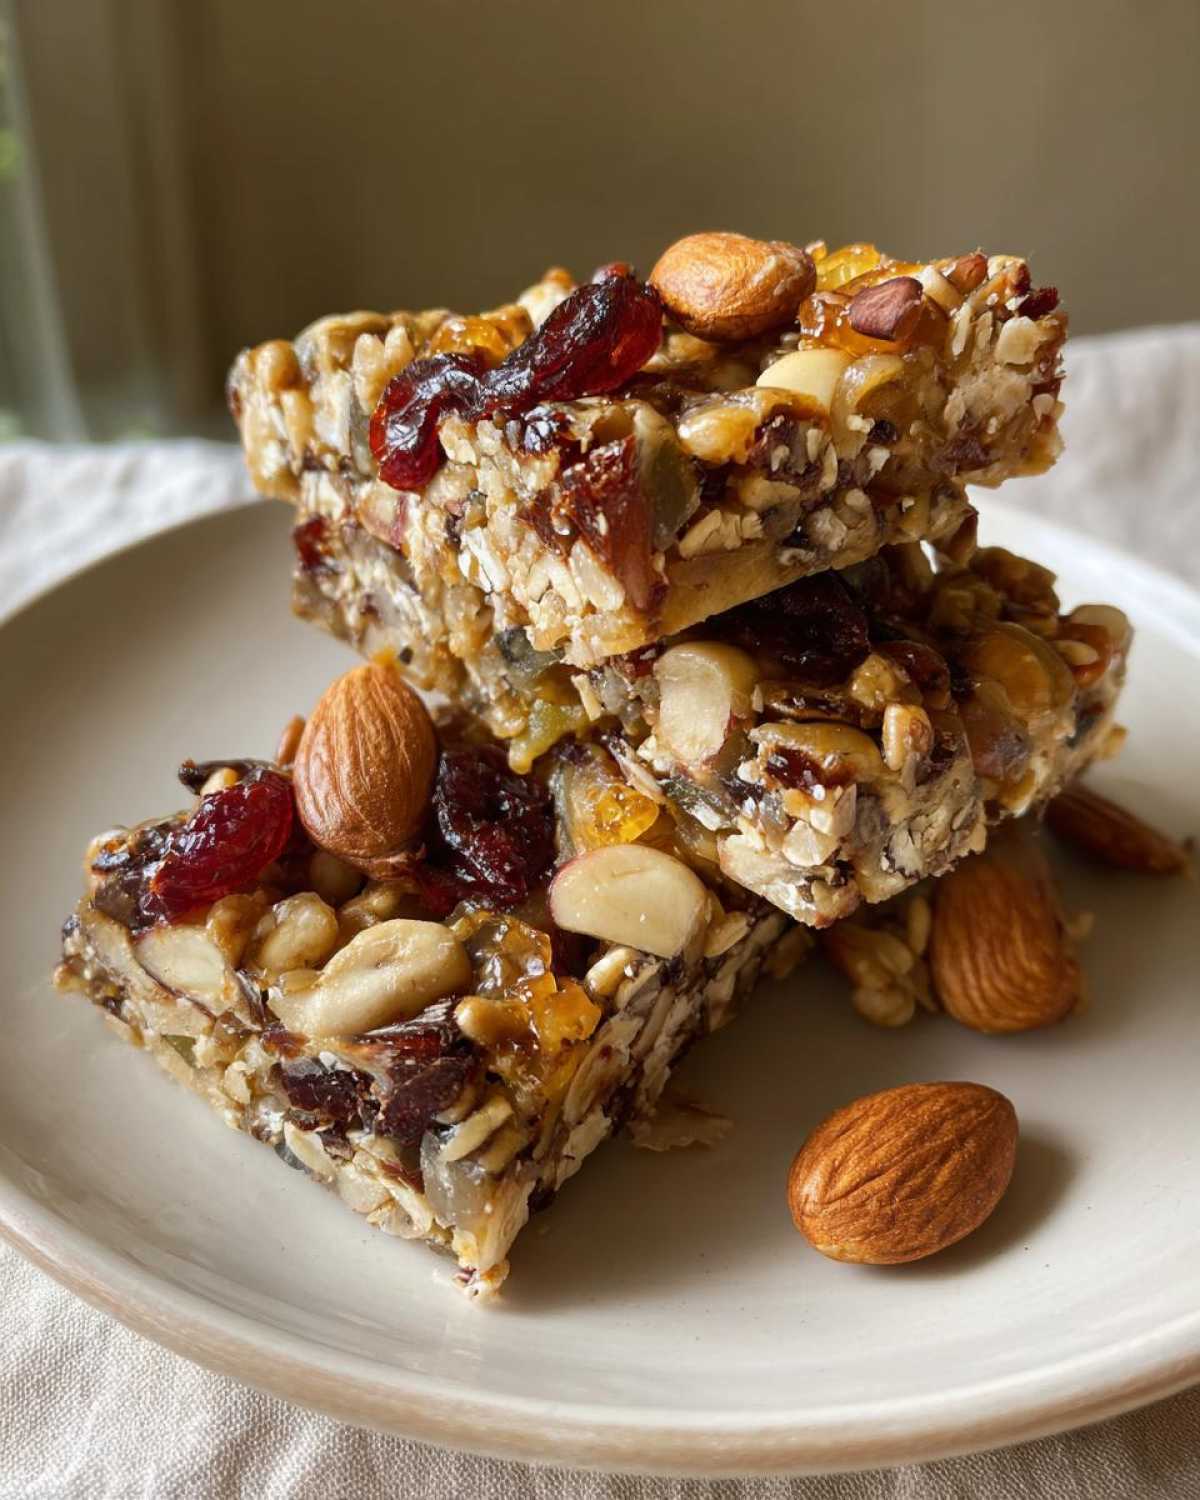
Estimated Nutritional Information for No-Bake Trail Mix Energy Bars
Please remember that the nutritional values for these No-Bake Trail Mix Energy Bars are approximate. They can change quite a bit depending on the specific ingredients and brands you use. Things like the type of nut butter, sweetener, and add-ins will affect the final numbers. Generally, expect around 200-250 calories per bar, with varying amounts of protein, healthy fats, and carbohydrates. Fiber content is also a nice bonus! For more information on nutrition and healthy eating, you can refer to resources like the National Nutrition Portal.
PrintDelicious No-Bake Trail Mix Energy Bars: 12 Best
Whip up these easy no-bake trail mix energy bars for a healthy and satisfying snack. They are perfect for on-the-go energy.
- Prep Time: 15 minutes
- Cook Time: 0 minutes
- Total Time: 45 minutes (including chilling time)
- Yield: 12 bars
- Category: Snacks
- Method: No-Bake
- Cuisine: American
- Diet: Vegetarian
Ingredients
- 1 cup rolled oats
- 1/2 cup peanut butter (or other nut/seed butter)
- 1/3 cup honey (or maple syrup)
- 1/2 cup mixed nuts and seeds (like almonds, walnuts, sunflower seeds, pumpkin seeds)
- 1/4 cup dried fruit (like raisins, cranberries, chopped apricots)
- 1/4 cup dark chocolate chips (optional)
Instructions
- In a medium bowl, combine the rolled oats, peanut butter, and honey.
- Mix until well combined and a sticky dough forms.
- Stir in the mixed nuts and seeds, dried fruit, and chocolate chips (if using).
- Press the mixture evenly into a parchment-lined 8×8 inch baking pan.
- Chill in the refrigerator for at least 30 minutes, or until firm.
- Cut into bars and enjoy.
Notes
- For a different flavor, try almond butter or cashew butter.
- Add your favorite toppings like shredded coconut or chia seeds.
- Store bars in an airtight container in the refrigerator for up to a week.
Nutrition
- Serving Size: 1 bar
- Calories: Approximately 200-250 (will vary based on ingredients)
- Sugar: Varies based on sweetener and dried fruit
- Sodium: Varies based on peanut butter
- Fat: Varies based on nuts and nut butter
- Saturated Fat: Varies
- Unsaturated Fat: Varies
- Trans Fat: 0g
- Carbohydrates: Varies
- Fiber: Varies
- Protein: Varies
- Cholesterol: 0mg