

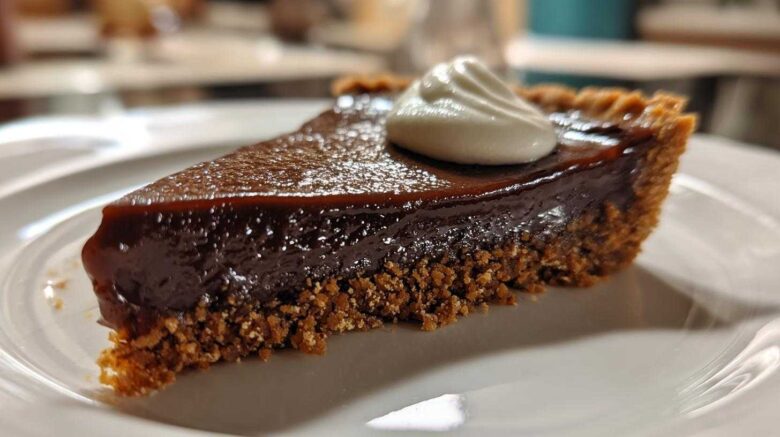
There’s something truly magical about a dessert that looks impressive but is secretly simple to make. Jun and I, Spoon and Sprout, have always believed in finding that perfect balance in the kitchen. This no-bake espresso chocolate tart is a shining example of that philosophy. It’s elegant enough for company, yet so approachable that you can whip it up without even turning on the oven. We’ve taken the deep, comforting flavors of chocolate and coffee, usually found in slow-cooked treats, and made them accessible in this wonderfully rich and creamy no-bake creation. It’s a testament to how tradition and a fresh approach can come together beautifully in every single bite.
Why You’ll Love This No-Bake Espresso Chocolate Tart
This simple chocolate tart is a winner for so many reasons! It truly is a dessert that delivers big on flavor without any fuss.
- Effortless Elegance: Who knew a dessert requiring no oven could look so sophisticated? This tart brings a touch of class to any table.
- Intense Chocolate & Coffee Flavor: The pairing of rich chocolate with a hint of espresso is simply divine. It’s a flavor combination that’s hard to resist.
- Perfect for Any Occasion: Whether it’s a holiday gathering, a casual get-together, or just a craving for something sweet, this no-bake espresso chocolate tart hits the spot every time.
Essential Ingredients for Your No-Bake Espresso Chocolate Tart
Gathering your ingredients is the first step to baking bliss! For this delightful no-bake espresso chocolate tart, you’ll need a few key players. First, let’s talk crust. We’re using 1 1/2 cups of chocolate wafer crumbs. You can totally swap these for graham cracker or Oreo crumbs if you like. Then, we’ll need 6 tablespoons of unsalted butter, all melted and ready to bind everything together. A little sweetness comes from 1/4 cup granulated sugar, and for that coffee kick, grab 1 teaspoon of instant espresso powder. Don’t forget a pinch of salt to balance it all out.
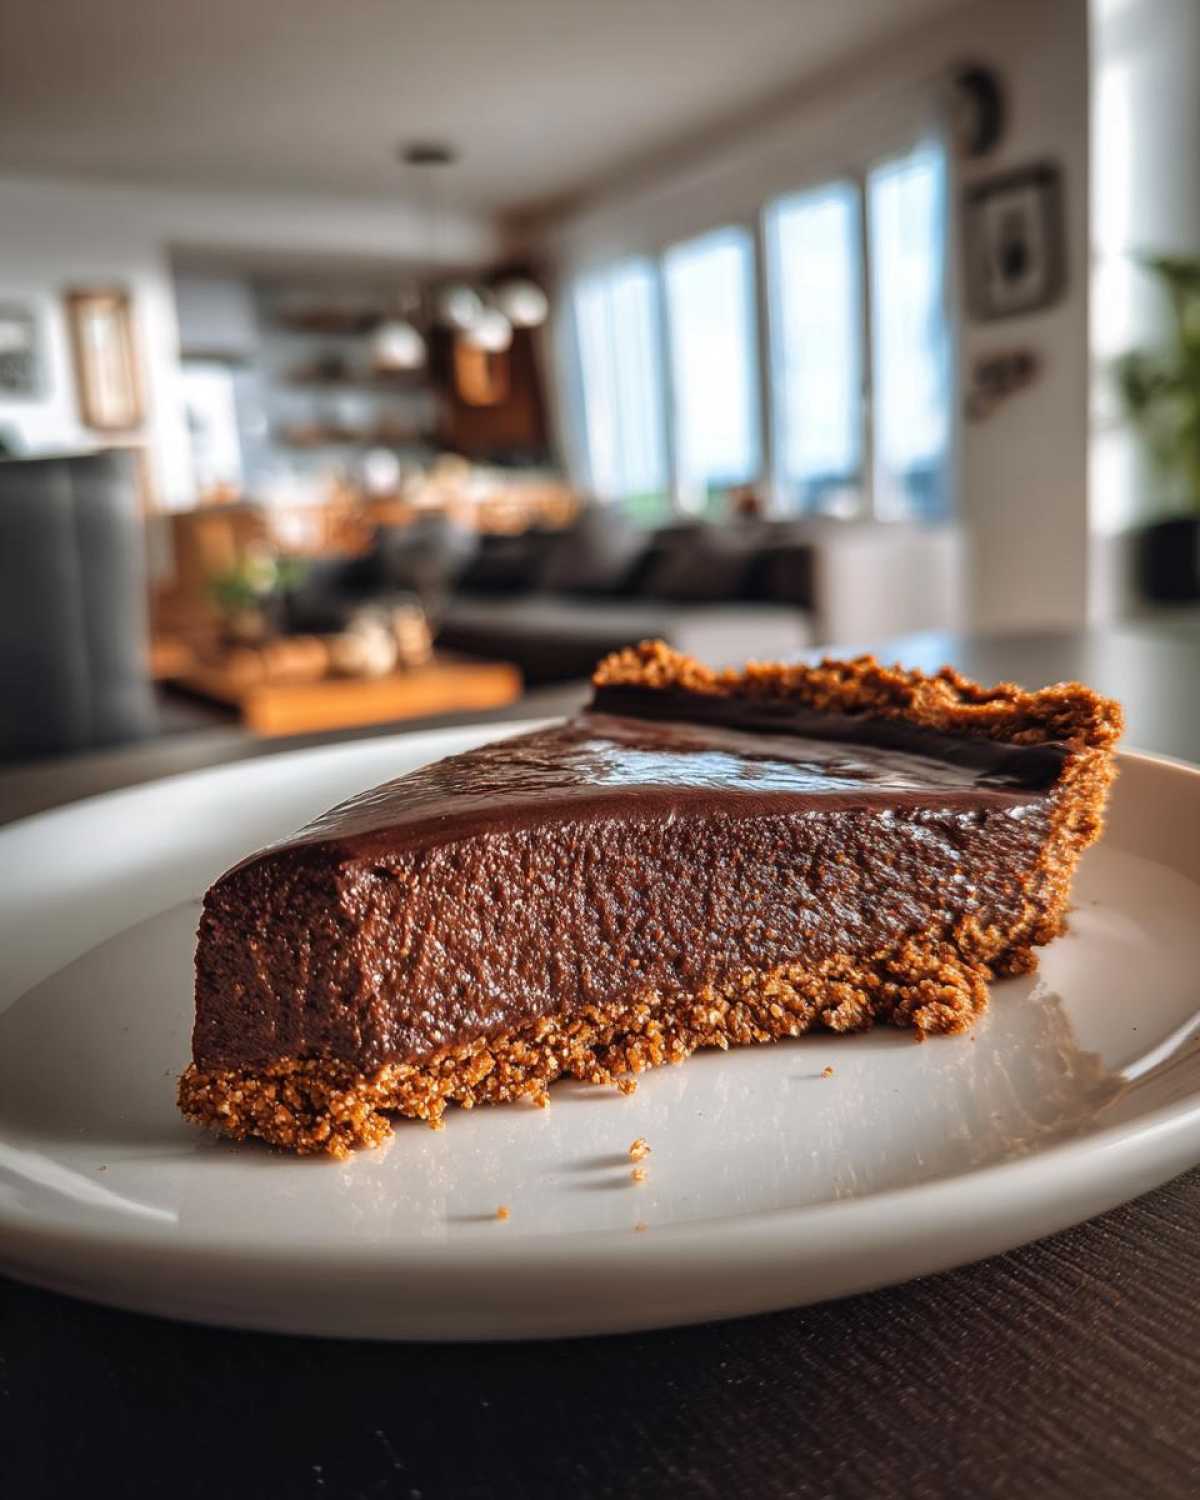
Now for the luscious filling! Make sure you have 8 ounces of cream cheese, softened to room temperature – this is crucial for a smooth texture. We’ll also add 1/2 cup powdered sugar for sweetness and 1 teaspoon of pure vanilla extract for that classic flavor. The star, of course, is 4 ounces of bittersweet chocolate, melted and just slightly cooled. To make the filling extra creamy and coffee-infused, you’ll need 1/4 cup heavy cream and another 1 tablespoon of instant espresso powder.
Feeling fancy? You can garnish your masterpiece with chocolate shavings or some fresh berries. They add a lovely visual touch and a burst of freshness.
Crafting Your No-Bake Espresso Chocolate Tart: Step-by-Step
Let’s get our hands a little messy and create this amazing no-bake espresso chocolate tart! It’s a straightforward process that leads to a truly decadent result.
Preparing the Chocolate Wafer Crust
First things first, let’s make that yummy crust. In a medium bowl, toss together the chocolate wafer crumbs, melted butter, granulated sugar, and that first teaspoon of espresso powder. Add a little pinch of salt too. Give it a good mix until it all sticks together like damp sand. Now, take this mixture and press it firmly and evenly into the bottom and up the sides of your 9-inch tart pan. A flat-bottomed glass works wonders for getting it nice and compact.
Creating the Rich Chocolate Filling
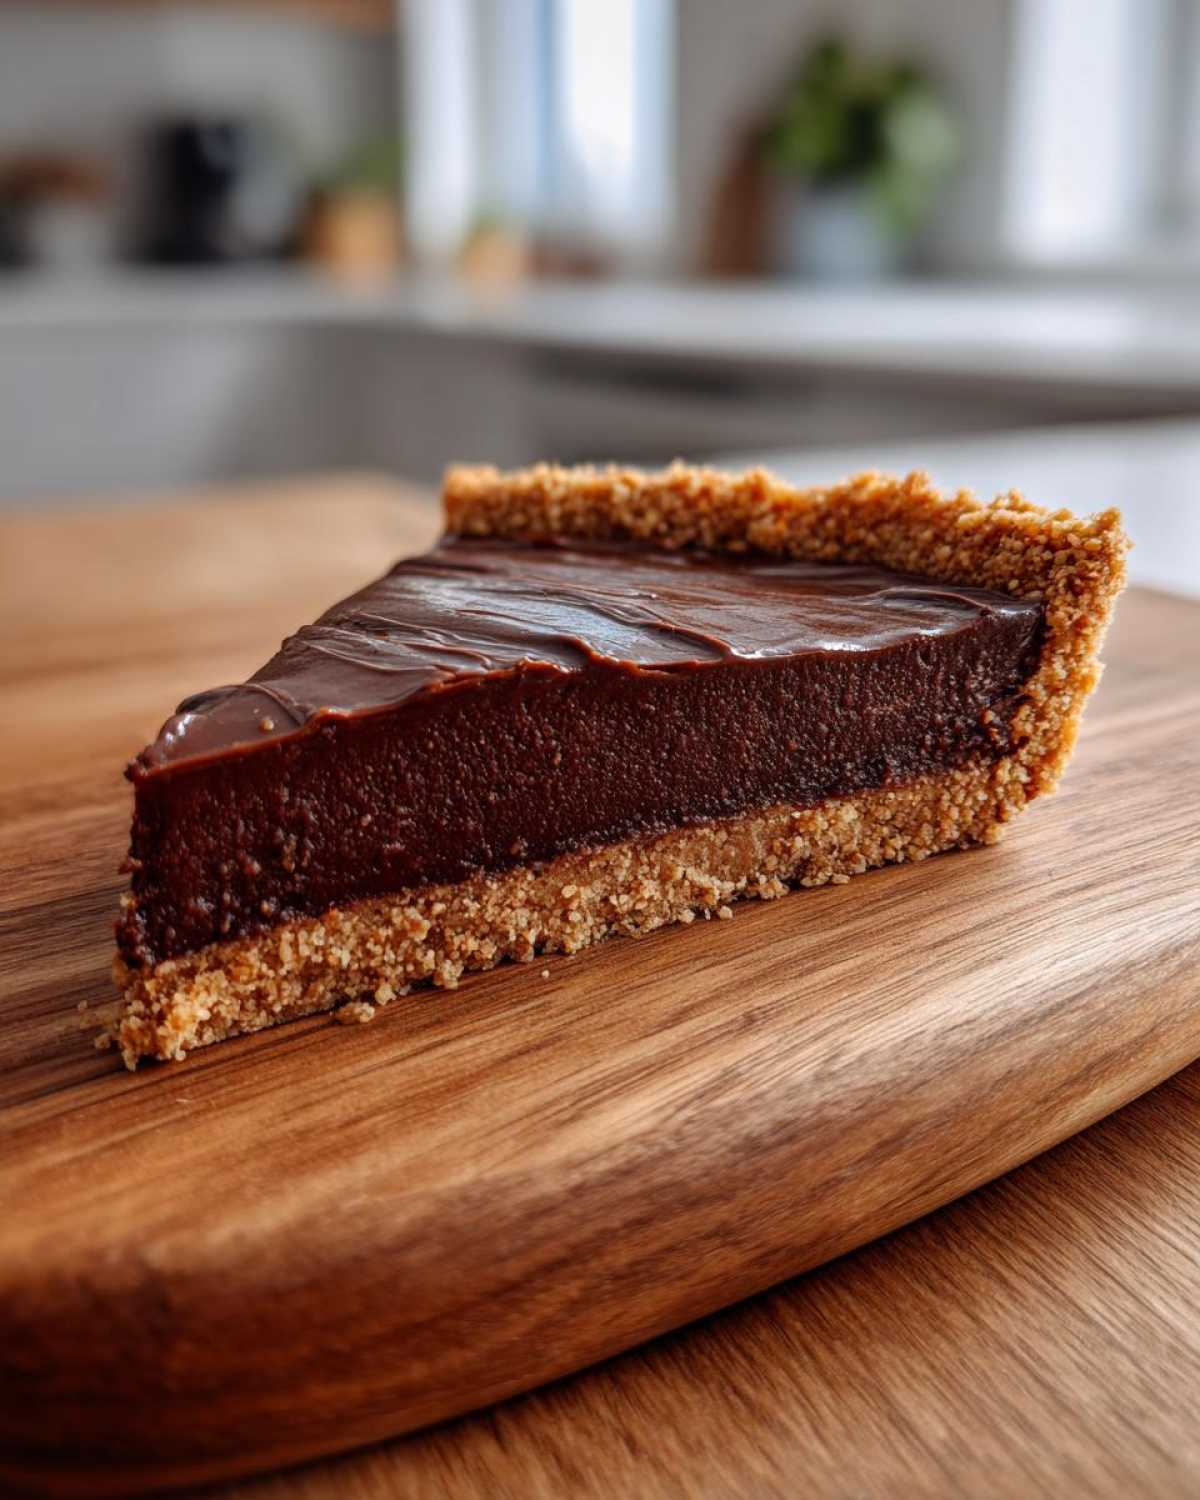
Time for the creamy heart of our tart! In a big bowl, beat the softened cream cheese and powdered sugar until they’re super smooth. No lumps allowed here! Next, beat in the pure vanilla extract and the melted bittersweet chocolate. Make sure it’s all blended in really well. This is where the deep chocolate flavor really starts to come alive. It will look thick and luscious.
Infusing with Espresso
Now for that irresistible coffee boost! In a small bowl, whisk together the heavy cream and the remaining tablespoon of espresso powder. Keep whisking until that espresso powder is completely dissolved into the cream. Gradually add this espresso-infused cream to your cream cheese and chocolate mixture. Beat it all together until everything is perfectly smooth and combined. You’ll notice a beautiful, rich chocolate color and a wonderful aroma.
Assembling and Chilling the Tart
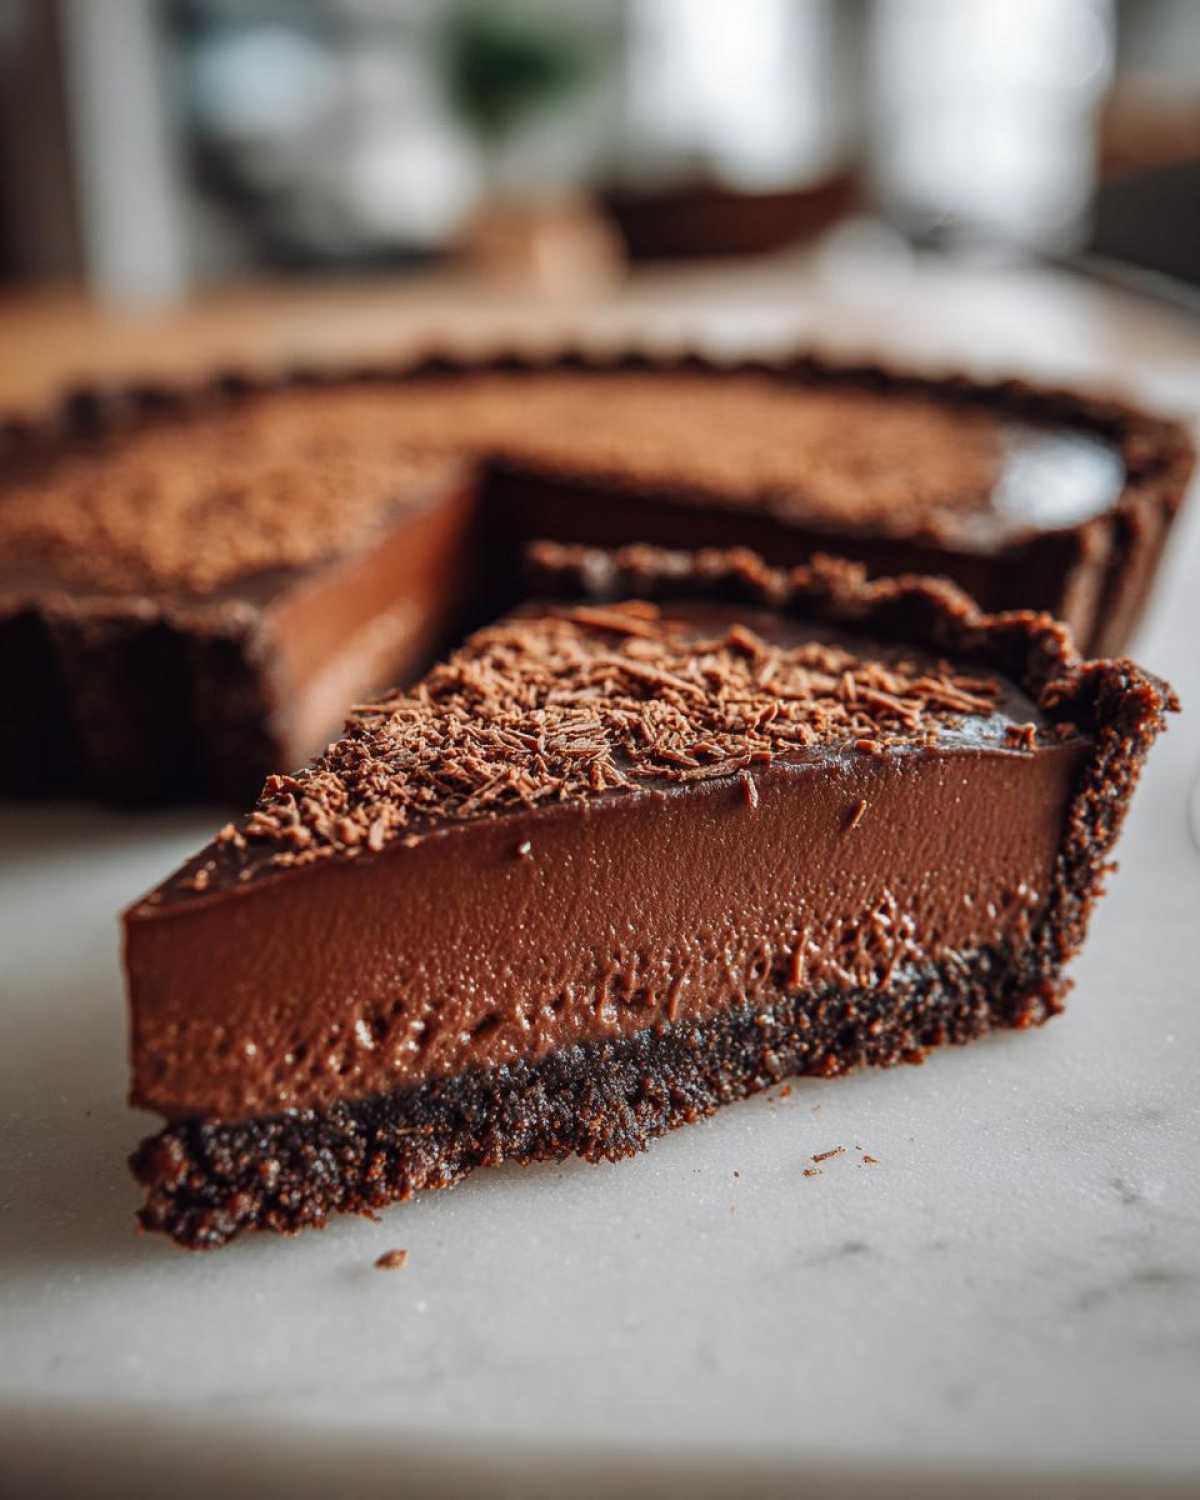
Pour all that glorious chocolate filling right into your prepared tart shell. Spread it out evenly with a spatula so the top is nice and flat. This is the moment where patience pays off! Cover the tart loosely with plastic wrap and pop it into the refrigerator. You’ll want to chill it for at least 4 hours. This is super important for the tart to set up properly and get that perfect sliceable texture. Trust me, the wait is worth it for this incredible no-bake espresso chocolate tart!
Tips for a Perfect No-Bake Espresso Chocolate Tart
Even with a simple recipe like this no-bake espresso chocolate tart, a few little tricks can make all the difference. We want every slice to be pure bliss, right?
Achieving a Smooth Filling
The secret to that velvety smooth chocolate filling? Softened cream cheese is your best friend here. Make sure it’s truly at room temperature. If you’re in a hurry, you can cut it into small cubes and let it sit on the counter for about 30 minutes. Beat the cream cheese and powdered sugar together until there are absolutely no lumps before you add anything else. A little extra whisking goes a long way!
Ensuring a Firm Tart
Chilling is non-negotiable for this beauty. Don’t be tempted to cut into it too early! That 4-hour minimum chilling time is crucial for the tart to set up properly. It allows the fats to firm up, giving you those clean, beautiful slices. If you can, letting it chill overnight is even better. You’ll get a wonderfully firm texture that holds its shape perfectly.
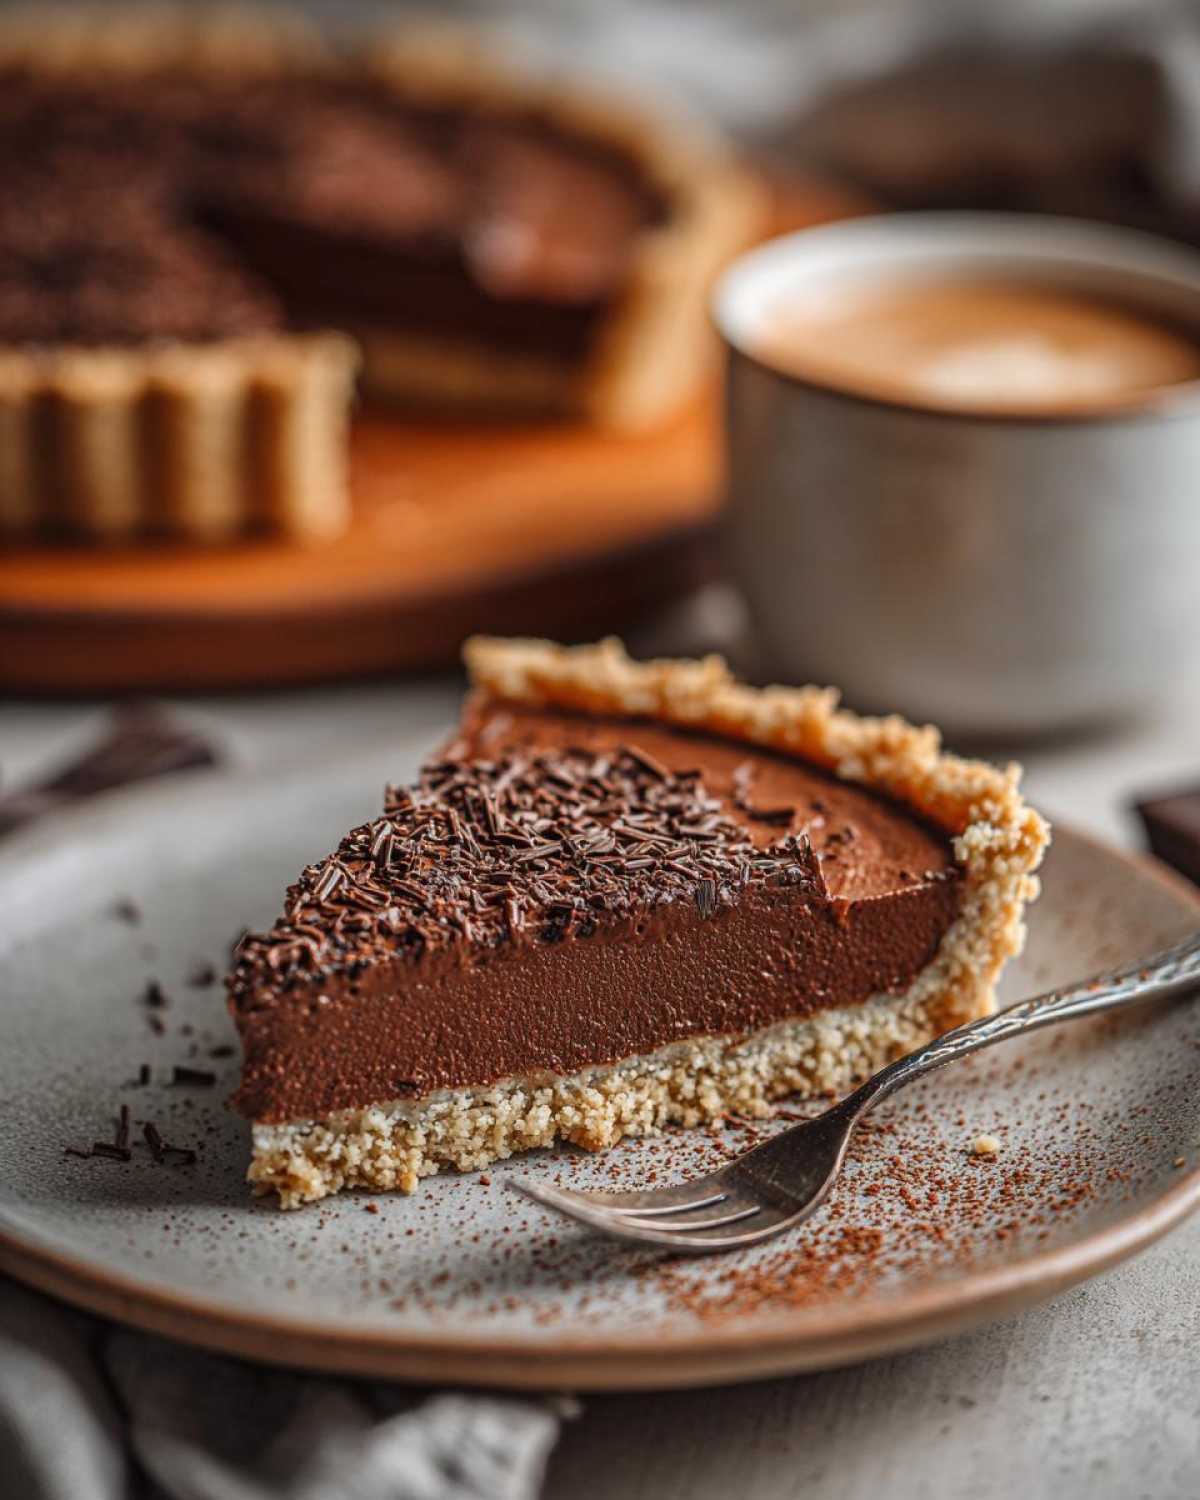
Frequently Asked Questions About No-Bake Espresso Chocolate Tart
Got questions about our delightful no-bake espresso chocolate tart? We’ve got answers!
Can I use a different type of cookie for the crust?
Absolutely! While chocolate wafer crumbs create a classic taste, feel free to experiment. Graham cracker crumbs offer a slightly sweeter, lighter base, and crushed Oreo cookies will give you an even richer, chocolatey crust. Just follow the same ratios for crumbs and butter.
How long does the no-bake espresso chocolate tart need to chill?
Patience is key for the perfect texture! We recommend chilling your tart for at least 4 hours. This allows the filling to set up beautifully. For an even firmer slice, chilling it overnight is a fantastic idea.
Can I make this tart ahead of time?
Yes, you certainly can! This is one of the best things about this simple chocolate tart. You can prepare the entire no-bake espresso chocolate tart a day or two in advance and keep it stored in the refrigerator. It actually tastes even better as the flavors meld together!
Storing and Reheating Your Delicious No-Bake Espresso Chocolate Tart
Leftover no-bake espresso chocolate tart? Lucky you! Simply cover the tart tightly with plastic wrap or transfer any slices to an airtight container. Store it in the refrigerator for up to 3 days. Because it’s a no-bake dessert, reheating isn’t really necessary. It’s absolutely delightful served chilled straight from the fridge. The cold really makes that rich chocolate and espresso flavor sing!
Estimated Nutritional Information for No-Bake Espresso Chocolate Tart
When you’re enjoying a slice of this delightful no-bake espresso chocolate tart, it’s helpful to have an idea of what you’re indulging in. Please remember these are approximate values, as they can vary based on the specific ingredients and brands you use. Each serving typically contains around 350-400 calories, with about 25-30g of fat. You’ll also find roughly 4-6g of protein and 30-35g of carbohydrates, including about 25-30g of sugar. Enjoy every bite!
PrintAmazing No-Bake Espresso Chocolate Tart: 4 Hours
This no-bake espresso chocolate tart is a simple yet elegant dessert. It features a rich chocolate filling infused with espresso, all nestled in a crisp crust. Perfect for any occasion, it’s a delightful treat that requires no oven time.
- Prep Time: 20 minutes
- Cook Time: 0 minutes
- Total Time: 4 hours 20 minutes
- Yield: 8-10 servings
- Category: Dessert
- Method: No-Bake
- Cuisine: American
- Diet: Vegetarian
Ingredients
- 1 1/2 cups chocolate wafer crumbs
- 6 tablespoons unsalted butter, melted
- 1/4 cup granulated sugar
- 1 teaspoon instant espresso powder
- 1/4 teaspoon salt
- 8 ounces cream cheese, softened
- 1/2 cup powdered sugar
- 1 teaspoon vanilla extract
- 4 ounces bittersweet chocolate, melted and slightly cooled
- 1/4 cup heavy cream
- 1 tablespoon instant espresso powder
- Optional: chocolate shavings or fresh berries for garnish
Instructions
- In a medium bowl, combine chocolate wafer crumbs, melted butter, granulated sugar, 1 teaspoon espresso powder, and salt. Mix until well combined.
- Press the crumb mixture evenly into the bottom and up the sides of a 9-inch tart pan with a removable bottom.
- In a large bowl, beat the softened cream cheese and powdered sugar until smooth and creamy.
- Beat in the vanilla extract and the melted bittersweet chocolate until fully incorporated.
- In a small bowl, whisk together the heavy cream and 1 tablespoon espresso powder until dissolved.
- Gradually add the espresso cream mixture to the cream cheese mixture, beating until smooth and well combined.
- Pour the chocolate filling into the prepared tart shell and spread evenly.
- Chill the tart in the refrigerator for at least 4 hours, or until firm.
- Before serving, carefully remove the sides of the tart pan. Garnish with chocolate shavings or fresh berries, if desired.
Notes
- For the crust, you can also use graham cracker crumbs or Oreo cookie crumbs.
- Ensure the cream cheese is fully softened for a smooth filling.
- Allow the tart to chill sufficiently for the best texture.
Nutrition
- Serving Size: 1 slice
- Calories: Approx. 350-400
- Sugar: Approx. 25-30g
- Sodium: Approx. 150-200mg
- Fat: Approx. 25-30g
- Saturated Fat: Approx. 15-20g
- Unsaturated Fat: Approx. 10-15g
- Trans Fat: 0g
- Carbohydrates: Approx. 30-35g
- Fiber: Approx. 2-3g
- Protein: Approx. 4-6g
- Cholesterol: Approx. 50-60mg