

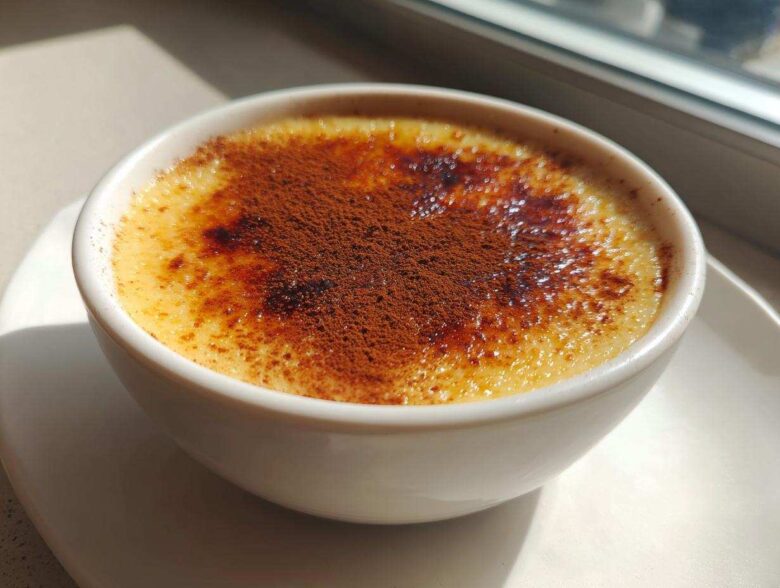
When the weather turns cold or my soul just needs a hug, nothing beats a bowl of something warm, sweet, and incredibly cozy. Forget those grainy, watery puddings you might have tried making years ago—I’m talking about the real deal. This recipe for Old-Fashioned Creamy Stovetop Rice Pudding is practically my culinary inheritance. I’ve been making this exact version for guests and family gatherings since I first learned to manage a simmer, and I promise you, the ultimate creaminess comes simply from patience on the stovetop, not fancy equipment.
We aren’t baking this one; we’re coaxing the starch out slowly with whole milk until it becomes this lush, comforting dessert. If you are searching for the best rice pudding recipe that tastes exactly like nostalgia, you’ve found it. It’s so simple, really, but the texture? Unbeatable.
Why This Old Fashioned Rice Pudding Recipe Works So Well
There are so many ways to make pudding these days, but honestly, I always come back to this classic setup. It just hits different when you need that true comfort food feeling.
- It delivers unparalleled creaminess because we use whole milk and the right kind of rice.
- It’s shockingly simple! No weird steps, just basic pantry stuff you probably have right now.
- Maximum comfort factor—the smell of cinnamon and vanilla alone is therapy.
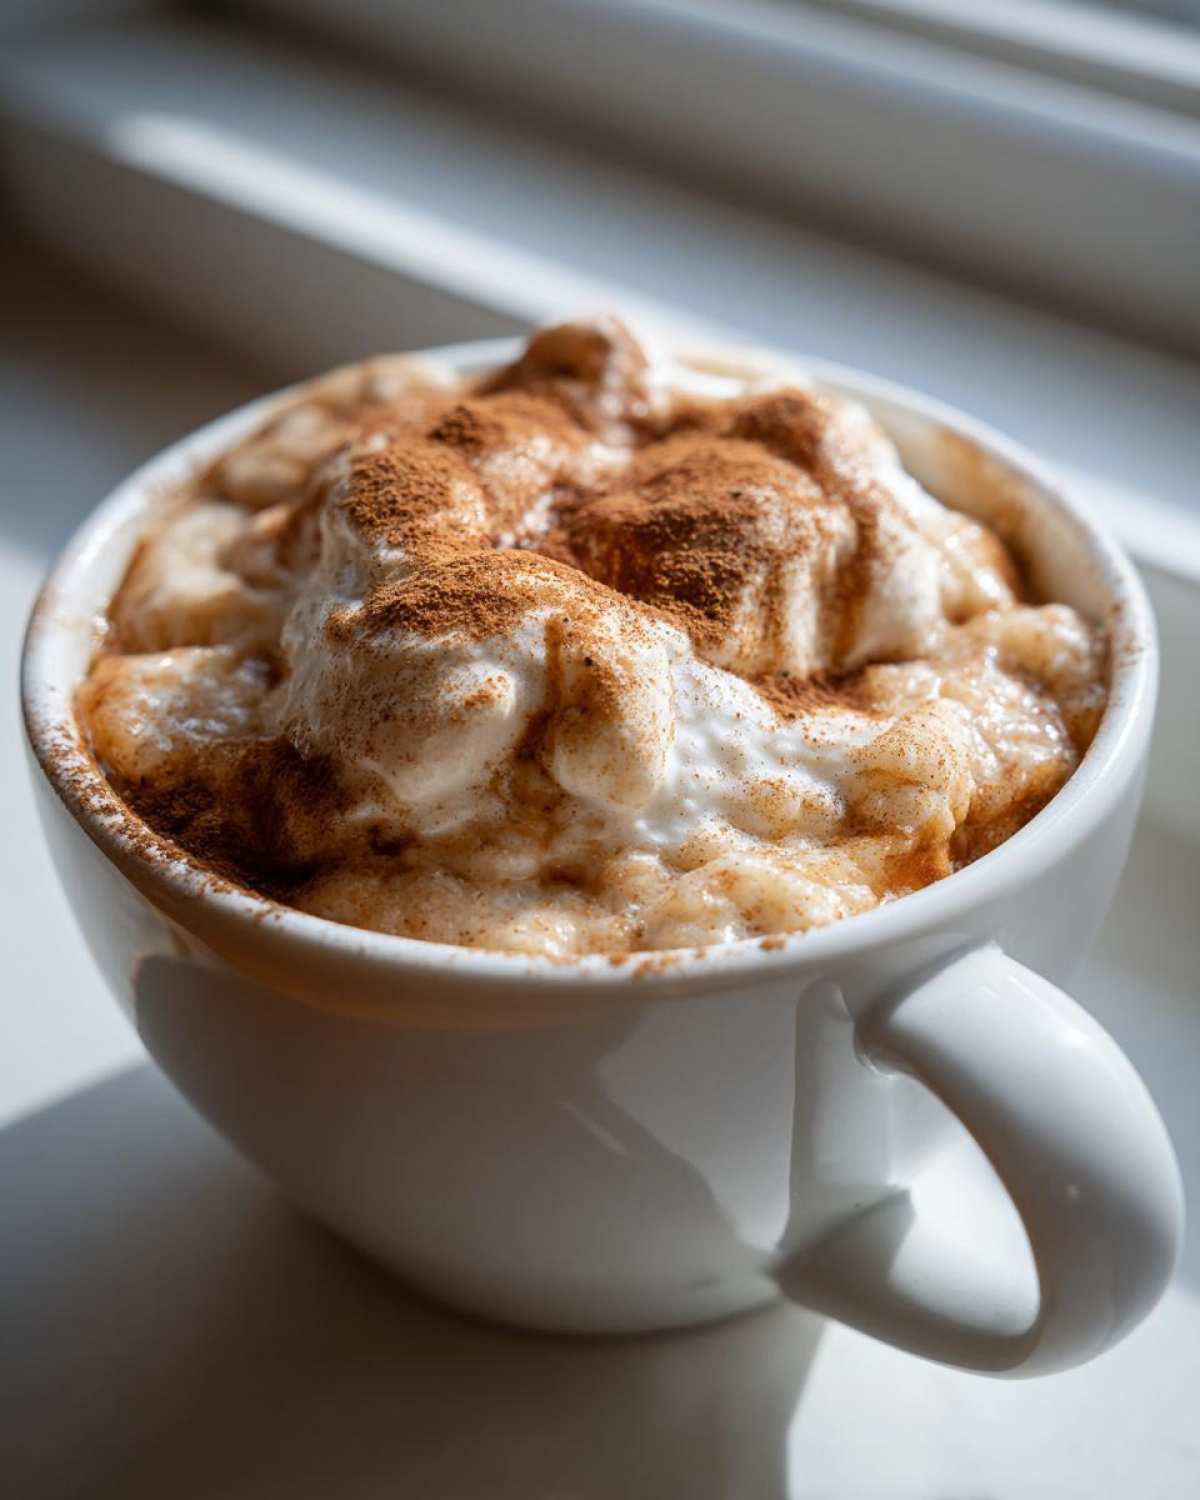
If you click over to my latest post, you’ll see pictures of how this looks straight out of the pot!
Ingredients for the Creamiest Rice Pudding Recipe
The beauty of this creamy rice pudding recipe is that it needs so few things to shine! We aren’t loading it up with eggs or heavy cream; we’re letting the rice and milk do the heavy lifting.
- 1 cup short-grain white rice (Don’t skip this! It releases starch better than long-grain rice, which is the secret to that luxurious texture.)
- 4 cups whole milk (Yes, whole milk is non-negotiable for the richest flavor.)
- 1/2 cup granulated sugar
- 1/4 teaspoon salt
- 1 teaspoon vanilla extract
- 1/2 teaspoon ground cinnamon (This is mainly for the cozy topping later!)
That’s it! Just a quick rinse of the rice first, and you’re ready to go. It’s truly the most simple pudding recipe around.
How to Prepare Stovetop Rice Pudding Step-by-Step
Okay, this is where the magic happens, and I need you to trust the process. This isn’t a quick microwave dessert; this is a slow, cozy cooking project that rewards your attention. We are aiming for that incredibly thick, luscious texture that only proper simmering can deliver for our stovetop rice pudding.
Prepping the Rice and Initial Cook
First thing, grab that rice and give it a good rinse under cold water in a fine-mesh sieve. I wash it until the water starts running clear—we want to wash off some of that surface starch so we can control exactly where the rest of the starch ends up: in our pudding! Once rinsed, dump that rice into a heavy-bottomed saucepan—and I mean heavy! This stops scorching, which is the enemy of all homemade pudding dessert makers.
Next, toss in the four cups of whole milk, the sugar, and the salt. Place the pan on medium heat. You want to bring this up slowly, stirring frequently so nothing sticks to the bottom right away. We need that gentle warmth to start the process.
Achieving Perfect Creamy Rice Pudding Texture
Once that milk mixture just starts to bubble—that little simmer state—it’s time to drop the heat way, way down low. We’re talking the lowest setting on your stove that still keeps things moving gently. Now, you need to stir every 5 to 10 minutes, seriously. Don’t walk away for long periods, especially after the 30-minute mark.
This slow cook should take anywhere from 45 to 60 minutes total, depending on your burner and your pan size. You’ll notice the contents clinging to the spoon and looking much thicker, and the rice will start to feel tender when you check a few grains. Don’t stress if it looks a little thin at 40 minutes; it thickens up intensely as it cools down. If it looks like cement halfway through, add a tiny splash of extra milk to loosen it up. You can check out my video on how I handle that tricky low simmer over simmer control techniques if you’re nervous!
Finishing and Serving Your Homemade Pudding Dessert
When you are happy with that cozy, thick consistency, yank the pan right off the heat! Stir in that full teaspoon of vanilla extract right at the end. Vanilla has a delicate flavor, and boiling it off ruins that lovely aromatic note we need for this vanilla rice pudding.
You can serve it straight up while it’s warm—perfect for those chilly evenings seeking warm sweet treats—or spoon it into serving bowls and chill it completely. If you chill it, remember it will firm up even more! Just before you serve, sprinkle generous pinch of cinnamon on top for that classic presentation. Heavenly!
Tips for the Best Rice Pudding Recipe Success
I love sharing my little bits of experience here because, let’s be real, everyone has slightly different stoves and different ideas of what “done” looks like! To guarantee you get that legendary texture for your rice pudding, keep a few things in mind while you’re stirring away.
First, that rice choice is huge. We must use short-grain rice, like Arborio, for this creamy rice pudding recipe. It releases so much more starch than Basmati or Jasmine, which is crucial for turning four cups of milk into something truly spoonable. Don’t try to substitute if you want the authentic result!
Also, keep an eye on milk levels. If you get distracted and it starts looking drier than you’d like around the 40-minute mark, don’t panic! Just add a small splash—maybe half a cup—of cold milk. It brings the temperature down slightly and gives you more liquid to work with. Trust me, I’ve done it dozens of times!
If you need more cozy recipe ideas, I detail some great winter desserts over on my main blog page!
Ingredient Notes and Substitutions for Classic Comfort Dessert
Now, I know not everyone keeps *exactly* what I use on hand, and that’s fine! We can tweak this classic comfort dessert recipe slightly without ruining that silky texture we worked so hard for.
The recipe calls for white sugar, but if you want a little deeper, almost caramel note in your rice pudding, feel free to swap it for brown sugar straight up. It works beautifully! The main warning I have is about the milk. Whole milk really makes this the creamiest, but if you absolutely must use 2% or even skim, just know you’ll need to cook it longer, and you’ll likely have to add way more vanilla at the end to boost the flavor because the fat carries those delicious notes.
Don’t mess with the salt, though! It balances the sweet so perfectly.
Make Ahead Dessert Rice and Storage Instructions
One of the best things about this homemade pudding dessert is that it tastes even better the next day! If you need to plan ahead, this is fantastic news. Once the pudding has cooled down completely after cooking—let it sit on the counter for about an hour—transfer your leftovers into an airtight container.
You can keep this make ahead dessert rice in the fridge for up to four days. Remember, it will get super firm as it chills; that’s normal! When you reheat it, always put a quick splash of fresh milk in there; just a tablespoon or two over low heat while stirring will bring that creamy texture right back. It’s perfect for quick weeknight treats!
Rice Pudding Variations: Flavor Profiles for Warm Sweet Treats
While this recipe is perfect as is—a simple ode to classic creamy comfort—sometimes I like to jazz things up a bit when I’m making a bigger batch for the week. These little additions don’t change the cooking time, but they make for stunningly different warm sweet treats!
For a bright, sunny change, try adding the zest of one small orange along with the vanilla extract right at the end when you take it off the heat. That bright citrus zest cuts through the richness beautifully. It tastes sophisticated but takes zero extra effort!
If you love spice, you don’t have to stick just to cinnamon on top. Before you start cooking, try adding a tiny pinch (like, an eighth of a teaspoon!) of ground cardamom into the milk along with the sugar. It gives this classic dessert a gorgeous, complex flavor profile. I’ve linked to my recipe for apple pie crumb bars with cinnamon because I love playing with those warm spices!
Frequently Asked Questions About Homemade Pudding Dessert
I get so many notes from folks trying out this recipe for the first time, and that’s wonderful! It’s such a satisfying project. Here are a few quick answers covering the most common things people ask me about making this homemade pudding dessert.
Can I use long-grain rice instead of short-grain for this rice pudding?
You technically can, but honestly, I wouldn’t recommend it if you’re looking for that classic, thick, creamy texture. Short-grain rice (like Arborio) is high in amylopectin, which is the super-starchy part that dissolves into the milk and gives you that velvety mouthfeel.
Long-grain rice tends to hold its shape much better and releases less starch, so you end up with rice swimming in milk rather than pudding. Stick to short-grain for the dreamiest result!
How do I make this rice pudding recipe extra thick?
If you pull your pudding off the heat and it still seems too runny for your liking, don’t worry! It will set up beautifully as it cools, but if you need it immediately thick, keep it on the *lowest* possible heat and let it simmer for another 10 or 15 minutes, stirring constantly. Conversely, if you went too far the other way, just whisk in a splash of hot milk until you hit that perfect consistency for your vanilla rice pudding.
Is this stovetop rice pudding recipe suitable for beginners?
Absolutely! I designed this to be super straightforward. While you do need to pay attention during that slow simmer time, there’s no complicated tempering or baking involved. Paying attention to the stirring is the only real skill needed, and once you master that, you’ve got an easy rice pudding that tastes like it took all day. It’s a great confidence booster in the kitchen!
Nutritional Estimates for Your Simple Pudding Recipe
I always preach enjoying food without worrying too much, but for those who need the numbers, here’s a general look at what’s in a serving of this lovely simple pudding recipe.
- Calories: 320
- Fat: 8g
- Carbs: 55g
- Protein: 10g
- Sugar: 25g
Just remember, these are estimates based on using whole milk and standard measurements. For the full breakdown and my standard disclaimer, you can always check the site’s nutrition page. Enjoy responsibly!
PrintCreamy Old-Fashioned Stovetop Rice Pudding

Make a classic, creamy rice pudding on the stovetop using simple ingredients for a comforting dessert.
- Prep Time: 5 min
- Cook Time: 60 min
- Total Time: 65 min
- Yield: 4 servings
- Category: Dessert
- Method: Stovetop
- Cuisine: American
- Diet: Vegetarian
Ingredients
- 1 cup short-grain white rice
- 4 cups whole milk
- 1/2 cup granulated sugar
- 1/4 teaspoon salt
- 1 teaspoon vanilla extract
- 1/2 teaspoon ground cinnamon (for topping)
Instructions
- Rinse the rice under cold water until the water runs clear.
- Combine the rinsed rice, whole milk, sugar, and salt in a heavy-bottomed saucepan.
- Bring the mixture to a simmer over medium heat, stirring often to prevent sticking.
- Reduce the heat to low once simmering. Cook uncovered for 45 to 60 minutes, stirring every 5 to 10 minutes, until the rice is tender and the pudding has thickened to your desired consistency. The pudding will thicken more as it cools.
- Remove the saucepan from the heat and stir in the vanilla extract.
- Serve warm, sprinkled with ground cinnamon, or chill completely before serving.
Notes
- Use short-grain rice, like Arborio, for the creamiest texture.
- If the pudding becomes too thick while cooking, add a splash more milk.
- You can substitute brown sugar for white sugar for a slightly deeper flavor.
Nutrition
- Serving Size: 1 cup
- Calories: 320
- Sugar: 25
- Sodium: 150
- Fat: 8
- Saturated Fat: 4.5
- Unsaturated Fat: 3.5
- Trans Fat: 0
- Carbohydrates: 55
- Fiber: 1
- Protein: 10
- Cholesterol: 25