

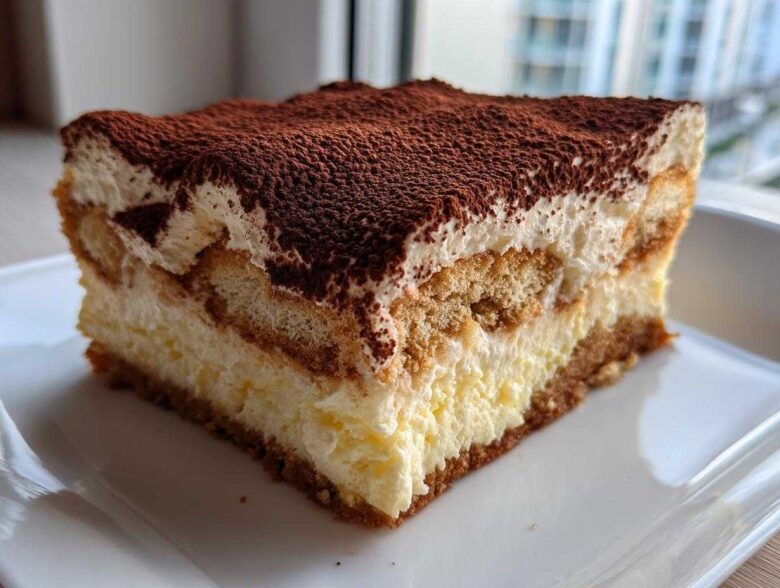
Oh, my heart! Jun, my Spoon, always leans toward the long, slow, soulful desserts, but sometimes, Sprout needs a little brightness and speed to keep up! That’s exactly how this spectacular **Tiramisu Cheesecake** came to be. It’s this magnificent collision where the deep, earthy coffee flavor of beloved *Tiramisu* meets the cool, cloud-like texture of a classic cheesecake. And the best part? We skipped the oven entirely! This is my favorite **Easy No Bake Tiramisu Cheesecake Recipe**, and trust me, it’s made for impressing guests without keeping you trapped in the kitchen all afternoon. It is pure, elegant simplicity, just the way I like it!
Why This No Bake Tiramisu Cheesecake is The Best Tiramisu Cheesecake Recipe
When I decided to merge these two giants of the dessert world, my goal was pure elegance with minimal fuss. Jun always says, “If it takes too long, the moment is lost,” and this recipe honors that completely! You get maximum impact with absolutely zero baking time, which gives us more time to actually enjoy the party.
- True Make-Ahead Magic: This is the ultimate Easy Make Ahead Dessert. You mix it, chill it, and it’s ready when you are. No last-minute oven prayers needed!
- Luxurious Texture: We use the best technique to create the most incredible Silky Tiramisu Filling you’ve ever tasted. It’s rich but surprisingly light.
- Intense Flavor Fusion: Every layer sings! You get the deep coffee notes from the soak, balanced perfectly by the creamy tang of the mascarpone and cream cheese base.
- Crowd-Pleaser Status: This isn’t just a dessert; it’s a centerpiece. It always gets rave reviews, and I’m proud to share this updated classic with all of you.
If you’re looking for more effortless yet stunning desserts like this one, you should definitely check out how I handle my No Bake Peanut Butter Cup Cheesecake when chocolate cravings strike!
Ingredients for Your Decadent Tiramisu Cheesecake
Okay, gathering everything is half the battle won! Since this Tiramisu Cheesecake Recipe doesn’t go into the heat, the quality and texture of your ingredients are everything. Remember, we are building layers of flavor here—rich, cool, and deeply coffee-flavored. Don’t swap out the basics; trust the balance we’ve found here. You’ll need to separate your ingredients for the crust, the main body of the filling, and the liquid soak. Measure everything out before you start mixing; that’s my little Sprout secret for staying organized!
For the Ladyfinger Crust
- 1 1/2 cups chocolate wafer crumbs (or graham cracker crumbs, if you must!)
- 1/4 cup granulated sugar
- 6 tablespoons unsalted butter, melted until smooth
- 1 teaspoon instant espresso powder for that foundational coffee kick
For the Creamy Cheesecake Layers
This is where the magic truly happens, so make sure your dairy is at the right temperature—room temp for the cheeses, very cold for the cream!
- 16 ounces cream cheese, make sure it’s fully softened to room temperature
- 1 cup powdered sugar, sifted if you have time
- 1 teaspoon pure vanilla extract
- 1 cup heavy whipping cream, kept nice and cold
- 8 ounces mascarpone cheese, also softened up a bit
- 1/2 cup strong brewed coffee, cooled down completely
- 2 tablespoons coffee liqueur like Kahlua (only if you’re feeling festive!)
- Cocoa powder, for dusting everything beautifully at the end
And you’ll need about a package of sturdy ladyfingers for that essential middle layer. They are your little coffee sponges!
How to Prepare the Perfect No Bake Tiramisu Cheesecake
Alright, let’s get down to the fun part! Since we aren’t baking, our main focus is on temperature control and gentle mixing. If you rush blending, you end up with lumps, or worse, a runny filling. We want structure, flavor, and that gorgeous, impressive look for our perfect **Tiramisu Cheesecake**!
Building the Espresso-Kissed Crust
First things first, we need a solid foundation. Take those chocolate wafer crumbs—oh, the flavor combo already!—and mix them really well with the sugar and that little bit of espresso powder. Once the melted butter is drizzled in, it should look like wet sand, holding together when you squeeze a bit. Press this mixture firmly into the bottom of your 9-inch springform pan. I find that using the flat bottom of a measuring cup works wonders for getting it packed tight. Then, slide that base into the freezer for about 15 minutes while we move onto the star of the show—the filling!
Creating the Silky Tiramisu Filling
Now for the clouds! Get your softened cream cheese, powdered sugar, and vanilla whipping until it’s fluffy and smooth; you don’t want to see any sugar grains. In a separate bowl, whip that cold heavy cream until you have stiff peaks. Don’t stop early, or your filling will deflate! Next, gently fold your softened mascarpone into the cream cheese mixture—just until it merges. Then, slowly stream in that cooled coffee and optional Kahlua until it’s all one hazy, beautiful color. This is a critical Spoon & Sprout moment: Fold that whipped cream in gently, using big sweeping motions. You must stop right when the white disappears. That folding technique is how we keep those essential air bubbles trapped for those amazing Creamy Cheesecake Layers.
Assembling and Setting the Tiramisu Cheesecake
Time to build! Pull that crust stash out of the freezer. Spread half of your heavenly filling over the top. Now, grab your ladyfingers and dip them *super* quickly into any leftover coffee mixture—just a quick dunk on each side! Lay those soaked beauties down over the first layer of filling. Cover that layer with the rest of the mascarpone filling, smoothing the top so it looks flawless. Truly, this dessert needs patience now! Cover it gently and let it chill in the fridge for a minimum of six hours, but honestly, overnight is best. That long rest is what turns this from a puddle into a sliceable marvel.
If you want to see how I manage a similar, slightly more involved layering technique with pastry and nuts, you might enjoy my recipe for Fig Walnut Baklava!
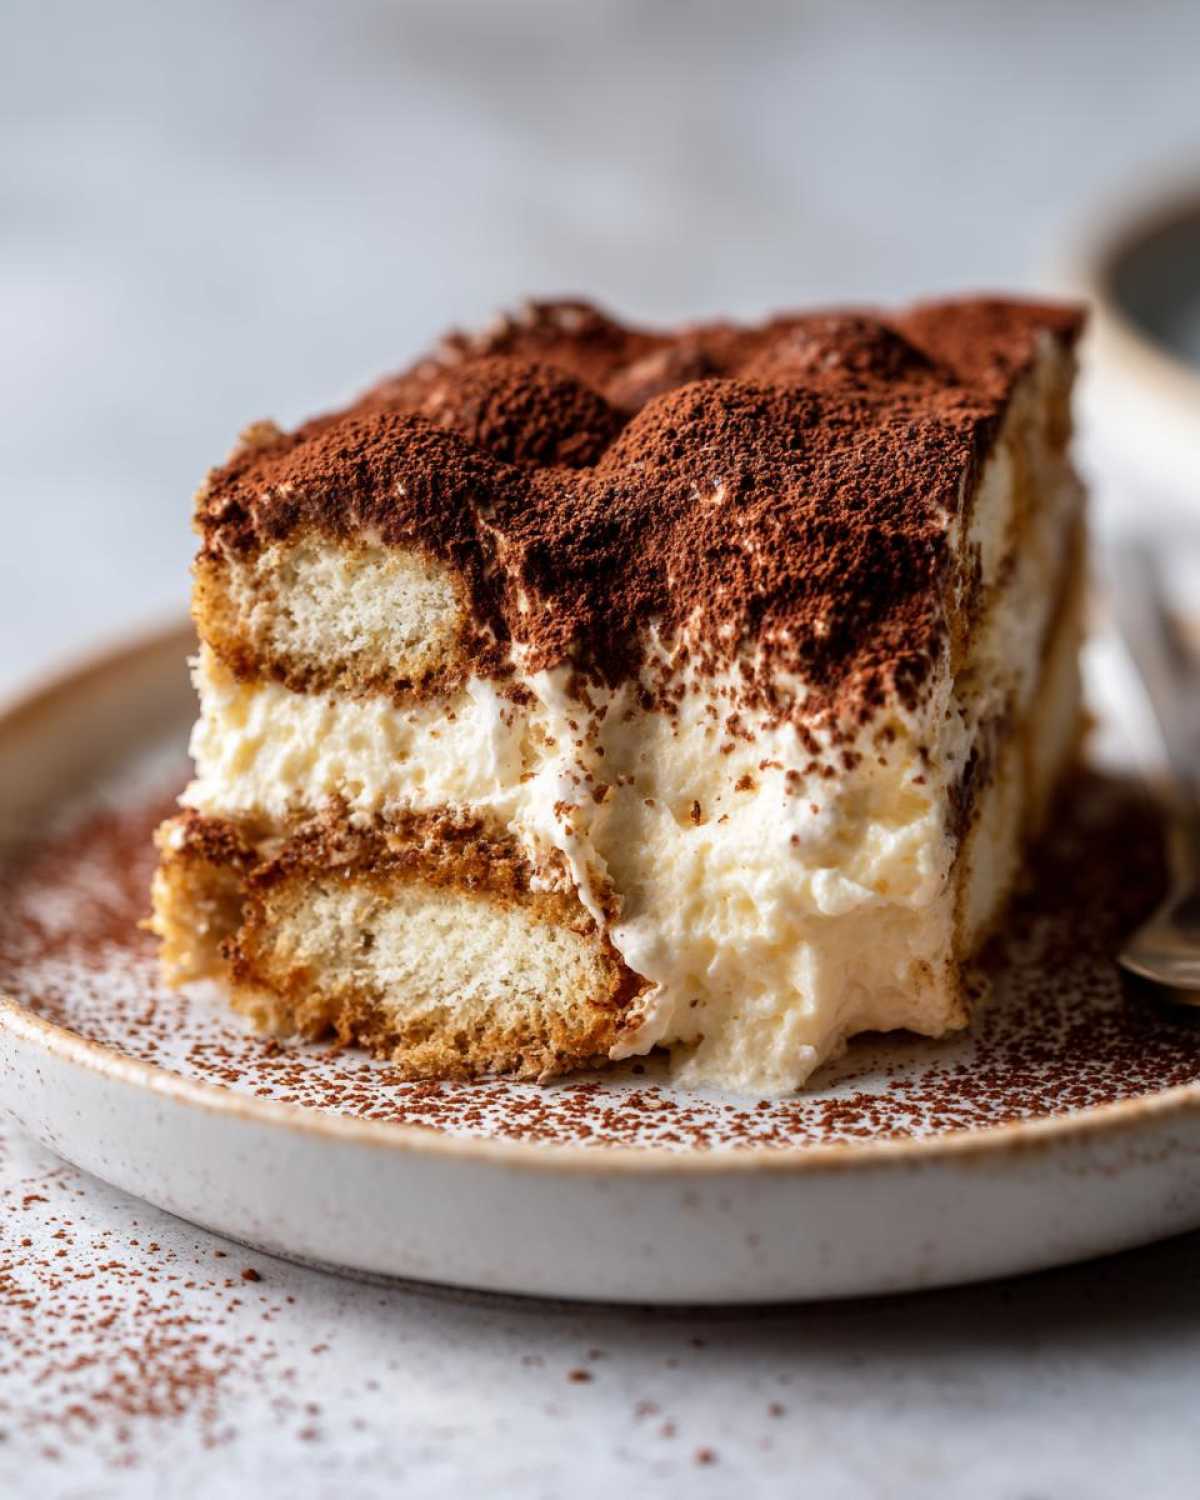
Ingredient Notes and Substitutions for Your Tiramisu Cheesecake
Because this is a no-bake showstopper, the ingredients really have to pull their weight! I know sometimes we don’t have everything on call, so let’s talk tweaks. If you are avoiding alcohol? Don’t dump the coffee! Just swap that optional coffee liqueur for another half teaspoon of instant espresso powder mixed right into the brewed coffee soak. That ensures you still get that sophisticated, bold flavor lift.
For my dear Spoon, who prefers simpler flavors, sometimes he skips the liquor completely and just uses strong black coffee. That still makes a phenomenal **Mascarpone Dessert**!
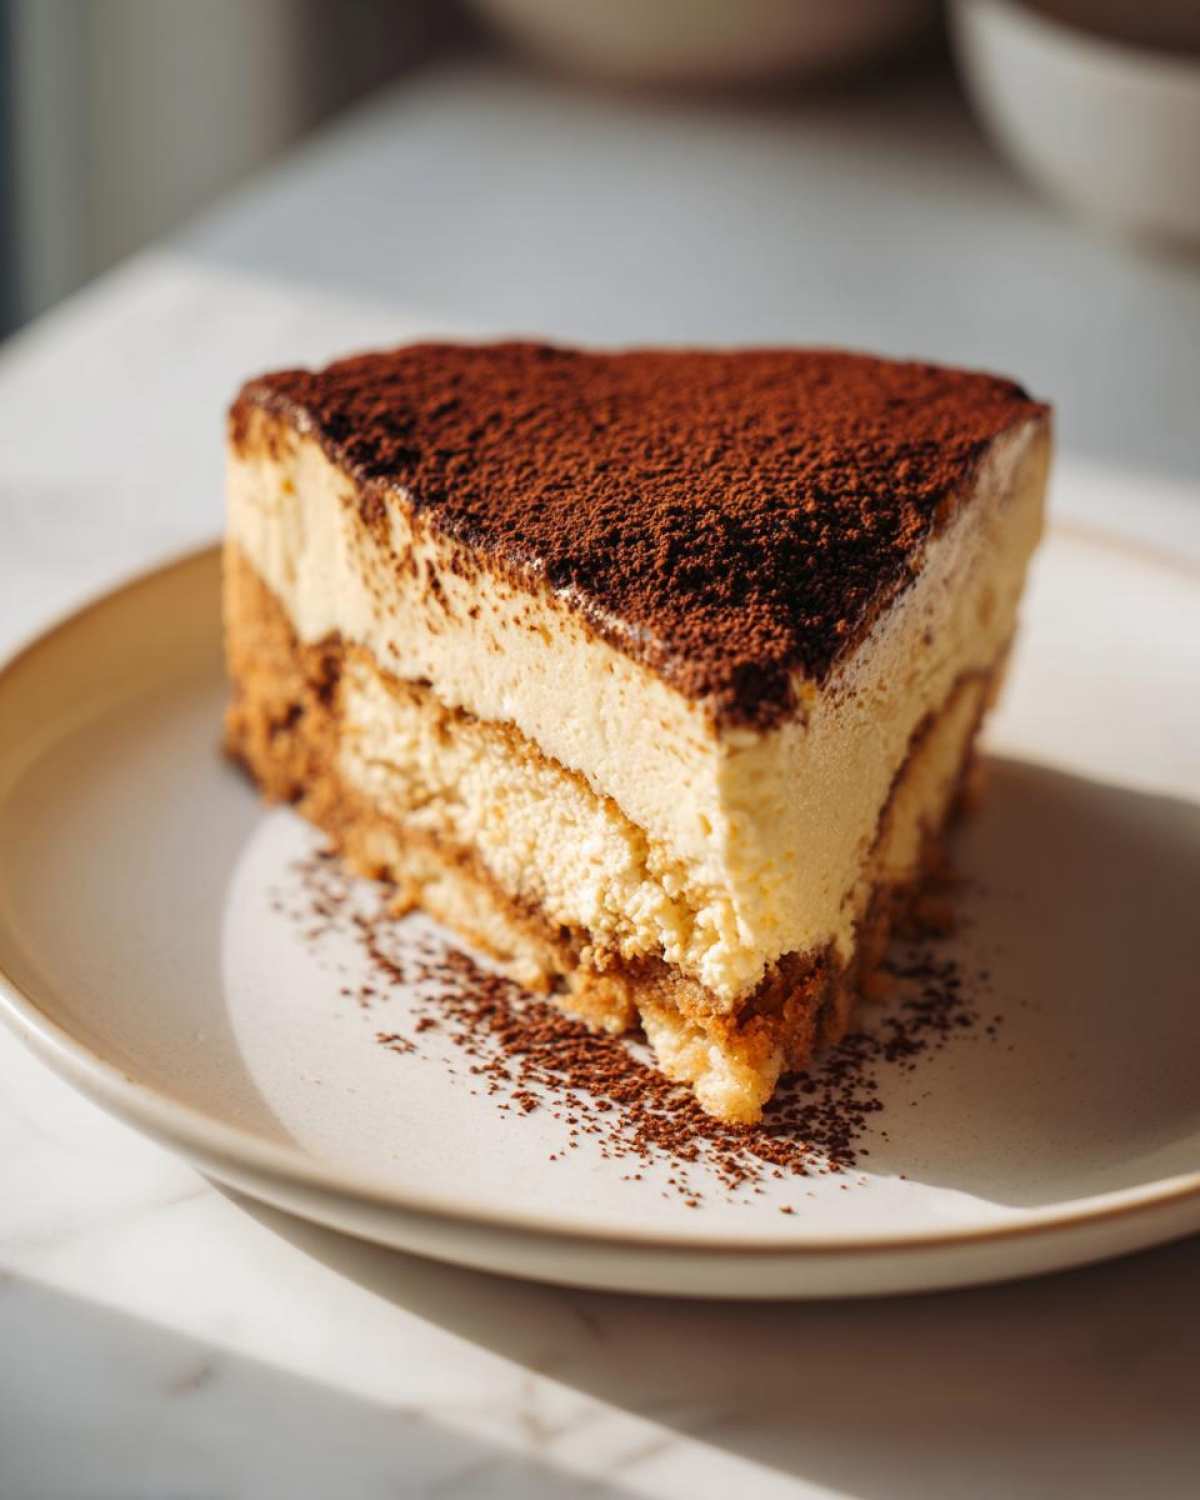
Now, about the ladyfingers—they are ideal for that classic texture, but if you don’t have them, you can absolutely use crushed chocolate Oreos (filling removed) or even chocolate wafer crumbs mixed with a teaspoon of melted butter for your middle layer. The coffee soak is non-negotiable, though; it’s what makes it *tiramisu*!
Tips for an Impressive Dinner Party Dessert Tiramisu Cheesecake
Serving this for company is where this beauty truly shines. It screams elegance, yet you didn’t sweat over it all day—a true Sprout win! This always becomes the star when I serve it at any gathering. Jun remembers the first time I made this **Tiramisu Cheesecake** for his book club; everyone asked if it was that fancy restaurant dessert they tried on vacation!
Here are my final presentation secrets to make it an Impressive Dinner Party Dessert:
- The Cocoa Dusting: Wait until the very last second before you bring it to the table to dust the cocoa powder. If you do it too early, the moisture from the fridge makes it look muddy. Use a fine-mesh sieve, like the one Jun uses for sifting flour.
- Clean Slicing: Because this is a no-bake recipe, it needs that final firm set. If you try to slice it too soon, it smears. Dip a sharp, thin knife in hot water, wipe it clean, and then make your cut. Wipe the knife again between every slice for perfect edges!
- Easy Serving Option: If you’re worried about slicing a round, consider making it in a 9×13 pan instead and cutting it into neat squares—almost like an easier pecan pie bar. Either way, people go wild for the coffee flavor. For more inspiration on decadent styling, check out these tips found over at Olives + Thyme!
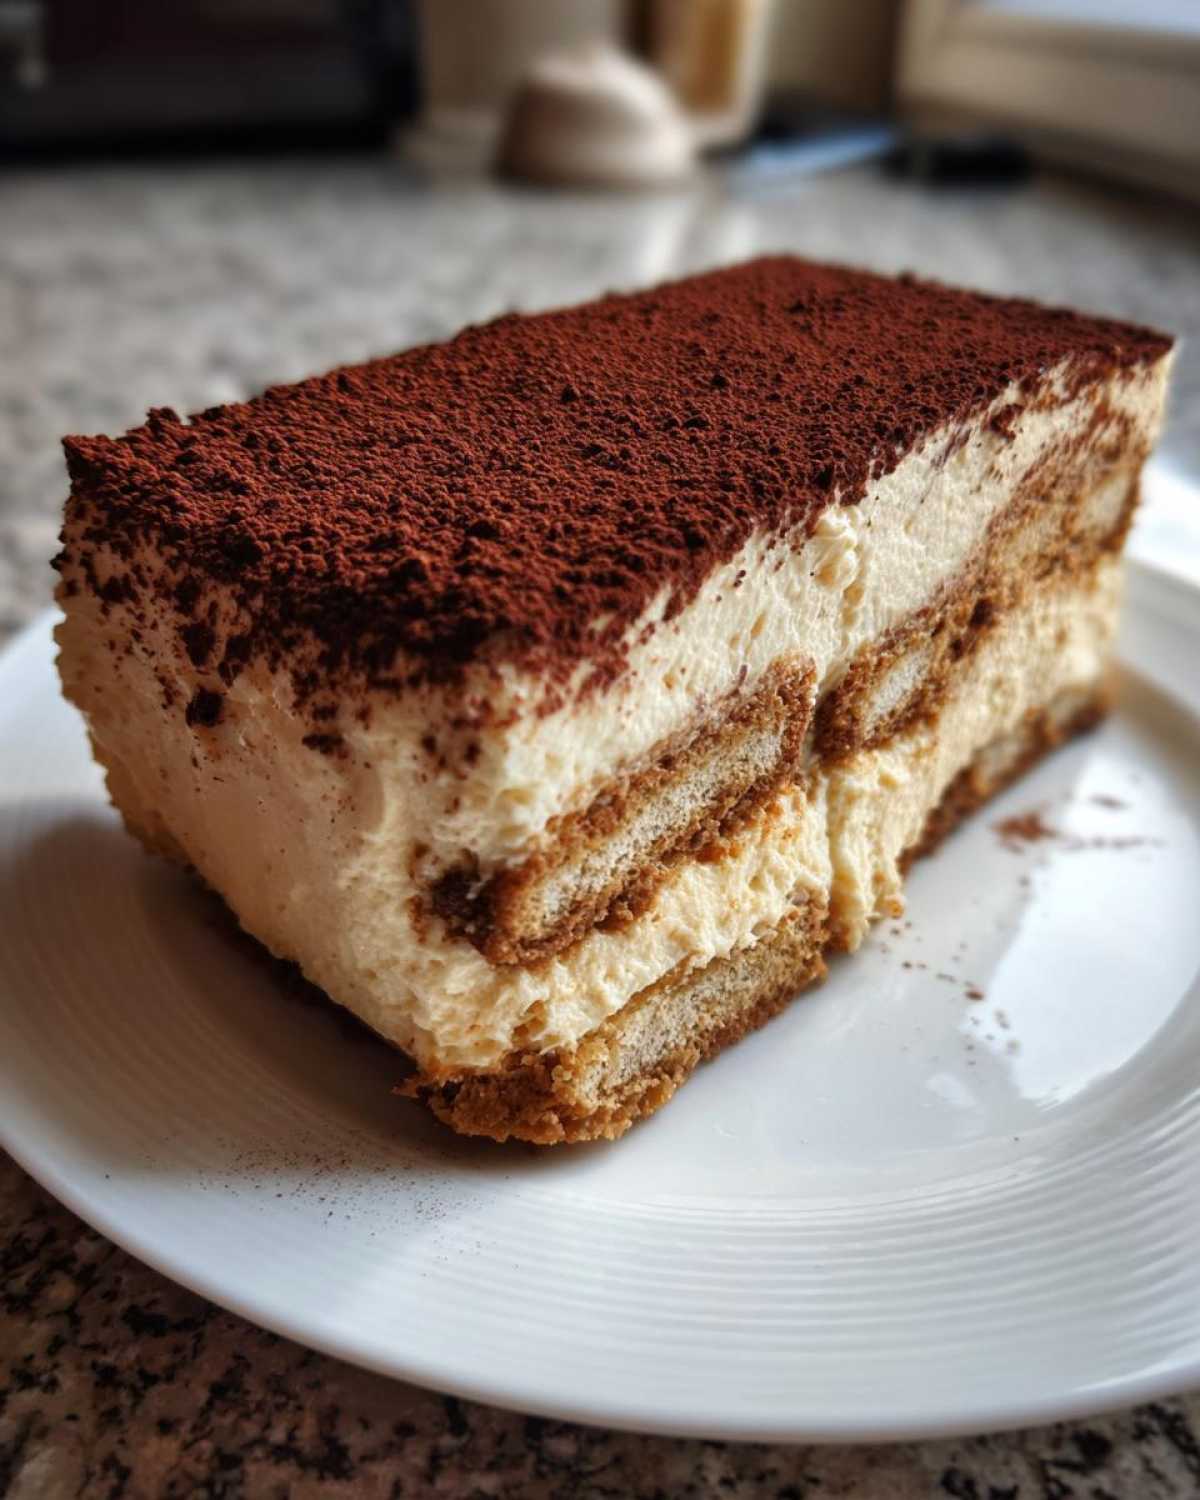
Storage and Make-Ahead Advice for Tiramisu Cheesecake
This is one of my absolute favorite parts about this recipe—it’s naturally an Easy Make Ahead Dessert! Seriously, anything that lets me tidy up the kitchen the day before a big gathering gets my vote right away. Since this Tiramisu Cheesecake relies completely on chilling time to set up that lovely structure, making it a day early is actually recommended.
When it’s perfectly set in the springform pan, cover it loosely with plastic wrap—you don’t want the wrap sticking right to that beautiful cocoa dusting, so leave an air gap! Store it in the coldest part of your refrigerator. It stays wonderfully fresh like this for three good days. Honestly, the flavor gets even better on day two as those coffee notes really bloom into the cream cheese layers.
Can you freeze it? Yes, you certainly can! If you need to stall its creation even longer, you can freeze the cheesecake before you dust it with that final layer of cocoa. Just make sure it’s well-wrapped in a couple of layers of plastic wrap and then wrapped again in foil to combat freezer burn. It might take a full day on the counter or about 36 hours in the fridge to thaw safely before you dust and serve. But for me? If I can make it the day before and just dust it in the morning? That’s the sweet spot for a stress-free party!
Variations: Baked Cheesecake Recipe and Tiramisu Inspired Treats
I know some of you dear bakers out there just can’t resist the oven! While I adore how easy this Tiramisu Cheesecake is without turning on the heat, I totally understand the pull toward a classic baked texture. If you want to try the baked route, you’ll treat this mixture much like a regular cheesecake—you’ll definitely need a water bath to keep things gentle and prevent cracking.
For the baked version, just mix the filling as written, pour it over your crust, and bake low and slow until it just sets in the center. Check out the detailed baking instructions shared by Feast Flyer if you go that way; they have great timing guides!
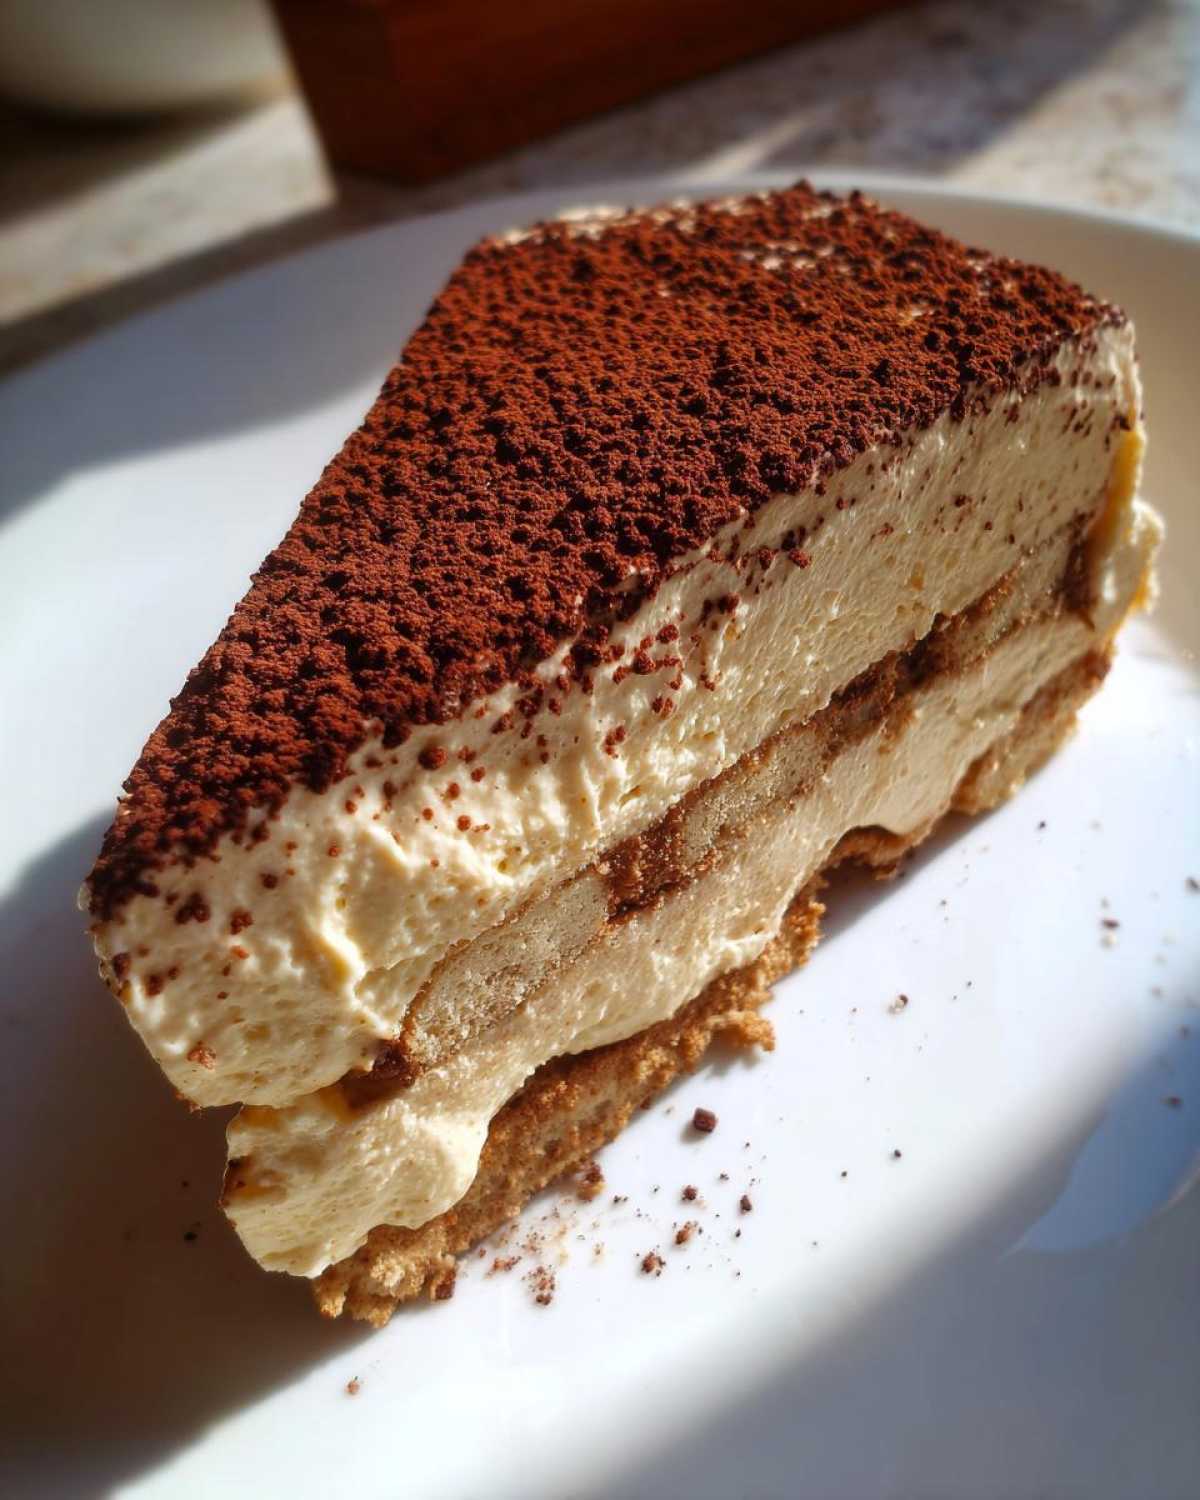
But we can also play with the flavors! If you want more chocolate depth in your **Tiramisu Inspired Treats**, try folding in some mini chocolate chips right before you add the whipped cream. Or, if you’re like my little one who loves spicy things, you could swirl in some spiced pumpkin flavor into the base layer—a truly unexpected twist! For my brownie-loving friends, you might find some inspiration when looking at how I combine cheesecakes and brownies in my Pumpkin Cheesecake Brownies, though this dessert stays true to its Italian roots!
Frequently Asked Questions About Tiramisu Cheesecake
I always find that when a dessert is this much of a mashup, people have specific questions about how to make sure the flavors mesh just right! I’ve gathered the most common worries people have when tackling this gorgeous **Tiramisu Cheesecake**.
Can I skip the optional coffee liqueur (Kahlua)?
Oh, absolutely! Jun often skips it for his afternoon snack because he doesn’t need the extra kick, and it’s still delicious. If you skip the liqueur, don’t just leave the coffee soak weak, though! I highly recommend adding an extra half teaspoon of instant espresso powder to your cooled brewed coffee. That extra boost ensures you still get that deep, assertive coffee note needed to balance the sweetness of the cream cheese layers.
Will my No Bake Cheesecake setting up properly if I use graham crackers instead of ladyfingers?
Yes, you certainly can use graham crackers or even chocolate wafers for the crust base, just like we did! But for the middle layer—where the ladyfingers usually go—if you use something denser like crushed graham crackers, you might want to shorten that coffee soak time even more. Ladyfingers drink up liquid like a sponge! Graham crackers are sturdier, so you don’t want them getting soggy or they’ll turn to mush when you cut into the final cheesecake.
Is the coffee flavor too intense in this dessert?
That’s a totally fair question, especially since we are using it in both the crust AND the soak! Because the filling is so rich with mascarpone and cream cheese, it actually balances the coffee beautifully. It tastes like a sophisticated espresso, not bitter. Since this is a No Bake Cheesecake, the coffee flavor stays bright. If you are still worried, just make sure your brewed coffee is medium-strength, not extra, extra dark espresso, and you’ll be just fine!
If you have any other burning questions about baking, you can always browse the archives over on the main Spoon & Sprout page!
Estimated Nutritional Data for This Tiramisu Cheesecake
As Sprout, I’m always trying to keep track of what we’re eating, even when it’s something as beautifully decadent as this dessert. Jun always reminds me we need to know what we’re putting in our bodies, but he also reminds me that a little indulgence is good for the soul!
Because this Tiramisu Cheesecake is a rich fusion drawing on both cream cheese and mascarpone, it certainly packs a punch in flavor, and yes, fat content. Please keep in mind that these figures below are just my best estimates based on the standard ingredients list, and they will vary slightly depending on the exact brand of cream cheese or the amount of coffee liqueur you decide to add. It’s transparency Jun insists on!
- Serving Size: 1 slice (about 1/10th of the cake)
- Calories: Approximately 450 per slice
- Fat: About 30g total fat
- Carbohydrates: Around 40g
- Protein: Roughly 7g
- Sugar: Closer to 35g
See? It’s definitely a treat, but what a tasty treat it is! It’s always worth it when you savor every bite, knowing you made something this special from scratch.
PrintEasy No Bake Tiramisu Cheesecake
You will love this creamy, decadent Tiramisu Cheesecake that combines classic Italian tiramisu flavors with a rich, no-bake cheesecake base. It is simple to prepare and perfect for making ahead for any special occasion.
- Prep Time: 30 min
- Cook Time: 0 min
- Total Time: 6 hr 30 min
- Yield: 10 servings
- Category: Dessert
- Method: No Bake
- Cuisine: Italian Fusion
- Diet: Vegetarian
Ingredients
- 1 1/2 cups chocolate wafer crumbs or graham cracker crumbs
- 1/4 cup granulated sugar (for crust)
- 6 tablespoons unsalted butter, melted
- 1 teaspoon instant espresso powder (for crust)
- 16 ounces cream cheese, softened
- 1 cup powdered sugar
- 1 teaspoon vanilla extract
- 1 cup heavy whipping cream, cold
- 8 ounces mascarpone cheese, softened
- 1/2 cup strong brewed coffee, cooled
- 2 tablespoons coffee liqueur like Kahlua (optional)
- Cocoa powder, for dusting
Instructions
- Prepare the crust: In a medium bowl, combine the chocolate wafer crumbs, 1/4 cup granulated sugar, and 1 teaspoon instant espresso powder. Pour in the melted butter and mix until the crumbs are evenly moistened. Press the mixture firmly into the bottom of a 9-inch springform pan. Place the crust in the freezer while you prepare the filling.
- Beat the cream cheese: In a large bowl, use an electric mixer to beat the softened cream cheese, powdered sugar, and vanilla extract until the mixture is completely smooth and fluffy. Scrape down the sides of the bowl as needed.
- Whip the cream: In a separate, clean bowl, beat the cold heavy whipping cream until stiff peaks form. Set aside.
- Combine filling base: Gently fold the softened mascarpone cheese into the cream cheese mixture until just combined. Do not overmix.
- Add coffee flavor: Mix the cooled brewed coffee and optional coffee liqueur into the mascarpone mixture until smooth.
- Fold in whipped cream: Gently fold the whipped cream into the coffee-mascarpone mixture until no white streaks remain. This keeps the filling light and airy.
- Assemble the cheesecake: Remove the crust from the freezer. Spread half of the cheesecake filling evenly over the crust.
- Create the coffee layer: Dip ladyfingers quickly, one by one, into the remaining cooled coffee (or coffee/liqueur mixture). Arrange a single layer of the soaked ladyfingers over the filling.
- Top the cheesecake: Spread the remaining cheesecake filling over the ladyfinger layer, smoothing the top with a spatula.
- Chill: Cover the pan loosely with plastic wrap and refrigerate for at least 6 hours, or preferably overnight, until the cheesecake is firm.
- Serve: Before serving, carefully remove the springform ring. Dust the top generously with cocoa powder. Slice and enjoy this luxurious coffee dessert.
Notes
- For a richer coffee flavor in the soak, use strong espresso instead of brewed coffee.
- If you skip the optional coffee liqueur, add 1/2 teaspoon more instant espresso powder to the filling for depth.
- If you do not have ladyfingers, you can use a layer of crushed chocolate cookies mixed with a little melted butter for the middle layer instead.
Nutrition
- Serving Size: 1 slice
- Calories: 450
- Sugar: 35g
- Sodium: 250mg
- Fat: 30g
- Saturated Fat: 18g
- Unsaturated Fat: 12g
- Trans Fat: 0.5g
- Carbohydrates: 40g
- Fiber: 1g
- Protein: 7g
- Cholesterol: 95mg