

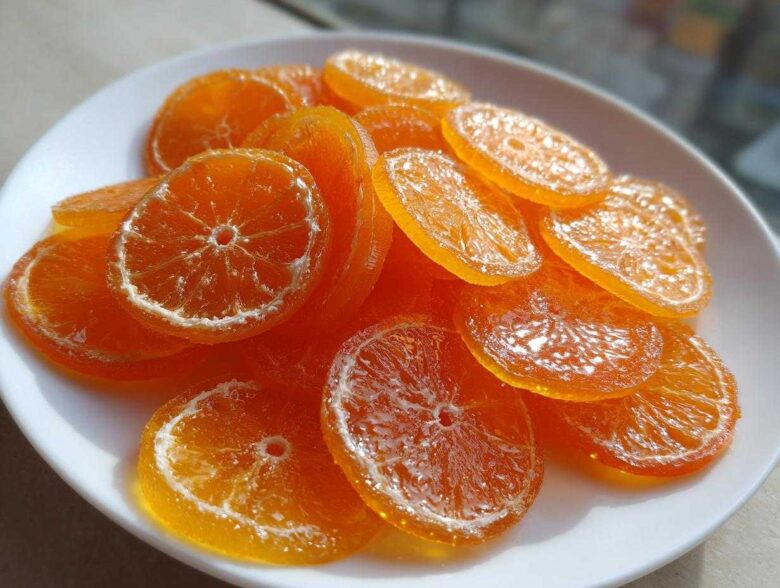
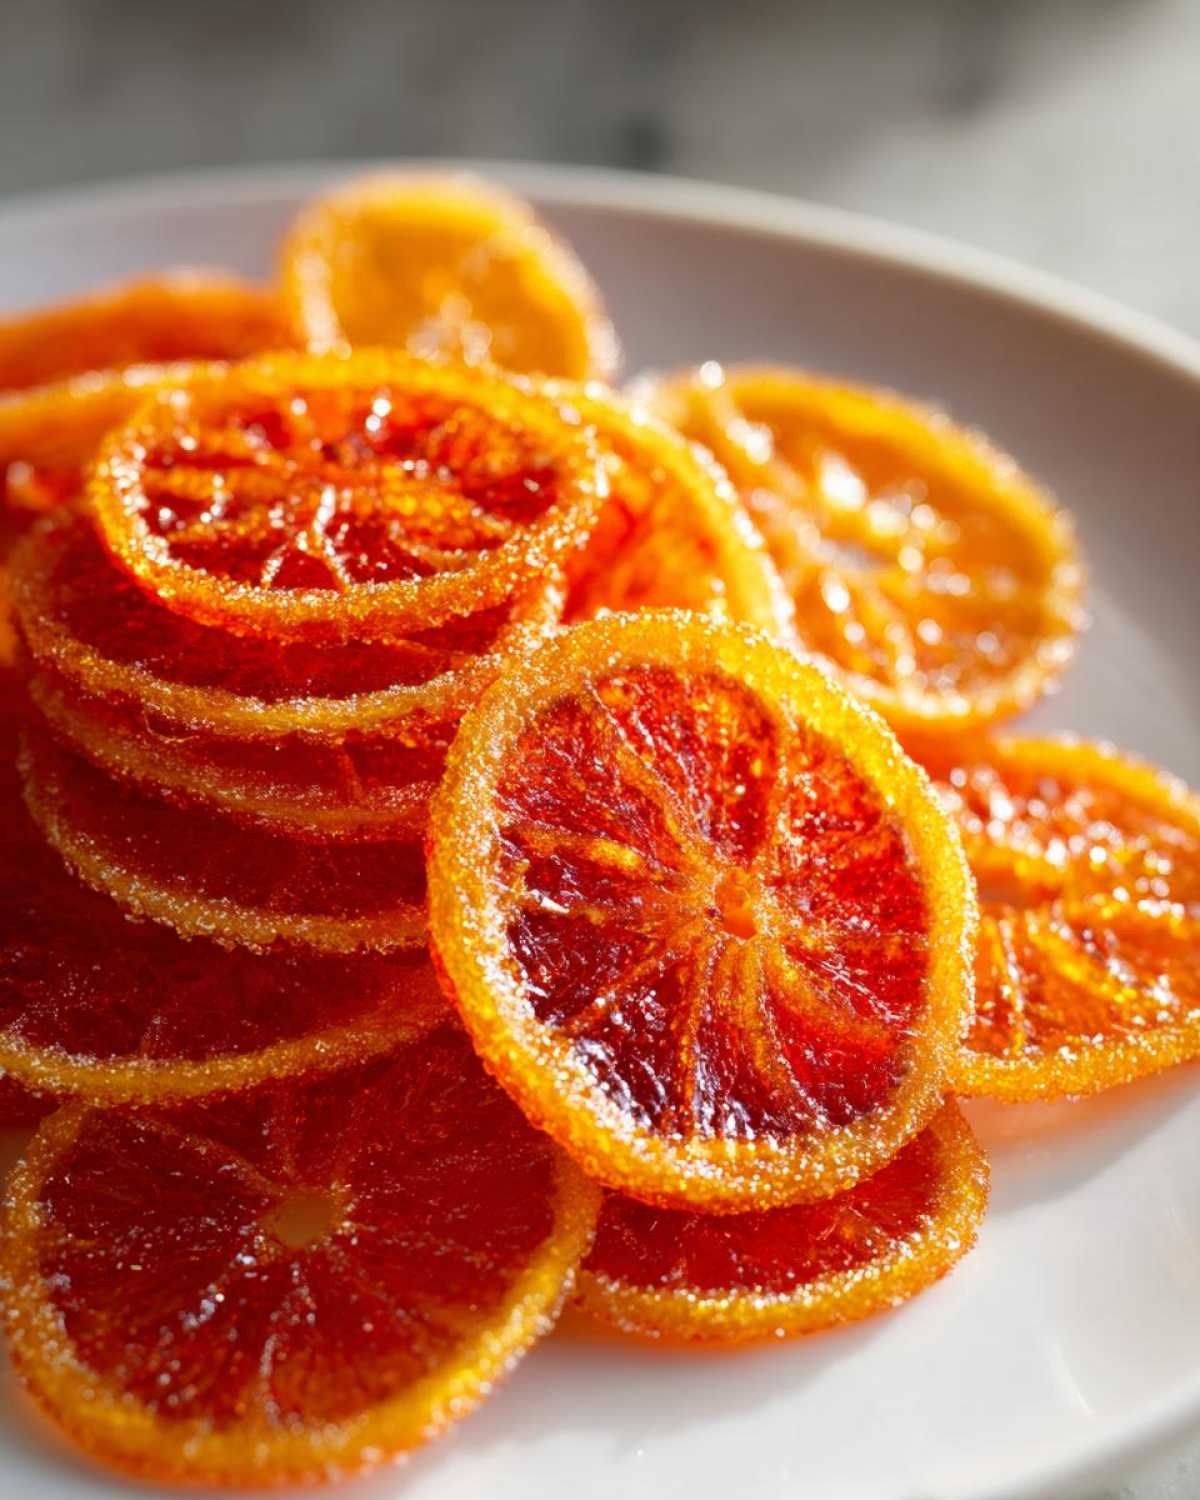
Oh, my heart sings when I look at a jar full of these! There is nothing quite as beautiful as turning a simple, bright orange into something that looks like stained glass. When I talk to Mei—my Sprout—we discuss how this process really embodies our kitchen philosophy. It takes the Spoon’s love of slow, deep tradition—the long simmering—and mixes it with the Sprout’s need for that vibrant, sunny flavor. Making these candied orange slices is pure alchemy. We don’t just dry them out; we coax them until they become these chewy, jewel-like morsels. Trust me, creating homemade citrus candy like this feels like magic, and it’s easier than you might think.
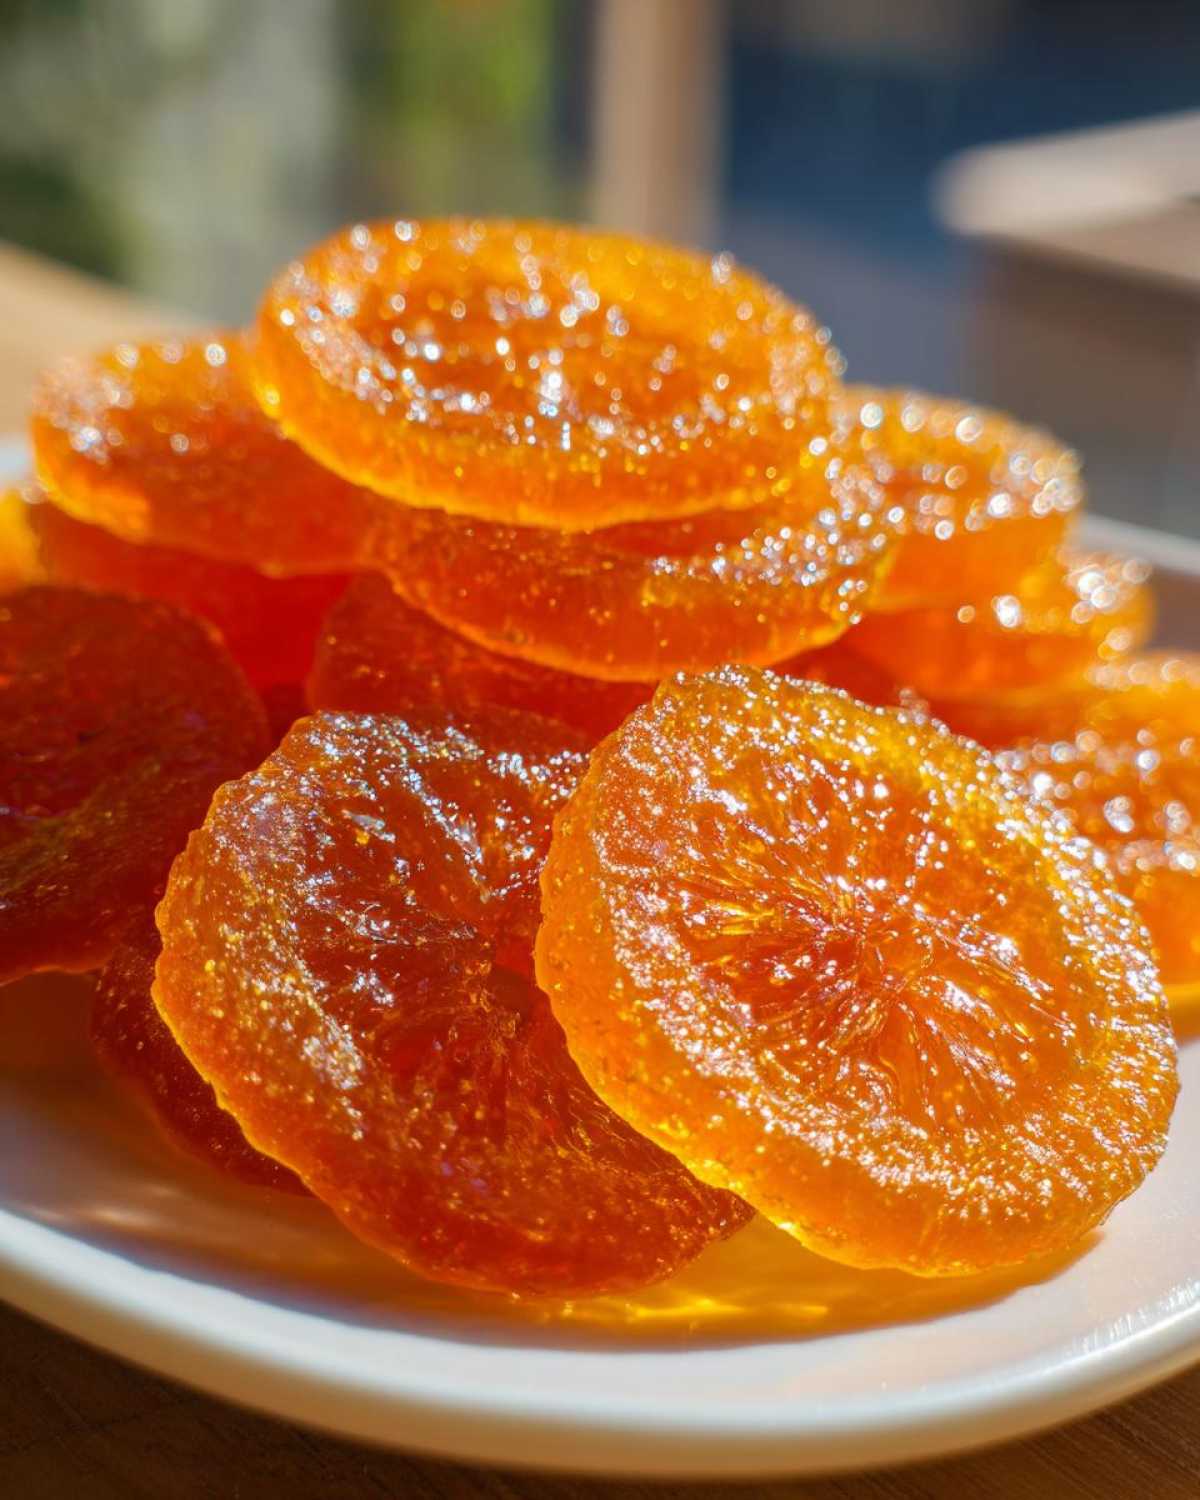
Why This is the Best Way to Make Candied Orange Slices
You could rush this, I know you could. But why mess with perfection? Quick methods leave you with tough rinds, and we want something that melts just a little in your mouth. This slow simmer combined with the long soak is truly the best way to candy oranges we’ve ever found. It guarantees that incredible texture.
- We end up with those delightful chewy orange peel sweets instead of hard, brittle candy.
- The long soak lets the sugar permeate every cell wall, giving you that deep, sweet flavor that lasts.
Achieving the Perfect Glossy Finish
That jewel-like shimmer isn’t just for looks, though it certainly helps when you’re making elaborate decorations! It comes from the density of the syrup fully saturating the orange. If you rush the syrup making, the sugar crystallizes quickly, making it look dull. We want saturation, my friend, not just a sticky coating.
Reducing Bitterness with Blanching
Okay, Spoon always insisted on this step, and I used to grumble about the extra boiling. But if you skip the three rounds of boiling and draining—the blanching—you are left with that sharp, unpleasant bitterness from the white pith. It ruins the lovely sweet citrus flavor of the final candied orange slices.
Gathering Ingredients for Your Candied Orange Slices
Don’t let this list scare you! It looks like a lot of sugar, but remember, that’s what preserves the fruit and gives you that wonderful, deeply flavored snack. This recipe supports that goal of an easy candied orange recipe because honestly, there are only three things we really need: oranges, water, and sugar. Everything else is just a professional touch!
- Three beautiful, fat Navel oranges are your foundation. Look for thick skins!
- Four cups of water and four cups of granulated sugar—yes, they are divided for the blanching and the main syrup. Don’t mix them up!
- Just one tablespoon of fresh lemon juice seems small, but it really helps balance the sweetness.
Step-by-Step Instructions for Homemade Candied Orange Slices
Now for the hands-on part! While this takes patience, the actual hands-on work is quite simple. Remember that for the best results, we are aiming for that signature translucent look that makes these feel like an elegant holiday citrus candy.
Preparing and Blanching the Orange Rounds
First, we need to get those oranges ready. Wash them really well—you’re keeping the rind, so be thorough! Slice them thinly, aiming right for about 1/8 of an inch. Too thick, and they take forever to soften; too thin, and they fall apart. After slicing, we tackle the bitterness. Put the rounds in a big pot, cover them with water—that’s the first batch of the water—bring it to a boil, and drain it right out. We do that boiling and draining thing two more times. Trust me on this; those three rounds knock out all the harshness so all you taste is sweet citrus!
The Slow Simmer and Syrup Absorption
Next, we build our sweet bath. In that clean pot, mix up the 4 cups of sugar and the remaining 2 cups of water. Stir it gently until that sugar is totally gone. Then, tuck the blanched orange slices in with a splash of lemon juice. Turn the heat way, way down. You want a gentle, happy simmer, not a rolling boil, for about an hour to an hour and fifteen minutes. When the rinds start turning see-through, you’re almost there. But here is the biggest trick for perfect candied orange slices: turn off the heat, and let those slices just sit in that syrup overnight! At least eight hours works wonders.
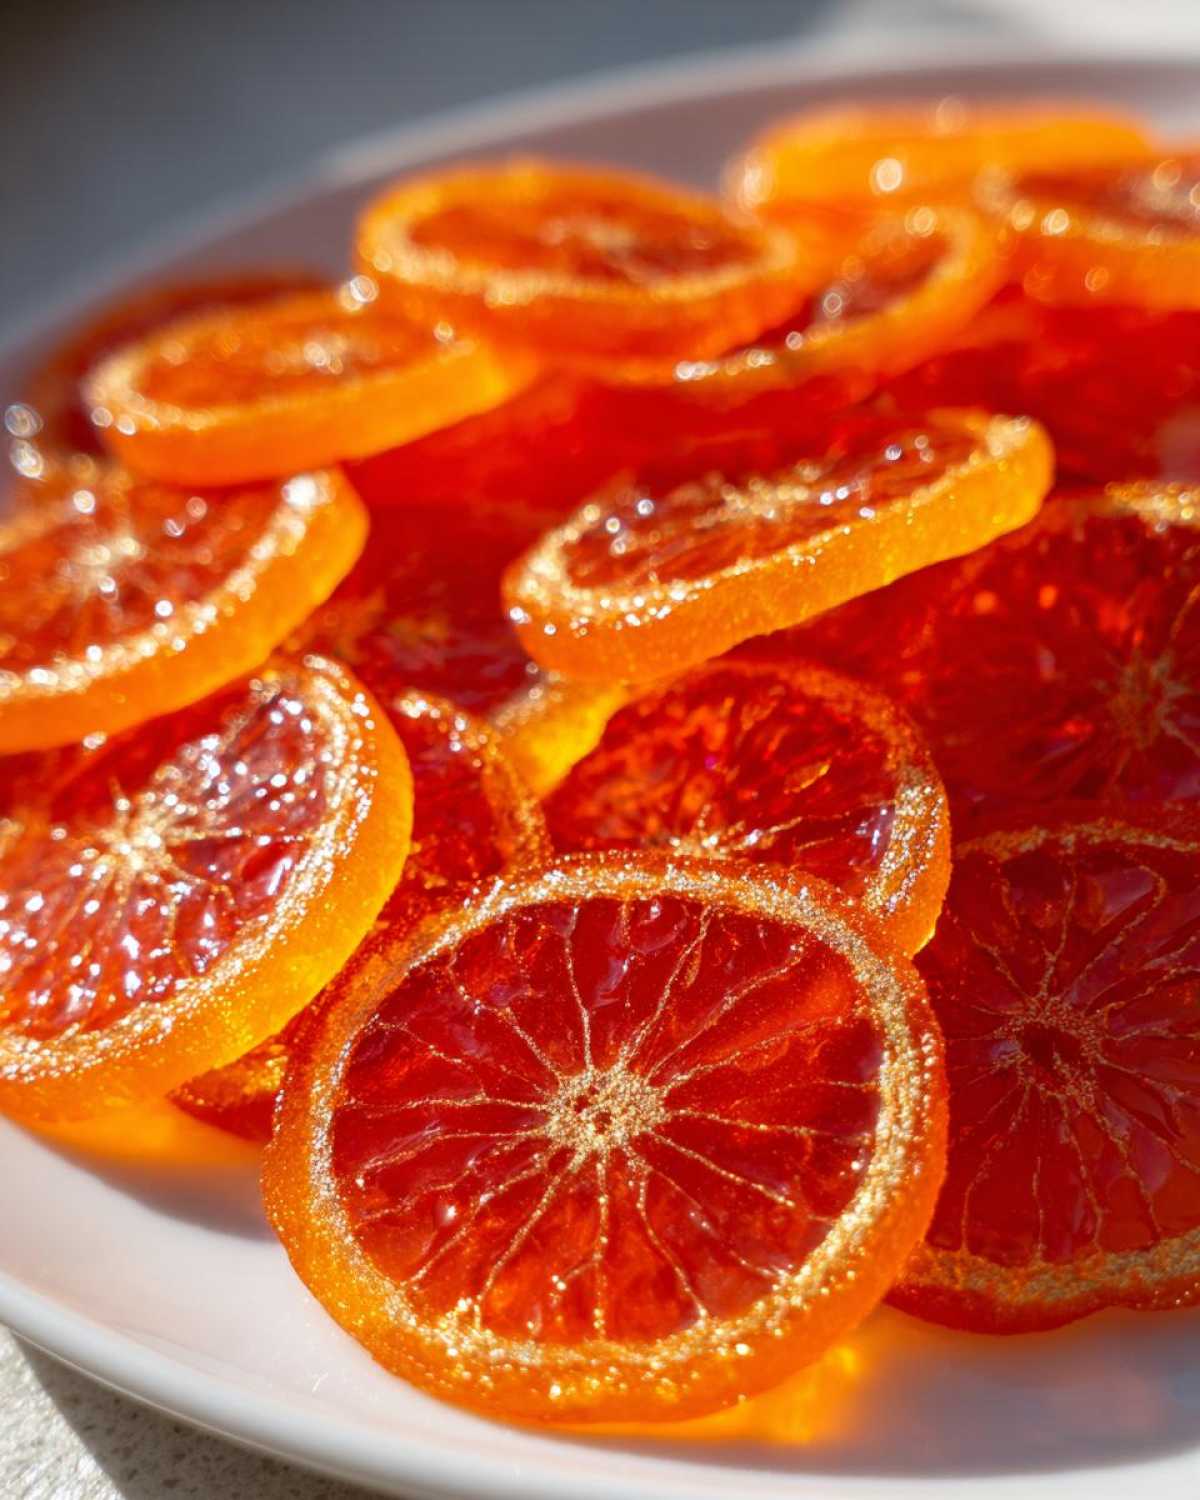
Drying Your Sweet Orange Slices Dessert
Once they’ve had their long, sweet soak, carefully lift those slices out, letting the extra syrup drip back into the pot. Lay them in a single layer across a wire rack set over a baking sheet. If you want a quicker tangy dried orange treat, pop them into a low oven—about 200°F—for an hour or two, flipping them halfway. If you have time, air-drying at room temperature for a couple of days works perfectly too. We want them dry enough not to stick together, but still soft and bendy! If you want a fully sugar-coated finish, toss them in a little extra sugar while they are still warm from the oven. You can find detailed guides on how to make perfect orange rounds right here.
Tips for Success Making Candied Orange Slices
If you want these to look like the gourmet orange slice topping you see in magazines, pay attention to which oranges you pick! Mei always grabs the Navel or Valencia varieties because they naturally have that thicker rind we need. Thin rinds turn into orange dust during the simmering process, and that’s just sad.
Also, don’t throw away that syrup when you pull the slices out! That’s pure liquid gold. It’s an intense, beautiful sweetener. We often use the leftover liquid to make a fantastic simple syrup orange recipe for cocktails or just drizzling over waffles. It saves such a waste!
One last thing: don’t try to rush the drying. If you pull them too soon, they’ll stick together in one big candy clump. Patience gets you those gorgeous, individual, glossy slices every time.
Creative Variations for Your Candied Orange Slices Recipe
Once you’ve mastered the basic candied orange slices, you simply must start playing! That base recipe gives you such a sturdy, sweet, and tangy dried orange treat, it begs for a little extra flair. For me, turning these into chocolate dipped candied oranges is the ultimate way to elevate them into something spectacular.
When I package these up as *homemade edible gifts from citrus*, dipping half of the cooled slice in dark chocolate makes them look so gourmet. Spoon laughs because I always sprinkle a little flaky sea salt on the chocolate while it sets—it’s that perfect balance again!
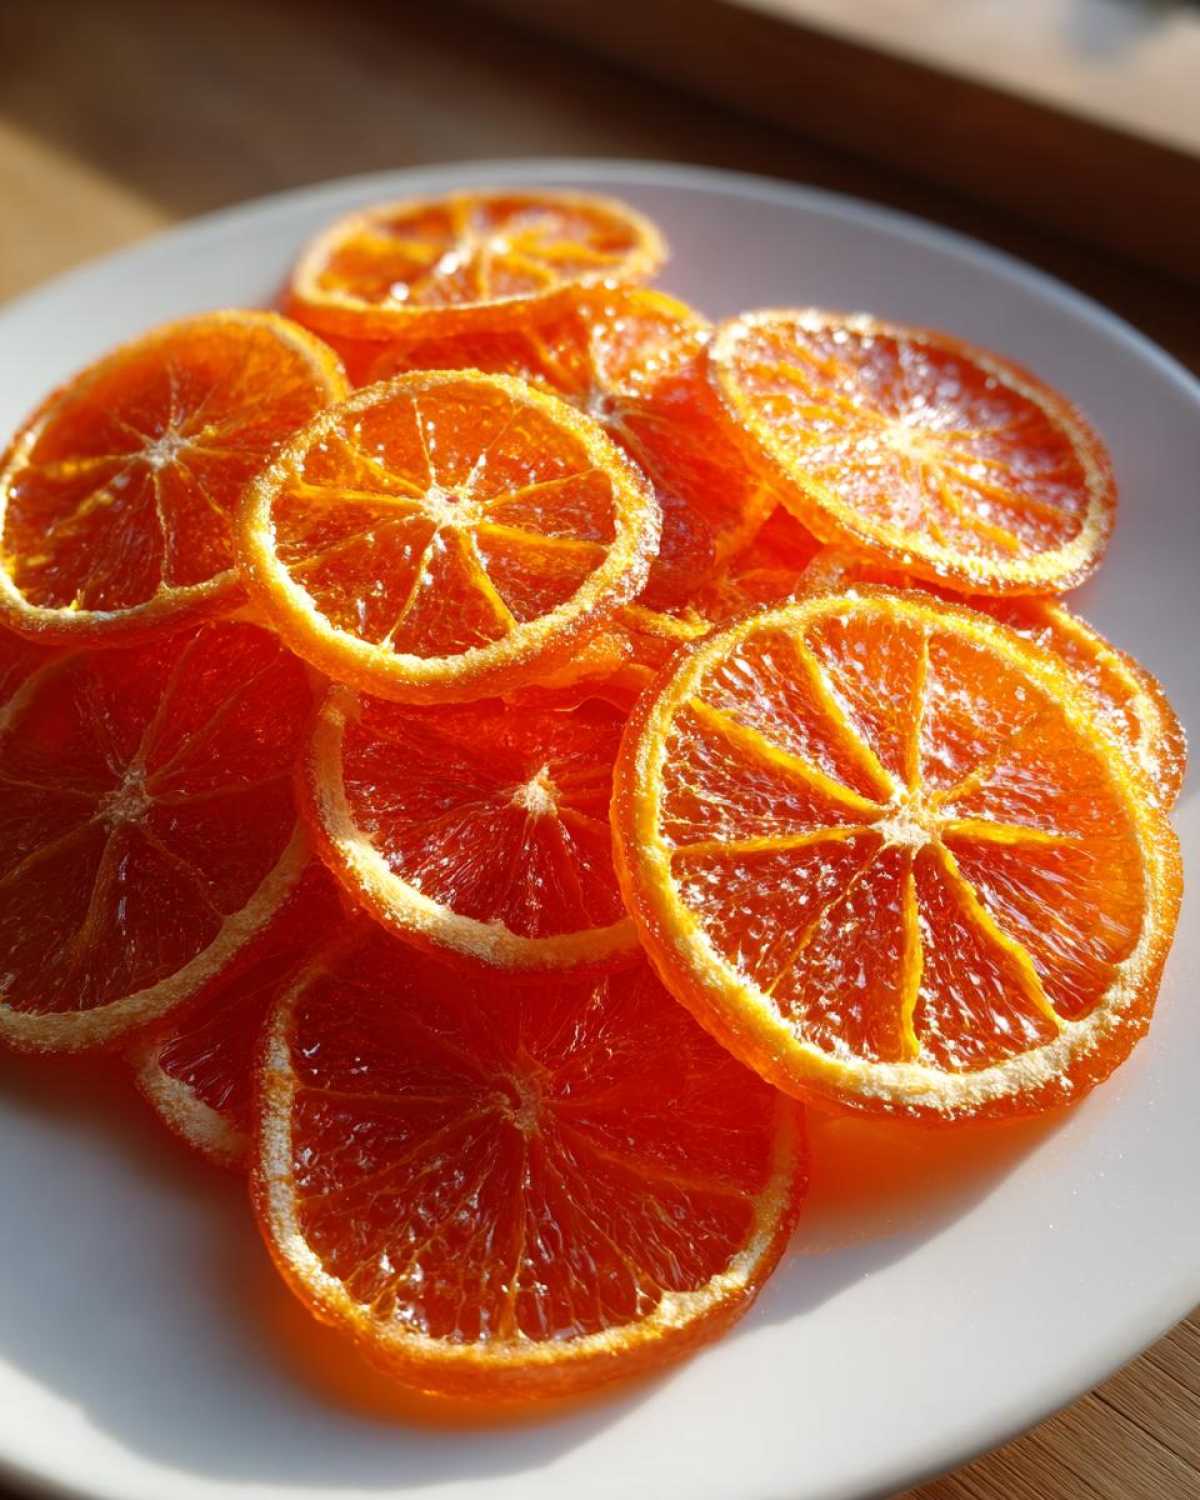
And don’t forget other fruits! We love using blood oranges when they are in season. They create this stunning deep-red or slightly pinkish slice. Grapefruits work too, though they are definitely tarter. You just follow the exact same steps for blanching and simmering; the different citrus flavors are just gorgeous!
Serving Suggestions: Using Your Homemade Orange Garnish
So, you’ve nailed the slow simmer and have these shining, chewy beauties cooling on the rack. What next? You can certainly just eat them by the handful—we devour way too many that way—but these deserve a place in the spotlight! They make such a fantastic gourmet orange slice topping for almost anything.
For a show-stopping effect, I love decorating cakes with candied oranges, especially rich chocolate cakes or spiced vanilla layers. Lay a few around the edge, or use one big one right in the center. They look incredibly elegant there.
But don’t just limit yourself to sweets! Spoon loves piling them onto a charcuterie board. They pair surprisingly well with sharp cheeses, salty prosciutto, and crunchy nuts. If you want to try something really fresh, I used them last week chopped up small and mixed into an arugula salad—you can see my idea for a bright citrus-nut salad here. They just add that perfect pop of flavor!
Storage and Reheating Instructions for Chewy Orange Peel Sweets
Now that you’ve poured your love into these beautiful chewy orange peel sweets, keeping them perfect is the final act! The good news is that since we’ve taken all that moisture out during the drying process, they are quite stable. You absolutely want to store them at room temperature. Forget the fridge!
Refrigeration actually makes them sweat and can get them sticky and soft in an unpleasant way. We dry them until they are pliable, not rock hard, so they need a dry environment. Keep them in a glass jar or an airtight container with a tight-fitting lid. If you’ve dried them properly, they should easily last me a good month, maybe two!
Do you need to reheat them? Honestly, no. They are traditionally eaten right out of the jar, room temperature, or slightly cooler. Warming them up, even briefly, risks softening them too much and ruining that perfect, slightly chewy texture we worked so hard for during the slow simmer. Just set them on a nice platter and enjoy them just as they are!
Frequently Asked Questions About Candied Orange Slices
I know you might have a few lingering questions before you dive into the simmering pot. That’s completely normal when you are mastering a tradition, even a sweet one like this! We cover the most common things people ask me here. And remember, if you ever doubt a process, you can always read up on our standard kitchen guidelines.
Can I make candied orange slices without soaking them overnight?
You can technically speed things up, yes, if you’re really pushing for an easy candied orange recipe! However, I have to be honest: the overnight soak is where the magic happens that gives us those tender, chewy orange peel sweets. If you absolutely can’t wait, give them a minimum of 8 hours. Shorter than that, and the center might remain stubbornly firm rather than perfectly pliable.
What can I do with the leftover simple syrup orange recipe liquid?
Please, please, please do not pitch that gorgeous liquid! That is concentrated, glorious flavor. That leftover syrup is a phenomenal component for an intensely flavorful simple syrup orange recipe. I use it watered down slightly for drizzling over pancakes, or I keep it handy in the fridge to sweeten iced tea. Spoon likes to float a little bit of it in his gin and tonic—that bright citrus note makes a fantastic cocktail base!
Are these citrus fruit dessert ideas suitable for decorating cakes with candied oranges?
Oh, absolutely! They are one of my favorite ways to use them up. They instantly make any cake look like it came from a five-star bakery. The main thing you must check before placing them on frosting is that they are bone dry—not just dry enough to handle, but fully set. If they have any dampness left, they will melt right into buttercream or cream cheese frosting, so give them an extra hour in the oven if you suspect they’re soft!
Nutritional Estimate for Sweet Orange Slices Dessert
Since we are deep into the process of making something truly delicious, sometimes we forget to think about what’s in that beautiful bite. I tried to put the numbers down here for estimation purposes—think of this as a helpful guide for your lovely sweet orange slices dessert, though keep in mind that the final drying, if you coat them heavily in extra sugar, will change this list a little bit!
These figures are based on one average slice, after the main simmering and drying process, but before any heavy extra coating. Remember, Spoon always says, the best nourishment comes from food made with love, but it’s smart to have a general idea!
- Serving Size: 1 slice
- Calories: 85
- Sugar: 21g
- Sodium: 1mg
- Fat: 0.1g
- Saturated Fat: 0g
- Trans Fat: 0g
- Carbohydrates: 22g
- Fiber: 0.5g
- Protein: 0.2g
- Cholesterol: 0mg
Because this recipe relies so heavily on fruit and pure sugar syrup, the numbers lean toward carbs and sugar, naturally. But when you look at that low fat and zero cholesterol, it makes me feel good about serving these sparkling treats to the grandkids!
PrintBeautifully Glossy Candied Orange Slices: A Sweet and Tangy Homemade Treat

Learn how to make beautiful, jewel-like candied orange slices at home. This recipe uses slow simmering to create chewy, intensely flavored citrus candy, perfect for garnishing or gifting.
- Prep Time: 20 min
- Cook Time: 1 hr 15 min
- Total Time: 9 hr 35 min
- Yield: About 3 dozen slices
- Category: Dessert
- Method: Simmering and Drying
- Cuisine: American
- Diet: Vegetarian
Ingredients
- 3 large Navel oranges (or other thick-skinned variety)
- 4 cups water, divided
- 4 cups granulated sugar, divided
- 1 tablespoon fresh lemon juice
Instructions
- Prepare the oranges: Wash the oranges well. Slice them thinly, about 1/8 inch thick. Discard the ends.
- Blanch the slices: Place the orange slices in a medium saucepan and cover them with 2 cups of water. Bring to a boil over medium-high heat, then immediately drain. Repeat this boiling and draining process two more times to reduce bitterness.
- Make the syrup: In the same saucepan, combine the remaining 2 cups of water and 4 cups of granulated sugar. Bring the mixture to a boil over medium heat, stirring until the sugar dissolves completely.
- Simmer the oranges: Add the blanched orange slices and the lemon juice to the sugar syrup. Reduce the heat to low. Simmer gently, uncovered, for about 1 hour to 1 hour 15 minutes, turning the slices occasionally. The rinds should become translucent.
- Cool and soak: Remove the pan from the heat. Let the orange slices soak in the syrup overnight, or for at least 8 hours, to fully absorb the sweetness.
- Dry the slices: Remove the slices from the syrup, letting excess drip off. Place them in a single layer on a wire rack set over a baking sheet.
- Finish drying: Bake in a low oven at 200°F (95°C) for 1 to 2 hours, flipping them halfway through, until they are dry to the touch but still slightly pliable. Alternatively, let them air dry at room temperature for 24 to 48 hours.
- Coat (Optional): For a fully sugar-coated finish, toss the dried slices lightly in extra granulated sugar while they are still slightly warm from the oven.
- Store: Let the candied orange slices cool completely before storing them in an airtight container at room temperature.
Notes
- For chocolate dipped candied oranges, melt high-quality dark chocolate. Dip half of each cooled slice and place them on parchment paper. Sprinkle with flaky sea salt before the chocolate sets.
- You can use different citrus like blood oranges or grapefruits for varied colors and flavors.
- Save the leftover citrus syrup; it makes an excellent simple syrup for cocktails or drizzling over pancakes.
Nutrition
- Serving Size: 1 slice
- Calories: 85
- Sugar: 21
- Sodium: 1
- Fat: 0.1
- Saturated Fat: 0
- Unsaturated Fat: 0
- Trans Fat: 0
- Carbohydrates: 22
- Fiber: 0.5
- Protein: 0.2
- Cholesterol: 0