

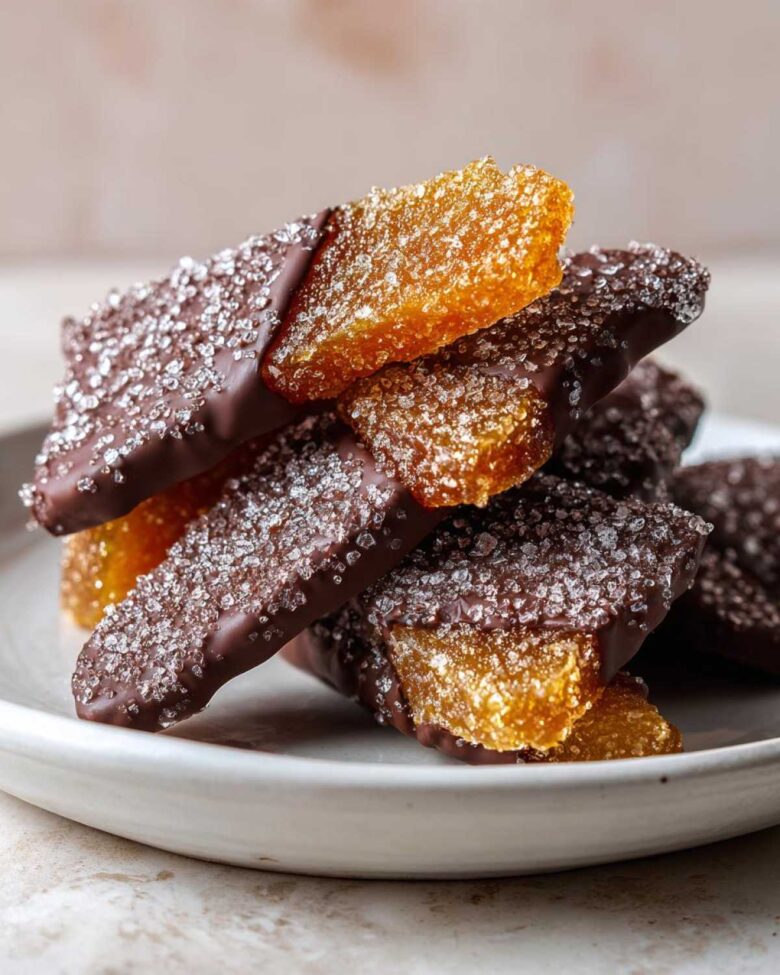
Why You Will Love These Chocolate-Dipped Candied Ginger Slices
This treat hits all the right notes. It’s truly a showstopper.
We know you’ll adore these Chocolate-Dipped Candied Ginger Slices. They offer a spicy warmth. They also bring rich, dark chocolate sweetness.

- The balance is simply perfect.
- They make wonderful homemade gifts.
- The texture is wonderfully chewy.
Making Chocolate-Dipped Candied Ginger Slices feels special.
Why You Will Love These Chocolate-Dipped Candied Ginger Slices
This treat hits all the right notes. It’s truly a showstopper.
We know you’ll adore these Chocolate-Dipped Candied Ginger Slices. They offer a spicy warmth. They also bring rich, dark chocolate sweetness.
- The balance is simply perfect.
- They make wonderful homemade gifts.
- The texture is wonderfully chewy.
Making Chocolate-Dipped Candied Ginger Slices feels special.
Quick Overview of the Recipe
This recipe keeps things easy for you. You get big flavor fast.
- Prep Time: 15 minutes
- Cook Time: 60 minutes
- Total Time: 75 minutes
- Yield: About 2 dozen slices
It’s a quick total time, really.
Essential Ingredients for Chocolate-Dipped Candied Ginger Slices
Gathering your supplies is the first step. Good ingredients make great candy. I always stress quality here. We need that perfect base for our Chocolate-Dipped Candied Ginger Slices. The magic starts with simple things.
This recipe needs just a few core components. Don’t skip preparing the ginger right. Thin slices really help everything cook evenly. That ensures a tender bite later on.

Candying the Ginger
For the candying part, keep it simple. We need the main trio here.
- 1 cup fresh ginger root, peeled and thinly sliced.
- 1 cup granulated sugar for sweetness.
- 1 cup water to create the syrup bath.
Remember to slice that ginger thin. It truly matters for texture.
The Chocolate Coating
Next up is the rich, dark coating. This balances the ginger’s heat beautifully.
- 4 ounces dark chocolate, chopped fine.
- 1 teaspoon coconut oil (optional, for a smoother dip).
Use good quality dark chocolate. It makes a huge difference in the final flavor.
Equipment Needed for This Recipe
You don’t need a lot of fancy gear here. My kitchen staples handle this perfectly. Having the right tools makes the process smoother. It keeps my focus on the flavor, not the fuss.
These simple items help create beautiful Chocolate-Dipped Candied Ginger Slices.
- A sturdy saucepan for simmering the ginger.
- A sharp knife for thin ginger slices.
- A baking sheet to hold the slices.
- Parchment paper is a must for easy release.
- A double boiler setup for gentle chocolate melting.
- Alternatively, a microwave-safe bowl works too.
- A fork or slotted spoon for lifting the ginger.
Make sure your bowl for melting chocolate is completely dry. Water ruins melted chocolate fast. I learned that the hard way once!
Step-by-Step Instructions for Chocolate-Dipped Candied Ginger Slices
Now comes the fun part. We turn humble ginger into spicy candy. Follow these steps closely for great Chocolate-Dipped Candied Ginger Slices. Patience during the simmer is key here. The slow cooking builds deep flavor.
Preparing the Candied Ginger Base
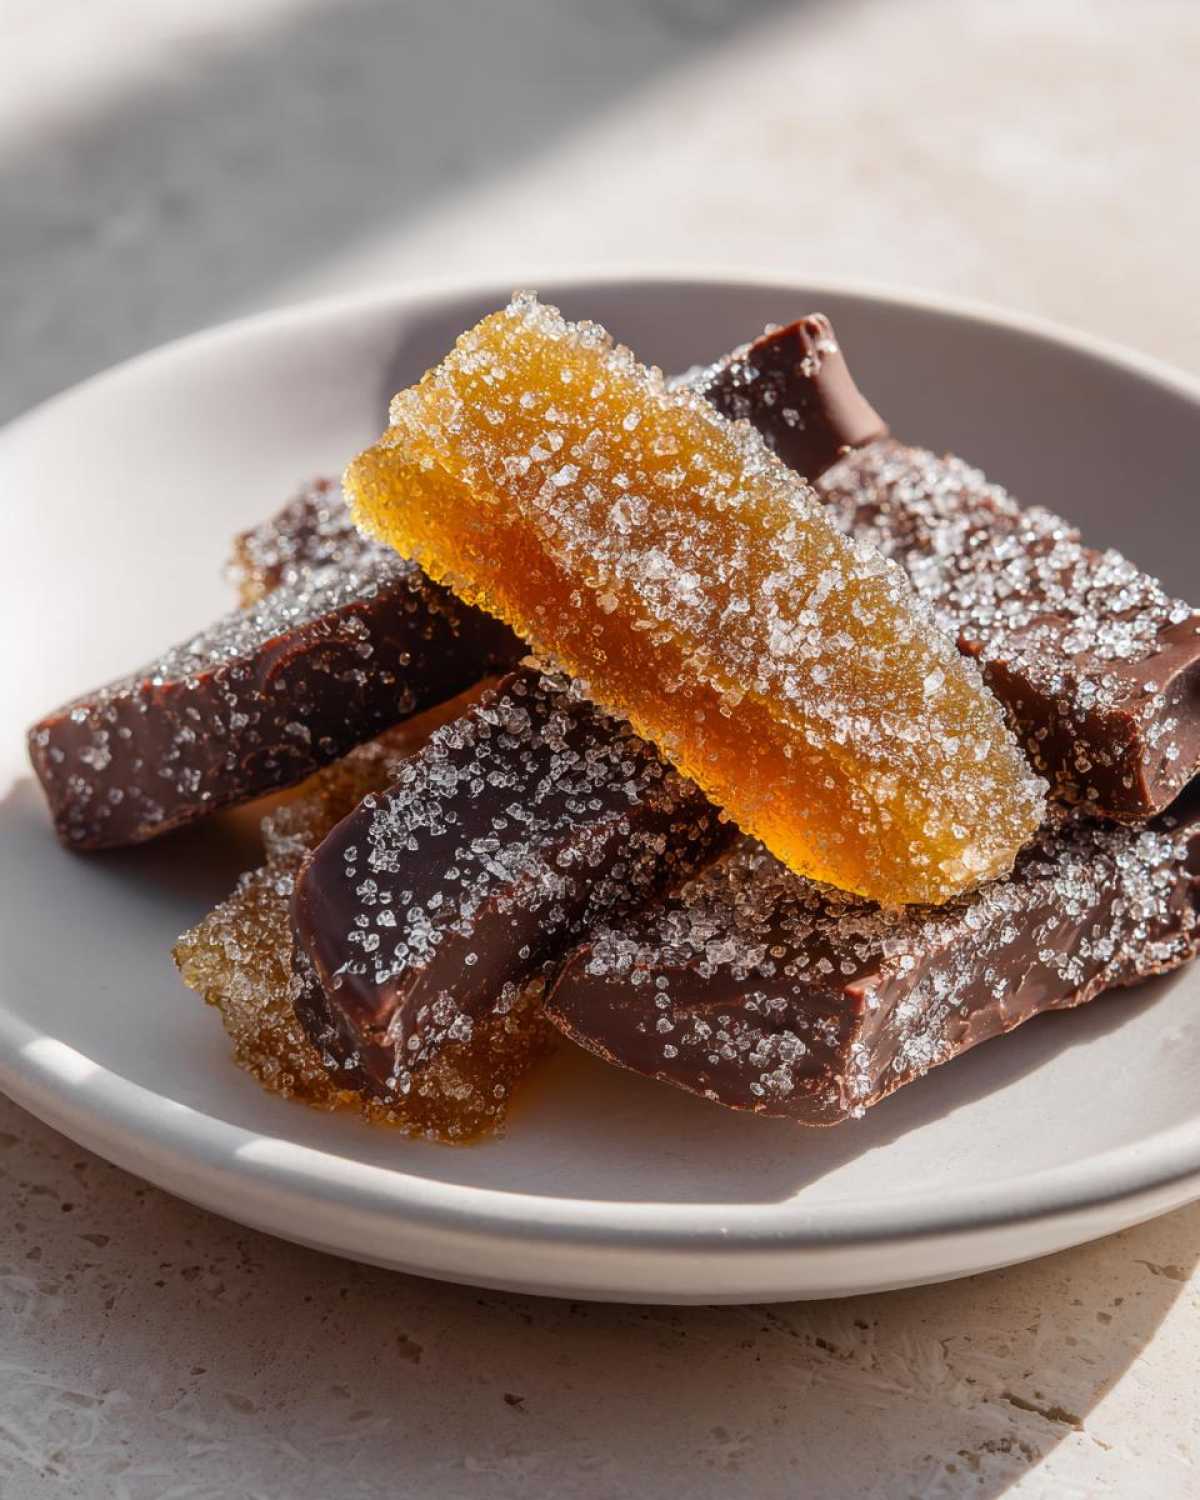
First, combine the sliced ginger, sugar, and water. Get these into your saucepan now. Bring the mixture up to a full boil quickly. Then, immediately drop the heat way down low. We want a gentle, lazy simmer now. Cook this mixture for 45 to 60 minutes total. Stir it sometimes so nothing sticks to the bottom. You’ll know it’s ready when slices look see-through. They become tender too. Carefully lift the slices out of the syrup. Use a fork or slotted spoon for this task. Lay them flat on parchment paper. Let them dry for about half an hour. Don’t throw away that extra syrup! You can use it later.
Dipping the Chocolate-Dipped Candied Ginger Slices
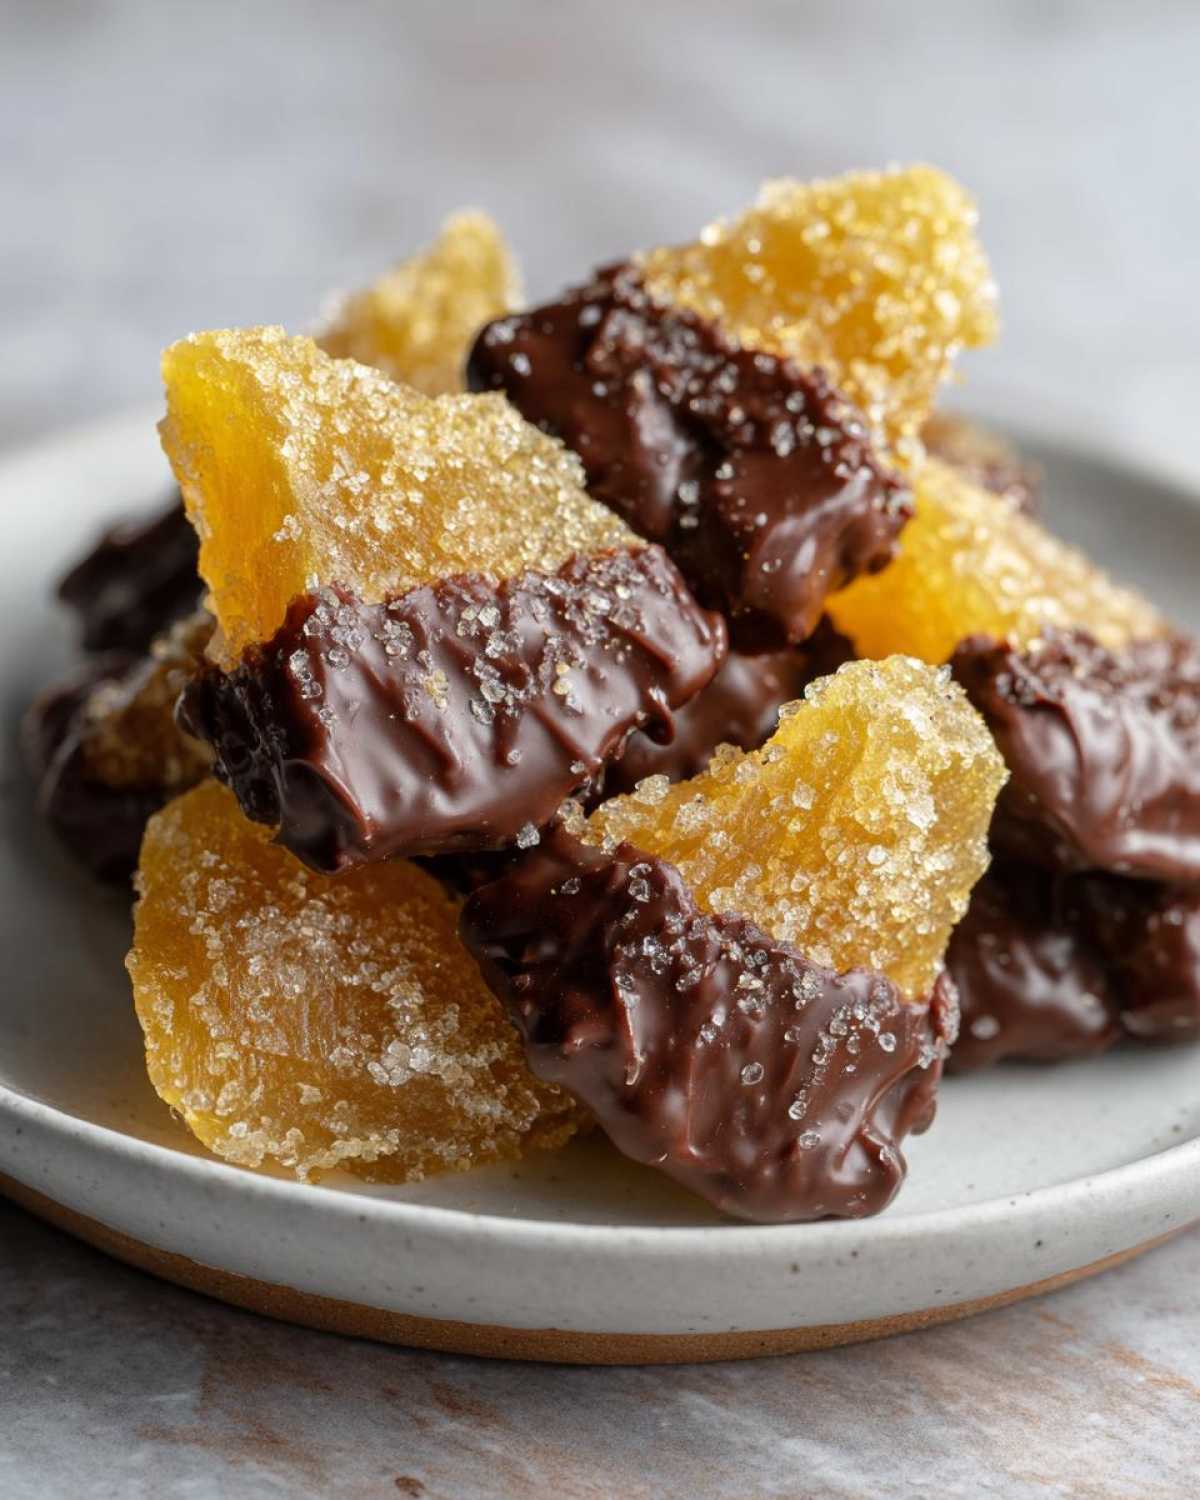
Next, we handle the chocolate coating. Melt your dark chocolate slowly. Add coconut oil if you’re using it for gloss. Use a double boiler for the best melt. Stir often until it’s perfectly smooth. If microwaving, use short bursts of time. Stir between each short burst. Now, take one dried ginger slice. Dip it halfway into that warm, rich chocolate. Let any extra chocolate drip off gently. Place the dipped piece back onto the lined baking sheet. Repeat for all your candied pieces. Let them sit until the chocolate hardens. Room temperature works fine for setting up. Chilling briefly speeds up the process if you’re eager.
Tips for Perfect Chocolate-Dipped Candied Ginger Slices
I want your Chocolate-Dipped Candied Ginger Slices to be amazing. Spoon always reminds me that tradition helps us perfect things. I have a couple of secrets for you.
Thin slicing the ginger is super important. It helps the slices absorb the sweet syrup better. This makes them tender all the way through. Don’t rush this part!
If you love a real spicy kick, listen closely. Don’t cook the ginger too long. You want some of that ginger warmth left over. That contrast with the chocolate is stunning.
- Slice ginger thinly for even cooking.
- Shorter simmer time keeps the spice strong.
- Use good dark chocolate for dipping.
These little tips make a big difference. Enjoy the spicy sweet snack!
Storing Your Homemade Ginger Candy
Once your Chocolate-Dipped Candied Ginger Slices are set, storage matters. We want them tasting fresh later. Keep them away from heat and light. This keeps the chocolate looking good.
Use an airtight container for best results. This keeps moisture out, which is key. They keep well at cool room temperature. Store finished slices for up to one week. This recipe is great for making ahead of time. Enjoy your homemade ginger candy all week long!
Common Questions About Chocolate-Dipped Candied Ginger Slices
I always get questions about this confection. It’s a unique flavor profile. People wonder about tweaking the heat or the coating. Let’s clear up a few things now.
We want everyone to succeed with their Chocolate-Dipped Candied Ginger Slices. Here are the things I hear most often in the kitchen.
Can I make this recipe without coconut oil for dipping?
Yes, you absolutely can make the recipe without it. The coconut oil helps the melted chocolate flow better. It gives a smoother finish when dipping. Your chocolate will still set fine without the oil. It might just be a touch thicker when you dip them.
What can I do with the leftover ginger syrup?
Oh, don’t toss that liquid gold! That leftover syrup is amazing. It tastes deeply of ginger and sugar. I use it often. Spoon loves drizzling it over pancakes or waffles. You can also stir a spoonful into hot tea. It adds a lovely warming depth to drinks. It’s concentrated flavor, ready to use!
Do these slices need refrigeration?
Nope! Store them in an airtight box at room temperature. Keep them away from hot spots in your kitchen.
Understanding the Nutrition of Your Chocolate-Dipped Candied Ginger Slices
Let’s talk quick numbers on these treats. Knowing the basics helps balance your snacking. These figures are just estimates, of course. Home cooking varies a bit always.
For two slices, here are the approximate values:
- Calories: 120
- Fat: 5g
- Carbohydrates: 20g
- Protein: 2g
Enjoy this spicy sweet snack mindfully!
Share Your Spoon & Sprout Conversation
This recipe is part of our ongoing kitchen talk. It’s the Spoon meeting the Sprout perfectly. I hope you loved making these slices. Now, it’s your turn to join in! Tell us how your Chocolate-Dipped Candied Ginger Slices turned out.
Leave a comment below sharing your experience. We love hearing your stories. Keep that beautiful balance going in your kitchen!
Print5 Amazing Chocolate-Dipped Candied Ginger Slices

Create delicious Chocolate-Dipped Candied Ginger Slices, a perfect spicy-sweet treat for the holidays. This recipe balances the warmth of ginger with rich chocolate.
- Prep Time: 15 minutes
- Cook Time: 60 minutes
- Total Time: 75 minutes
- Yield: About 2 dozen slices
- Category: Confectionery
- Method: Boiling and Dipping
- Cuisine: American
- Diet: Vegetarian
Ingredients
- 1 cup fresh ginger root, peeled and thinly sliced
- 1 cup granulated sugar
- 1 cup water
- 4 ounces dark chocolate, chopped
- 1 teaspoon coconut oil (optional, for smoother dipping)
Instructions
- Combine the sliced ginger, sugar, and water in a saucepan.
- Bring the mixture to a boil, then reduce heat to a simmer.
- Simmer gently for 45 to 60 minutes, or until the ginger slices are translucent and tender. Stir occasionally to prevent sticking.
- Carefully remove the ginger slices from the syrup using a fork or slotted spoon. Place them on a baking sheet lined with parchment paper to dry slightly for about 30 minutes. Reserve the extra syrup for another use if desired.
- Melt the dark chocolate and coconut oil (if using) in a double boiler or microwave in short intervals, stirring until smooth.
- Dip each candied ginger slice halfway into the melted chocolate.
- Place the dipped slices back onto the parchment-lined baking sheet.
- Allow the chocolate to set completely at room temperature or briefly chill in the refrigerator until firm.
Notes
- Thinly slicing the ginger helps it cook evenly and absorb the sugar syrup better.
- If you prefer a spicier kick, do not overcook the ginger; you want some residual warmth.
- This recipe has roots in Spoon’s tradition of slow cooking, brightened by Sprout’s fresh flavor combination.
- Store finished slices in an airtight container at room temperature for up to one week.
Nutrition
- Serving Size: 2 slices
- Calories: 120
- Sugar: 18g
- Sodium: 2mg
- Fat: 5g
- Saturated Fat: 3g
- Unsaturated Fat: 2g
- Trans Fat: 0g
- Carbohydrates: 20g
- Fiber: 1g
- Protein: 2g
- Cholesterol: 0mg