

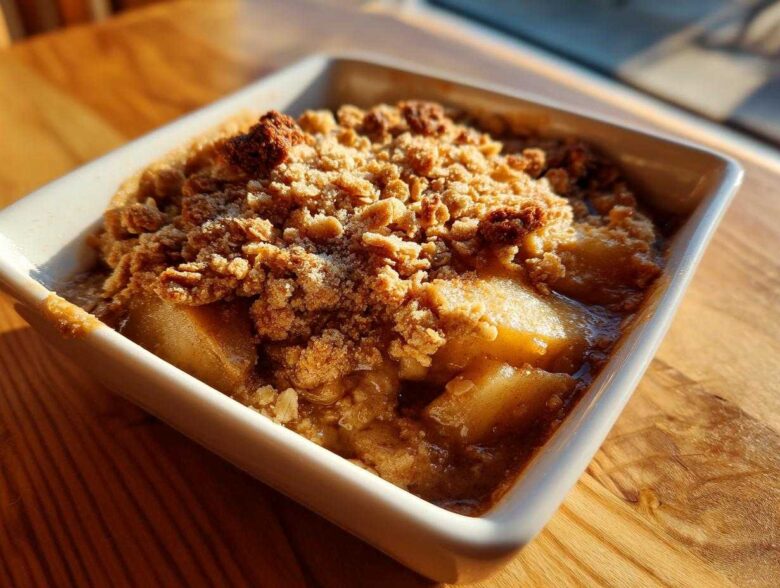
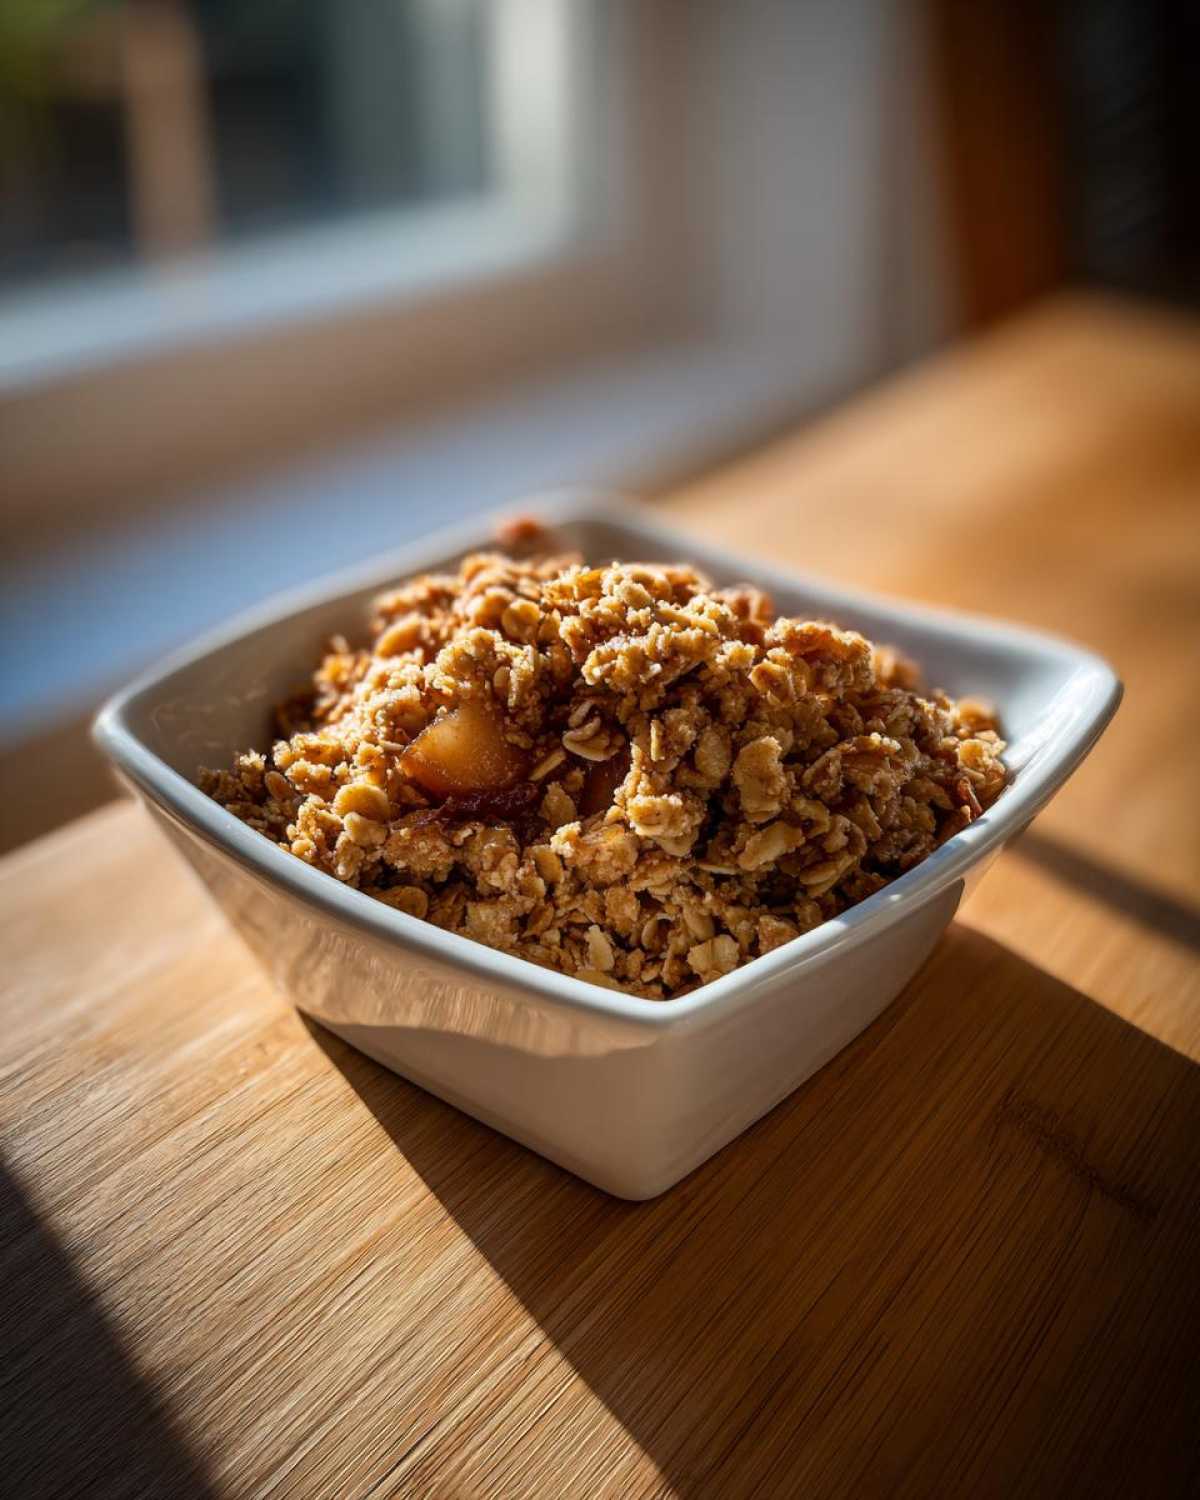
Oh, when that chill hits the air, doesn’t it just make you crave something warm, bubbling, and smelling like pure nostalgia? That’s the thing about baked apples; they just anchor you right where you want to be—cozy at home. Spoon always says that the best memories are built around deep, comforting flavors, and that’s exactly what we capture here. Forget fussy pies! This is my Ultimate Old Fashioned Apple Crisp recipe, and the absolute key, the thing that makes it Spoon & Sprout perfect, is making sure that topping is intensely crunchy. It’s the balance between those tender, spiced apples and that buttery oat armor that makes this the best apple crisp. It’s tradition, but we’ve given it that little lift to make it shine!
Why This Old Fashioned Apple Crisp Recipe is a Family Favorite
It’s funny how a simple dish like this can become the ultimate comfort food, isn’t it? We’ve made countless apple bakes over the years, but this version right here, the one that really honors the old ways, is the one everyone asks for.
- It delivers those deep, classic fall flavors without any fuss.
- The topping really does come out perfectly golden and crunchy every time.
- It tastes like homemade, even though it comes together so fast!
Quick Preparation for a Simple Dessert Recipe
Spoon worries if I spend too much time in the kitchen, but honestly, this is so fast! You have about 15 minutes of prep time, which is mostly just chopping apples, and then maybe 45 minutes in the oven. That means you are looking at a total time of just one hour for a gorgeous, warm dessert. It’s perfect when you’re craving something cozy but don’t have all afternoon to fuss!
Gathering Ingredients for Your Apple Crisp Recipe
Now, this is my favorite part of any apple crisp recipe—seeing all the simple components come together. You don’t need anything fancy here; it’s all about pantry staples elevated by good butter and fresh fruit. I’ve laid out exactly what you need below, but pay close attention to the apples and the butter. Those two things cannot be substituted if you want that Old Fashioned Apple Crisp texture we’re aiming for!
Here is what you need to pull together:
- 6 medium apples (Granny Smith or Honeycrisp recommended)
- 1/4 cup all-purpose flour
- 1/2 cup granulated sugar
- 1 teaspoon ground cinnamon
- 1/4 teaspoon ground nutmeg
- 1 tablespoon lemon juice
- 1 cup old-fashioned rolled oats
- 1/2 cup packed light brown sugar
- 1/2 cup all-purpose flour
- 1/2 teaspoon ground cinnamon
- 1/4 teaspoon salt
- 1/2 cup (1 stick) cold unsalted butter, cut into small pieces
Best Apples for Crisp
If you ask Spoon, he’ll say any apple will do, but he’d be wrong! For a baked apple dessert, you need apples that hold their shape. I always use a mix of tart Granny Smiths—they give us that necessary sharpness—and something a bit sweeter like Honeycrisp. You’ll need to peel, core, and slice them roughly into 1/4-inch thick pieces. Trust me, that mix gives the filling the perfect balance of sweet and tangy structure.
Making the Buttery Oat Topping
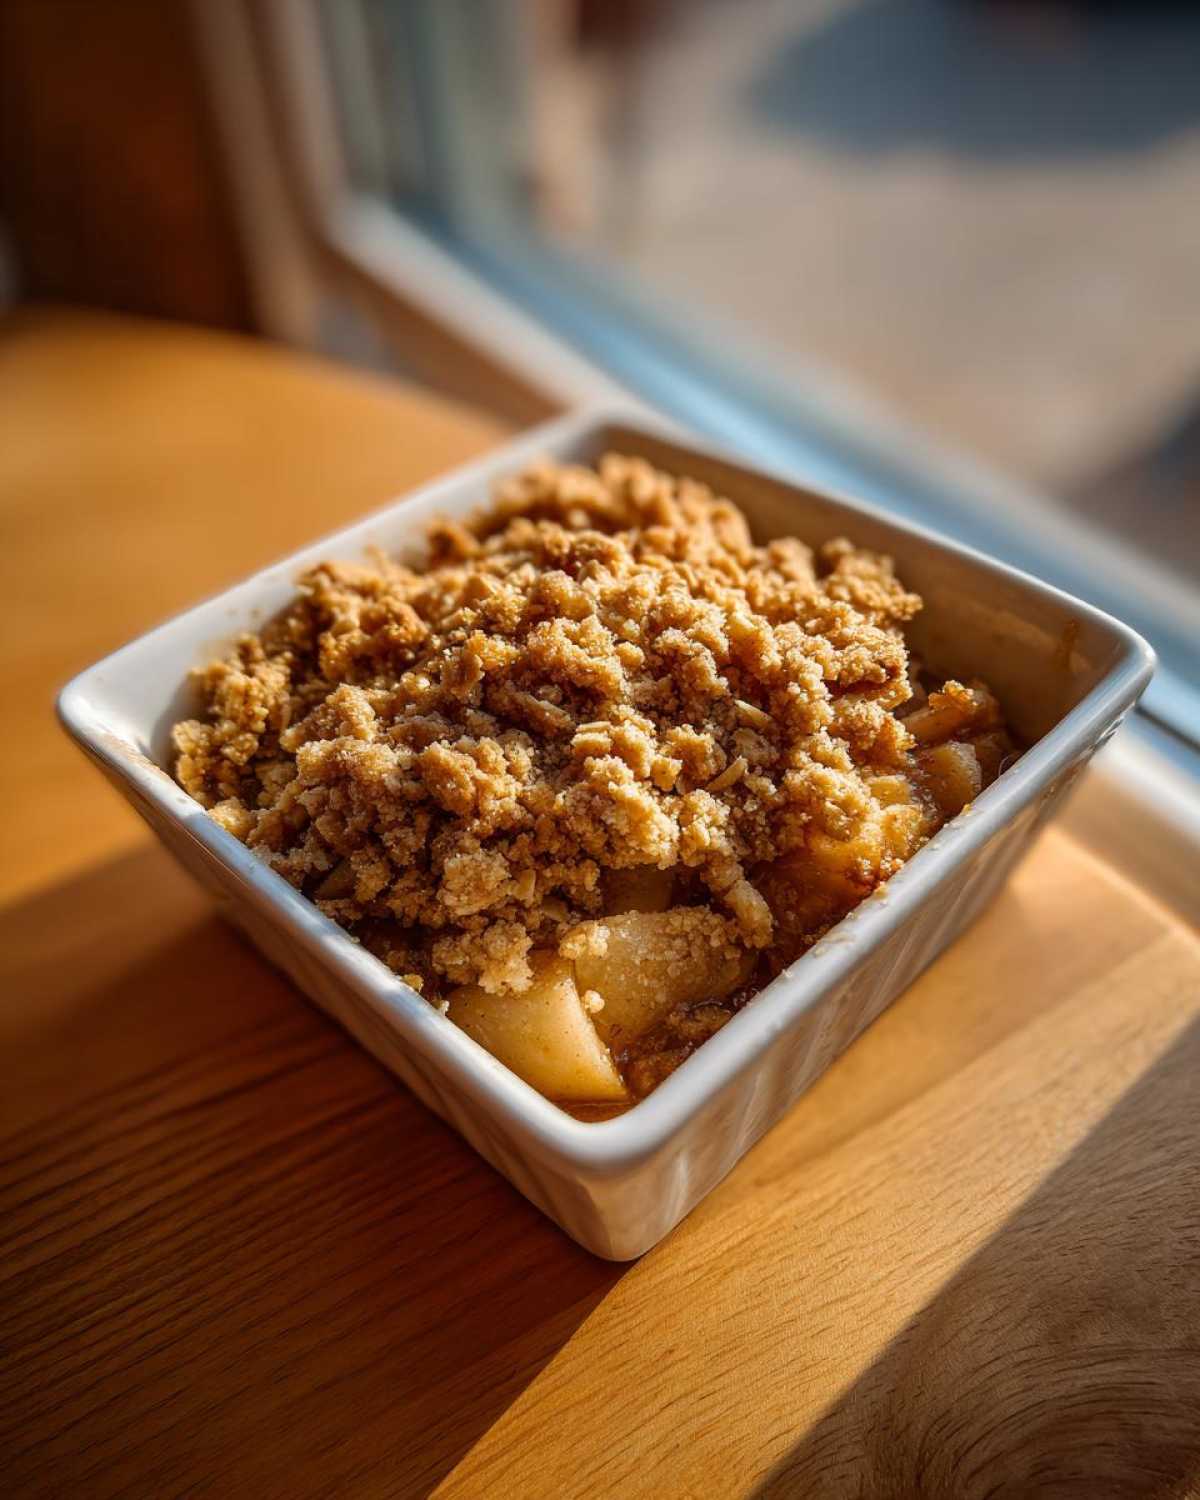
This is where we nail the buttery oat topping. Remember, the oats are key for that signature crunch! You mix your brown sugar, flour, and spices, but the success lies in using the cold unsalted butter, cut into tiny cubes. You want those little cold butter pieces distributed evenly so they bake into that glorious, deeply flavorful crumb.
Step-by-Step Instructions for the Classic Apple Crisp Recipe
Alright, now that we have our beautiful spiced apples and our incredible topping ready, it’s time to bring it all together! This is where the magic of the apple crisp recipe really happens. Don’t rush the baking, but also don’t wander off too far—you want to catch it right when it’s gloriously bubbly. Remember, we’re aiming for that deeply satisfying aroma!
Preparing the Spiced Apple Filling
First thing’s first: let’s get that oven hot! You need to preheat your oven to 375 degrees F. Grab your 8×8 inch baking dish and give it a quick light grease—nothing fancy needed here. Now, take those mixed, sliced apples and toss them well in a big bowl with the first set of ingredients: that 1/4 cup flour, the 1/2 cup regular sugar, 1 teaspoon of cinnamon, the nutmeg, and that splash of lemon juice. Make sure every slice is shiny and coated before you spread that mixture evenly across your prepared dish.
Assembling the Homemade Apple Crumble Topping
Time for the structure of our dessert, the homemade apple crumble topping! In a separate, dry bowl, you’re going to whisk together the oats, brown sugar, the remaining 1/2 cup of flour, the final 1/2 teaspoon of cinnamon, and the salt. Now, grab those tiny cubes of cold butter. You need to work that butter into the dry mix. I stick my fingers right in there—it’s messy, but it’s the only way! You are rubbing and squeezing until the texture looks like coarse meal with some actual pea-sized butter chunks left in there. Those little chunks are what turn into that perfect crunch!
Baking and Resting the Apple Crisp Recipe
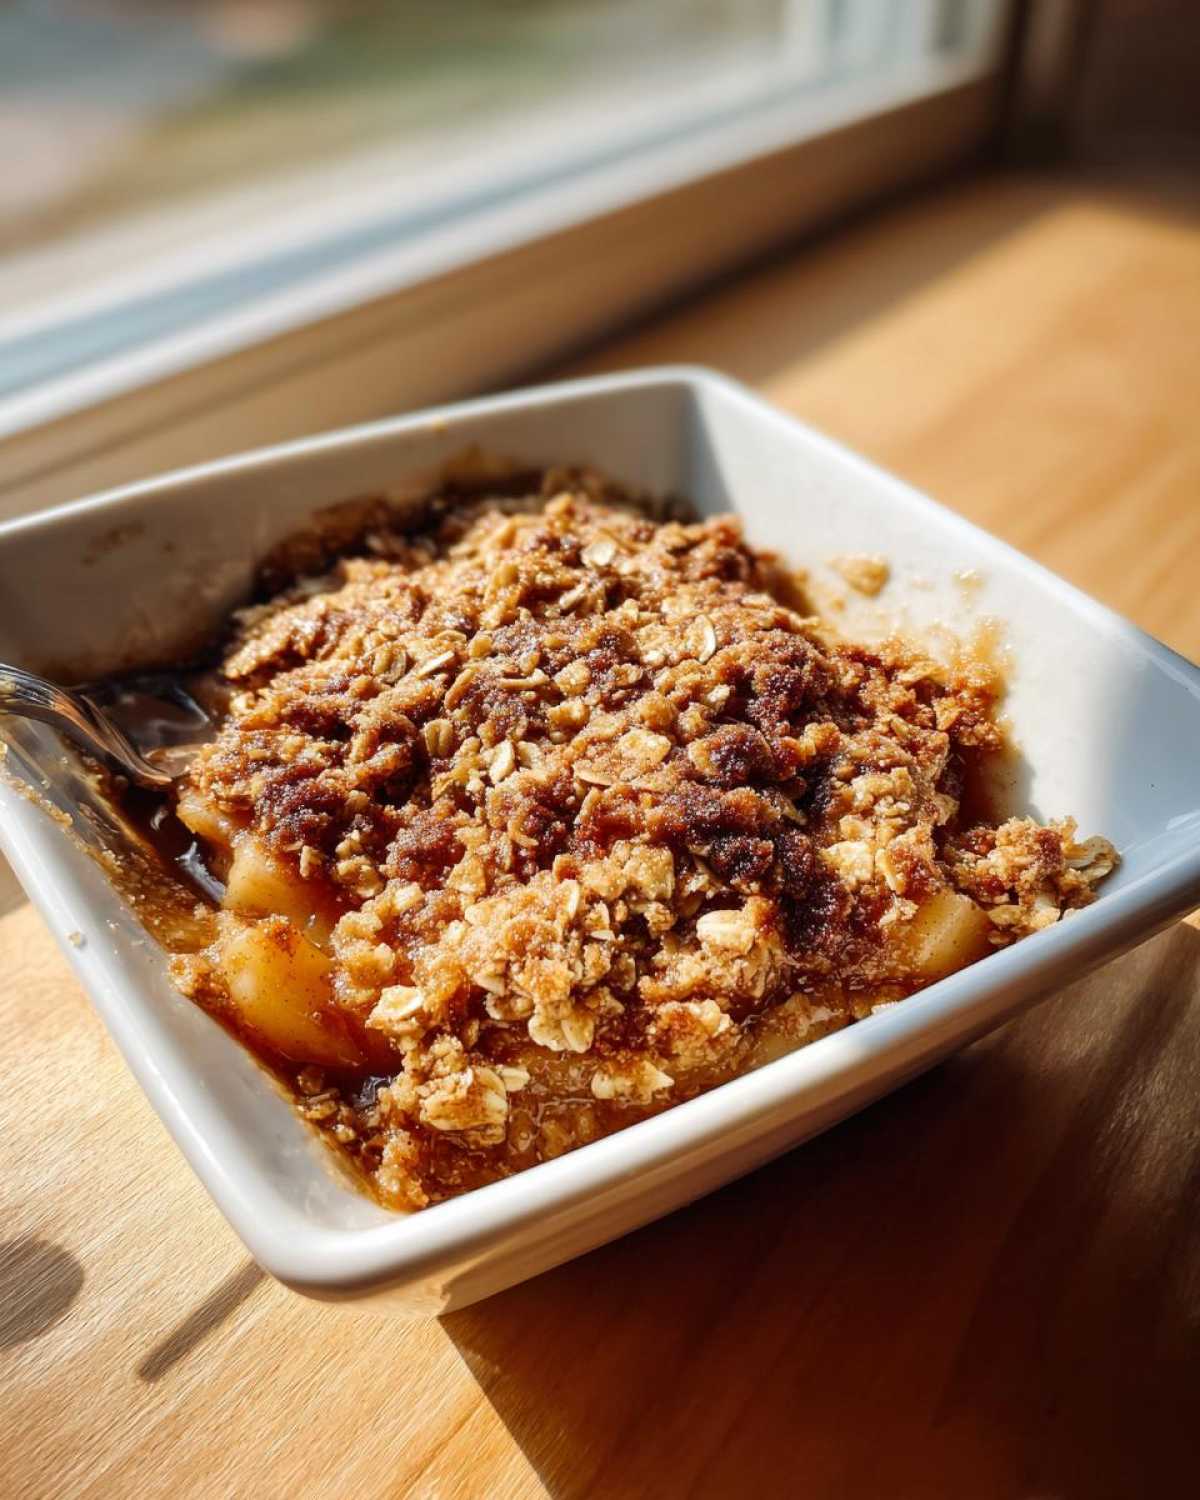
Once the topping is mixed, sprinkle it gently but completely over those spiced apples. Don’t smash it down! Just a light press will do. Slide it into that hot oven for 40 to 45 minutes. You’ll know it’s ready when the edges are bubbling like crazy and the topping is a deep, rich gold. If you notice it getting dark too fast before the apples are done, just loosely tent a piece of foil over the top for the last 10 minutes. And please, this is important: let it rest on the counter for a full 15 minutes when it comes out. It settles, the juices thicken a bit, and it simply tastes better!
Tips for the Perfect Apple Crisp with Oats
I always tell people that while the apple crisp recipe is easy, a few little tricks stop it from becoming just another baked fruit dish. First, remember what I said about the apples? If you can, use that tart/sweet mix; it really deepens the flavor. Also, if you’re worried about the topping browning too fast, just loosely drape some foil over it for the last ten minutes of baking, okay? That stops the oats from burning before the apples are tender.
For an extra punch in your Cinnamon Apple Crumble flavor, try adding just a tiny pinch of cardamom along with your cinnamon and nutmeg. It sounds wild, but it really elevates the whole scent profile of this cozy autumn dessert. And honestly, don’t skip that 15-minute rest time after it comes out of the oven. It just firms up everything beautifully. For more baking secrets, you can check out our guide on sticky buns—it uses a similar concept of keeping fats cold!
If you want to see how another great baker approaches this, I always check in on what my friends are doing over at this great site, too!
Serving Suggestions for Your Warm Apple Dessert
You have to serve this warm, right out of the oven—that’s the rule! A truly perfect bite of this warm apple dessert requires some sort of cold companion. I mean, a scoop of quality vanilla bean ice cream melting right into those bubbly cinnamon pockets? It’s non-negotiable for Spoon. If you want to get extra fancy, especially if you’re making this for a gathering or treating it like a Holiday Apple Dessert, drizzle some thick, warm caramel sauce over everything. That sweetness combined with the tart apples is just pure sunshine on a plate!
Storage & Reheating Instructions for Leftover Apple Crisp Recipe
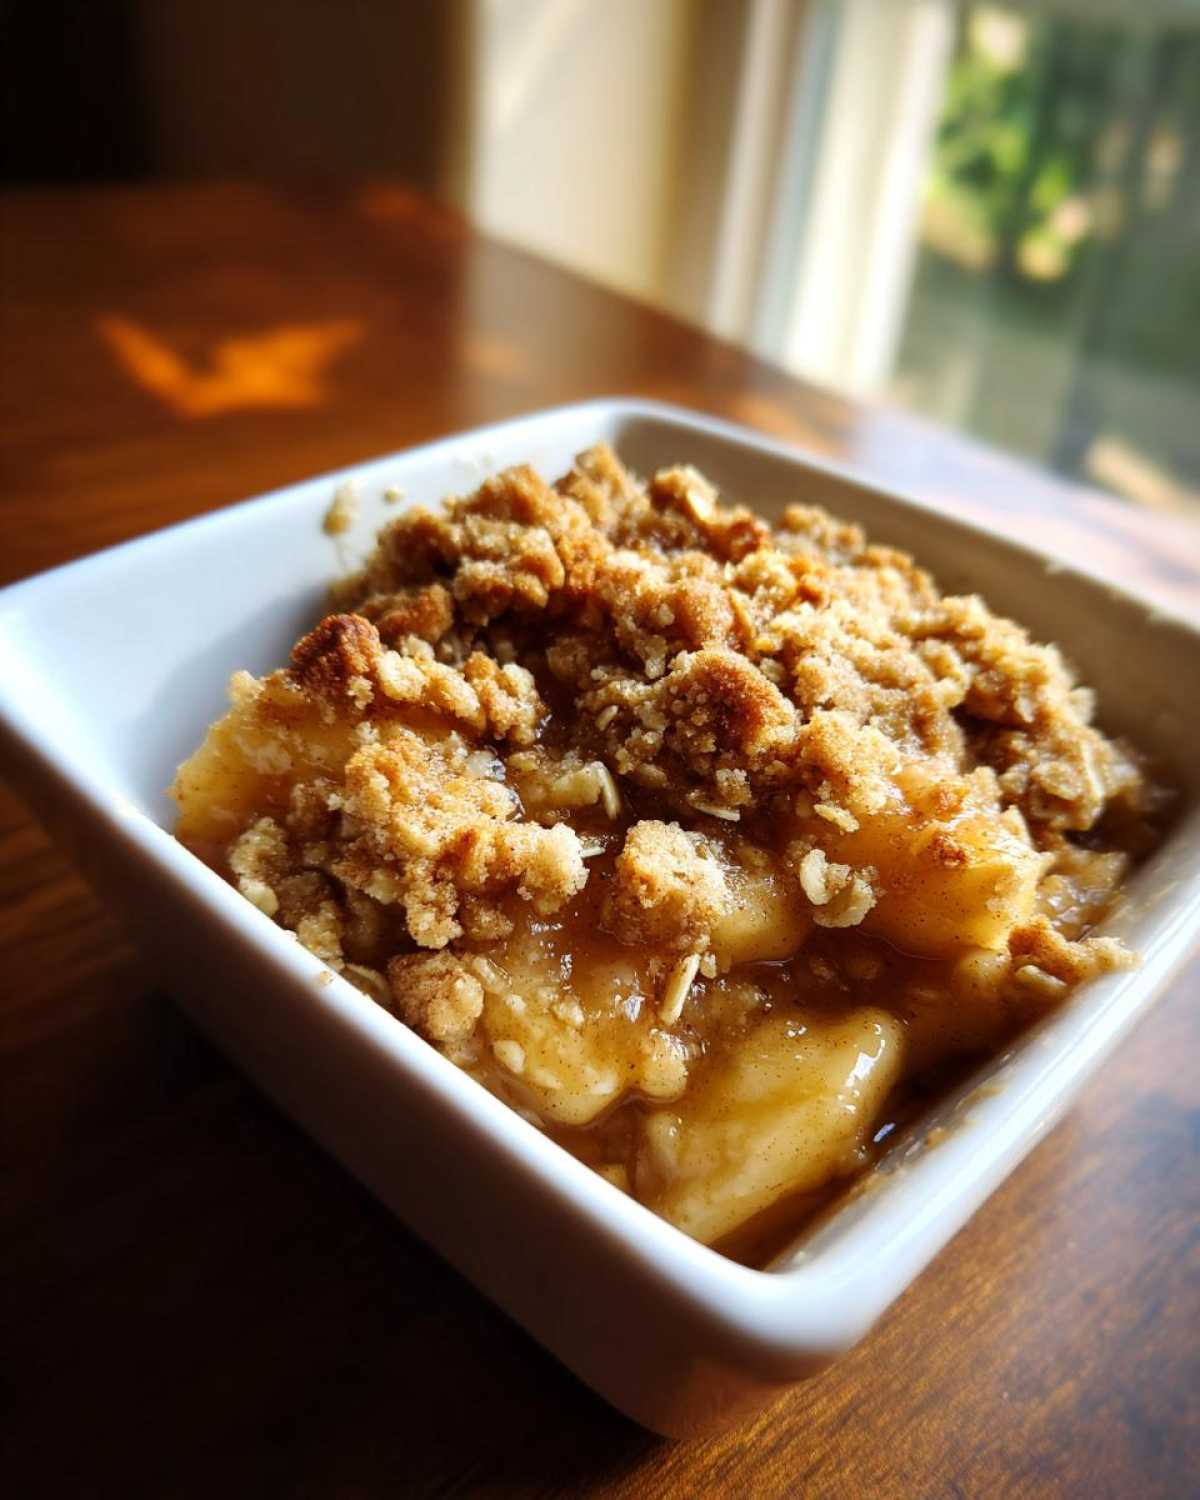
I doubt there will be leftovers, but just in case you manage to save some of this wonderful dessert, you need to treat it right! Cool it completely, then cover the dish tightly with plastic wrap or transfer the crisp into an airtight container. It keeps beautifully on the counter for a day, but for three or four days of comfort eating, the fridge is better.
When you reheat it, skip the microwave if you can! The microwave makes the glorious oat topping soggy, and we worked too hard for that. Pop a serving into a toaster oven or regular oven at about 300 degrees F until it’s warm right through. That brings back the crispness perfectly!
Frequently Asked Questions About This Apple Crisp Recipe
Can I make this Easy Apple Crisp Recipe without Oats?
That’s a fair question if you happen to be out of oats! You absolutely *can* make this without them. Remember, we’re aiming for the classic apple crisp with oats, but if you need to substitute, here’s what I do: Swap out the oats with an equal amount of chopped nuts—walnuts or pecans work beautifully—or simply increase the flour in the topping by half a cup. Just know that when you ditch the oats, you’re leaning more toward an apple *crumble*. It’ll still be delicious, but you lose that specific chewiness that makes this such a perfect simple dessert recipe.
What is the difference between Apple Crisp and Cinnamon Apple Crumble?
Oh, this is a classic little kitchen debate! To Spoon, they are practically the same, but technically, there’s a difference we uphold here at Spoon & Sprout. A true ‘Crisp’ means you have oats in that topping—that’s what gives it the ‘crisp’ texture when it bakes up. A ‘Crumble,’ on the other hand, relies just on flour, sugar, and butter rubbed together—no oats needed! Since our recipe features that glorious, buttery oat topping, we proudly call this an Old Fashioned Apple Crisp Recipe.
Can I use a different pan size for this apple crisp recipe?
Of course, you can change things up! We call for an 8×8 inch dish because I love how thick and deeply baked the apples get in that container, but a 9×13 inch baking dish will work just fine if you’re serving a crowd. Just be prepared for a thinner layer of apples and topping, which means it will bake faster, probably shaving off about 10 to 15 minutes from the baking time. Conversely, if you put it into a deeper casserole dish, you must add extra time so the center gets hot enough to bubble happily! For more baking adventures, check out our main blog page!
Estimated Nutritional Data for This Simple Dessert Recipe
Since we want this recipe to be easy and approachable, I know some of you are curious about the numbers! Based on the ingredients used for this batch, one serving comes out to around 380 calories, with 18 grams of fat and 35 grams of sugar. Please remember, this is just an estimate, and if you serve it with a huge scoop of ice cream—which you absolutely should—those numbers are going up! Enjoy it!
Share Your Cozy Autumn Desserts Experience
That’s it! You now have the blueprint for what I truly believe is the Best Apple Crisp out there—the kind that smells like home and tastes like every perfect autumn evening you’ve ever known. I hope you’ll take the time to try this apple crisp recipe soon! When you do, I absolutely want to hear about it.
Did you use all Granny Smith or sneak in some Honeycrisp like I do? Maybe you added a pinch of cardamom, or perhaps you tried the caramel drizzle? Don’t keep all that deliciousness to yourself! Head over to our contact page and tell me what you thought, or leave a quick note after you rate the recipe. We love seeing how this Spoon & Sprout classic lands in your kitchen.
And if you enjoyed how simple this was, check out some other inspiring ideas from fellow bakers, like this delightful recommendation over here! Happy baking, friends. May your toppings be crunchy and your spoons full!
PrintThe Ultimate Old Fashioned Apple Crisp with Extra Crunchy Oat Topping

This is the classic, comforting apple crisp you remember, featuring tender, spiced apples beneath a perfectly golden and buttery oat topping. It is simple to prepare and a family favorite for any cozy gathering.
- Prep Time: 15 min
- Cook Time: 45 min
- Total Time: 60 min
- Yield: 6 servings
- Category: Dessert
- Method: Baking
- Cuisine: American
- Diet: Vegetarian
Ingredients
- 6 medium apples (Granny Smith or Honeycrisp recommended)
- 1/4 cup all-purpose flour
- 1/2 cup granulated sugar
- 1 teaspoon ground cinnamon
- 1/4 teaspoon ground nutmeg
- 1 tablespoon lemon juice
- 1 cup old-fashioned rolled oats
- 1/2 cup packed light brown sugar
- 1/2 cup all-purpose flour
- 1/2 teaspoon ground cinnamon
- 1/4 teaspoon salt
- 1/2 cup (1 stick) cold unsalted butter, cut into small pieces
Instructions
- Preheat your oven to 375 degrees F. Lightly grease an 8×8 inch baking dish.
- Prepare the apples: Peel, core, and slice the apples into about 1/4-inch thick pieces. Place them in a large bowl.
- Toss the apples with 1/4 cup flour, 1/2 cup granulated sugar, 1 teaspoon cinnamon, nutmeg, and lemon juice until evenly coated. Spread the apple mixture into the prepared baking dish.
- Make the crunchy topping: In a separate medium bowl, combine the oats, brown sugar, 1/2 cup flour, 1/2 teaspoon cinnamon, and salt. Whisk these dry ingredients together.
- Cut in the cold butter using a pastry blender or your fingertips until the mixture resembles coarse crumbs with some pea-sized pieces of butter remaining. This creates the best buttery oat topping.
- Sprinkle the topping evenly over the apples in the baking dish. Press lightly, but do not pack it down.
- Bake for 40 to 45 minutes, or until the topping is golden brown and the apple filling is bubbly around the edges.
- Let the apple crisp cool for at least 15 minutes before serving. This allows the filling to set slightly.
- Serve warm, ideally with a scoop of vanilla ice cream.
Notes
- For the best flavor and texture, use a mix of tart apples like Granny Smith and slightly sweeter apples like Honeycrisp or Fuji.
- If your topping starts browning too quickly, loosely cover the dish with aluminum foil for the last 10 minutes of baking.
- This dessert is wonderful served warm with vanilla ice cream or a drizzle of caramel sauce.
Nutrition
- Serving Size: 1 serving
- Calories: 380
- Sugar: 35g
- Sodium: 120mg
- Fat: 18g
- Saturated Fat: 11g
- Unsaturated Fat: 7g
- Trans Fat: 0.5g
- Carbohydrates: 55g
- Fiber: 5g
- Protein: 4g
- Cholesterol: 45mg