

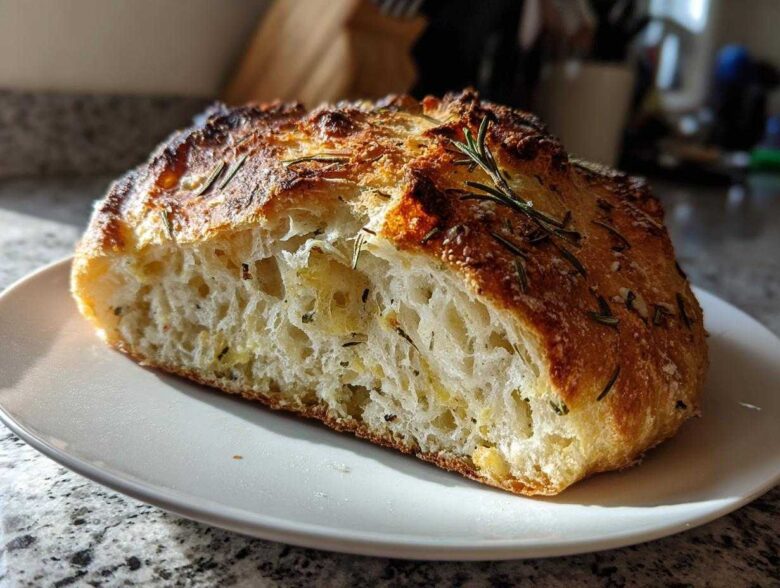
Oh, friends, stop buying that pale, squishy store-bought stuff! I’m Jun, and while I usually favor things that simmer for hours like Spoon loves, making truly heavenly artisan bread at home used to feel like a whole production. Not anymore! We cracked the code on the absolute best Dutch Oven No-Knead Artisan Bread, and it’s loaded with Parmesan and garlic.
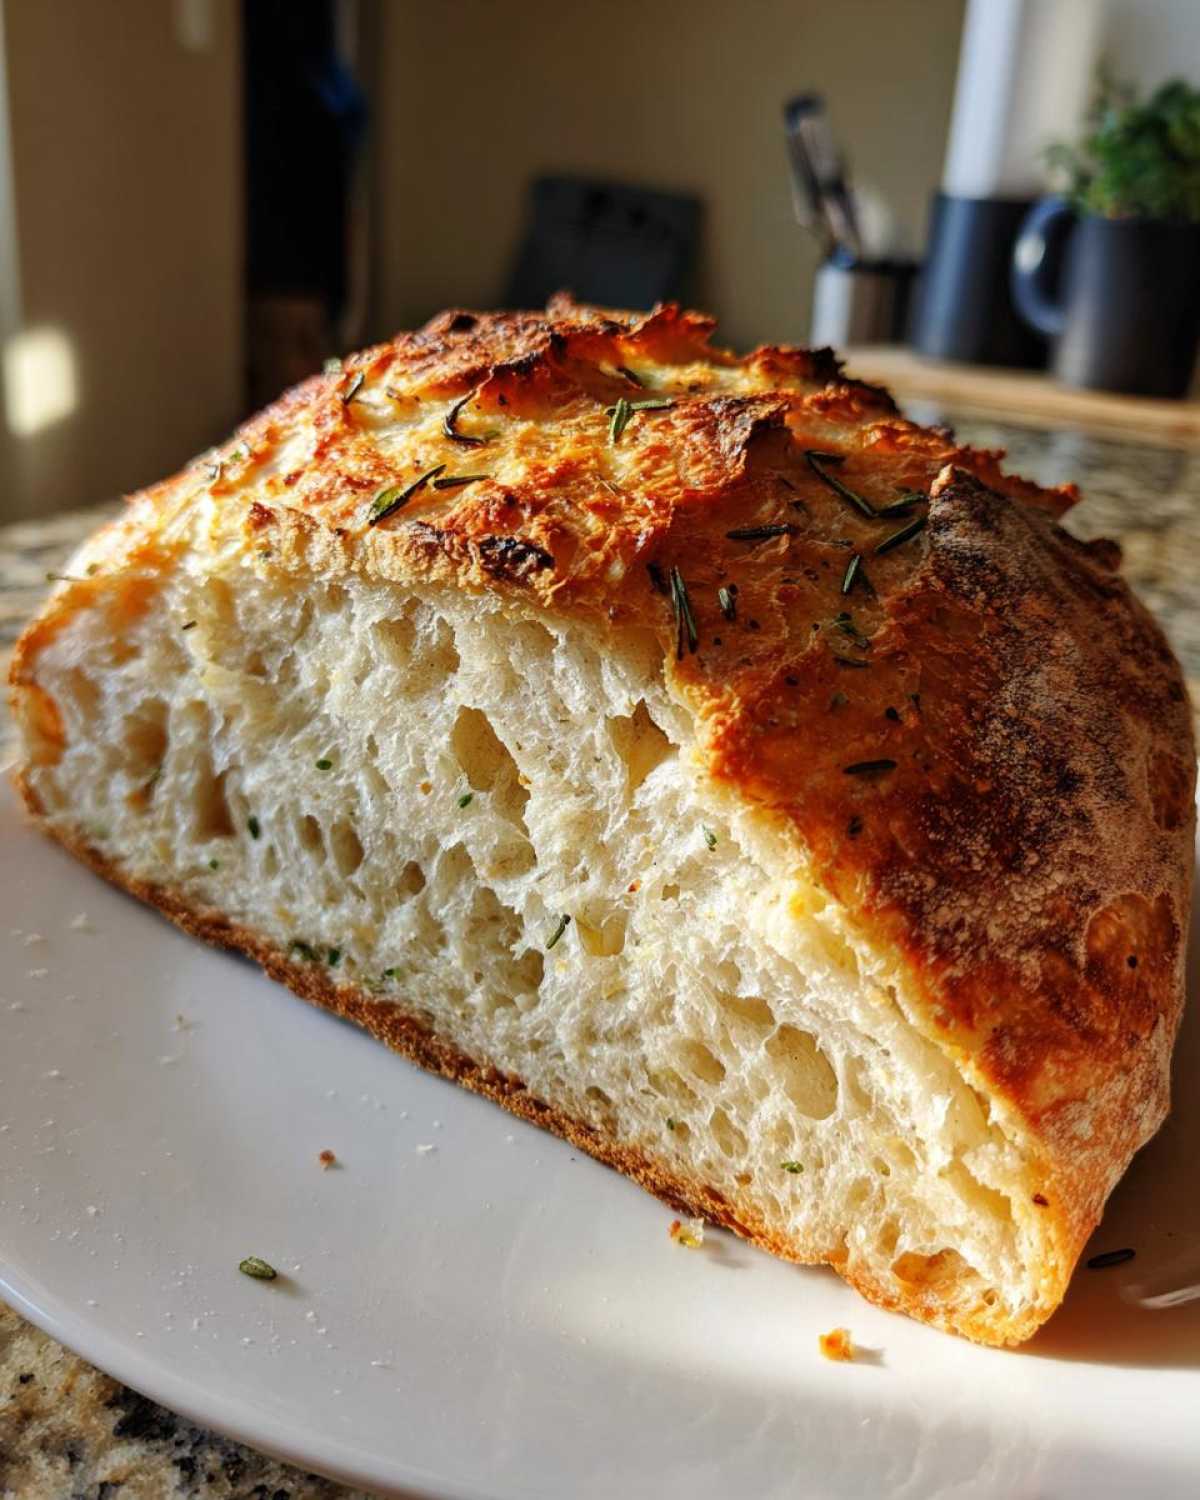
This is bakery magic happening right on your counter. It uses that famous ‘no-knead’ method, which means your hands do maybe five minutes of work total. But trust me, that 18-hour rest time gives the dough depth that rivals any bread Jun has ever slow-simmered over a low fire. This loaf has the shattering crust and soft interior you dream about!
Why This Easy Artisan Bread Recipe Works So Well
I’m Sprout, and this recipe proves that the simplest things often create the biggest impact. If your desire is for truly crusty homemade bread that looks like it came straight from a French bakery, this is it. The secret isn’t in the kneading; it’s in the *waiting*! That super long, slow rest—the fermentation—is what builds all the amazing flavor and creates those airy pockets inside.
That’s why this Easy Artisan Bread Recipe is so wonderful for everyone. It removes the hard labor and leaves you with perfection. Honestly, what’s better than slicing into a warm loaf and smelling that fresh rosemary mixing with the sharp Parmesan? It just smells like home, only better!
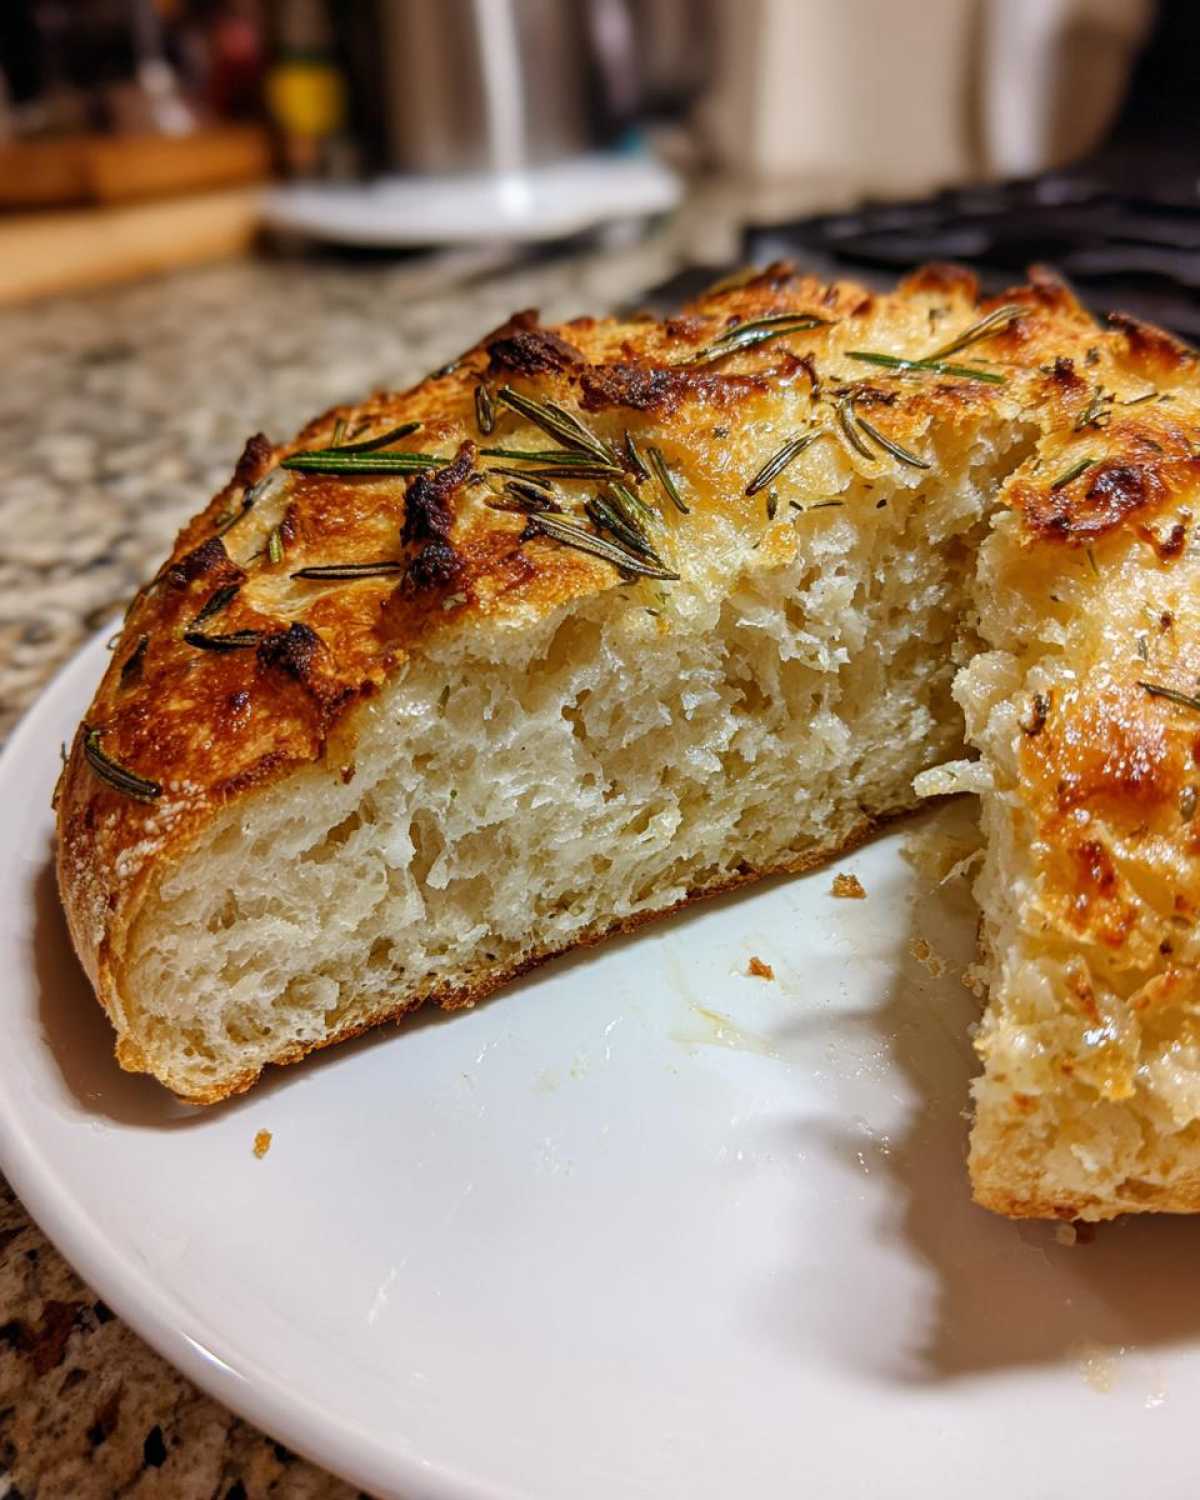
Ingredients for Your Savory Parmesan Garlic Artisan Bread
When Spoon looks at a recipe, he insists on the best, and this loaf deserves it! Since we aren’t kneading much, the integrity of these simple components really shines through. I always try to use rosemary that I’ve picked just hours before for that punch of fresh flavor. If you’re looking for other ways to brighten up a bake, check out my cheddar herb scones!
Here is exactly what you’ll need for one gorgeous Parmesan bread recipe:
- 3 cups all-purpose flour
- 1 1/2 teaspoons salt
- 1/4 teaspoon instant yeast (Instant works best for this long, cold rise!)
- 1 1/2 cups lukewarm water
- 1/2 cup grated Parmesan cheese (Use a nice sharp one if you can!)
- 2 cloves garlic, minced
- 1 tablespoon fresh rosemary, chopped
How to Prepare Your Dutch Oven Artisan Bread: A No Knead Tutorial
This is where the magic happens, folks, and yet, it requires almost no elbow grease! If you’ve been looking for a genuine No Knead Bread Tutorial that gives you real results, stick close to these steps. Remember that the simplicity of the mix is just the setup for the long, flavorful rest. Ready to learn the technique?
Mixing and Flavor Infusion for Artisan Bread
First things first, whisk your flour, salt, and that tiny bit of instant yeast together in a big bowl. Then, just pour in the lukewarm water and mix it with a wooden spoon until it looks like a shaggy, messy cloud. Seriously, don’t even think about kneading! Once it’s just combined, stir in all that lovely Parmesan, the minced garlic, and the rosemary. Make sure those savory bits are spread evenly throughout the batter.
The Long Fermentation Rest (Developing the Artisan Bread Flavor)
Now, cover that bowl up tight with plastic wrap—no peeking! You need to let this sit on your counter for 12 to 18 hours. I know, it sounds crazy! But this long rest is the actual key to great artisan bread. It lets the yeast work slowly, building those deep, complex flavors that make people think you worked all day.
Shaping and Preheating for Perfect Dutch Oven Baking
When it’s ready, the dough will be bubbly and huge. Lightly flour your counter and gently scrape the dough out. Now, I’m putting a Spoon-level emphasis on this: be gentle! Just fold the dough over itself a couple of times to make a rough ball—we want to keep those air bubbles we earned. Cover it with a light towel for 30 more minutes while you get your oven screaming hot with the Dutch oven inside, preheated to 450°F.
Baking Your Crusty Homemade Bread Loaf
Time for the showstopper! Carefully pull that hot Dutch oven out—mitts on, please!—and gently lower your dough right into the pot using the parchment paper as a sling. Put the lid on and bake for 30 minutes. Then, take that lid off! We need the heat exposed to get that perfect crust. Bake uncovered for another 15 to 20 minutes until it’s deep golden brown. And my last piece of advice: let it cool *completely* on a wire rack before you slice into that gorgeous artisan bread. Trust me, patience pays off here!
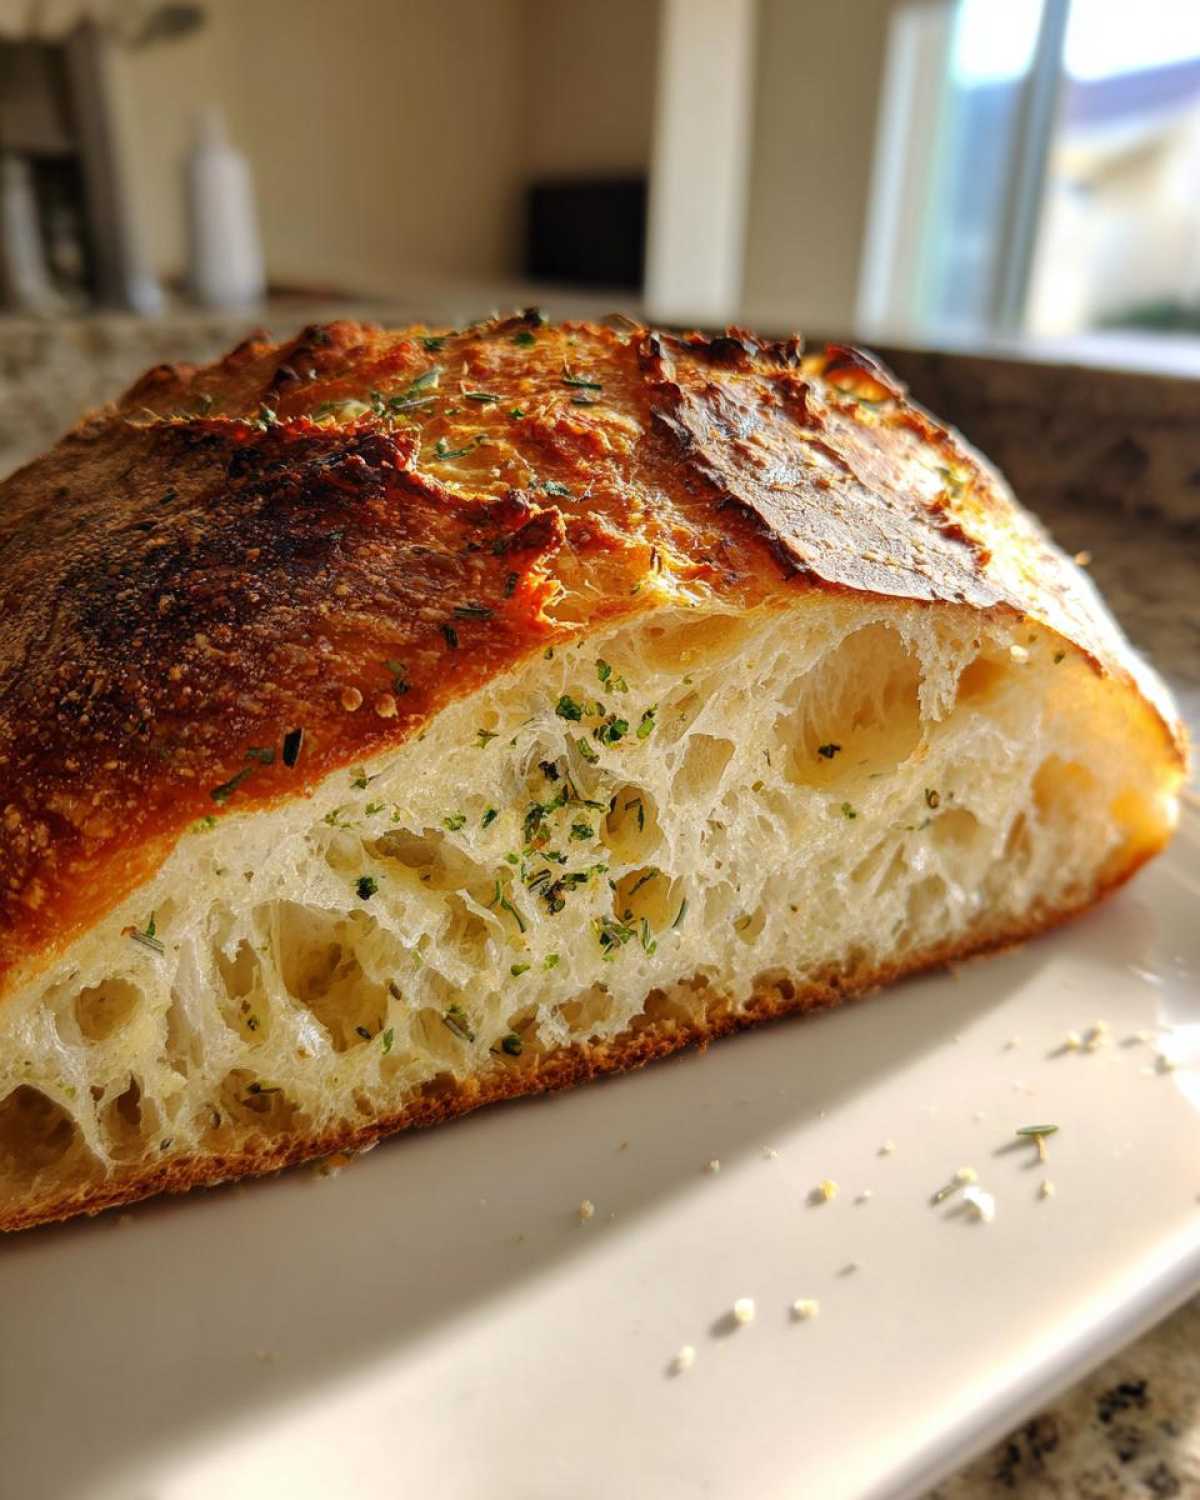
Tips for Success: Mastering Your Homemade Loaf Recipe
I’ve learned a few things over the years watching Jun tinker with yeast—sometimes you need to remember that food is chemistry! If you’re aiming for the perfect Homemade Loaf Recipe and worried about pitfalls, here are my must-dos. First, check your yeast! If it’s older than six months, toss it. Dead yeast means zero rise, and we can’t have sad, flat bread.
Second, remember that shaggy dough is your friend. When you first mix the water in, it should look messy and very wet—almost like a pancake batter that’s too thick. If you try to knead it into a smooth ball right away, you’ll destroy all those gas bubbles we are trying to build up for that fantastic crust. Don’t panic about the messiness!
And for the big one: the oven. You absolutely must preheat that Dutch oven for at least 20 minutes while the dough rests the second time. That searing hot cast iron creates instant steam when the lid goes on, and that steam is the key to that beautiful, crisp exterior you see on professional loaves. If you want that crust, that hot pot is non-negotiable! For more on getting that bakery look, check out these crusty homemade bread secrets.
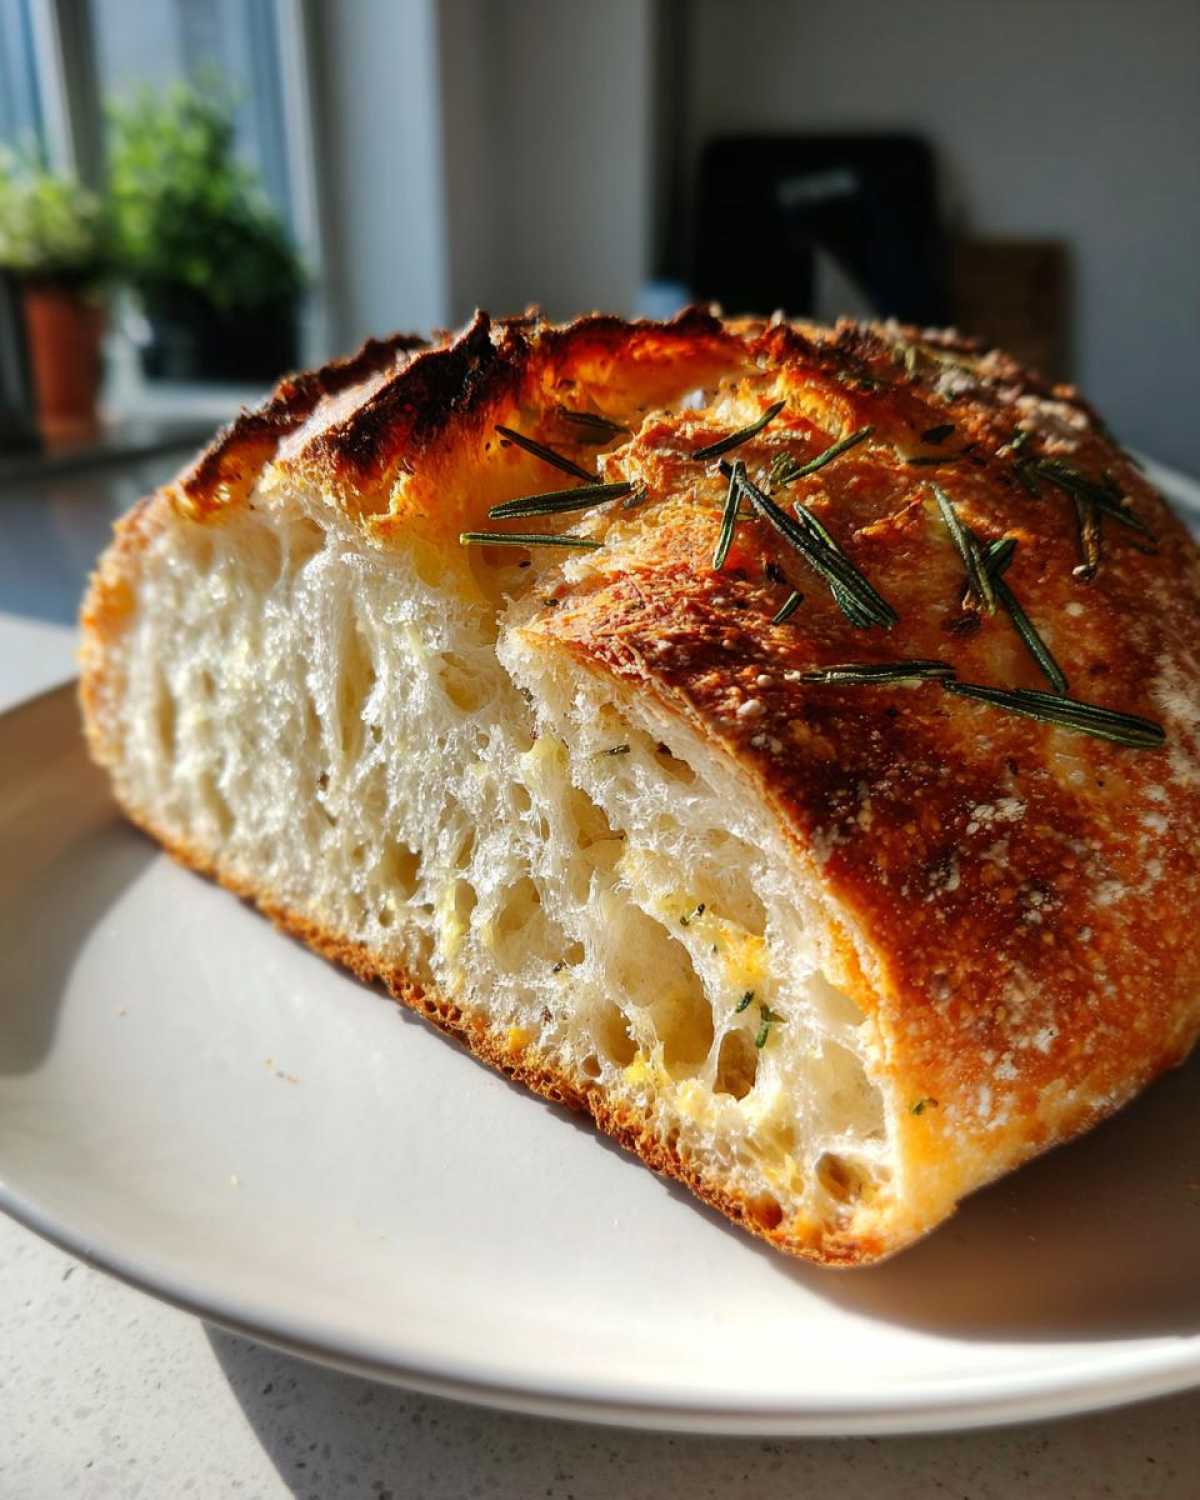
Ingredient Notes and Savory Bread Flavors Substitutions
When Spoon plans out our garden, he always gets frustrated when I ask to swap things out, but sometimes it’s necessary for from scratch baking!
If you don’t have fresh rosemary, don’t fret. We noted that about a teaspoon of dried Italian seasoning blend works just fine for these Savory Bread Flavors. The Parmesan, however, I highly recommend grating yourself. Pre-grated cheese has additives that can stop it from melting perfectly into the dough.
Also, we specified instant yeast for a reason. It dissolves right into the dry ingredients and doesn’t need to be proofed first, which is perfect for this lazy, long-fermentation method. It’s reliable, and reliability is what makes an artisan loaf repeatable!
Serving Suggestions for Your Garlic Herb Bread
Okay, now that you have this absolute masterpiece, you have to decide how to serve it! This Garlic Herb Bread is so deeply flavorful it almost doesn’t need anything, but who are we kidding? It’s amazing dipped into a hearty bowl of soup. I’m thinking about that rich, smoky flavor we get when we use leftover Parmesan rinds in our broths.
This loaf is perfect for wiping up every last drop of sauce. Seriously, it’s mandatory with a good pasta dish, like Jun’s amazing Creamy Tuscan Garlic Pasta. If you’re feeling lazy, just slice it thick, toast it gently, and smear on some good quality softened butter. The rosemary and cheese do all the heavy lifting for you!
Storage and Reheating Instructions for Artisan Bread
The hardest part about baking this amazing artisan bread is waiting for it to cool, right? But once you slice into it, you have to store it carefully so the crust doesn’t go soft! Spoon insists we never, ever use plastic bags—that traps moisture and turns our crispy exterior into rubber. Always use a paper bag or wrap it loosely in a clean kitchen towel if you need to keep it on the counter.
If you happen to have any leftover (which is rare in our house!), reviving that beautiful crust is simple. Just wet the whole loaf lightly with running water—yes, really!—and then stick it back into a 350°F oven for about 5 to 7 minutes. It comes out steaming hot and crusty again, like it just came out of the Dutch oven!
Frequently Asked Questions About Making Artisan Bread
When I first started baking, I had a million questions running through my head, especially about this no-knead style. It just felt too easy to be real! Here are the biggest questions I’ve gotten about this Beginner Bread Making method.
What happens if my dough doesn’t double after 18 hours?
Don’t panic! That’s a super common worry when you’re learning how to make crusty bread this way. If your kitchen is cold, the yeast is just slow. If it hasn’t puffed up after 18 hours, just cover it back up and let it sit for another 4 to 6 hours. Temperature is the biggest factor here. As long as you can see *some* bubbles when you peek, it’s working! It just needs a little more time to develop that structure.
Do I absolutely need a Dutch oven to get that crust?
Well, I wish I could tell you no, but for that real, thick, shatteringly crisp crust, the Dutch oven is your best bet. It traps all the steam released by the dough, and that steam keeps the crust soft long enough for the loaf to expand fully before it hardens. If you *must* skip it, you can try putting a pan of boiling water on the bottom rack of your oven when you bake, but honestly, it’s the difference between good bread and truly amazing artisan bread!
Can I substitute active dry yeast for instant yeast?
Yes, you certainly can! Since active dry yeast needs a wake-up call, you’ll want to proof it first. Before you do anything else, mix your 1/4 teaspoon of active dry yeast with about 1/4 cup of the required lukewarm water and a tiny pinch of sugar. Let it sit for 5 to 10 minutes until it gets foamy. Once it’s foamy, use that water—and the rest of the flour and salt—to mix your dough. Just remember, if you use active dry, you might need that extra hour or two during the long first rest!
Why do I have to let the bread cool completely?
This is Jun’s rule, and it’s non-negotiable! When you pull that hot loaf out, the starches inside are still gelatinous—they are setting up. If you cut into it warm, all that steam rushes out, and you end up with a gummy, sticky interior, even if the outside looks perfect. Resisting slicing until it’s truly cool is the final step in achieving that airy, perfect crumb structure we talk about for all homemade loaf recipes.
Understanding Yeast Bread Mastery: The Science of Slow Fermentation
I’m Jun, and this is where Spoon’s respect for slow cooking meets the science of beautiful bread. That long, sleepy rest period we demand in this recipe? That’s not just laziness; it’s total mastery of yeast. When you give the yeast such a long, cool time to work, they aren’t just making bubbles. They are slowly breaking down the starches in the flour.
This slow breakdown builds complex organic acids, which is what gives a truly great loaf that slight tang and deep flavor. It also develops the gluten network without any effort from your arms! This process is truly the heart of all great, rustic preparation. You are creating structure and flavor simultaneously, just by waiting patiently.
Estimated Nutrition for This Parmesan Artisan Bread
Now, I’m Sprout, and I have to remind everyone that since this is an old-school, from-scratch bake without processed ingredients guiding the way, the nutrition facts are estimates based on dividing the entire loaf into reasonable-sized slices. For your own detailed analysis, please see our full disclaimer page!
For a single serving slice of this incredible Parmesan artisan bread, here’s what we’ve estimated:
- Serving Size: 1 slice
- Calories: 250
- Fat: 4g
- Carbohydrates: 48g
- Protein: 8g
- Sodium: 350mg
See? Even with the Parmesan and rich flavors, it’s a relatively lean treat loaded with complex carbs to keep you going!
PrintDutch Oven No-Knead Artisan Bread with Parmesan and Garlic
Learn to bake a bakery-quality artisan bread at home using a simple no-knead method. This recipe yields a loaf with a wonderfully crusty exterior and soft interior, infused with savory Parmesan and garlic flavors.
- Prep Time: 15 min
- Cook Time: 50 min
- Total Time: 13 hours 55 min
- Yield: 1 large loaf
- Category: Baking
- Method: Dutch Oven Baking
- Cuisine: American
- Diet: Vegetarian
Ingredients
- 3 cups all-purpose flour
- 1 1/2 teaspoons salt
- 1/4 teaspoon instant yeast
- 1 1/2 cups lukewarm water
- 1/2 cup grated Parmesan cheese
- 2 cloves garlic, minced
- 1 tablespoon fresh rosemary, chopped
Instructions
- In a large bowl, whisk together the flour, salt, and instant yeast.
- Add the lukewarm water to the dry ingredients. Mix with a wooden spoon until just combined into a shaggy dough. Do not knead.
- Stir in the grated Parmesan cheese, minced garlic, and chopped rosemary until evenly distributed throughout the dough.
- Cover the bowl tightly with plastic wrap. Let the dough rest at room temperature for 12 to 18 hours until it is bubbly and has more than doubled in size. This long fermentation develops the flavor.
- Lightly flour a work surface. Gently scrape the dough out of the bowl. Fold the dough over itself a few times to form a rough ball. Do not overwork it.
- Place the dough ball on a piece of parchment paper. Cover loosely with a clean kitchen towel and let it rest for 30 minutes.
- About 20 minutes before the end of this second rest, place a 5 to 6-quart Dutch oven, with the lid on, into your oven. Preheat the oven to 450 degrees Fahrenheit (232 degrees Celsius).
- Carefully remove the hot Dutch oven from the oven using oven mitts. Lift the dough by grasping the parchment paper handles and gently lower the dough and parchment paper into the hot Dutch oven.
- Cover the Dutch oven with its lid. Bake for 30 minutes.
- Remove the lid and continue baking for another 15 to 20 minutes, or until the crust is deep golden brown.
- Carefully remove the bread from the Dutch oven and place it on a wire rack to cool completely before slicing. This step is important for the interior texture.
Notes
- Using a Dutch oven traps steam, which is the secret to achieving that beautiful, crispy crust on your homemade bread.
- If you do not have fresh rosemary, you can substitute 1 teaspoon of dried Italian seasoning blend.
- This recipe focuses on the no-knead technique, which requires patience but very little active work from you.
Nutrition
- Serving Size: 1 slice
- Calories: 250
- Sugar: 1
- Sodium: 350
- Fat: 4
- Saturated Fat: 2
- Unsaturated Fat: 2
- Trans Fat: 0
- Carbohydrates: 48
- Fiber: 2
- Protein: 8
- Cholesterol: 10