

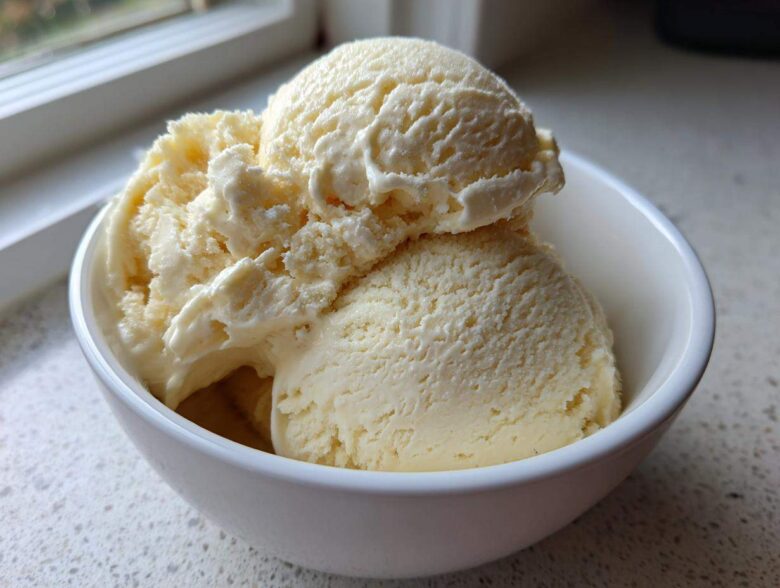
Oh, friend, are you ready for the absolute quickest, dreamiest way to beat the heat? Sometimes I don’t have the energy to wait for a slow-simmered anything, and that’s okay! That’s when the magic of frozen fruit swoops in. I am thrilled to share what I think is the easiest, healthiest banana ice cream you will ever make. Seriously, it’s my ultimate happy accident! We use just two simple ingredients, and it honors the fruit—just like I love to do with my garden harvest—while being ready faster than you can decide what toppings to use.
This isn’t the heavy, churned stuff Spoon loves (bless his traditional heart!), this is pure, vibrant, naturally sweet bliss. It’s ready in minutes, and trust me, once you see those frozen slices turn into soft serve, you’ll never look at a ripe banana the same way again!
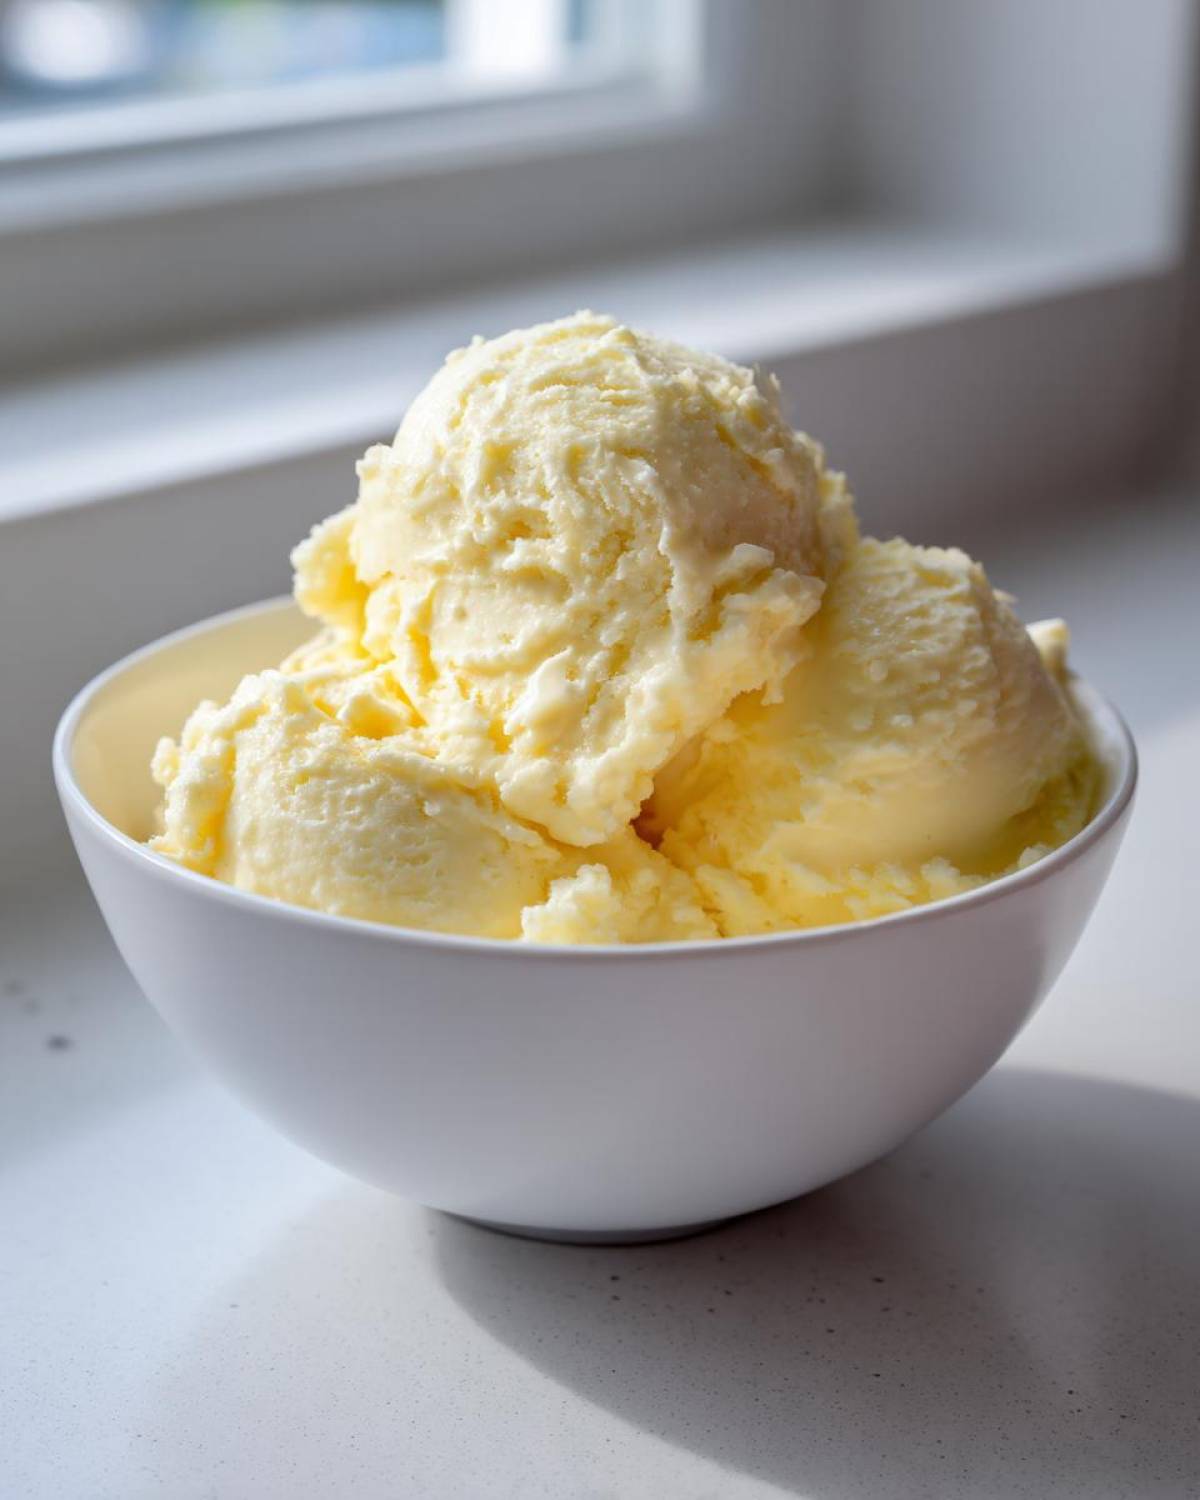
Why This 2-Ingredient Banana Ice Cream Recipe is Your New Go-To
I know we all crave that rich, traditional ice cream sometimes, but wow, this simple banana ice cream hits different when you need something fast and good for you. It’s foolproof, I promise. It’s all about celebrating what nature gives us! You can always find more inspiration over at the Spoon & Sprout blog when you’re ready for a new adventure.
-
The Ultimate Quick Banana Dessert
Forget waiting hours for the ice cream maker! This is the definition of a quick banana dessert. We are talking five minutes total time, max. No complicated steps, just frozen fruit meets serious blending power.
-
Naturally Sweet and Healthy Frozen Dessert
This is where my ‘Sprout’ side loves this recipe most. It’s the perfect healthy frozen dessert because the sweetness comes entirely from the bananas. It’s naturally vegan and dairy free dessert heaven!
-
Achieving Creamy Banana Dessert Texture Without Churning
You might wonder how we get that velvety feel without churning. It’s the power of the blender taking those hard frozen bits and turning them into something silky smooth. It creates a creamy banana dessert that rivals the store-bought stuff.
Gathering Ingredients for Your Banana Ice Cream
When we’re making something this simple, the quality of those few ingredients really shines through. This is where Spoon’s wisdom comes in handy—you absolutely need bananas that are past their prime! We want spotty brown ones for the best natural sugar kick in our banana ice cream. If you’ve tried my apple cider donut holes, you know I value that deep, concentrated flavor!
Essential Components for Simple Banana Ice Cream
You only need two things to get started, but if you have a favorite plant milk on hand, go ahead and use that!
- 4 ripe bananas, peeled, sliced, and frozen solid
- 2 tablespoons plant-based milk (like almond or soy)
Seriously, the riper those bananas are when you slice and freeze them, the sweeter and creamier your finished treat is going to be. No exceptions!
How to Prepare Your Easy Banana Ice Cream Recipe
Alright, let’s get blending! This is the fun part where the transformation happens right before your eyes. You definitely want to use your highest-powered food processor or blender here. Do not try this with one of those cheap little personal blenders unless you want to stand there humming a very long song while it struggles! Grab those rock-solid frozen bananas and toss them in first. This whole process flies by, but you need to pay attention!
Remember how I mentioned the need for liquids? Spoon reminds me that if you dump all the liquid in at once, you risk sliding the mixture around the walls instead of actually making progress. So, start with just one tablespoon of that plant milk. Less is more to start! I often consult my notes from when I made the gnocchi in brown butter—precision matters, even when it seems simple.
Blending the Frozen Banana Ice Cream Base
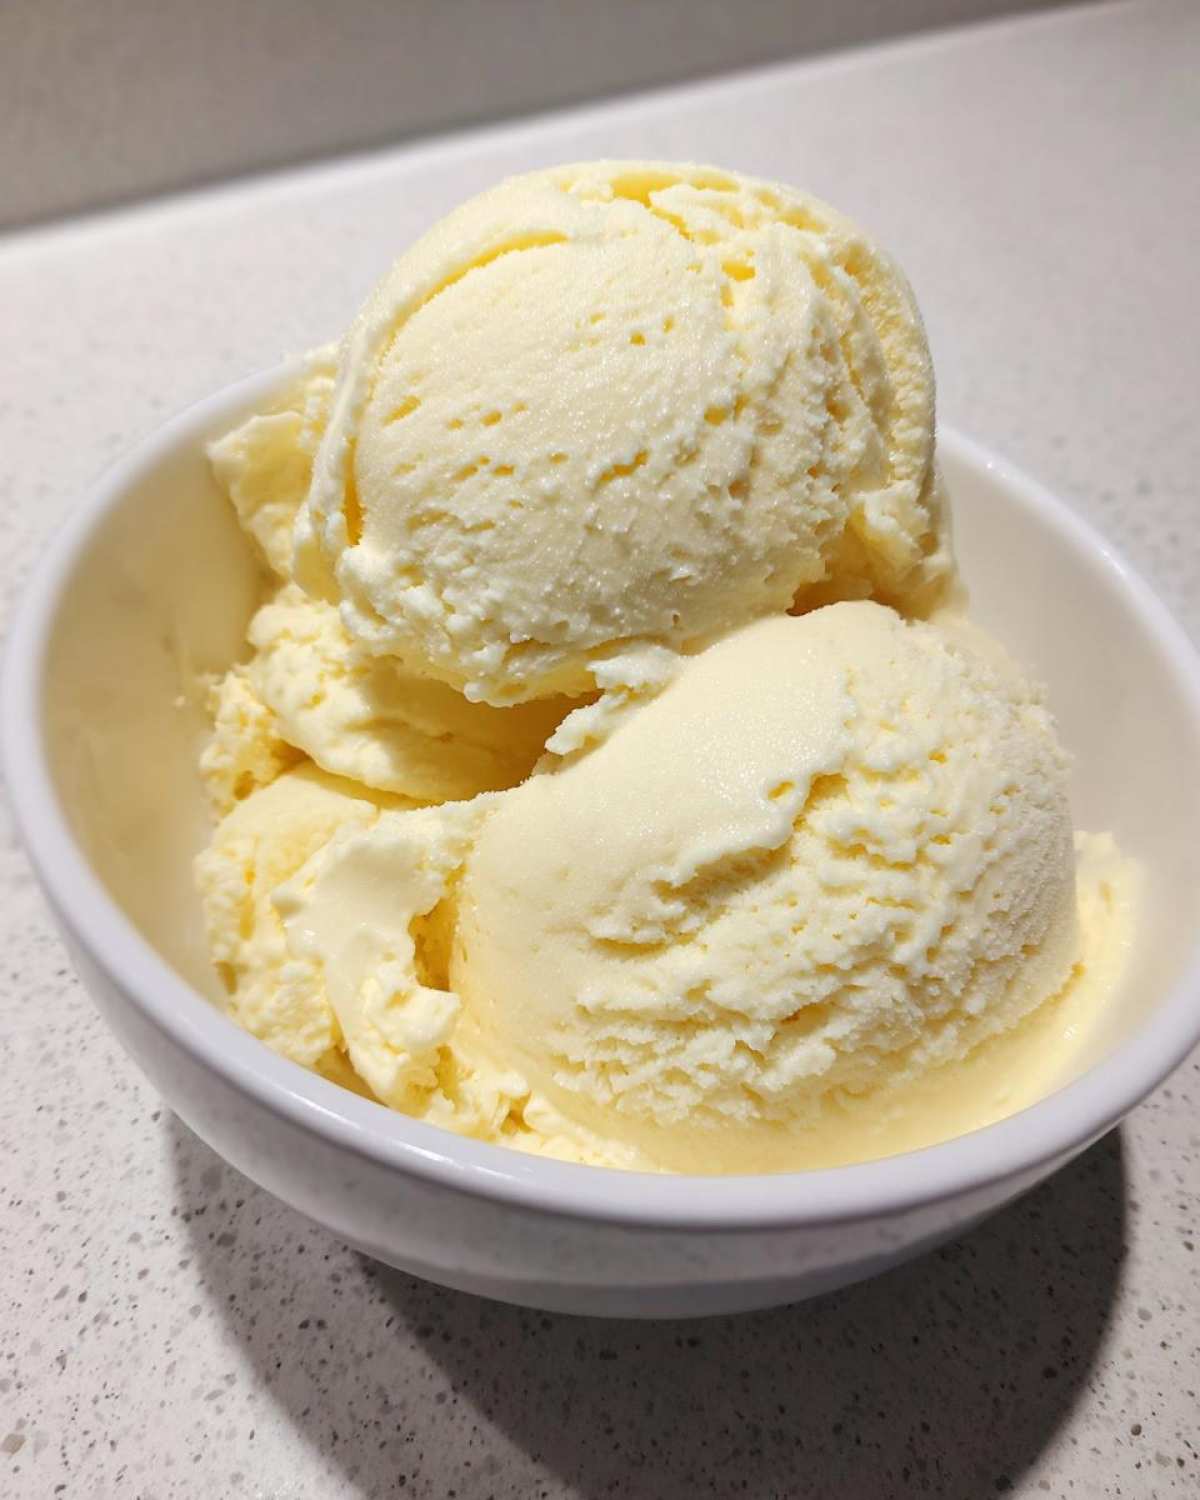
Start blending on low, then quickly move up to high speed. The mixture will look chunky, kind of like frozen pebbles at first. This is normal! You must stop every 20 or 30 seconds, scrape down those sides aggressively, and push everything back toward the blade. Keep doing this until you see it start to change. It will suddenly look like thick, crumbly sand. Just keep going, scraping and pulsing, and then—watch out!—it will suddenly switch over to the consistency of glorious banana ice cream soft serve.
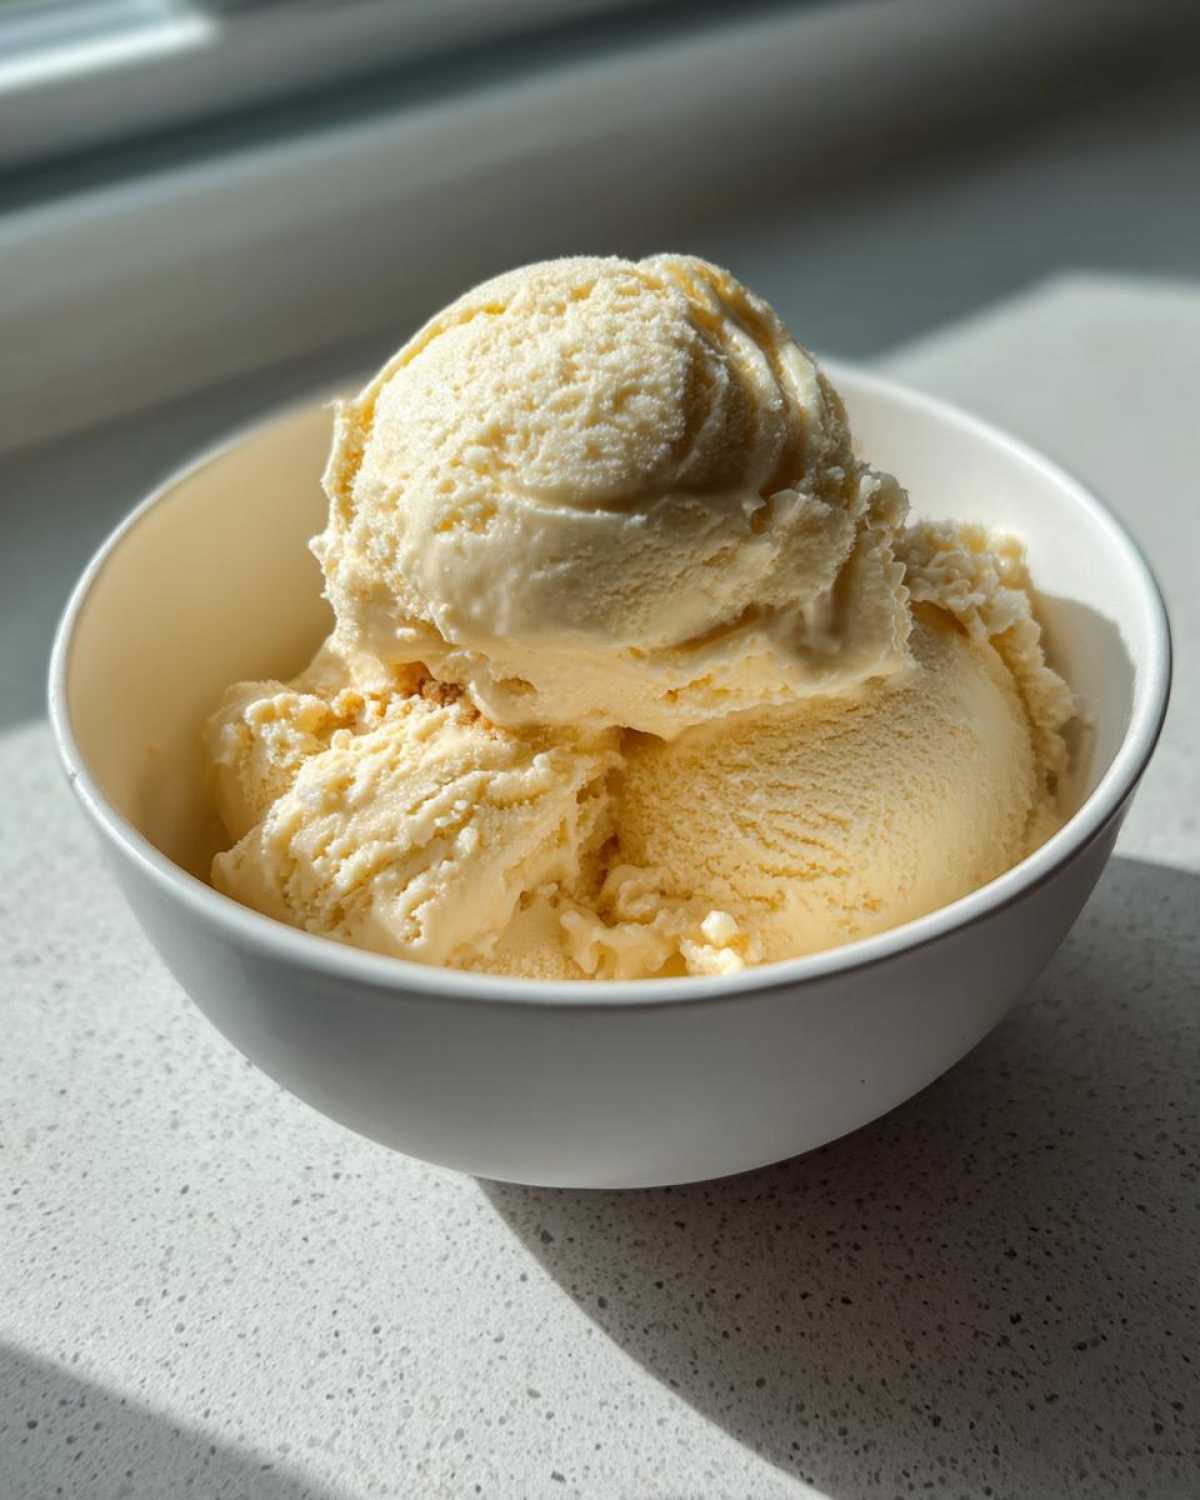
Achieving the Perfect Banana Soft Serve Consistency
Once it’s totally smooth, creamy, and looks like something you’d pay a fortune for at a fancy ice cream shop, you’re done! That means you’ve made a perfect blended banana dessert. Scoop it out immediately if you want that wonderfully fresh, fluffy soft serve texture. If you need it firmer, pop it into an airtight container and freeze it for about an hour or two. Don’t freeze it overnight unless you plan to re-blend it a bit, or it’ll get rock hard! If you want more ideas on healthy frozen creations, check out this great tip on vegan nice cream for extra inspiration!
Flavor Variations for Your Banana Ice Cream
Now, this incredible base recipe for banana ice cream is so versatile, it practically begs you to customize it! Spoon and I always argue over what to add next. He’s a purist, but I love turning this into something new every week. It’s so easy to turn this into a truly customized, delicious treat. If you are looking for texture contrast, think about adding some nuts right at the very end—it adds such a lovely crunch against that smooth ice cream, just like the wonderful banana ice cream with nuts people love!
Making Peanut Butter Banana Ice Cream
If you want something truly satisfying—something that tastes like dessert but acts like a snack—you have to try the peanut butter version. It mixes beautifully and adds a wonderful richness. While you are blending your frozen bananas and plant milk, just drop in about 2 tablespoons of your favorite creamy peanut butter. That little bit of extra fat makes it unbelievably creamy for a wonderful peanut butter banana ice cream!
Simple Fruit Dessert Additions
Don’t be afraid to experiment to create your own simple fruit dessert! A teaspoon of vanilla extract is always lovely, or maybe a heavy pinch of cinnamon complements the banana flavor perfectly. Keep it in mind that sometimes the simplest additions make the biggest difference in elevating this frozen fruit dessert. Feel free to browse for more ideas over at the main Spoon & Sprout blog!
Equipment Notes: Ice Cream Maker Alternative for Banana Ice Cream
Now, this is where I always get questions from folks worried they need some fancy machine humming away in the corner. Nope! Not for this recipe! This amazing banana ice cream is the ultimate ice cream maker alternative because the food processor or a high-speed blender does all the hard, churning work for us. It breaks down those icy bits faster than you can say ‘summer frozen treat’—that’s the beauty of the blended banana dessert!
But listen, if you *do* happen to have the fancy gadgets, we can absolutely use those too! I love seeing how Spoon’s old-school methods meet my new kitchen toys. If you want to see how one specific trendy machine handles this, I found a wonderful breakdown on making the base compatible with that device over here: Ninja Creami banana ice cream.
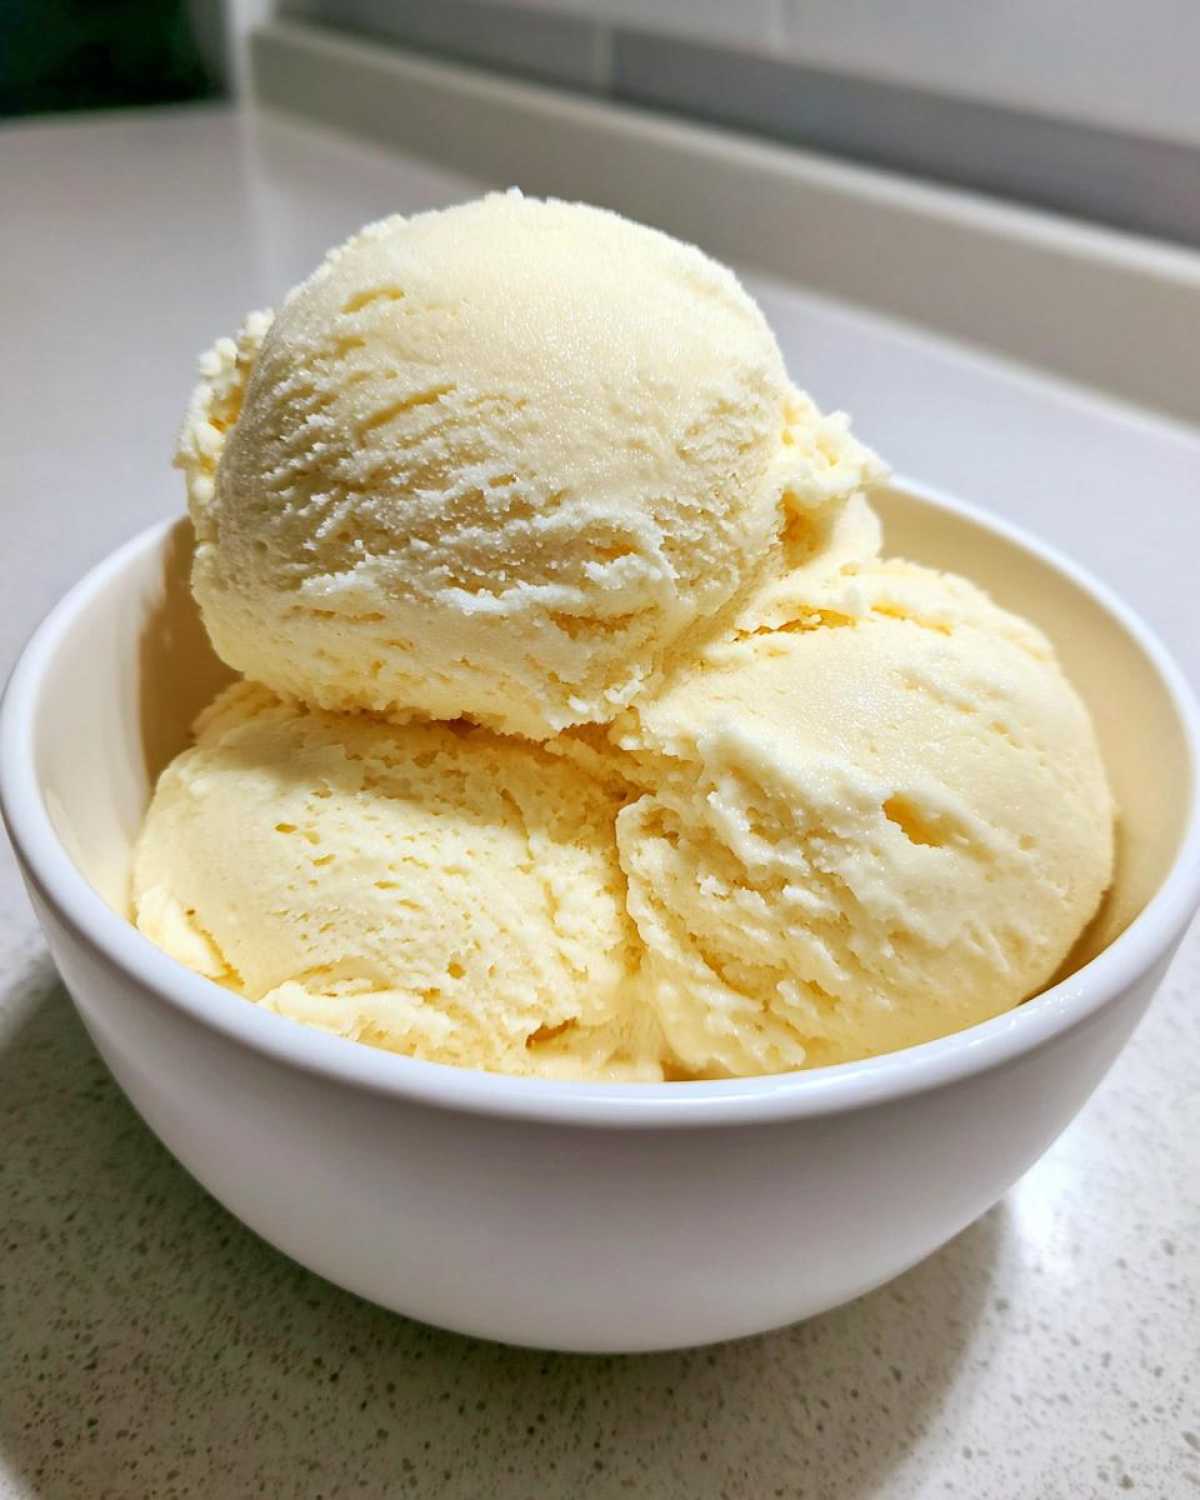
Using the Ninja Creami Banana Ice Cream Base
If you are making this to process in your Ninja Creami later, the process is slightly different because that machine likes a frozen block of anything. You will blend the bananas and milk exactly as described above until it is smooth like soft serve. Then, instead of eating it right away, scrape the mixture into the official Creami pint container. Seal it up tight and let it freeze until completely solid—usually overnight is best. Then you run it on the Lite Ice Cream setting to get that final amazingly fluffy result!
Traditional Churning for Richer Banana Ice Cream
If you prefer that classic, super-rich texture and Spoon insists we use his beloved ice cream maker, you simply modify the base slightly. Instead of the 2 tablespoons of plant milk, you’ll want to substitute that with about 1/2 cup of heavy cream. This gives you the necessary fat content for churning beautifully. You’ll churn that mixture until it’s beautifully firm. It won’t be technically “nice cream” anymore, but it will still be a stunning, scoopable banana ice cream!
Storage and Reheating Instructions for Your Frozen Treat
If you are lucky enough to have leftovers of this glorious banana ice cream—and honestly, I rarely do—you need to treat it right! Since we aren’t using heavy stabilizers, it likes to freeze hard. Pop any extras into a truly airtight container. I use one of those little glass ones Spoon loves. If you try to scoop it straight from the deep freeze the next day, it will be like a rock. Don’t fret immediately!
The secret to reviving it is letting it sit on the counter for about 10 to 15 minutes before you try to scoop. Or, for the fastest fix, just throw the hard scoop back into the blender for a quick 30-second pulse with a tiny splash of milk. It comes right back to that creamy soft serve texture like magic!
Frequently Asked Questions About Making Banana Ice Cream
Oh, I love getting questions! It means you’re out there in your kitchen, making goodness happen. It’s so exciting to hear what you’re wondering about when whipping up banana ice cream. We want everyone to feel confident making this wonder-food! Here are a few things I hear often.
Can I make this a 3 ingredient ice cream?
Absolutely, you totally can! We listed just two core ingredients because the banana provides all the sweetness we need, but I love adding a little something extra sometimes, too. If you want that third ingredient to really sing, try adding about half a teaspoon of vanilla extract right when you start blending. If you’re feeling a little more savory, a tiny pinch of salt makes the sweetness pop right off the spoon. It’s still a completely healthy treat!
Is this truly a dairy free dessert?
Yes, one hundred percent! This recipe shines because it’s so naturally clean. As long as you stick to the plant-based milk suggestion—almond, soy, oat milk, whatever you have—it is completely dairy free dessert perfection. It’s one of my favorite guilt-free options for guests who can’t have dairy. Isn’t it amazing how much flavor nature packs into fruit?
What is the best way to freeze bananas for the best banana ice cream?
This is crucial for achieving that signature texture! You need two things: ripeness and freezing time. First, use bananas that are very ripe—the peel should have plenty of brown spots. That’s where all the sugar lives! Second, you must slice them into rounds before freezing. Don’t freeze them whole! Slicing creates smaller pieces, which means your blender doesn’t have to work nearly as hard getting those chunks broken down into smooth frozen banana recipe magic. Make sure they are frozen rock solid, too. Pop over to the main blog here if you need more inspiration!
Estimated Nutritional Data for This Guilt Free Sweet Treat
I wanted to include some tracking info here, just in case you are counting macros or watching sugar intake. Remember, Spoon always reminds me that these are just handy estimates for the base recipe—the two ingredients only. If you start adding peanut butter or sweeteners, all those numbers change! But for our core recipe, this banana ice cream is pretty stellar as a guilt free sweet treat.
We are talking naturally sweet, low fat, and zero cholesterol. It really highlights the brilliance of using fruit as your base! Keep in mind that these numbers reflect just one serving size (half the batch).
- Serving Size: 1/2 of recipe
- Calories: 120
- Sugar: 16g (all natural from fruit!)
- Sodium: 5mg
- Fat: 0.5g
- Protein: 1g
See? Pretty amazing for a frozen dessert that tastes this decadent. It’s proof that you don’t need loads of cream or refined sugar to get that creamy satisfaction.
Share Your Simple Fruit Dessert Creations
Wow, we made it! I hope you’re already smelling those bananas blending up into the creamiest banana ice cream you’ve ever imagined. This recipe, born out of maximum speed and minimum ingredients, is one of my proudest moments of Sprout-style simplicity. This simple fruit dessert proves that you don’t need fuss or complexity to have something wonderfully decadent.
Spoon and I just love hearing from you! Did you try adding cocoa powder? Did you sneak in some nuts? Please come back and tell us all about it. Let us know how your garden of flavor grew by leaving a rating and sharing your creations in the comments below, or feel free to reach out to us directly via our contact page. Happy scooping, friends!
PrintEasy 2-Ingredient Banana Ice Cream (Vegan Nice Cream)
You can make this creamy, naturally sweet banana ice cream in minutes. It is a healthy, dairy-free dessert that requires no churning and uses only two simple ingredients.
- Prep Time: 5 min
- Cook Time: 0 min
- Total Time: 5 min
- Yield: 2 servings
- Category: Dessert
- Method: Blending
- Cuisine: American
- Diet: Vegan
Ingredients
- 4 ripe bananas, peeled, sliced, and frozen solid
- 2 tablespoons plant-based milk (like almond or soy)
Instructions
- Place the frozen banana slices into a high-speed blender or food processor.
- Add the plant-based milk. Start with 1 tablespoon, adding more only if necessary to help the blades move.
- Blend the mixture. You will need to stop frequently to scrape down the sides. The mixture will go from crumbly to thick, resembling soft serve ice cream.
- Continue blending until the texture is completely smooth and creamy, like soft serve. This is your quick banana dessert.
- Serve immediately for a soft serve consistency, or transfer to an airtight container and freeze for 1-2 hours for a firmer scoopable texture.
Notes
- For a richer flavor, use very ripe, spotty bananas; the riper they are, the sweeter your ice cream will be.
- If you want to make Peanut Butter Banana Ice Cream, add 2 tablespoons of peanut butter during the blending stage.
- To make this a Ninja Creami Banana Ice Cream base, freeze the blended mixture solid in a Creami pint before processing on the Lite Ice Cream setting.
- For a traditional, richer ice cream flavor, you can substitute the milk with 1/2 cup of heavy cream and churn in an ice cream maker.
Nutrition
- Serving Size: 1/2 of recipe
- Calories: 120
- Sugar: 16
- Sodium: 5
- Fat: 0.5
- Saturated Fat: 0
- Unsaturated Fat: 0.5
- Trans Fat: 0
- Carbohydrates: 31
- Fiber: 3
- Protein: 1
- Cholesterol: 0