

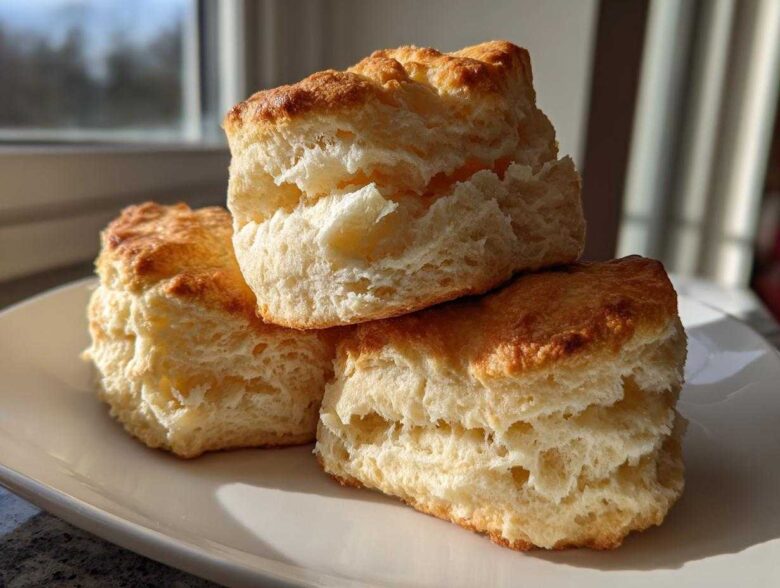
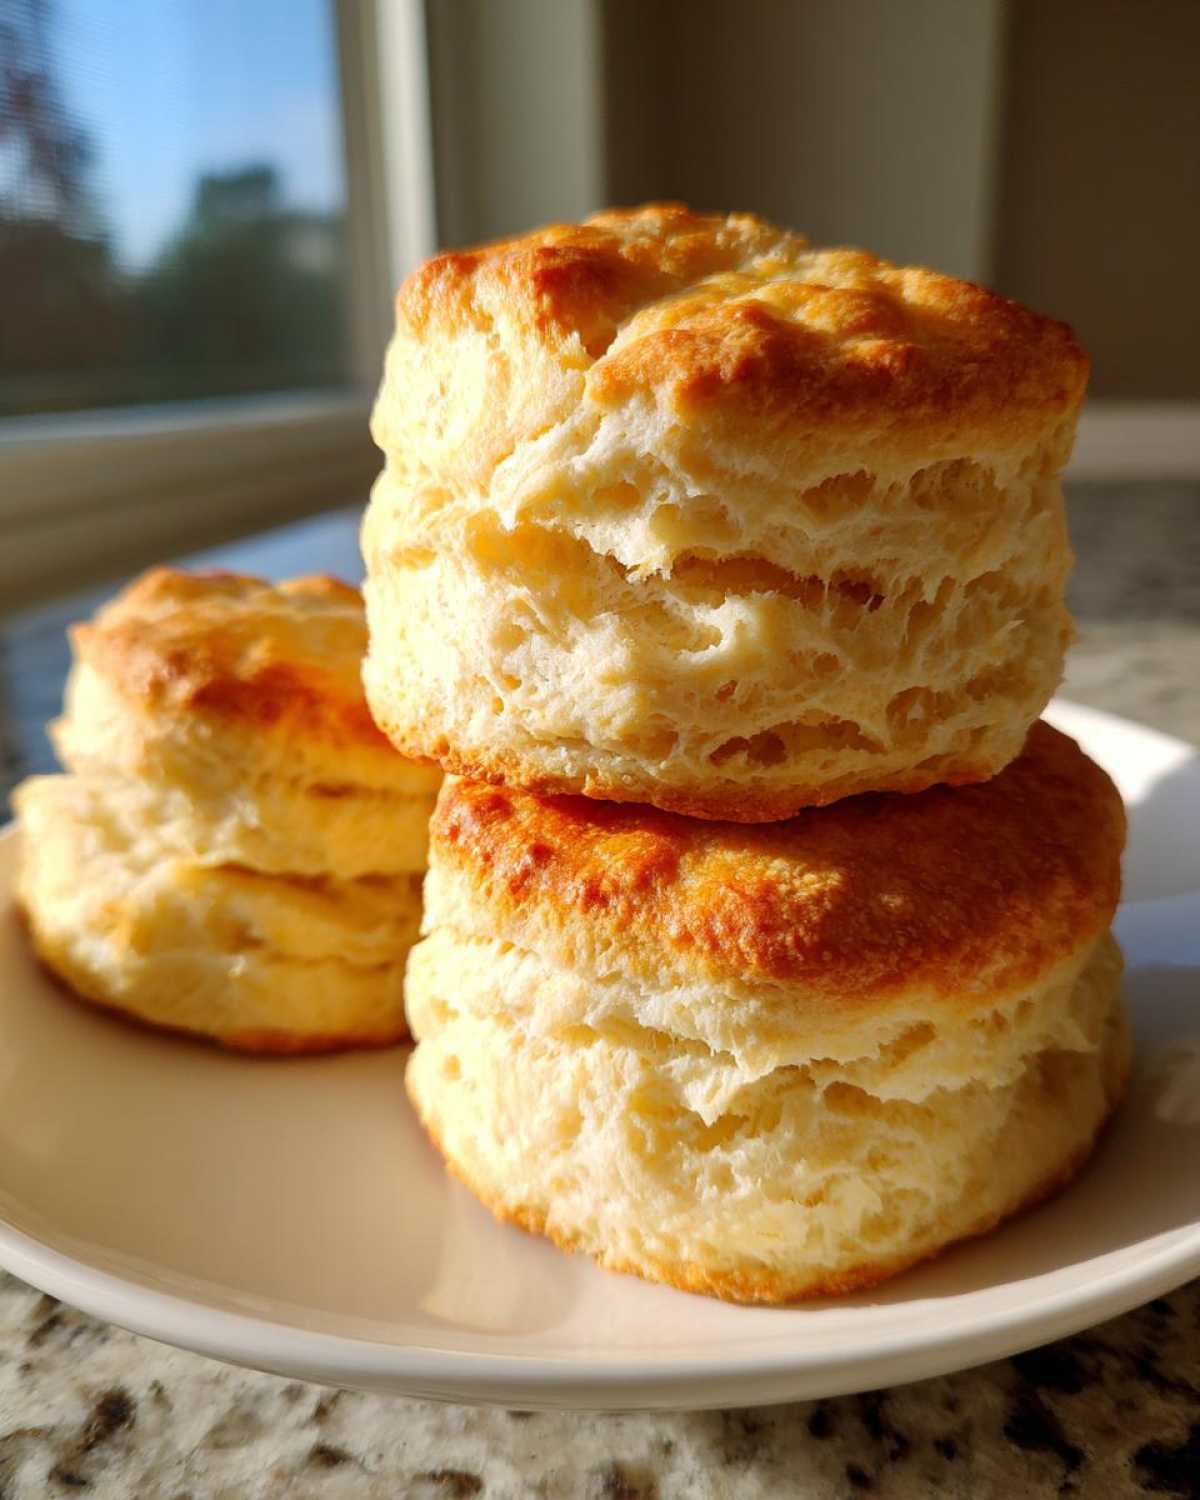
Oh, stop what you are doing and listen up, because I have cracked the code. You know how sometimes biscuits look good but then they come out dense, or worse, they don’t rise at all? I used to struggle with that constantly! These aren’t just any biscuits; these are my Ultra Flaky and Tender Southern Buttermilk Biscuits. I’m talking about those beautiful, tall stacks that practically pull apart just by looking at them. After years of ruined batches and wasted butter, I finally figured out the secret blend of chilling and folding that makes these work every single time. Trust me, once you nail this technique for homemade buttermilk biscuits, you’ll never reach for the can again. They are pure comfort food, rich with real butter, and totally worth the five minutes of effort!
Why You Will Make the Best Buttermilk Biscuits Every Time
Seriously, this recipe changes the game. Forget flattened, dry hockey pucks! When you follow my method for these buttermilk biscuits, here’s what you get:
- Maximum Height: We aim for towering biscuits almost two inches tall.
- Crazy Flakiness: Thanks to cold butter and folding, the layers separate beautifully.
- Tender Crumb Inside: They melt right in your mouth—never tough or gummy.
- Real Buttery Flavor: We don’t skimp on the good stuff, so they taste like proper Southern baking.
Essential Ingredients for Perfect Buttermilk Biscuits
The quality here really matters, especially since there are so few ingredients in these amazing buttermilk biscuits. Every component needs to be exactly what I list below. No cheating on the temperature!
- Two cups of all-purpose flour, nothing fancy needed.
- One tablespoon of baking powder and one teaspoon of baking soda—this is our lift team!
- One teaspoon of salt—don’t skip it, or they taste flat.
- One-half cup of unsalted butter, and this is crucial: it must be cut into small cubes and kept icy cold.
- Three-quarters of a cup of cold buttermilk, plus a little splash extra for brushing the tops right before they go in.
Baking Techniques for Tall and Flaky Buttermilk Biscuits
Listen, the ingredients are just starting the journey; the real magic happens when we treat that dough right. If you want those beautiful, tall, flaky biscuits, you have to respect the butter temperature and learn to laminate. This process ensures that when your biscuits hit that hot oven, the cold butter melts rapidly, creating pockets of steam that physically push the layers apart. It’s basically controlled explosion in every biscuit! If you want to dive deeper into the science behind amazing baking, check out this general baking resource here: baking foundations. We’re building those layers right now!
Keeping Ingredients Cold: The Secret to Tender Buttermilk Biscuits
This is non-negotiable for tender buttermilk biscuits. If your butter is soft, it just mixes into the flour and disappears. Cold butter creates steam pockets, which is how you get height! I even toss my flour into the freezer for about ten minutes before I start mixing. It sounds extreme, I know, but that extra chill guarantees those beautiful separations in the final product. Don’t skip the freezing step—it makes all the difference!
Mastering the Fold: Creating Layers in Your Buttermilk Biscuits
Once the dough comes together—and remember, it looks shaggy, that’s good—we need to build those flakes. We’re gently folding the dough over itself, just like sealing an envelope. Pat it out to about an inch, fold it in thirds, turn it ninety degrees, and repeat that folding process one more time. This layering is what makes them stack up sky-high instead of spreading out flat. But be gentle! Too much kneading or pressing eliminates the air we just worked so hard to keep in there.
Step-by-Step Instructions for Homemade Buttermilk Biscuits
Okay, we have our super-chilled ingredients ready to go. Now it’s time to assemble these beautiful homemade buttermilk biscuits! Remember, the goal is speed and gentleness here. We want the butter to stay in flakes, not melt into the dough. If you want to brush up on general mixing styles before diving in, I have a guide on baking techniques for biscuits that might help!
Mixing and Cutting the Butter into the Dough
First things first: whisk your dry ingredients together so everything is evenly distributed. Then, add those cold butter cubes right on top. Take your pastry blender—or honestly, your fingers work best if they stay cool—and start cutting that butter into the flour. You need to keep going until those butter pieces are about the size of small peas. Stop right there! Next, pour in all that ice-cold buttermilk at once. Stir it with a fork, just until barely combined. Seriously, if you see flour streaks, that’s okay, because we are about to fold it. A shaggy, slightly messy dough means you haven’t overmixed it.
Cutting and Preparing Buttermilk Biscuits for the Oven
Now that we’ve folded our layers, gently pat the dough out to about 3/4 of an inch thick. This is where height starts! Grab your biscuit cutter—it should be sharp—and the most crucial tip of all: press straight down! Do not, under any circumstances, twist the cutter. Twisting seals the edges shut, and that seal prevents them from rising tall. Once they’re cut, decide on your sides! If you place them snugly touching each other on the baking sheet, the sides bake softer. If you leave a bit of space between them, you get those lovely crisp edges. Brush the tops lightly with that extra buttermilk, and get them into the 425°F oven fast!
Tips for Success with Your Buttermilk Biscuits
I know it seems like a lot of fuss, but these little extra steps are what turn a decent biscuit into that perfect, melt-in-your-mouth Southern dream. These are the habits I picked up from the best bakers I know!
First off, keep everything cold. I mean everything. If your butter gets soft while you are cutting it in, just pop the whole bowl into the freezer for five minutes to bring it back to life. It sounds obsessive, but that intense cold ensures those steam pockets that give you those tall, flaky layers.
My favorite finisher, which doubles as a secret weapon for flavor, is brushing the tops of the hot biscuits with melted butter right as they come out of the oven. That’s what gives them that beautiful shine and that extra rich flavor that makes your house smell incredible. Seriously, try to wait five minutes before eating them—I dare you!
Ingredient Notes and Substitutions for Buttermilk Biscuits
We need to talk about the stars of the show here: buttermilk and butter. If you opened your fridge for one of these batches of buttermilk biscuits and realized you were out of the sour stuff, don’t panic! You can totally fake it. Just take regular milk—whole milk is best—and stir in a tablespoon of white vinegar or fresh lemon juice. Let that sit on the counter for five minutes. It curdles slightly, and boom, you have your necessary acid for activation! It works just as well for tenderness.
Now, about the butter! I cannot stress enough that room temperature butter will ruin your flake factor. If you use soft butter, it mixes right into the flour like you’re making a cookie dough—there are no distinct flakes created. You need rock-hard, icy cold cubes. If you forgot to cube it ahead of time, you can actually grate the cold butter on a cheese grater right into the flour. It chops it up super fast and keeps it perfectly chilled for those amazing layers!
Serving Suggestions for Classic Southern Biscuits
These incredibly light and tender buttermilk biscuits are honestly better than any bakery loaf, but the best part is everything they go with! They can transform a simple breakfast into a full event.
Of course, you absolutely need some kind of gravy because that’s how we do it down South. My recipe for homemade gravy pairings makes the best sausage gravy to smother these beauties in. If gravy isn’t your thing, don’t worry; they are incredible with just a smear of peach jam or a drizzle of warm honey.
They work just as well for dinner as they do for breakfast. Keep a batch ready—they shine as the best type of breakfast bread recipes alongside eggs!
Storing and Reheating Your Tender Buttermilk Biscuits
These beautiful tender buttermilk biscuits are best eaten the minute they come out of the oven, but if you have leftovers (which is rare around my house!), we need to treat them right. For short-term storage, just keep them tightly wrapped in foil or plastic wrap on the counter for up to two days. Don’t put them in the fridge unless you absolutely have to, because that cold air makes them go hard fast.
If you need to store them longer, freezing is the way to go! Let them cool completely, then wrap them individually tight in plastic wrap, and then slip that whole bundle into a freezer bag. They’ll keep well for about three months. When you get that craving, skip the microwave! Pop them straight onto a baking sheet and heat them in a 350-degree oven for about 8 to 10 minutes. They come out almost perfect, fluffy and warm all the way through.
Frequently Asked Questions About Buttermilk Biscuits
Why did my homemade buttermilk biscuits turn out flat instead of tall?
Oh, I’ve seen this happen! Usually, flat biscuits mean one of two things: either your butter wasn’t cold enough, or you twisted your biscuit cutter! Remember, that twisting motion seals the sides closed, preventing the steam from pushing the biscuit upward. For a nice, tall rise, press straight down and let that cold butter do the heavy lifting in the oven. If you’re looking for more general insight on achieving the perfect rise in breakfast baking, that’s always a good place to check!
Can I use regular milk if I don’t have buttermilk?
Yes, you absolutely can create a quick substitute for these fluffy biscuit recipes! We mentioned it before, but it bears repeating: take one cup of regular milk—whole milk works best—and stir in one tablespoon of white vinegar or lemon juice. Let it sit for five minutes until it curdles slightly. That acidity gives you the tenderness and activation you need, mimicking real buttermilk perfectly.
What is the correct oven temperature for the best results?
For the puffiest, most golden brown biscuits, you need a high blast of heat to shock that dough! Preheat your oven to a super hot 425 degrees Fahrenheit. That high heat is essential for creating the steam needed to separate those layers quickly, resulting in those gorgeous golden brown biscuits we are aiming for.
Is the folding technique really necessary for these Southern-style biscuits?
It’s the whole key to making them truly Southern-style! If you skip the folding (turning the dough like a letter), you’ll end up with something closer to a scone—tasty, but not flaky. Those folds are what create those beautiful individual layers, making them wonderfully tender buttermilk biscuits you can pull apart.
PrintUltra Flaky and Tender Southern Buttermilk Biscuits
Follow these steps to make tall, flaky, and tender buttermilk biscuits from scratch with a rich, buttery flavor.
- Prep Time: 15 min
- Cook Time: 15 min
- Total Time: 30 min
- Yield: 8 biscuits
- Category: Breakfast
- Method: Baking
- Cuisine: American
- Diet: Vegetarian
Ingredients
- 2 cups all-purpose flour
- 1 tablespoon baking powder
- 1 teaspoon baking soda
- 1 teaspoon salt
- 1/2 cup (1 stick) cold unsalted butter, cut into small cubes
- 3/4 cup cold buttermilk, plus extra for brushing
Instructions
- Combine the flour, baking powder, baking soda, and salt in a large bowl. Whisk to mix the dry ingredients.
- Add the cold butter cubes to the flour mixture. Use a pastry blender or your fingers to cut the butter into the flour until the mixture resembles coarse crumbs with some pea-sized pieces of butter remaining.
- Pour in the cold buttermilk all at once. Stir gently with a fork until just combined. Do not overmix; the dough will look shaggy.
- Turn the dough out onto a lightly floured surface. Gently pat the dough into a rough rectangle about 1 inch thick.
- Fold the dough into thirds, like a letter. Turn the dough 90 degrees and gently pat it down again to about 1 inch thickness. This folding creates layers. Repeat this fold and pat process one more time.
- Pat or roll the dough to a final thickness of about 3/4 inch.
- Use a biscuit cutter (or a sharp knife) to cut out the biscuits. Press straight down without twisting the cutter to keep the edges clean for maximum rise.
- Place the cut biscuits close together on an ungreased baking sheet for softer sides, or slightly apart for crispier sides.
- Brush the tops lightly with extra buttermilk.
- Bake in a preheated oven at 425 degrees Fahrenheit (220 degrees Celsius) for 12 to 15 minutes, or until the biscuits are golden brown and puffed high.
Notes
- Keep all ingredients, especially the butter and buttermilk, very cold for the flakiest results.
- Do not twist the biscuit cutter; press straight down when cutting to help the biscuits rise tall.
- For extra buttery flavor, brush the tops of the hot biscuits with melted butter immediately after removing them from the oven.
Nutrition
- Serving Size: 1 biscuit
- Calories: 250
- Sugar: 1
- Sodium: 450
- Fat: 14
- Saturated Fat: 9
- Unsaturated Fat: 5
- Trans Fat: 0
- Carbohydrates: 28
- Fiber: 1
- Protein: 5
- Cholesterol: 35