

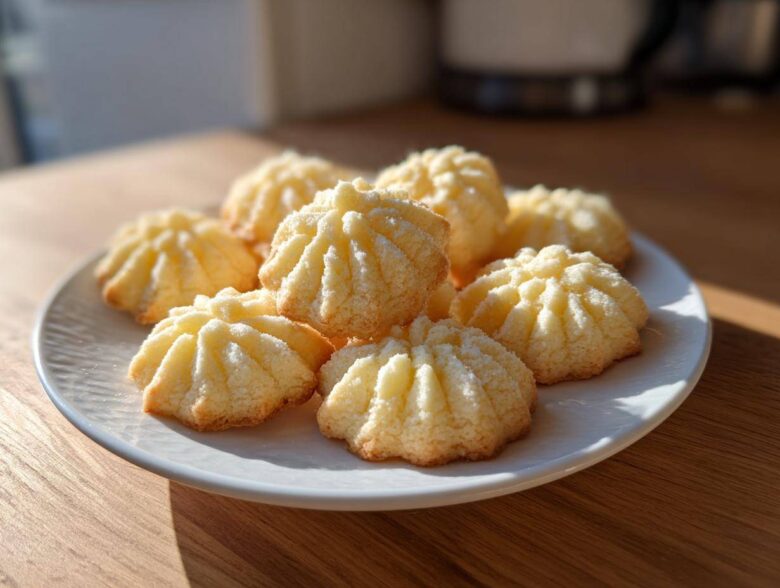
Oh, my friends, you know those cookies? The ones you always hoped to find hiding at the bottom of that big blue festive tin every year? The ones that were so perfectly rich they almost dissolved the second they hit your tongue? That is the memory that fuels this recipe for me. I’m Mei, and while Spoon always prioritizes the deep, slow flavors, there is such profound joy in capturing something perfectly simple, like this best butter cookie recipe. We cracked the code for that signature melt-in-your-mouth texture right here, drawing inspiration from those classic Danish versions. If you want to explore more of our kitchen adventures before diving in, you can always check out our latest posts over at the Spoon & Sprout Blog. Trust me, making these butter cookie spirals from scratch beats anything store-bought, every single time.
Why This Danish butter cookie Recipe Delivers Melt In Your Mouth Cookies
The secret to achieving those incredible Melt In Your Mouth Cookies that truly seem to vanish is all in the composition of the dough. It’s not just about using good butter—although that helps! It’s about the specific tools we give the dough to achieve that signature tenderness. When I look at Spoon’s old notes, he always scribbled furiously whenever a cookie lacked that perfect collapse on the tongue. This version is reliable because we are focusing on creating a slightly fragile structure, ideal for those gorgeous, buttery swirls.
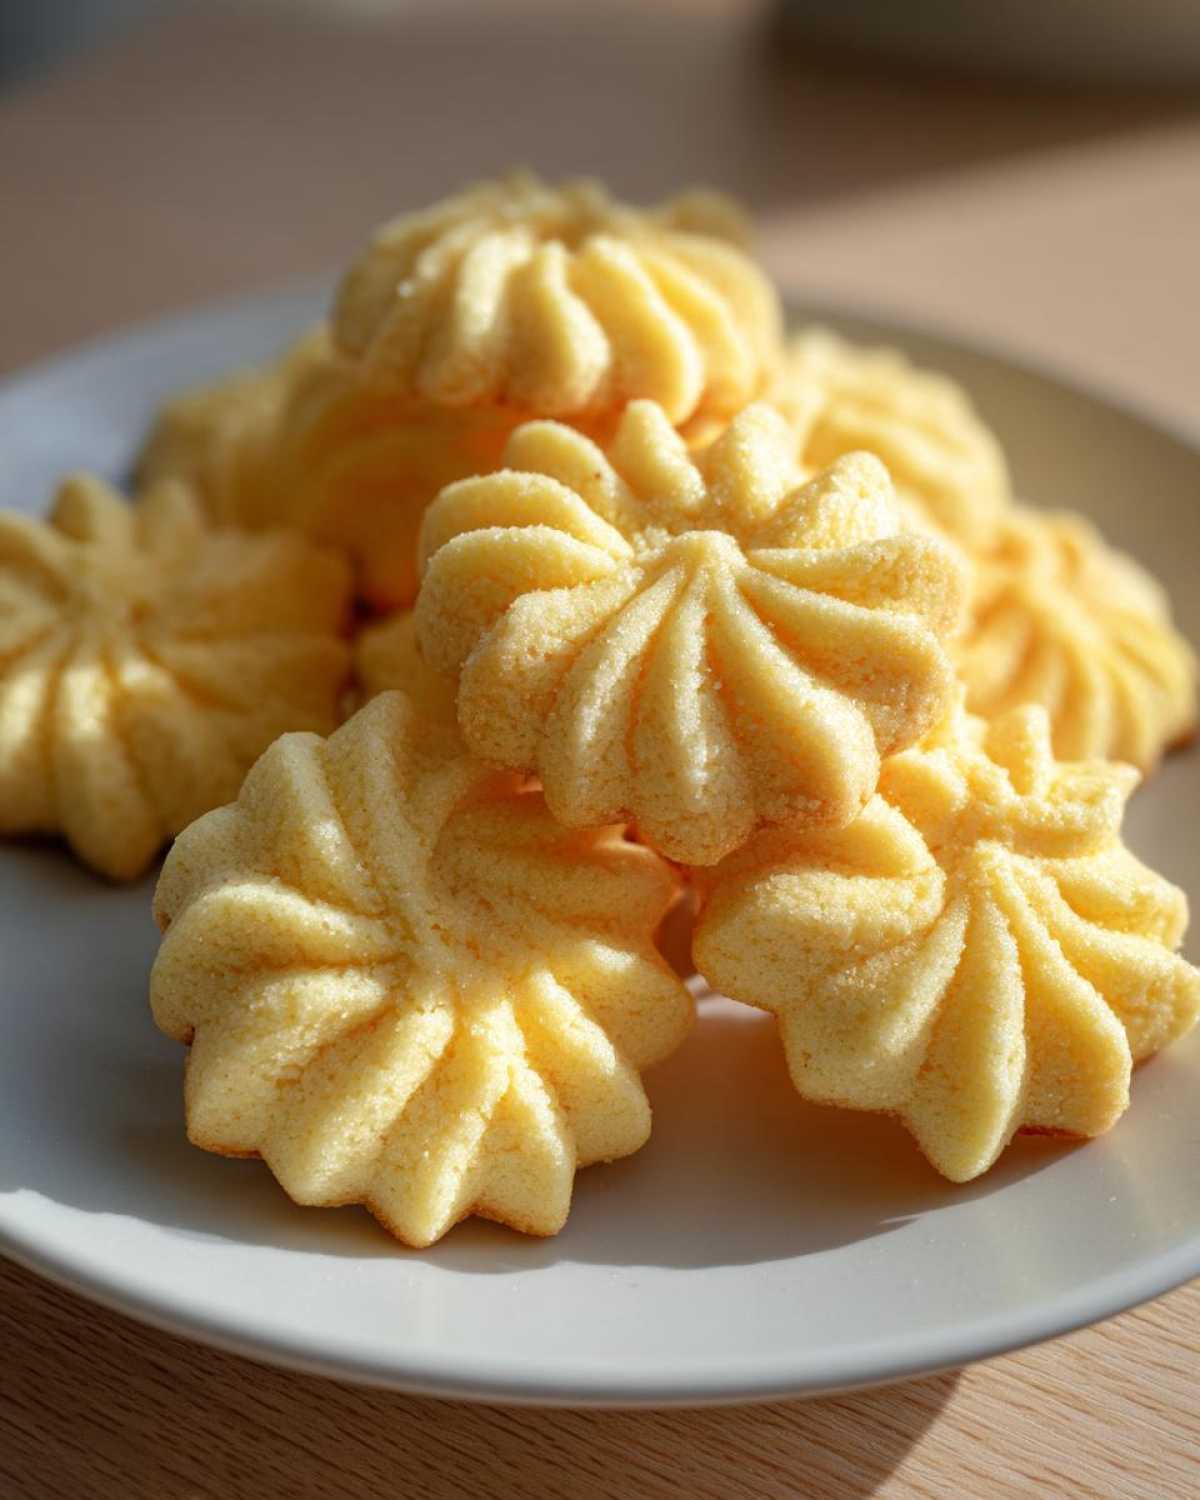
The Role of Cornstarch in Our butter cookie Dough
If you’ve ever made a standard shortbread, you know it can be crumbly, almost sandy. We want tenderness, not crunchiness! The cornstarch is our secret weapon here. It actually blocks some of the flour’s gluten development. Less gluten means the cookie sets up softer and breaks apart almost instantly when you bite it. It’s the perfect technique to elevate this simple butter cookie beyond just a basic shortbread.
Gathering Ingredients for Rich butter cookie Treats
Okay, let’s get down to business! To make these truly rich butter cookie delights, we keep things incredibly simple. That’s the beauty of Danish baking—it relies on the pure flavor of quality staples. When you see the ingredient list, don’t panic about substitutes; stick to this list for the absolute best texture. I always tell Spoon that if the ingredients are good, the chemistry of baking takes care of the rest!
- 1 cup (2 sticks) unsalted butter, softened (This must be softened, not melted!)
- 1/2 cup granulated sugar
- 1 large egg yolk (Just the yolk! This adds richness without extra liquid.)
- 1 teaspoon vanilla extract
- 2 1/2 cups all-purpose flour
- 1/4 teaspoon salt
- 1/4 cup cornstarch
If you’re looking for a deeper, richer flavor profile, you can check out how we use butter in other comforting dishes, like my Roasted Garlic Cauliflower Mash with Butter.
Ingredient Notes and Substitutions for Classic Butter Cookies
When making these Classic Butter Cookies, please, please, please use unsalted butter. We need to control the salt ourselves, especially since there isn’t much in the recipe! Melted butter ruins the creaming process entirely, leading to cookies that spread out wider than a pancake. If you are out of vanilla, sometimes I swap in half a teaspoon of almond extract for a slightly different floral hint, but pure vanilla is always the classic choice.
A quick note on shaping: the recipe calls for piping because that’s how we get those beautiful swirls we remember. However, if your piping bag is acting up or you aren’t feeling the pressure, these doughs are stiff enough to work beautifully through a standard cookie press. Just press your shapes onto the lined baking sheet!
Step-by-Step Instructions for Easy Homemade Cookies
Honestly, these are some of the most satisfying Easy Homemade Cookies to make because the effort-to-reward ratio is just incredible. The method follows the classic creaming technique, which is essential for our deliciousness. Like putting together a simple, beautiful puzzle, timing is key, especially around the chilling stage. You must make sure you don’t rush past the creaming step or the chilling, or your wonderful butter cookie dough will just melt into a puddle on the sheet!
- First things first: We cream the softened butter and sugar until the mixture is truly light and fluffy—this takes patience, but it’s how we get air into the dough!
- Then, beat in that single egg yolk and your vanilla until everything is smooth. Scrape those bowl sides down so all the goodness gets incorporated.
- In another bowl, whisk your flour, salt, and that secret cornstarch together.
- Now, add the dry stuff to the wet stuff slowly, mixing only on low speed until it just comes together. Stop as soon as you see the last streak of flour disappear. Overmixing is the enemy here!
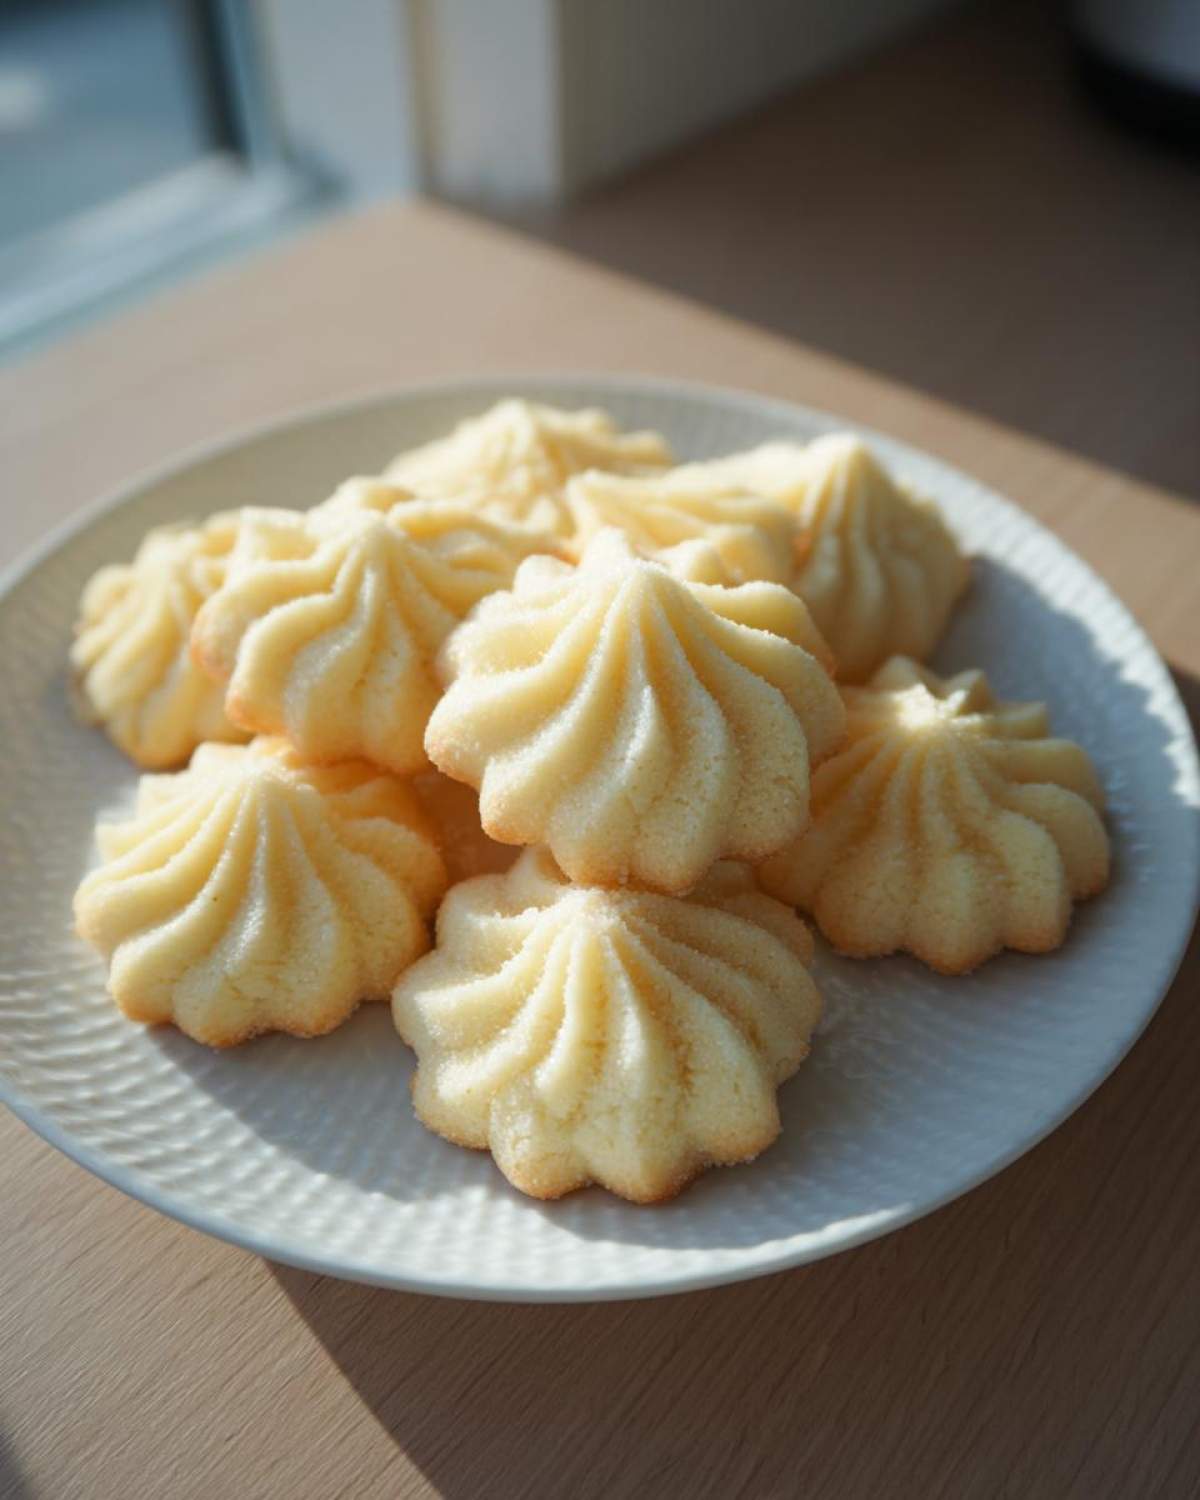
- Time to get those classic shapes! Transfer the dough to a piping bag fitted with a large star tip—I always grab my trusty Wilton 1M for those perfect ridges.
- Pipe little swirls onto parchment-lined baking sheets. Make sure you leave about an inch of space around each one because they will relax just a tiny bit in the oven.
- This next step is non-negotiable: Chilling! Pop those piped cookies in the fridge for at least 30 minutes. This stops delicious things from turning into sad, flat things while baking.
- When they are chilled up, it’s oven time. Preheat to 350°F (175°C).
- Bake for about 10 to 12 minutes. You want the edges to just barely kiss being golden brown. The centers should still look quite pale—that’s how you know they will be tender.
If you want to check out a lovely related recipe while these bake, I highly recommend my Apple Pie Crumb Bars! And remember, for pure texture perfection, you can see another fantastic approach to achieving that melt-away quality at this lovely source.
Achieving Perfect Shape with Piped butter cookie Dough
Piping is what gives these treats that beautiful, look-at-me quality, reminiscent of those special holiday sets. Think of the star tip as your paintbrush! If your dough is chilled correctly—firm enough to hold a distinct ridge—it pipes like a dream. If you find your dough is too stiff straight out of the fridge, just let it sit on the counter for five minutes, but no more! If it gets too warm and starts loosening up, the swirls will slump when they bake.
If that piping bag just isn’t cooperating, don’t fret! You can press this dough through a cookie press without any trouble, or, for the simplest shaping method, just roll the dough into small, uniform little balls, place them on the sheet, and gently flatten them with the back of a fork. They won’t have the gorgeous swirl, but they will still taste like heavenly butter!
Baking Tips for the Best butter cookie Recipe
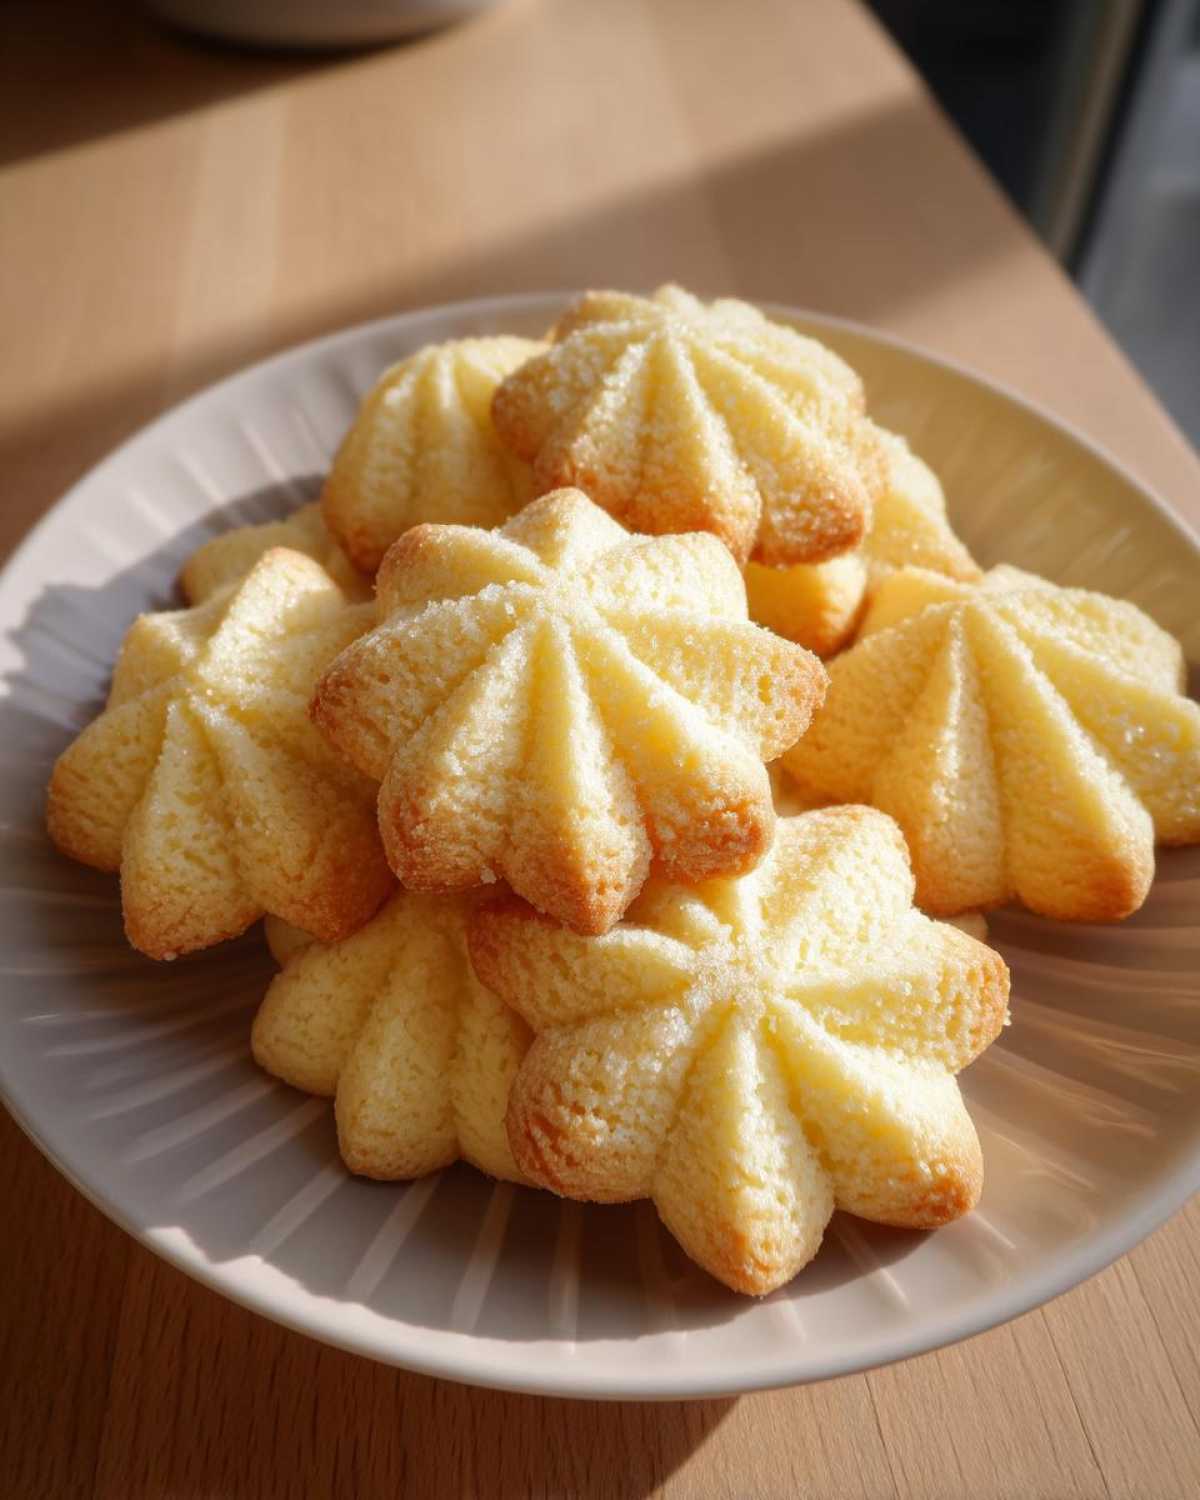
Now for the oven—this is where a little bit of patience really pays off for the best butter cookie recipe. You’ve done the hard work creaming and chilling, so don’t get hasty now! We set the oven nice and steady at 350°F (175°C). The absolute key, the one thing Spoon always made me memorize, is that we are looking for pale centers and only the faintest edge of golden color. If the whole cookie turns deep gold, the edges will turn hard, and you’ll lose that magical melt-in-your-mouth quality we are chasing.
Watch them closely after the 10-minute mark. They bake faster than you think! When they are perfectly done, the bottoms should have a hint of color when you peek underneath, but the tops should still look wonderfully delicate. If you’re curious about other baking times and temperatures, I did some deep dives when working on my Danish cookie knowledge recently!
Making Deliciously Buttery Treats for Holiday Butter Cookies
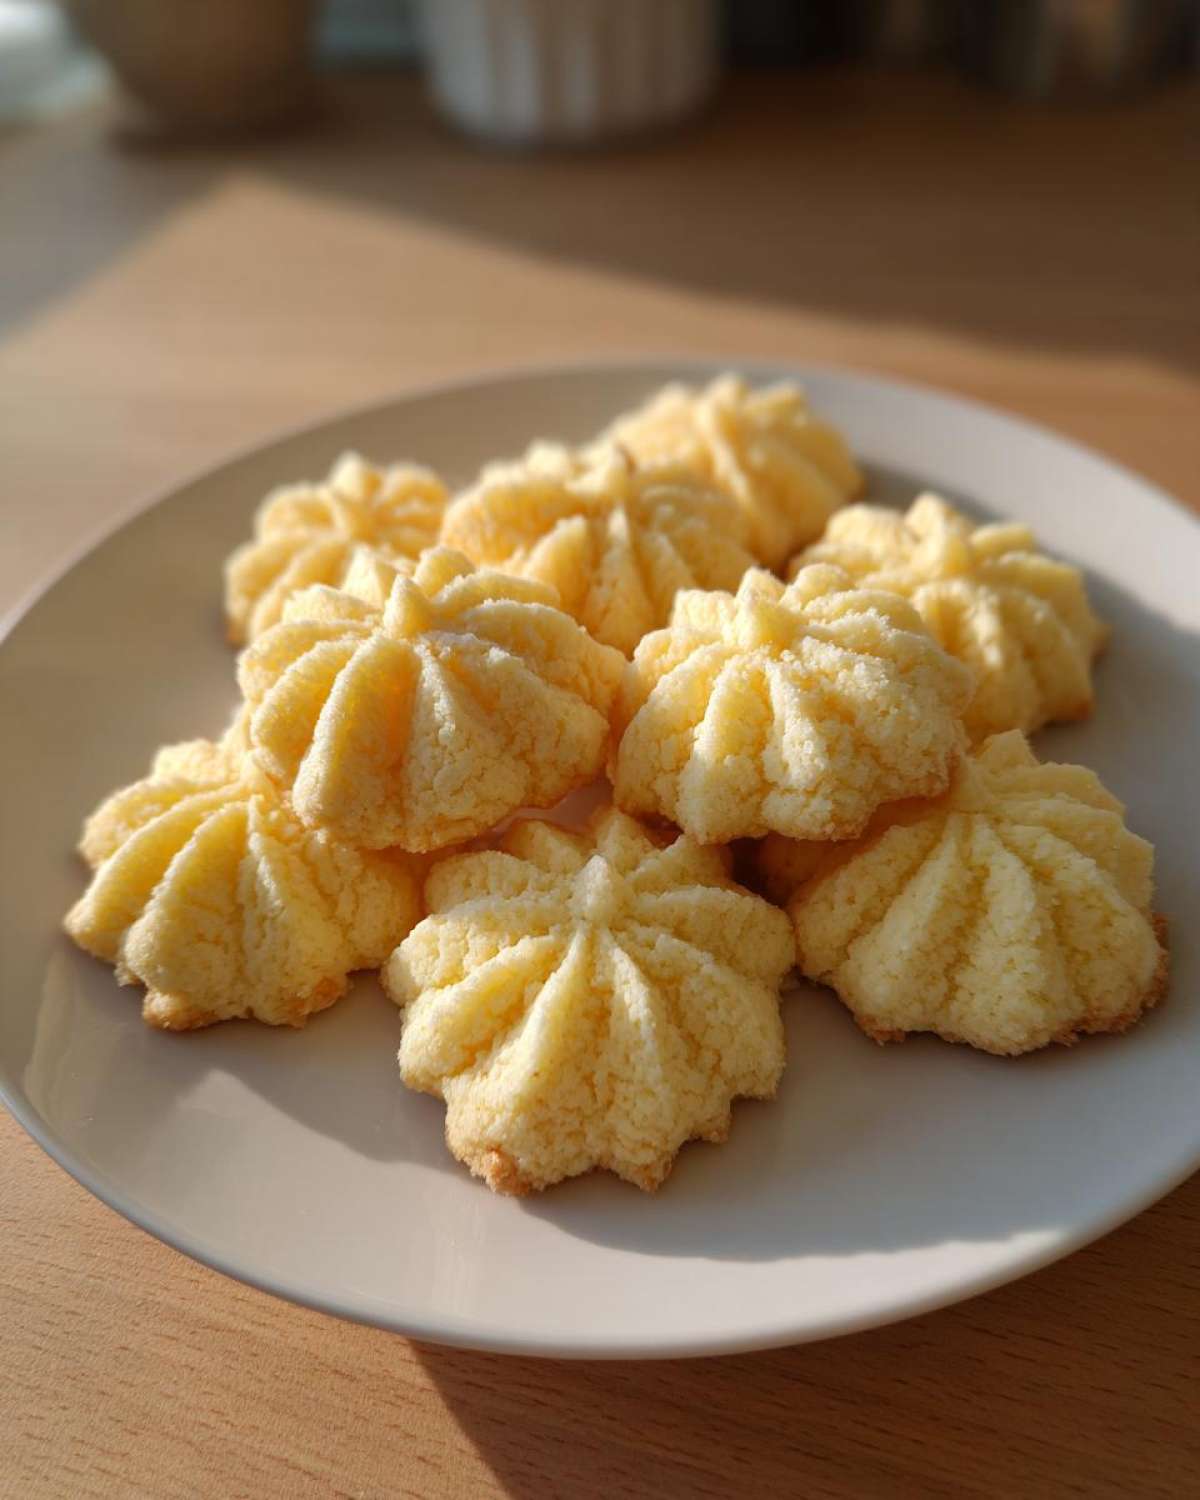
These little jewels aren’t just for afternoon tea, though they certainly shine there! These are my go-to butter cookie when the holidays roll around. I remember one year, Spoon insisted we hand-deliver a tin of these to every neighbor before Christmas Eve. He said the simple, buttery aroma was the best way to spread cheer. They look so beautiful tucked into those classic red and green tins, don’t you think? They hold up so well, too, which means they stay wonderfully fresh right up until you pop the lid open. If you’re planning your seasonal baking schedule, make sure you add these Holiday Butter Cookies to your must-bake list for an authentic, comforting touch.
If you want even more festive ideas for that holiday spread, I’ve been experimenting with flavored marshmallows for hot cocoa recently over here at my peppermint section.
Storage and Keeping Your butter cookie Fresh
Because these cookies are so rich in butter, storage is slightly different than for a crispy snap cookie. We want to preserve that signature tenderness! The good news? Since there’s no high moisture content like in a cake, they keep beautifully for quite a while.
For best results, you must let them cool completely—and I mean completely—before you even look at putting them into a container. Warm cookies create steam, and steam makes moisture, which we absolutely do not want.
Once cool, transfer them into a tightly sealed, airtight container. A proper latching tin or a heavy-duty container works perfectly. Keep these containers at cool room temperature. I usually stash mine in the pantry where it’s dark and consistent. If you keep them sealed well, they will stay delightfully tender and just melt in your mouth for about a week. After that, they slowly start to dry out, but they are still edible!
Reheating isn’t usually necessary, but if yours somehow got left out and hardened up a bit, sometimes a quick 15-second zap in the microwave brings that butter softness right back. Don’t try putting them in the oven; they’ll brown too quickly!
Variations on the Classic butter cookie
While I adore the pure, classic Danish style, sometimes variety keeps the mixing bowl interesting! If you want to jazz up your simple butter cookie dough, it’s remarkably easy to do right before you chill it. I love adding a full teaspoon of finely grated lemon or orange zest to the creamed butter mixture—the citrus really brightens up all that butter flavor. Another wonderful trick, like I mentioned before, is swapping out some of that vanilla for almond extract if you want a nuttier note.
And once they are baked and cooled, dipping the tips into melted dark chocolate is just divine! It adds that decadent touch perfect for gifting. Want some inspiration for gifting tins? You might like checking out this recipe for Fig and Walnut Baklava for another impressive treat. Honestly, these cookies are your canvas. You can find more wonderful ideas for texture twists at this lovely site too!
Frequently Asked Questions About butter cookie Baking
I know you’ve got questions! When you’re aiming for that specific, melt-in-your-mouth texture, the little details matter so much. Spoon and I have collected all the common stumbling blocks over the years, so let’s clear these up before you even have to worry about them!
My butter cookie dough spread into flat circles! What went wrong?
Oh, that is the most common heartbreak when baking this kind of dough! It almost always comes down to temperature. Either your butter cookie dough wasn’t chilled long enough—remember, that 30 minutes is crucial so the butter keeps its structure—or your butter was too soft when you started creaming it with the sugar. Next time, make sure the dough is firm before piping, and let those swirls chill thoroughly!
Can I skip the chilling step entirely? I really want these cookies now!
Technically, you *could*, but I really advise against it. If you skip the chilling, you are basically telling your cookies to spread sideways in the oven instead of standing tall in their lovely piped shape. If you are in a massive hurry, you can try placing the piped sheets in the freezer for just 15 minutes—that chills the butter faster than the fridge. But for the very best, most defined butter cookie shape, the fridge time is worth it.
What is the very best butter to use for these rich cookies?
We are sticking with unsalted butter, always! But to get the *best* flavor, use a higher-fat European-style butter if you can find one. They have slightly less water content than standard American brands. Less water means a richer butter flavor permeates the cookie and helps prevent excess steam during baking, leading to a better “melt” when you eat it. It truly takes this homemade cookie to the next level.
Can I make this recipe without a piping bag?
Absolutely! You totally can skip the fancy piping and still have delicious results. If you don’t have the bag or a cookie press, just roll the dough into small, uniform balls—about an inch in diameter. Then, set them on your parchment paper and use a fork dipped lightly in flour to gently press them down into a crosshatch pattern. They won’t look exactly like the classic tin shapes, but they will taste just as decadent!
If you want more tips on handling doughs and making things shine, take a look at my guide on keeping dough balls perfectly shaped when making Cookie Dough Truffles.
Nutritional Estimates for One butter cookie Serving
It’s important to remember that these are rich, homemade delights, and baking with all that lovely butter certainly adds up! What follows is our best estimate based on the whole batch yield of about three dozen cookies. Since we are making these completely from scratch, the numbers can swing a bit depending on the exact brand of butter or sugar you use, but this should give you a good guideline.
- Serving Size: 1 cookie
- Calories: 110
- Fat: 7g
- Saturated Fat: 4.5g
- Carbohydrates: 10g
- Sugar: 6g
- Protein: 1.5g
These estimates are just a general idea for your planning, of course! If you are trying to keep track of detailed dietary needs, you might want to look over our general guidelines on our policy page to see how we approach recipe tracking.
PrintAuthentic Danish Butter Cookies That Melt In Your Mouth
You can make authentic Danish butter cookies at home that have the signature melt-in-your-mouth texture everyone loves. This easy recipe uses simple ingredients to create rich, buttery treats just like the ones from the classic tins.
- Prep Time: 20 min
- Cook Time: 12 min
- Total Time: 62 min
- Yield: About 3 dozen
- Category: Dessert
- Method: Baking
- Cuisine: Danish
- Diet: Vegetarian
Ingredients
- 1 cup (2 sticks) unsalted butter, softened
- 1/2 cup granulated sugar
- 1 large egg yolk
- 1 teaspoon vanilla extract
- 2 1/2 cups all-purpose flour
- 1/4 teaspoon salt
- 1/4 cup cornstarch
Instructions
- In a large bowl, cream together the softened butter and granulated sugar until the mixture is light and fluffy. This step builds the texture, so take your time.
- Beat in the egg yolk and vanilla extract until fully combined. Scrape down the sides of the bowl as needed.
- In a separate bowl, whisk together the flour, salt, and cornstarch.
- Gradually add the dry ingredients to the wet ingredients, mixing on low speed until just combined. Do not overmix the dough.
- Transfer the dough to a piping bag fitted with a large star tip (like a Wilton 1M). This helps achieve the classic shape.
- Pipe small swirls or rosettes onto baking sheets lined with parchment paper. Leave about 1 inch between cookies.
- Chill the piped cookies in the refrigerator for at least 30 minutes. Chilling prevents spreading and helps maintain the shape.
- Preheat your oven to 350°F (175°C).
- Bake the chilled cookies for 10 to 12 minutes, or until the edges are lightly golden brown. The centers should remain pale.
- Let the cookies cool on the baking sheet for 5 minutes before carefully transferring them to a wire rack to cool completely.
Notes
- For the best melt-in-your-mouth texture, make sure your butter is truly at room temperature, not melted.
- If you do not have a piping bag, you can press the dough into a cookie press or simply roll the dough into small balls and flatten them slightly with a fork.
- These classic butter cookies are perfect for holiday cookie tins or serving with afternoon tea.
- You can substitute 1/2 teaspoon almond extract for some of the vanilla for a different flavor profile.
Nutrition
- Serving Size: 1 cookie
- Calories: 110
- Sugar: 6
- Sodium: 35
- Fat: 7
- Saturated Fat: 4.5
- Unsaturated Fat: 2.5
- Trans Fat: 0
- Carbohydrates: 10
- Fiber: 0.2
- Protein: 1.5
- Cholesterol: 25