

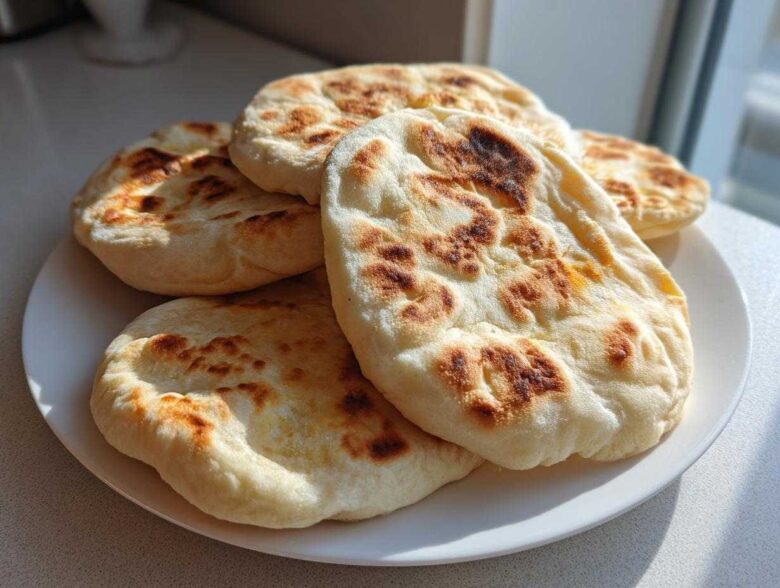
There is nothing quite like the aroma filling your kitchen when you bake bread from scratch. It’s history and comfort arriving all at once, and that’s the grounding root I always look for in my kitchen, Spoon’s corner of things. For me, making truly soft and fluffy homemade pita bread that balloons into perfect little pockets never gets old. Mei, my Sprout, loves how this easy skillet pita bread recipe keeps things quick, proving you don’t need hours of tending dough to achieve something absolutely authentic and delicious. We share more about how Spoon and Sprout work together in our kitchen over on our About Us page, but for now, let’s bake!
This simple technique ensures that every piece puffs up beautifully, ready whether you’re stuffing it for a gyro or tearing it apart for dipping. It’s a keeper, I promise you.
Why This Homemade Pita Bread Recipe is Your New Favorite Flatbread
You shouldn’t have to wait until a special trip overseas to enjoy incredible bread. This pita bread recipe is one of those comforting dishes that instantly feels like tradition, yet it whips up faster than you might think. I know Mei loves anything that gets us dinner on the table quickly, and this one delivers huge satisfaction for very little effort.
- The texture is incomparable—it’s unbelievably soft and fluffy pita bread, miles better than anything sealed in plastic.
- We use the stovetop, meaning no fussy oven preheating or complicated machinery is needed.
- It’s based on simple, time-honored methods that Spoon trusts completely. Check out more of those dependable recipes here!
Achieving the Perfect Pita Pockets Every Time
The pocket is the whole point, right? It’s not magic, it’s simple science that builds trust in your baking. When you hit that piping hot, dry skillet, the immediate burst of heat turns the moisture inside the dough into super-hot steam. That steam has nowhere to go but *POOF*! That’s what creates the famous separation and gives you beautiful pita bread that puffs perfectly every single time.
Simple Pita Bread Ingredients You Already Own
There’s no need for specialty shopping here. This is truly an easy pita bread recipe because it relies on pantry staples. Flour, yeast, salt, sugar, oil—that’s the foundation of our wonderful fluffy flatbread recipe. If you want to elevate it just a touch for that Greek influence, we always keep Greek yogurt on hand, but honestly, even without it, these turn out fantastic. It proves that tradition doesn’t need fuss.
Gathering Your Simple Pita Bread Ingredients
When Spoon is getting ready to make a batch of pita bread, he insists on setting everything out first. It’s like laying the foundation for a good, sturdy house—you need all your materials ready before you mix anything. You’ll see that the list is very short, which is exactly what makes this such a great recipe for beginners. Don’t worry about anything complicated; we are using straightforward pantry items to yield the most amazing results.
For the Soft and Fluffy Pita Bread Dough
Here is what you need gathered on the counter before we start waking up that yeast:
- 3 cups all-purpose flour
- 1 cup warm water (This is important, dear baker! It needs to be between 105–115°F. Too cold, and the yeast sleeps; too hot, and you cook it!
- 2 1/2 teaspoons active dry yeast
- 1 teaspoon sugar
- 1 teaspoon salt
- 1 tablespoon olive oil
- Optional: 2 tablespoons Greek yogurt for extra softness—this is what helps give it that wonderful, richer Greek pita bread recipe texture!
Step-by-Step Instructions for Skillet Pita Bread
Now for the really fun part! This is where the simple ingredients start talking to each other and turning into something marvelous. Remember what I always say, Sprout? Following the process closely is what grounds the recipe. We aren’t rushing this; we are building structure from the yeast up. These instructions walk you through everything needed to get that dreamy texture that makes a perfect pita bread. If you ever want to review any of our other favorite methods, our full recipe index is right here.
Activating Yeast and Mixing the Pita Bread Dough
First things first: we wake up the yeast! That warmth checks the temperature just right. Mix your warm water, sugar, and yeast together. You absolutely must let this sit for five or ten minutes. If it gets foamy—really foamy, like a little head on a beer—you know your yeast is happy and ready to work its magic. Once it’s foamy, mix that right in with your flour, salt, oil, and that optional yogurt if you’re going for ultra-softness.
Kneading and Allowing the Pita Bread to Rise
Once you have yourself a shaggy mass, get it out onto a lightly floured surface. This is a good spot to put some muscle into it! Knead that dough with intention for a solid five to seven minutes until it feels smooth under your hands—like a baby’s bottom, as Mei says. Then, tuck it into a lightly oiled bowl, cover it up tight, and let it rest in a warm spot for a full hour until it’s doubled its size. Patience builds flavor, remember that!
Preparing and Cooking the Pita Bread on the Skillet
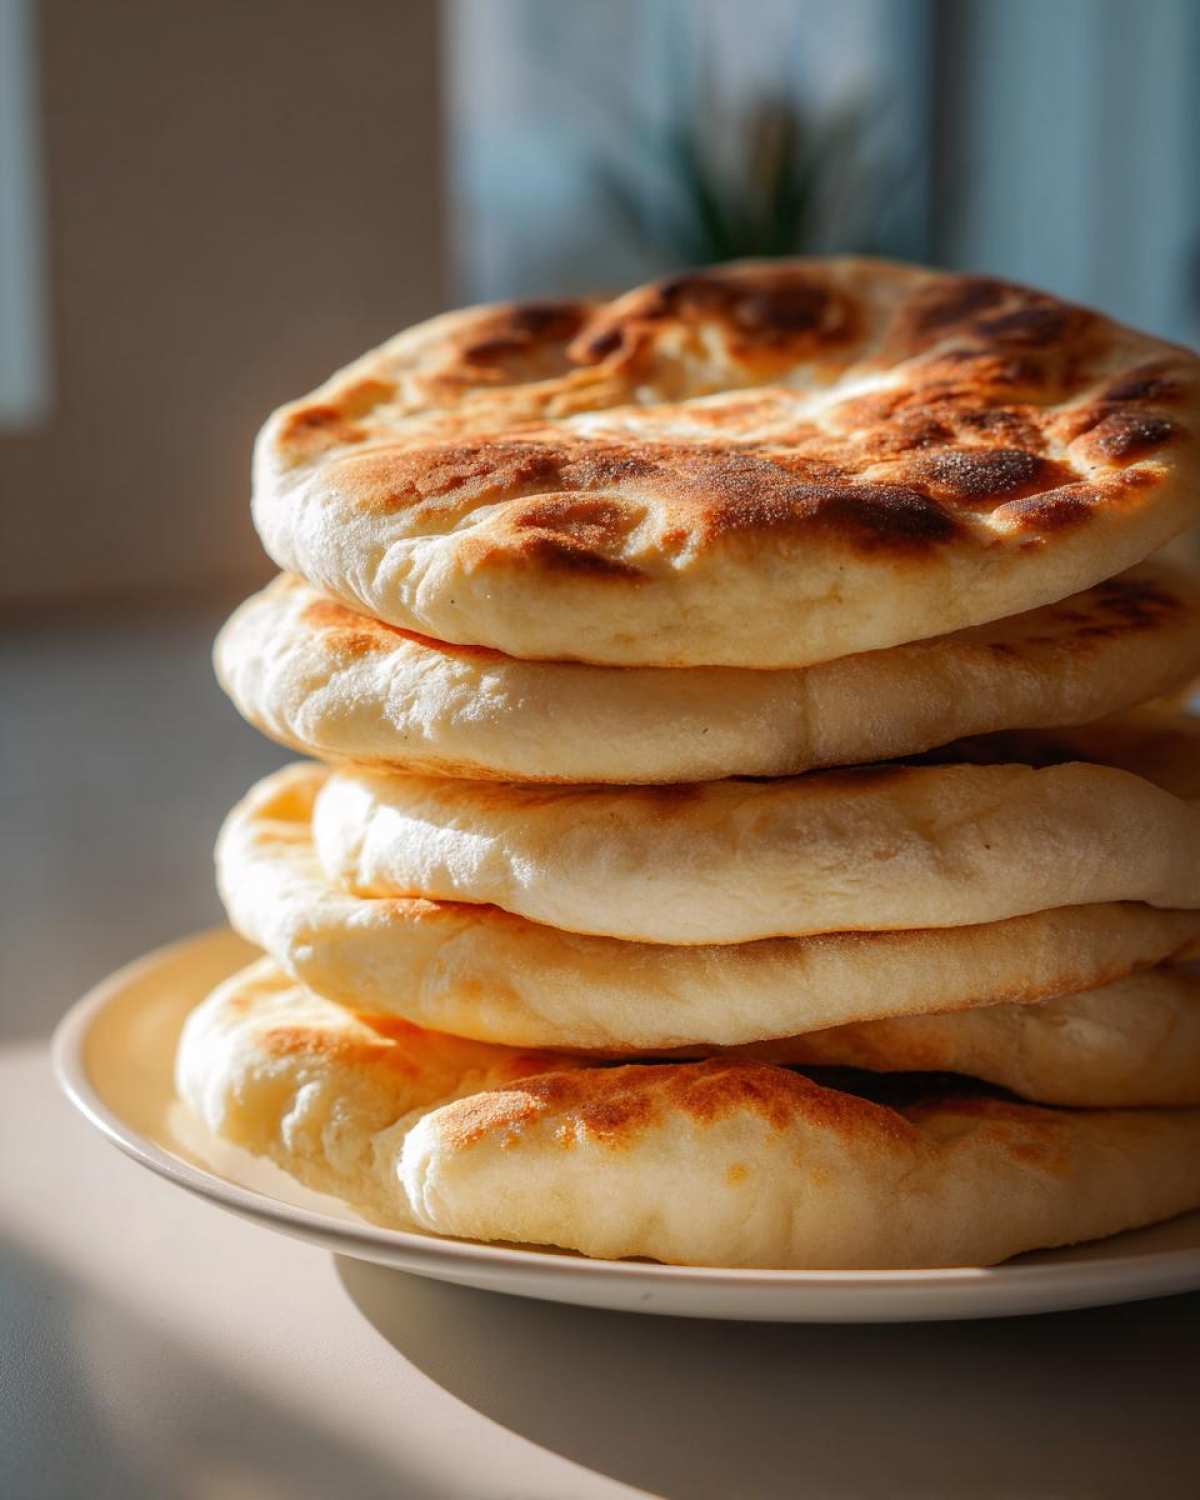
When that dough is beautifully risen, punch it down gently and divide it into eight equal balls. Let them rest for just ten minutes—this helps calm the gluten down so rolling is easier. The crucial moment comes now: get your heavy cast iron skillet screaming hot over medium-high heat. I mean hot! Do not add any oil; we need that dry, intense heat. Roll a dough ball thin—about six or seven inches across. Drop it in and watch! Bubbles will appear fast. Cook that side for maybe a minute or two, then flip. The moment you flip, the bread should start ballooning into that perfect pocket. If it struggles, take your spatula and just gently press down the flat parts to encourage the steam to push the sides apart. Keep going until all your pita bread is puffy and golden. That high heat is your most important tool here.
Expert Tips for Perfect Pita Bread Techniques
Baking good pita bread is easy, but making it *perfect* demands respect for a few small steps. This is where Spoon’s grounding wisdom comes in handy. We aren’t just following a list; we are listening to the dough and understanding what it needs at each stage. These little adjustments are the difference between a flat disc and a wonderful, airy pocket. Trust me, getting cozy with these couple of techniques will make you feel like you’ve been baking flatbreads for decades.
Maintaining High Heat for Maximum Puff
I cannot stress this enough: your skillet needs to be hot! When Mei first tried this, she worried about burning the bottom, so she kept the heat low. What happened? Flat bread. The steam needs to form instantly, which only high, dry heat from a cast iron surface can provide. If your pan isn’t smoking slightly when the dough hits it, it’s too cold. That fast temperature shock is what forces the pocket to inflate like a balloon.
Resting the Dough Balls Before Rolling
In Step 5, we divided all that lovely dough into our eight little balls. If you try right away to roll them out, the dough will fight you every second. It will spring back, and it will tear on you, leading to no pocket! Why? Because kneading built up tension in the gluten structure. That ten-minute rest—Step 6—is essential because it lets that gluten relax. When the dough is relaxed, you can roll it thin and even without creating weak spots where the steam escapes before it can puff the bread.
Making Greek Pita Bread Recipe Variations
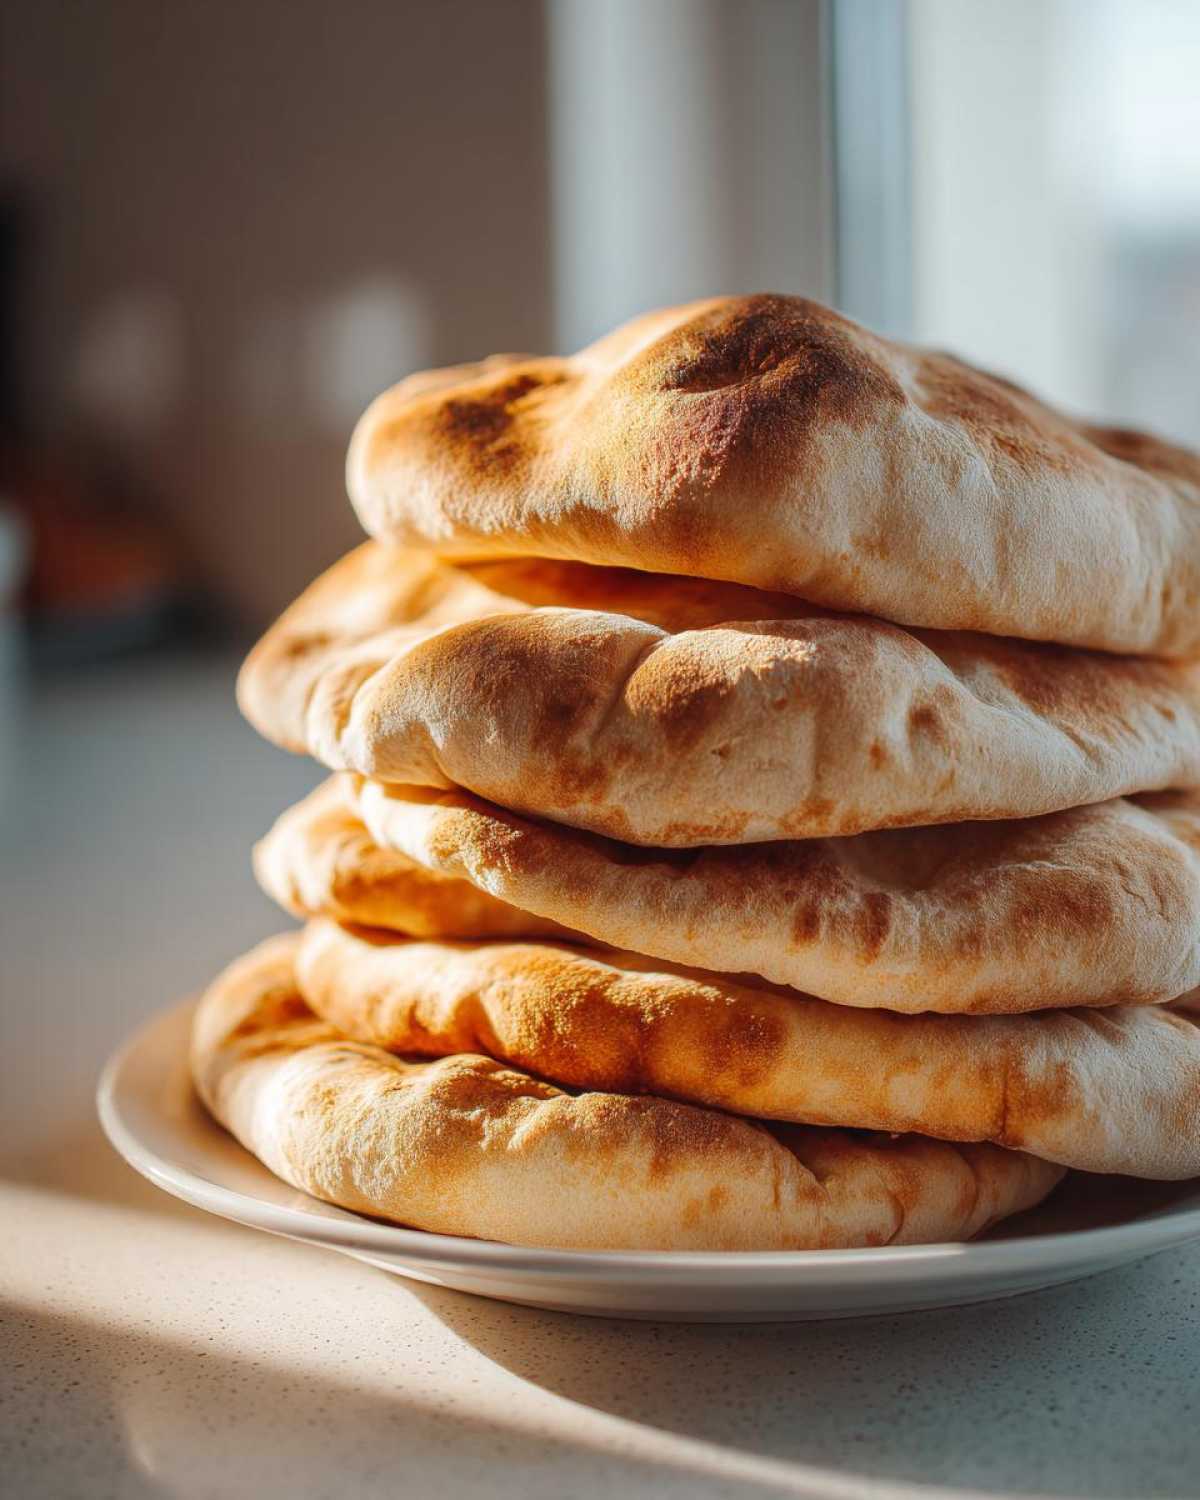
Spoon loves keeping deep roots in tradition, but I’m always looking for little ways to make things brighter, like my little garden sprouts! This pita bread recipe is so adaptable. If you want that authentic, slightly richer mouthfeel often associated with a homemade Greek pita bread recipe, look no further than that small optional ingredient: Greek yogurt. It adds a gentle acidity and extra fat, making the pita incredibly soft and luxurious when it puffs up.
If you want to move away from white flour completely, try swapping out half of your required all-purpose flour for whole wheat flour. I find if you do a 50/50 blend, the pita flavor gets earthier, but you still need that extra hydration because whole wheat soaks up water! If you need to reach out with a quick question while you are baking this, just send us a note through our Contact page; we love hearing from you!
Serving Suggestions for Your Fresh Baked Pita Bread
Now that you have these gorgeous, warm rounds of pita bread straight from the skillet, the fun really begins! This is the payoff—turning your hard work into an amazing meal. For me, Spoon, eating bread fresh is the only way, especially when it has those gorgeous pockets waiting to be filled or dipped into something rich and flavorful. Mei is already dreaming of piling hers high for a quick lunch.
Best Pita Bread for Dipping and Spreads
When they are still slightly warm, these pitas are just begging for a dip! They are sturdy enough to handle some heavy lifting, unlike those flimsy store-bought versions. Nothing beats tearing off a piece and scooping up some smooth hummus or smoky baba ghanoush. If you’re looking for a really satisfying, cheesy option, our recipe for Cheesy Spinach Artichoke Dip is fantastic because these pitas hold up beautifully to all that goodness!
Stuffing Pita Pockets for Meals
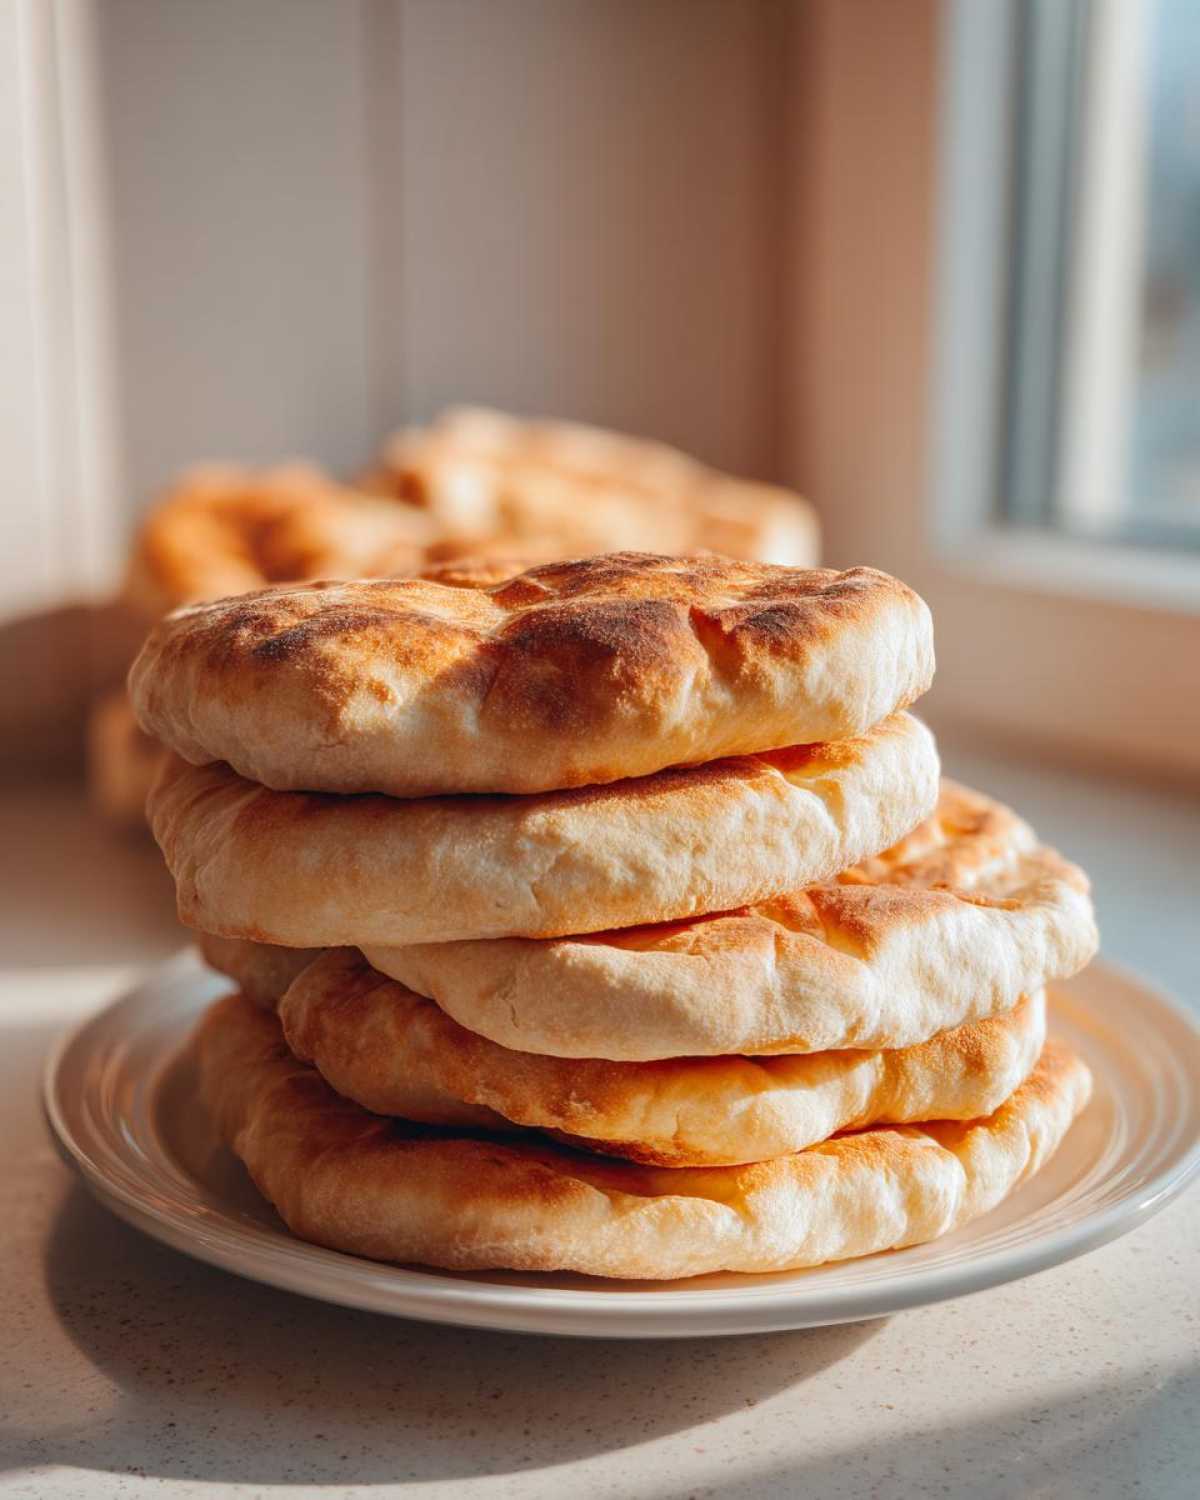
Of course, the pocket itself is the perfect delivery system for a full meal. We love stuffing these with anything savory. Think about loading them up with crispy falafel, grilled halloumi, or slow-cooked, shredded lamb. This is exactly the kind of sturdy, pita bread for gyros you need to keep all the wonderful fillings inside where they belong. They make for the easiest, most satisfying wrap you’ll ever make.
Storage and Reheating Instructions for Pita Bread
Let’s be honest, this wonderful pita bread is truly at its peak when it’s hot out of the pan—that’s when the flavor and texture sing the loudest. If you happen to have leftovers (which, honestly, Spoon rarely allows!), you’ll want to store them correctly to keep them from getting stiff. Don’t wrap them tightly right away while they are steaming, as that traps too much moisture and can make them weepy. Wait until they cool a bit, then stack them and wrap them snugly in a kitchen towel or place them in a zip-top bag.
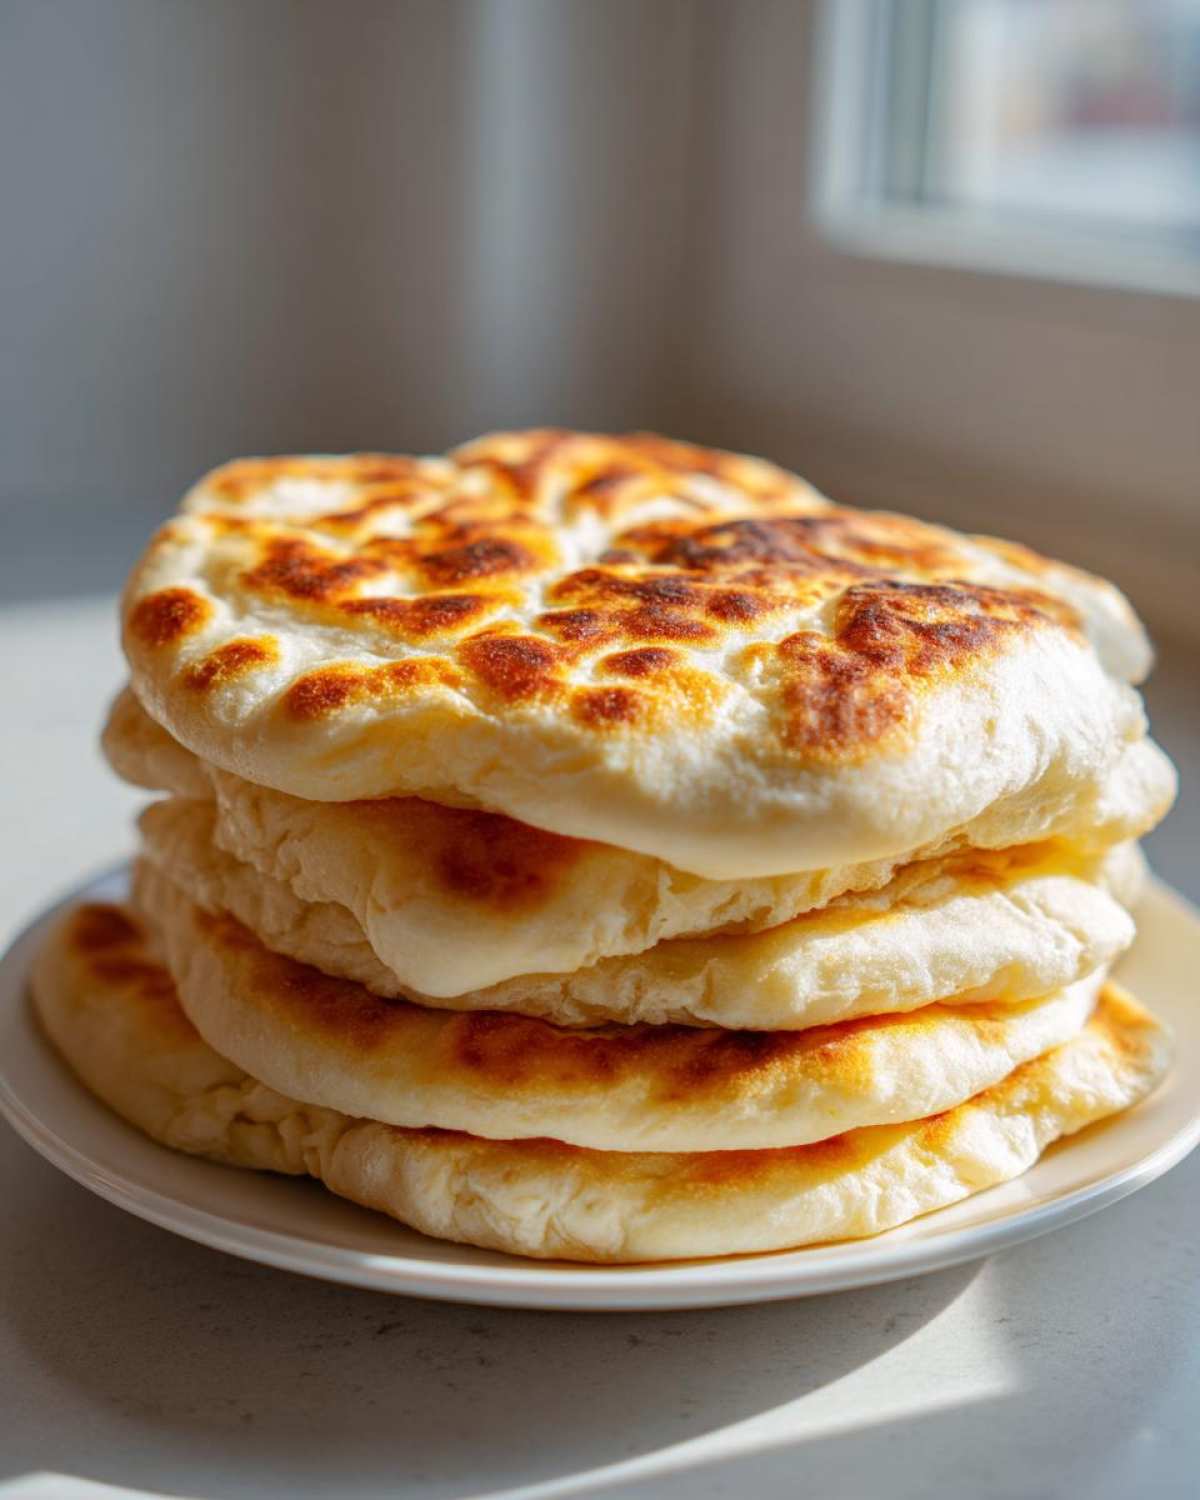
To bring them back to life and restore that lovely softness, the best way is to gently reheat them. You can briefly toss them back into that dry, hot skillet for about 20 seconds per side, or pop them in a moderately warm oven (around 300°F) for just a few minutes. Just warm enough to steam them back up; you don’t want to cook them again!
Frequently Asked Questions About Making Pita Bread
We’ve been chatting back and forth about this pita bread recipe, and usually, when folks make something this straightforward, they still run into the same little snags. That’s completely okay! Baking is a conversation with your ingredients, and sometimes you just need a little guidance from someone who’s been there before. I’ve gathered up a few things that people often ask about when they are setting out to make their own soft and fluffy pita bread for the first time. Let’s clear up any doubts so you can get that perfect puff!
Can I make this pita bread recipe without a skillet?
You certainly can try, but I have to tell you, the skillet is where the magic of the pocket truly happens. The high, direct heat of a cast iron pan shocks the dough instantly, creating that needed steam burst. If you absolutely need an alternative, you can place the rolled-out dough directly onto the very top rack of a preheated oven that’s set to 500°F (260°C). Watch them like a hawk, because the timing is much faster—sometimes just 2 or 3 minutes—and they should puff up. But trust Spoon: if you can use a dry, hot skillet, you will get the most reliable and impressive pocket in your homemade pita bread recipe.
How long does homemade pita bread stay soft?
Oh, dear one, fresh is best! These homemade pita bread rounds are heavenly warm, straight from the towel stack. Honestly, they are best eaten within a few hours of making them. Once they cool completely, they start to firm up a little bit, just like any fresh bread. But don’t throw out last night’s batch yet! You can revive them easily. Just splash a tiny bit of water on them or toss them into a hot, dry skillet for 20 seconds per side. That little burst of heat and moisture brings back almost all of their original softness.
Is this easy pita bread recipe vegan?
This is a wonderful question, and the answer is yes, most of the time! Our base recipe is wonderfully straightforward, using just flour, yeast, water, oil, salt, and sugar. That means if you simply skip the optional two tablespoons of Greek yogurt we mentioned for extra fluffiness, you have yourself a fantastic, simple, and completely vegan pita bread recipe! It’s one of the beautiful things about this easy pita bread—it honors tradition while still being very flexible for modern eating habits.
Share Your Soft and Fluffy Pita Bread Creations
Now that you’ve learned Spoon’s secrets for perfect pita bread, we truly can’t wait to see what you create! Did they puff up into glorious spheres? Are you stuffing them with savory fillings? Head over to our Terms and Conditions page if you have any questions about using the recipe, but better yet, snap a picture and share it with us! Tag us, or find us on social media to show off your beautiful, freshly baked flatbread. We read every comment! If you are feeling the Greek inspiration, don’t forget to share your results on Facebook; you can find one of our favorite recipe threads right here!
PrintSoft and Fluffy Homemade Pita Bread That Puffs Perfectly
Learn the simple technique to make incredibly soft, fluffy homemade pita bread that balloons into perfect pockets every time. This easy skillet pita bread recipe uses basic ingredients and is perfect for gyros or dipping.
- Prep Time: 20 min
- Cook Time: 15 min
- Total Time: 1 hour 35 min
- Yield: 8 servings
- Category: Bread
- Method: Skillet Cooking
- Cuisine: Mediterranean
- Diet: Vegetarian
Ingredients
- 3 cups all-purpose flour
- 1 cup warm water (about 105-115°F)
- 2 1/2 teaspoons active dry yeast
- 1 teaspoon sugar
- 1 teaspoon salt
- 1 tablespoon olive oil
- Optional: 2 tablespoons Greek yogurt for extra softness
Instructions
- Combine the warm water, sugar, and yeast in a small bowl. Let this mixture sit for 5 to 10 minutes until it becomes foamy. This shows the yeast is active.
- In a large bowl, mix the flour and salt. Add the foamy yeast mixture, olive oil, and Greek yogurt (if using). Mix everything until a shaggy dough forms.
- Turn the dough out onto a lightly floured surface. Knead the dough for 5 to 7 minutes until it becomes smooth and elastic.
- Place the dough in a lightly oiled bowl, turning it once to coat. Cover the bowl with plastic wrap or a damp cloth. Let the dough rise in a warm place for 1 hour, or until it doubles in size.
- Gently punch down the risen dough. Divide it into 8 equal pieces. Roll each piece into a smooth ball.
- Cover the dough balls and let them rest for 10 minutes. This relaxes the gluten, making rolling easier.
- Heat a heavy skillet, like cast iron, over medium-high heat until it is very hot. Do not add oil to the pan.
- Working with one ball at a time, roll it into a thin circle, about 6 to 7 inches in diameter.
- Carefully place one rolled round into the hot, dry skillet. Cook for 1 to 2 minutes until bubbles appear on the surface.
- Flip the pita bread. Cook the second side for 1 to 2 minutes. The bread should puff up completely, forming a pocket. If it does not puff immediately, gently press down on the top surface with a spatula to encourage puffing.
- Remove the puffed pita bread from the skillet and place it on a clean towel. Cover it immediately to keep it soft while you cook the remaining rounds.
- Serve your fresh baked pita bread warm for the best texture.
Notes
- The key to the pocket is high, dry heat. Make sure your skillet is hot before adding the dough.
- If you want a Greek pita bread texture, using the optional Greek yogurt adds richness and softness.
- These homemade pita pockets are best eaten the day they are made.
Nutrition
- Serving Size: 1 pita
- Calories: 180
- Sugar: 1
- Sodium: 250
- Fat: 3
- Saturated Fat: 0.5
- Unsaturated Fat: 2.5
- Trans Fat: 0
- Carbohydrates: 34
- Fiber: 2
- Protein: 6
- Cholesterol: 0