

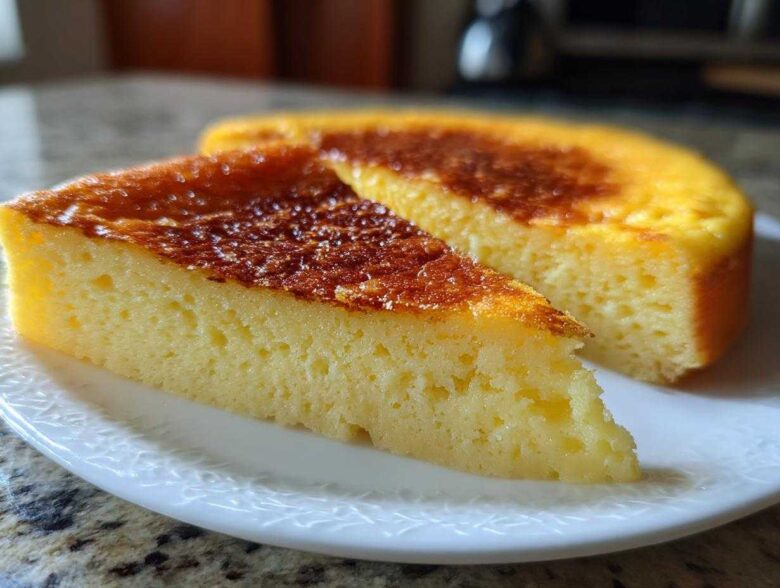
Do you ever feel like perfectly smooth, dreamy egg custard is a dessert reserved only for master chefs? I get it. That wobble—the one that’s just right, not rubbery, not soupy, and definitely not cracked—feels like chasing shadows. That’s why I had to get this right. As Spoon in our little kitchen duo, my whole purpose is guarding those timeless, comforting recipes that just taste like home. You can learn a little more about how we approach baking over at our story. So, after much testing, I’m handing you what I now call the Ultimate Fail-Proof Silky Baked Egg Custard. This classic, sweet egg bake is built on old techniques to give you that creamy texture without breaking a sweat. Trust me, after this, you’ll never fear the gentle wobble again!
Why This Fail-Proof Egg Custard Recipe Works (The Spoon & Sprout Difference)
When I (Spoon) developed this recipe, I knew it needed to honor the tradition of a truly comforting egg custard, but Sprout always reminds me that comfort shouldn’t mean fuss! The secret to making this foolproof truly lies in respecting the eggs. We aren’t making scrambled eggs here; we are coaxing them into setting beautifully soft and creamy. By combining my slow, tried-and-true methods with Sprout’s need for precision, we nailed that perfect balance. If you want to see some of the other foundational recipes we rely on, take a peek at our kitchen archives!
Achieving a Silky Smooth Dessert Texture
The first step to a silky smooth dessert is being gentle! If you whisk those eggs like you’re making meringue, you’ll whip in too much air, and that air creates bubbles that turn into porous, rough spots in your finished custard. We only want the yolks and whites just combined. Then, we pass the whole mixture through a fine sieve. Don’t skip this part! Straining catches any little bits that might cook too fast, guaranteeing that flawless, smooth texture we’re aiming for.
The Essential Water Bath Custard Method
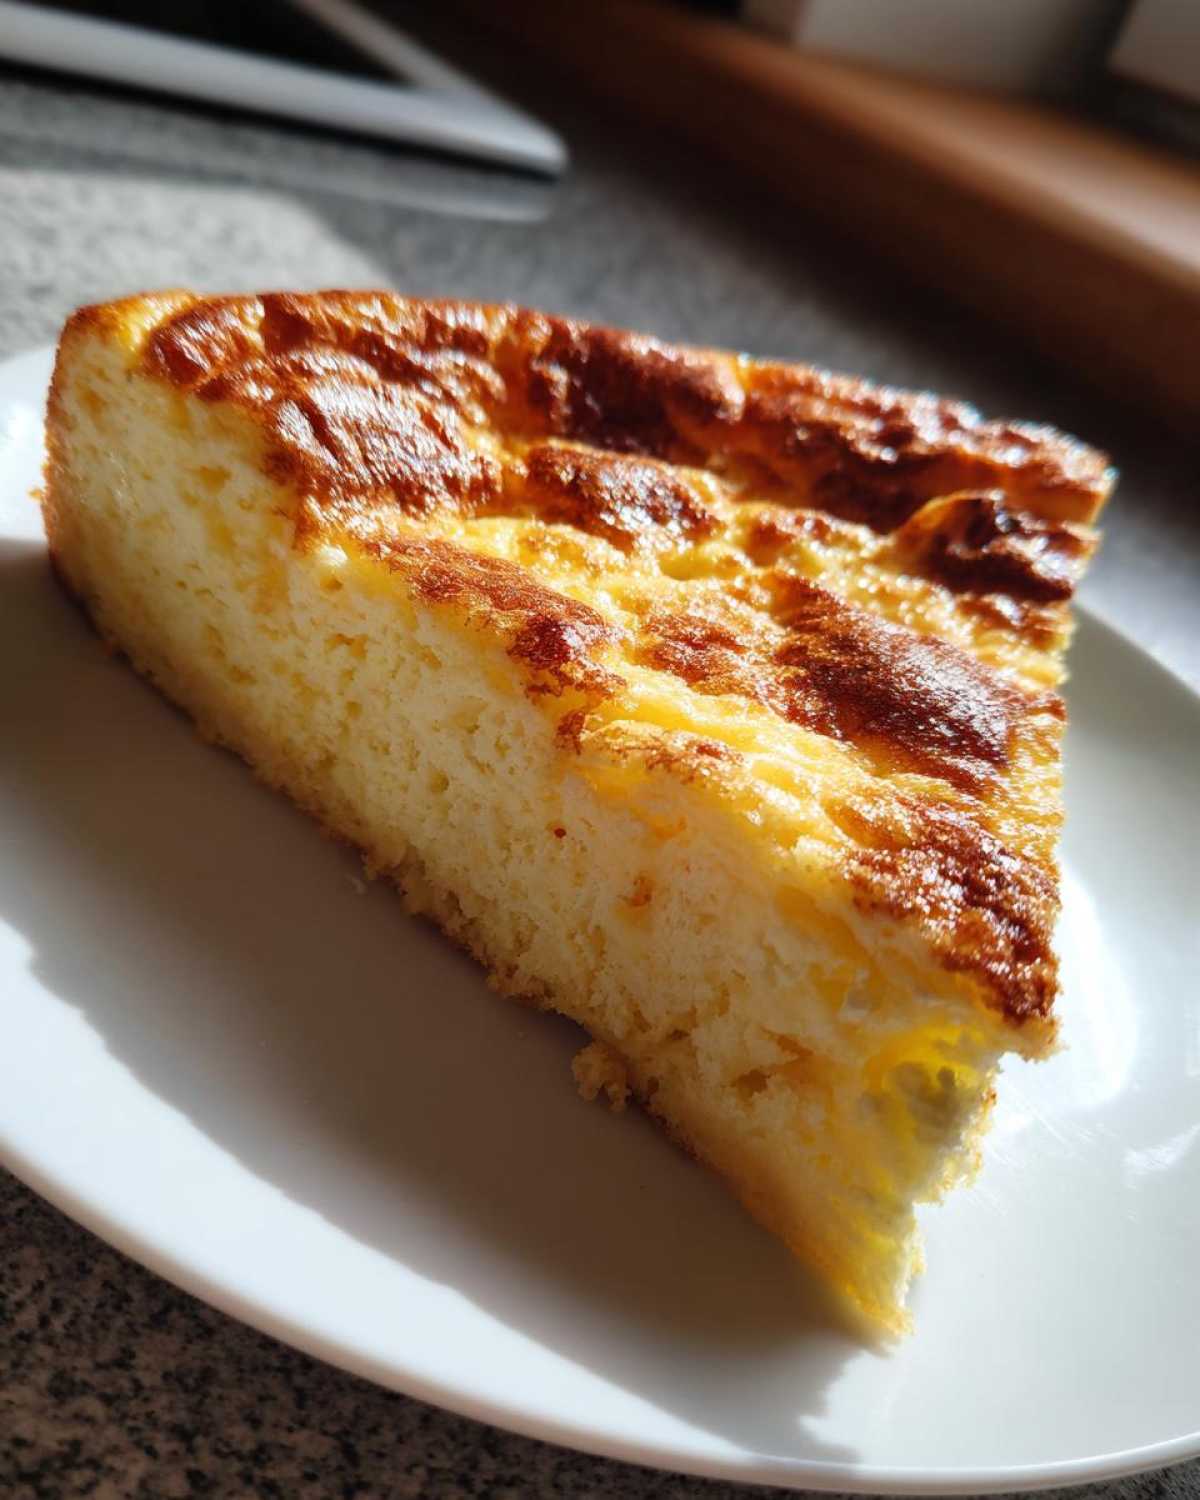
This step is the difference between a perfect creamy egg dessert and a batch of sweet scrambled disappointments. We use the water bath custard method—also called a Bain-Marie—because it wraps the custard in a gentle, steamy hug. The hot water transfers a steady, low heat to the sides of the dish. It cooks the custard slowly and evenly, stopping those outside edges from getting too hot before the center is set. That controlled heat is the only way to get that wobble we love while preventing cracks.
Gathering Ingredients for Your Classic Baked Egg Custard
When we talk about an Old Fashioned Custard Recipe, we mean keeping it honest and simple. You don’t need fancy stabilizers or artificial flavors here; the magic is in the essentials. For this Classic Baked Custard, you need four eggs—and make sure they are large ones! We balance the richness with 1/2 cup of sugar and just a pinch of salt to make the sweetness sing. And let’s talk about the milk: two cups of whole milk is the standard, but here’s a little Sprout trick: you can swap out 1/4 cup of that milk for buttermilk. It gives the final product a slightly brighter, tangier finish that I just adore!
- 4 large eggs
- 1/2 cup granulated sugar
- 1/4 teaspoon salt
- 1/4 teaspoon ground nutmeg
- 2 cups whole milk (or 1 3/4 cups milk plus 1/4 cup buttermilk for a slight tang)
- 1 teaspoon pure vanilla extract
- Optional: 1 unbaked 9-inch pie crust (if you’re going the traditional pie route!)
Step-by-Step Instructions for Perfect Egg Custard
Alright, let’s get this beautiful, simple comfort food into the oven! I always tell Sprout that baking is just following directions beautifully, and this sweet egg bake is no exception. We’re going to move step-by-step, focusing on gentle handling. If you can follow my soup instructions—seriously, even my soup requires care—you can master this custard. The key is making sure everything is ready before the milk gets hot!
Preparing the Oven and Water Bath
First things first: Get your oven warming up to 325 degrees Fahrenheit. Before you even touch the eggs, nestle your pie dish or ramekins inside a larger, deep baking pan. That larger pan is where your water bath water will go, and having everything set up beforehand means you won’t be scrambling to do it later when your milk is too hot.
Tempering the Eggs for a Creamy Egg Dessert
This is where we earn that creamy egg dessert texture, so pay close attention! Whisk your eggs softly with the sugar until just barely combined—remember, no bubbles! Now, gently warm your milk on the stove until you see steam and tiny bubbles around the edges; don’t let it boil. While whisking the eggs non-stop, pour that warm milk in a super slow, thin stream. This is tempering, and it teaches the eggs to accept the heat without curdling on you. It’s an easy technique once you take your time!
Baking and Testing the Old Fashioned Custard Recipe
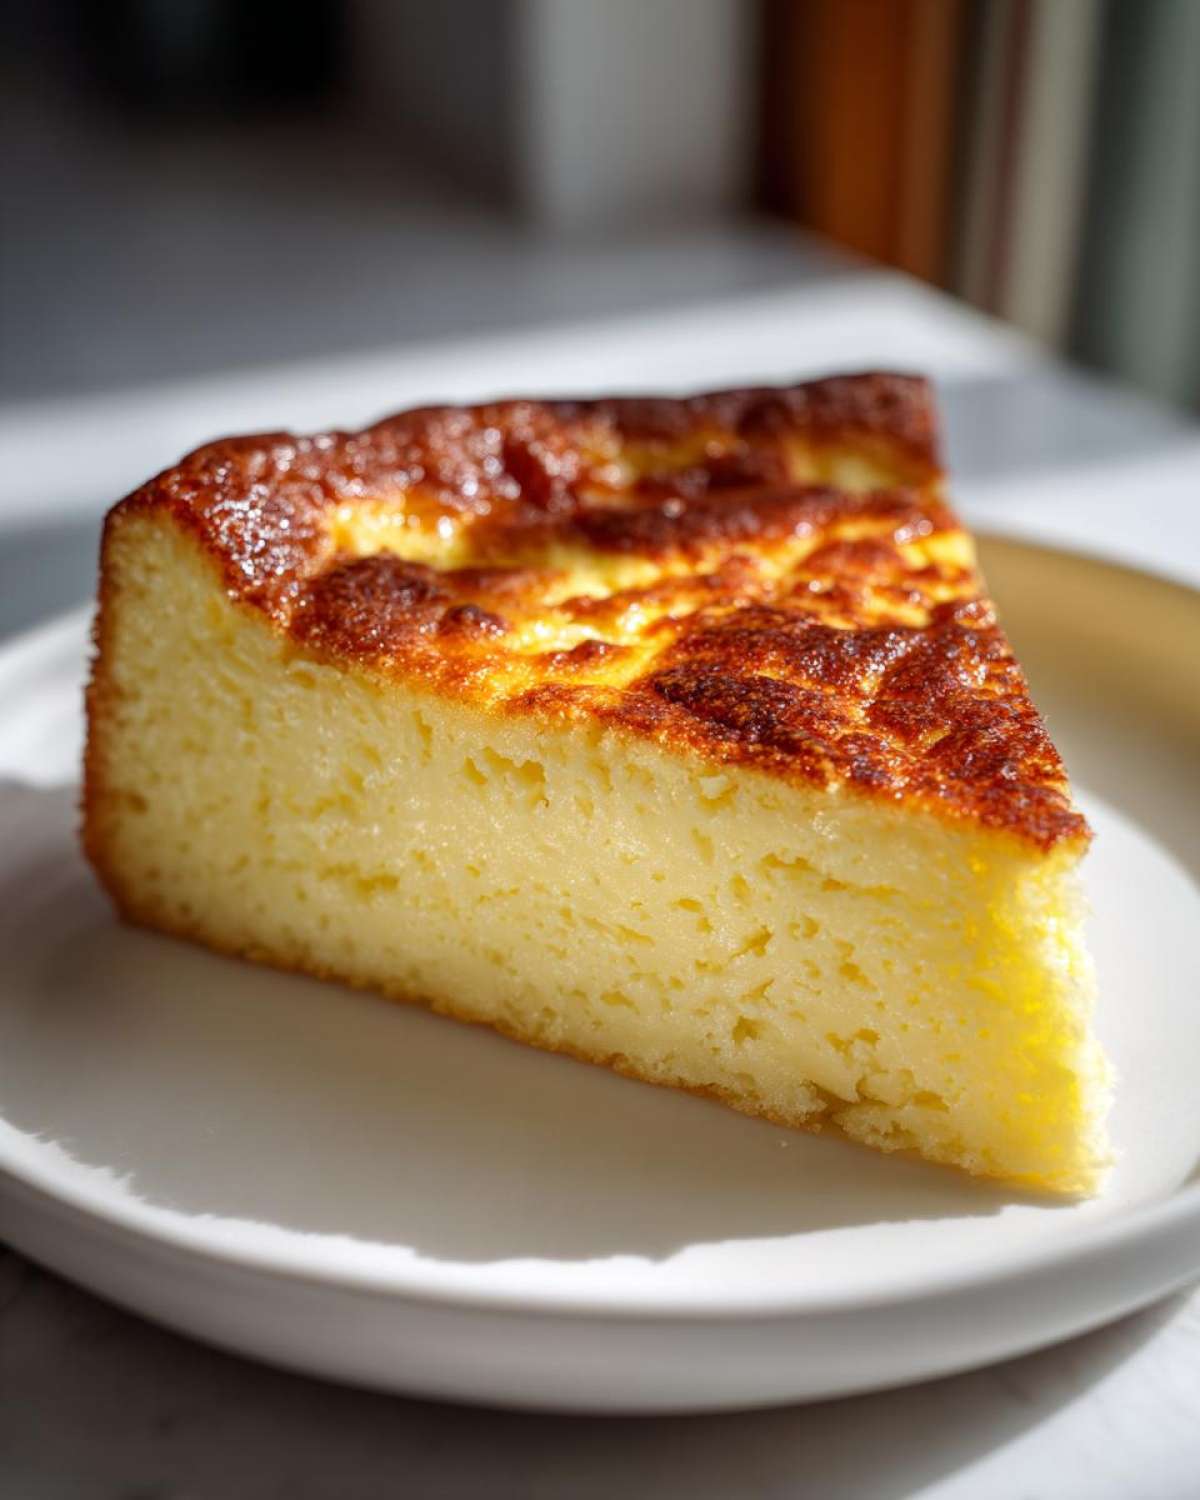
Once you’ve strained that lovely mixture, pour it into your pie dish, add the hot water to the surrounding pan (making sure it’s halfway up the sides!), and slide it into the oven. It bakes for about 45 to 55 minutes if you’re using a full pie dish. You’re looking for that magic spot: the edges should look solid, but if you nudge the dish, the very center should still have a slight, beautiful jiggle. As soon as you see that, pull it out immediately. You don’t want it to keep cooking outside the oven. If you’re ever unsure about baking times, honestly, my crumb bar recipe taught me to check often!
Tips for the Best Old Fashioned Custard Recipe Results
Now that you have the basic steps down for this egg custard, let’s talk about taking it from great to truly memorable—the kind of experience my family expects from me, Spoon! We want that authentic, deep flavor profile of an Old Fashioned Custard Recipe. The nutmeg, for instance, seems like just a sprinkle, right? But if you’re using stale ground nutmeg, you lose that bright, earthy warmth that anchors the whole dessert. Always freshly grate or buy fresh spices if you can; the difference is noticeable, I promise.
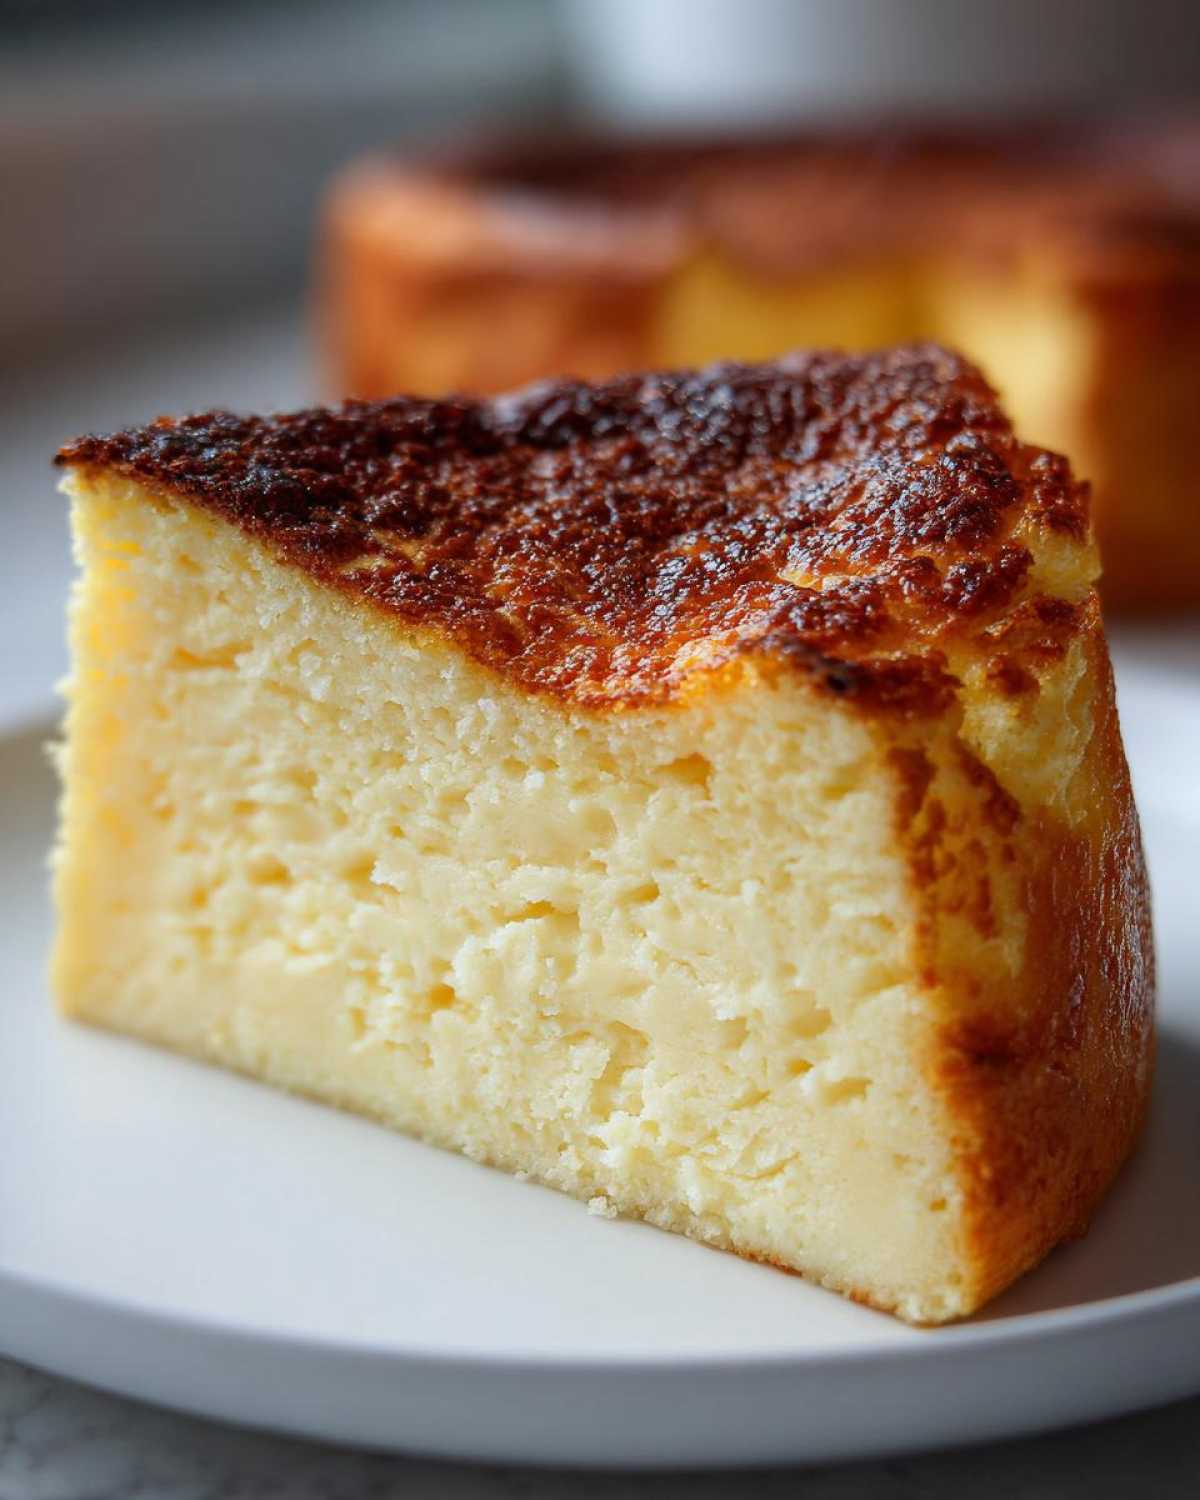
If you want to lean into that deep comfort food flavor even more, try replacing half of the whole milk with heavy cream. It takes the creaminess up a huge notch, making it rich and decadent. I know Sprout likes balancing richness, much like she does when making our sticky buns, but for this custard, leaning into the fat content pays off beautifully in texture. Also, remember that time is your friend here. This make ahead dessert gets better after chilling; the flavors meld overnight, deepening that sweet, egg-rich taste.
Variations: Crustless Buttermilk Custard or Pie Filling
One of the best things about a good, traditional egg custard recipe is how adaptable it is. It’s simple comfort food, and simple things should work wherever you need them! If you’re watching your pastry intake, or maybe you just need a quick breakfast treat, you can skip the pie crust entirely. That results in a wonderful Crustless Buttermilk Custard that bakes up beautifully in ramekins or even a small casserole dish. Just grease your dish well, pour in the strained mixture, and follow the water bath instructions; the bake time might be a little shorter, so keep an eye on it!
Conversely, if you’re making this for a holiday dessert, definitely use that optional 9-inch pie crust for a stunning presentation. Whether you use the buttermilk addition or stick to all whole milk, this recipe provides the perfect traditional pie filling consistency. It just proves that the base technique is so solid, it shines through no matter how you serve it!
Storage and Make Ahead Dessert Guidance for Egg Custard
This is one of my favorite things about this sweet egg bake—it’s the ultimate Make Ahead Dessert! You absolutely must let your baked egg custard chill for at least four hours. Chilling is crucial for setting that amazing, silky smooth dessert texture completely. Honestly, I find the flavor deepens overnight, becoming richer and more perfectly balanced. You can keep it covered tightly in the fridge for up to three days. Don’t worry about the nutmeg losing its punch; it stays fantastic. If you’re looking for other grab-and-go sweets, you might enjoy how I handle my no-bake treats!
Answering Your Questions About This Foolproof Custard Technique
Whenever I put out a recipe I swear by, I always brace for questions, because I know what it’s like to stress about a good egg custard. That jiggly center can be intimidating, but I promise this foolproof custard technique handles all the hard parts for you. We use simple ingredients, and the method does all the heavy lifting!
Can I skip straining the egg custard mixture?
Oh, absolutely not! If you skipped this step, it wouldn’t be foolproof anymore. Straining is essential, trust me. It’s what gives you that true, silky smooth dessert texture. It whisks away any tiny little bits of egg white that might have clumped up, and it breaks those micro-bubbles that would otherwise turn into pits in your beautiful, firm egg custard. If you want it smooth, you must strain it!
What if my egg custard cracks on top?
First off, don’t panic! Even though this is our fail-proof recipe, sometimes the oven gods are just grumpy. Cracking almost always means one thing: the temperature was too aggressive, or maybe your water bath didn’t get hot enough before you put it in the oven. The water helps regulate things, you see. But here’s the good news: if the edges are set, the inside is usually still perfectly creamy, even if the top looks rough. Just cover it up and chill it before serving!
Is this a good beginner dessert recipe?
Yes, it really is! While it uses one special step—the water bath—that single technique elevates this from a tricky bake to a dependable Beginner Dessert Recipe. The instructions are very clear on tempering and slow cooking, which are the hard parts. Once you master this basic Classic Baked Custard, you can tackle anything else that comes your way. You’ve got this!
Estimated Nutritional Data for this Sweet Egg Bake
Now, I know Sprout is always focused on the freshness from the garden, but when we make a truly old-fashioned comfort bake like this creamy smooth egg custard, we also look at the numbers. Remember, since we’re using whole milk and eggs, this is a rich treat! The figures below are just estimates based on the standard recipe with whole milk, but it gives you a good idea of what you’re enjoying. Everything tastes better when you know the story, right?
- Serving Size: 1/8th of pie
- Calories: 210
- Sugar: 18g
- Fat: 9g
- Protein: 9g
Please know these are just approximations, folks. If you swap in low-fat milk or use a crustless option, those values will certainly change!
Share Your Silky Smooth Egg Custard Success
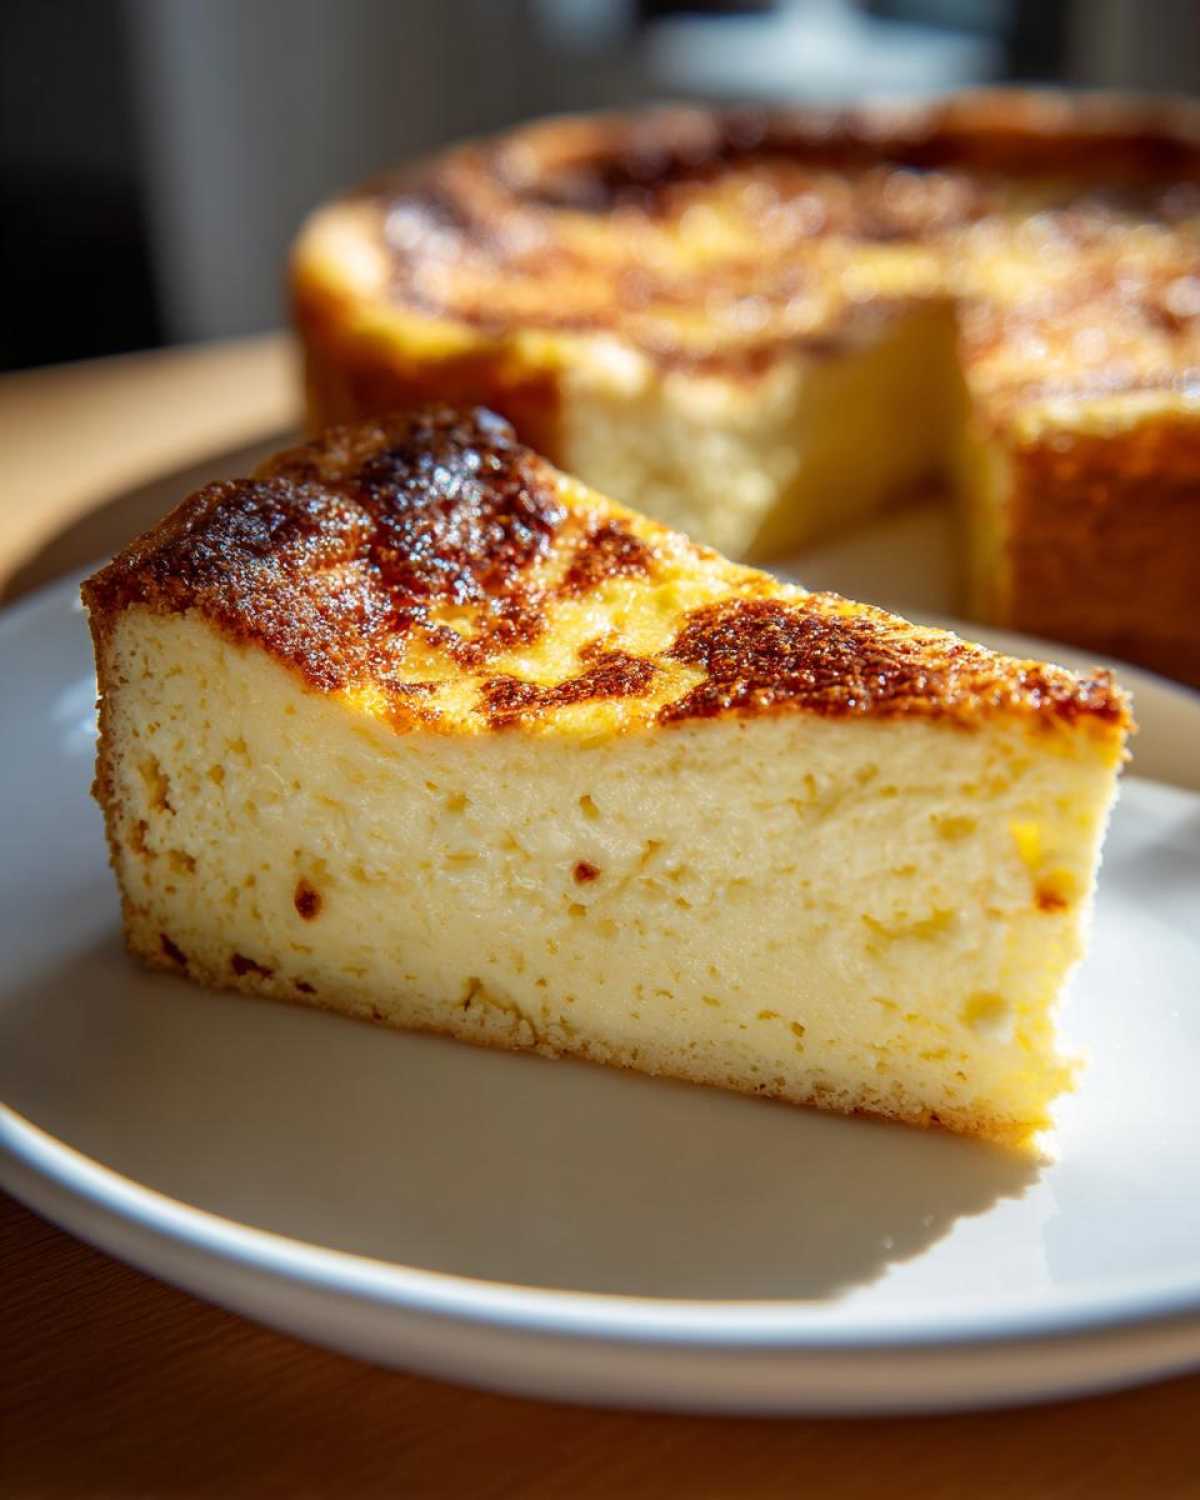
Seeing that perfectly set, jiggly top on your finished egg custard is the best part of the whole process, I swear! That’s the payoff for all our gentle whisking and careful water baths. This simple comfort food tasting exactly like it should—creamy, slightly sweet, and nostalgic—is what makes all the years of testing worthwhile.
Now that you’ve mastered this foolproof custard technique, I really want to hear about it! Did you stick to the old-fashioned nutmeg flavor, or did you try adding that touch of buttermilk? Did you serve yours warm, or did you give it the full four hours to chill until it was that perfect, silky smooth dessert consistency?
Please, drop a rating below letting us know how well this recipe worked for you. And if you took a picture of your wobble, I’d love to see it! You can always reach out to us directly through our contact page if you have any last-minute questions as you clean up your ramekins. Happy baking, friends!
PrintThe Ultimate Fail-Proof Silky Baked Egg Custard (Classic & Crustless Option)

This is the foolproof recipe you need for a creamy, silky smooth, old-fashioned egg custard. We share the essential water bath technique to guarantee a perfect, crack-free dessert every time. This recipe works beautifully as a crustless custard or as a traditional pie filling.
- Prep Time: 15 min
- Cook Time: 50 min
- Total Time: 1 hour 5 min
- Yield: 8 servings
- Category: Dessert
- Method: Baking (Water Bath)
- Cuisine: American
- Diet: Vegetarian
Ingredients
- 4 large eggs
- 1/2 cup granulated sugar
- 1/4 teaspoon salt
- 1/4 teaspoon ground nutmeg
- 2 cups whole milk (or 1 3/4 cups milk plus 1/4 cup buttermilk for a slight tang)
- 1 teaspoon pure vanilla extract
- Optional: 1 unbaked 9-inch pie crust (for traditional pie)
Instructions
- Preheat your oven to 325 degrees Fahrenheit (160 degrees Celsius). Prepare a 9-inch pie dish or individual ramekins. If using a pie crust, gently press it into the dish.
- Prepare the water bath (Bain-Marie): Place your pie dish or ramekins inside a larger, deep baking pan. This step is crucial for a fail-proof, silky smooth egg custard.
- In a large bowl, gently whisk the eggs just until the yolks and whites are combined. Avoid incorporating too much air, as this causes bubbling.
- Whisk in the sugar, salt, and nutmeg until the sugar mostly dissolves.
- In a separate saucepan, gently warm the milk (and buttermilk, if using) over medium heat until small bubbles form around the edges. Do not boil. Remove from heat and stir in the vanilla extract.
- Slowly temper the eggs: While whisking the egg mixture constantly, gradually pour the warm milk mixture into the eggs in a slow, steady stream. This gentle process prevents the eggs from scrambling.
- Strain the custard mixture through a fine-mesh sieve into a clean bowl or measuring cup. This removes any chalazae or small bits of cooked egg, ensuring a silky texture.
- Pour the strained mixture carefully into the prepared pie dish or ramekins.
- Pour hot water into the larger baking pan until the water reaches halfway up the sides of the custard dishes. This water bath insulates the custard and keeps the temperature even.
- Carefully transfer the baking pan to the preheated oven. Bake for 45 to 55 minutes for a pie, or 35 to 45 minutes for ramekins. The custard is done when the edges are set but the center still jiggles slightly when gently nudged.
- Remove the custard dishes from the water bath immediately. Let them cool completely on a wire rack before chilling in the refrigerator for at least 4 hours, or until fully set.
Notes
- For the silkiest texture, do not skip straining the mixture. This is a key step for a foolproof result.
- If you see small bubbles forming on the surface during baking, reduce the oven temperature slightly or add more hot water to the water bath.
- This creamy egg dessert is excellent made ahead of time; it tastes even better the next day.
- If you want a slightly richer, old-fashioned flavor, substitute 1/2 cup of the whole milk with heavy cream.
Nutrition
- Serving Size: 1/8th of pie
- Calories: 210
- Sugar: 18g
- Sodium: 150mg
- Fat: 9g
- Saturated Fat: 5g
- Unsaturated Fat: 4g
- Trans Fat: 0.2g
- Carbohydrates: 19g
- Fiber: 0g
- Protein: 9g
- Cholesterol: 110mg