

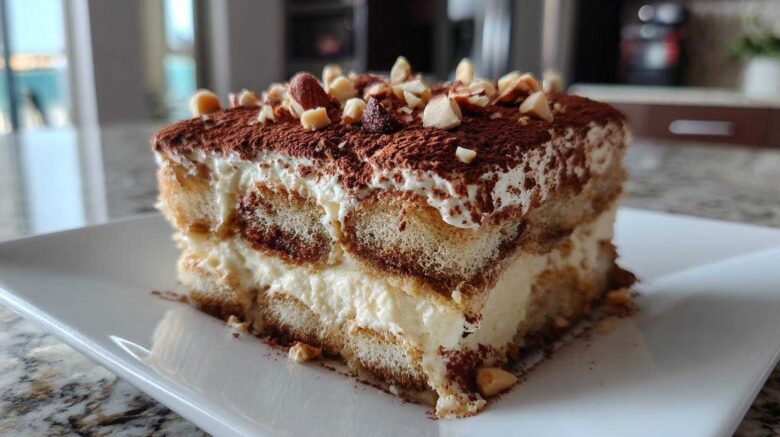
The Ultimate Hazelnut Espresso Tiramisu with Coffee Recipe
Oh, friends, are you ready for pure, unadulterated indulgence? I mean truly decadent. This Hazelnut Espresso Tiramisu with Coffee recipe is our family’s secret weapon.
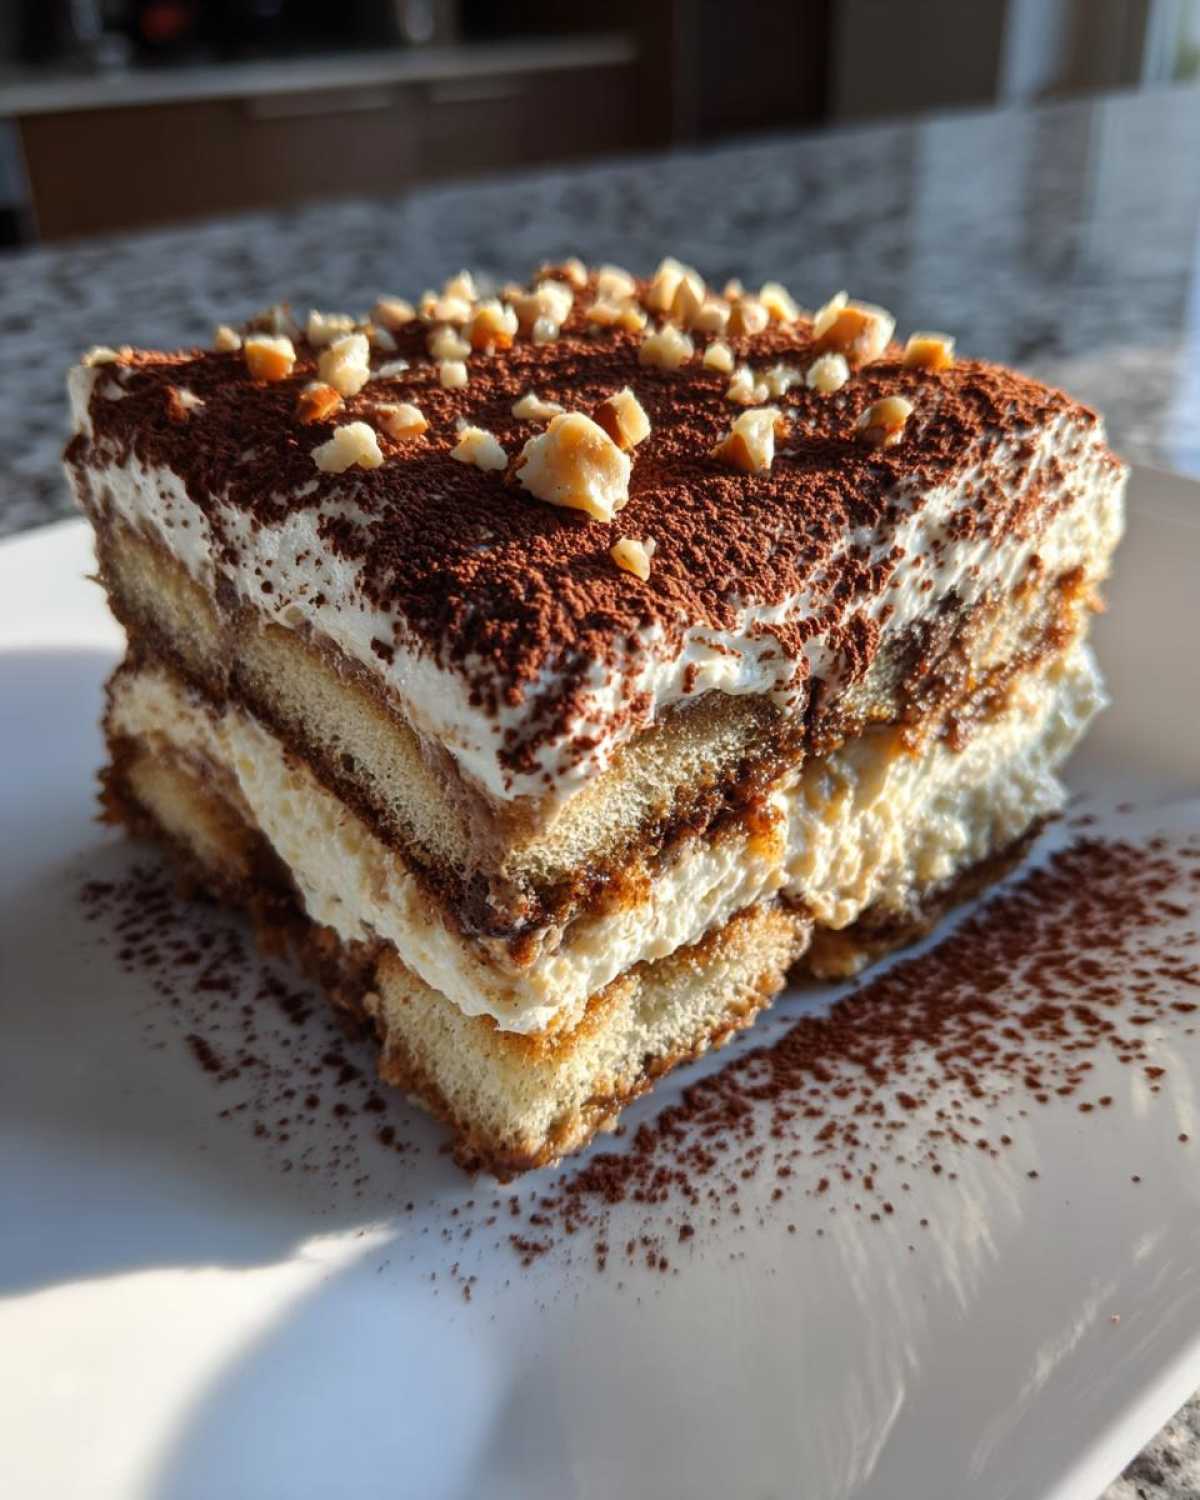
It takes that beloved, rich Italian classic. Then we give it a nutty, warm hug. That’s the Sprout in me loving the new flavor. Spoon keeps the technique honest.
We’ve spent decades perfecting comfort food. This dessert grounds tradition in pure, creamy satisfaction. You’ll taste the love in every spoonful.
It’s no-bake magic, truly. Forget the oven. Just layers of bliss await you.
Essential Components for Your Hazelnut Espresso Tiramisu with Coffee
Gathering supplies is half the fun, isn’t it? For this creamy dessert, ingredient quality really shines through. Think of these items as the building blocks.
We need components that deliver deep coffee notes. We also need that luxurious, rich texture. Don’t skimp here. It truly pays off.
Let’s look at exactly what you need for success.
Cream Base Ingredients for Hazelnut Espresso Tiramisu with Coffee
- Mascarpone cheese: Get 500 grams of the best quality.
- Eggs, separated: Use 4 large ones. Keep yolks and whites apart.
- Granulated sugar: We need 100 grams for sweetness.
Dipping Liquid and Structure Ingredients
- Strong brewed espresso: 250 milliliters, cooled completely. This must be strong!
- Hazelnut liqueur: 60 milliliters if you want that extra kick.
- Ladyfingers: About 200 grams are needed for layering.
- Cocoa powder: Unsweetened for dusting the top layer.
- Ground hazelnuts: 50 grams for a final, crunchy garnish.
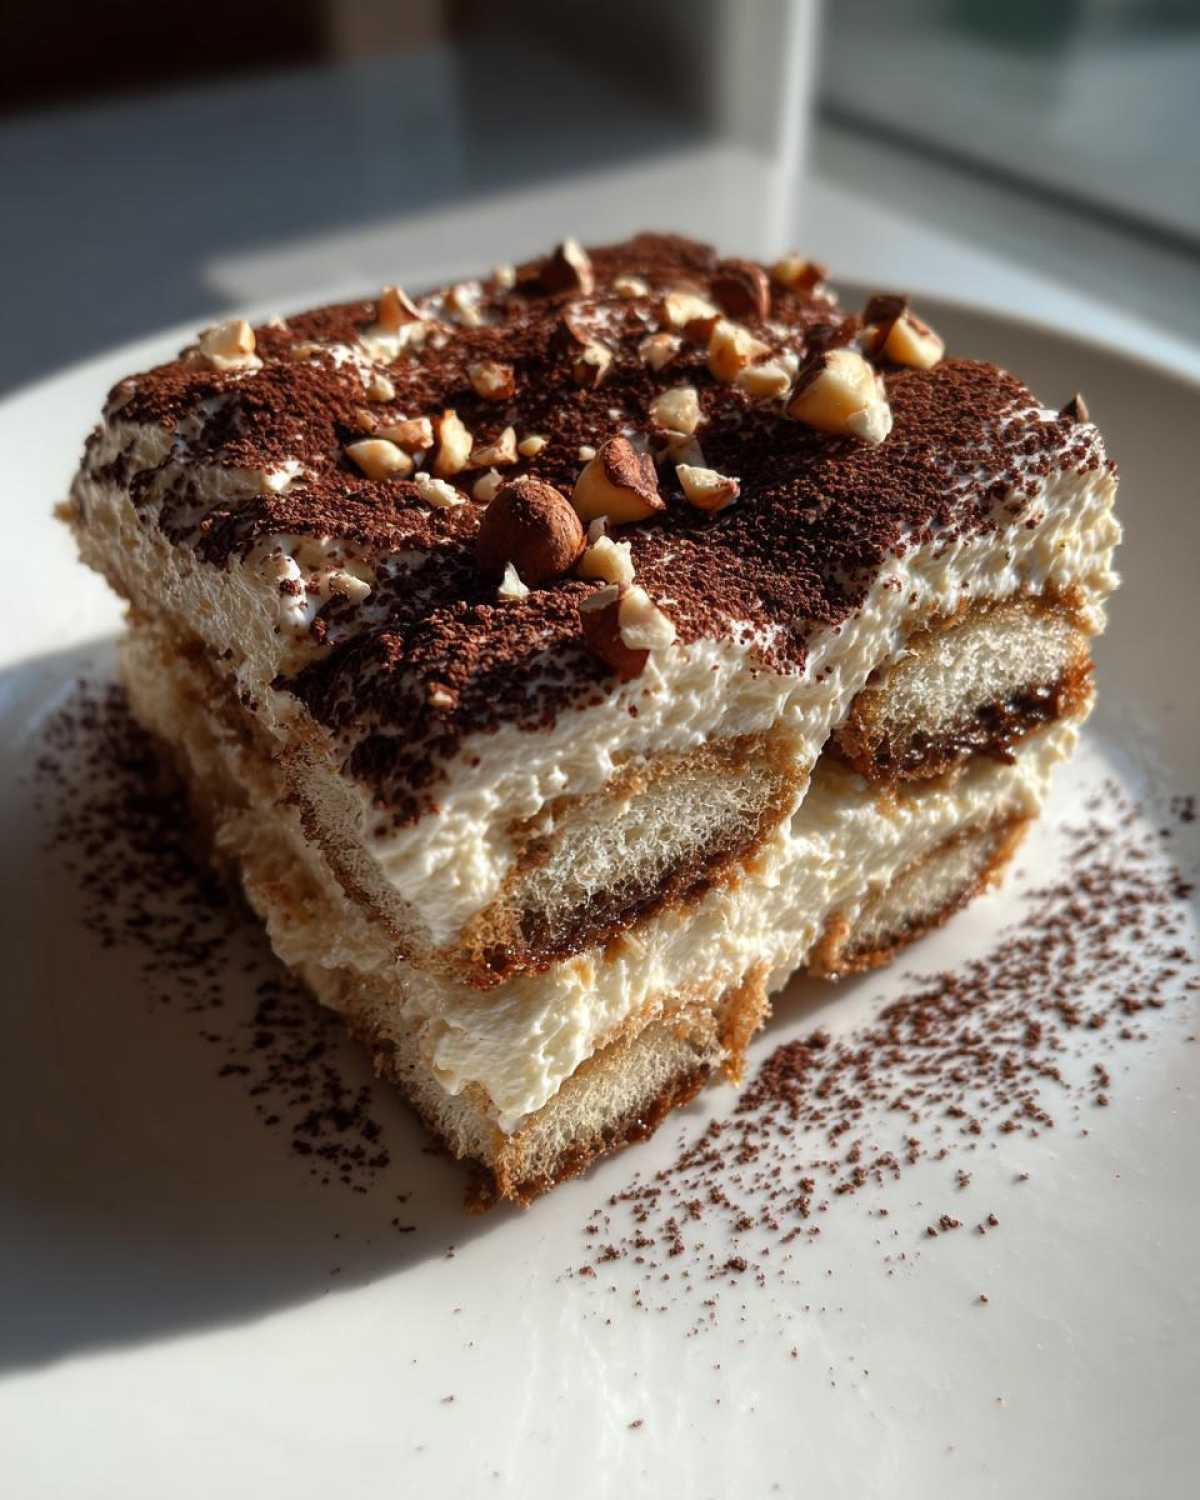
Preparing the Mascarpone Cream Base
Now we get to the heart of this dessert. Creating that cloud-like mascarpone cream takes a little finesse. I learned long ago that rushing this step ruins the whole texture. We want airiness, not density.
This technique is where the Spoon’s patience really shines. We are building volume slowly. This volume supports the rich coffee flavor later on.
Whipping Yolks and Whites for Lightness
First, grab those yolks and sugar. Whisk them together until they look pale yellow. They should be thick, almost ribbon-like when you lift the whisk. This takes a few minutes of steady work.
Next, tackle the egg whites. Beat them separately until you reach stiff peaks. Stiff peaks mean the mixture holds its shape perfectly. Think of firm mountain tops, not soft hills.
Combining Elements for the Hazelnut Espresso Tiramisu with Coffee Cream
This next part is crucial for a light bite. Gently fold the stiff egg whites into the rich yolk mixture. Use a large spatula. Cut down the middle. Scoop up the side. Turn the bowl slightly. Repeat this motion.
Once those are combined, fold in your mascarpone cheese. Stop mixing as soon as it’s just blended. Overmixing makes the cream weep later. We are aiming for perfection here.
Assembling Your Hazelnut Espresso Tiramisu with Coffee
Time to bring all those beautiful components together! Assembly is where the fun really starts. Remember, this is a no-bake dessert. Success hinges on dipping technique.
We are building layers of flavor and texture here. Think of it like laying down the foundation for a delicious memory. It needs to be precise yet quick.
Preparing the Dipping Bath
Pour your cooled espresso into a shallow dish. It must be cool, trust me. Hot liquid melts the cream later.
Stir in the optional hazelnut liqueur now. That little bit of booze really deepens the flavor profile. If you skipped it, just use plain cooled espresso.
Layering the Hazelnut Espresso Tiramisu with Coffee
Grab your ladyfingers one by one. Dip them quickly into the coffee bath. We are talking a one-second dunk, tops. They absorb fast!
If they get too wet, your tiramisu will turn soupy. That’s a culinary tragedy, friend.
Arrange a single layer of these dipped fingers in your 8×8 dish. They should fit snugly together.
Next, spread half of that airy mascarpone cream over the ladyfingers. Smooth it gently with an offset spatula.
Repeat the process: another layer of quickly dipped ladyfingers goes on top. Then, use the remaining cream. Make sure the top layer is smooth and even. This will be the surface you garnish later.
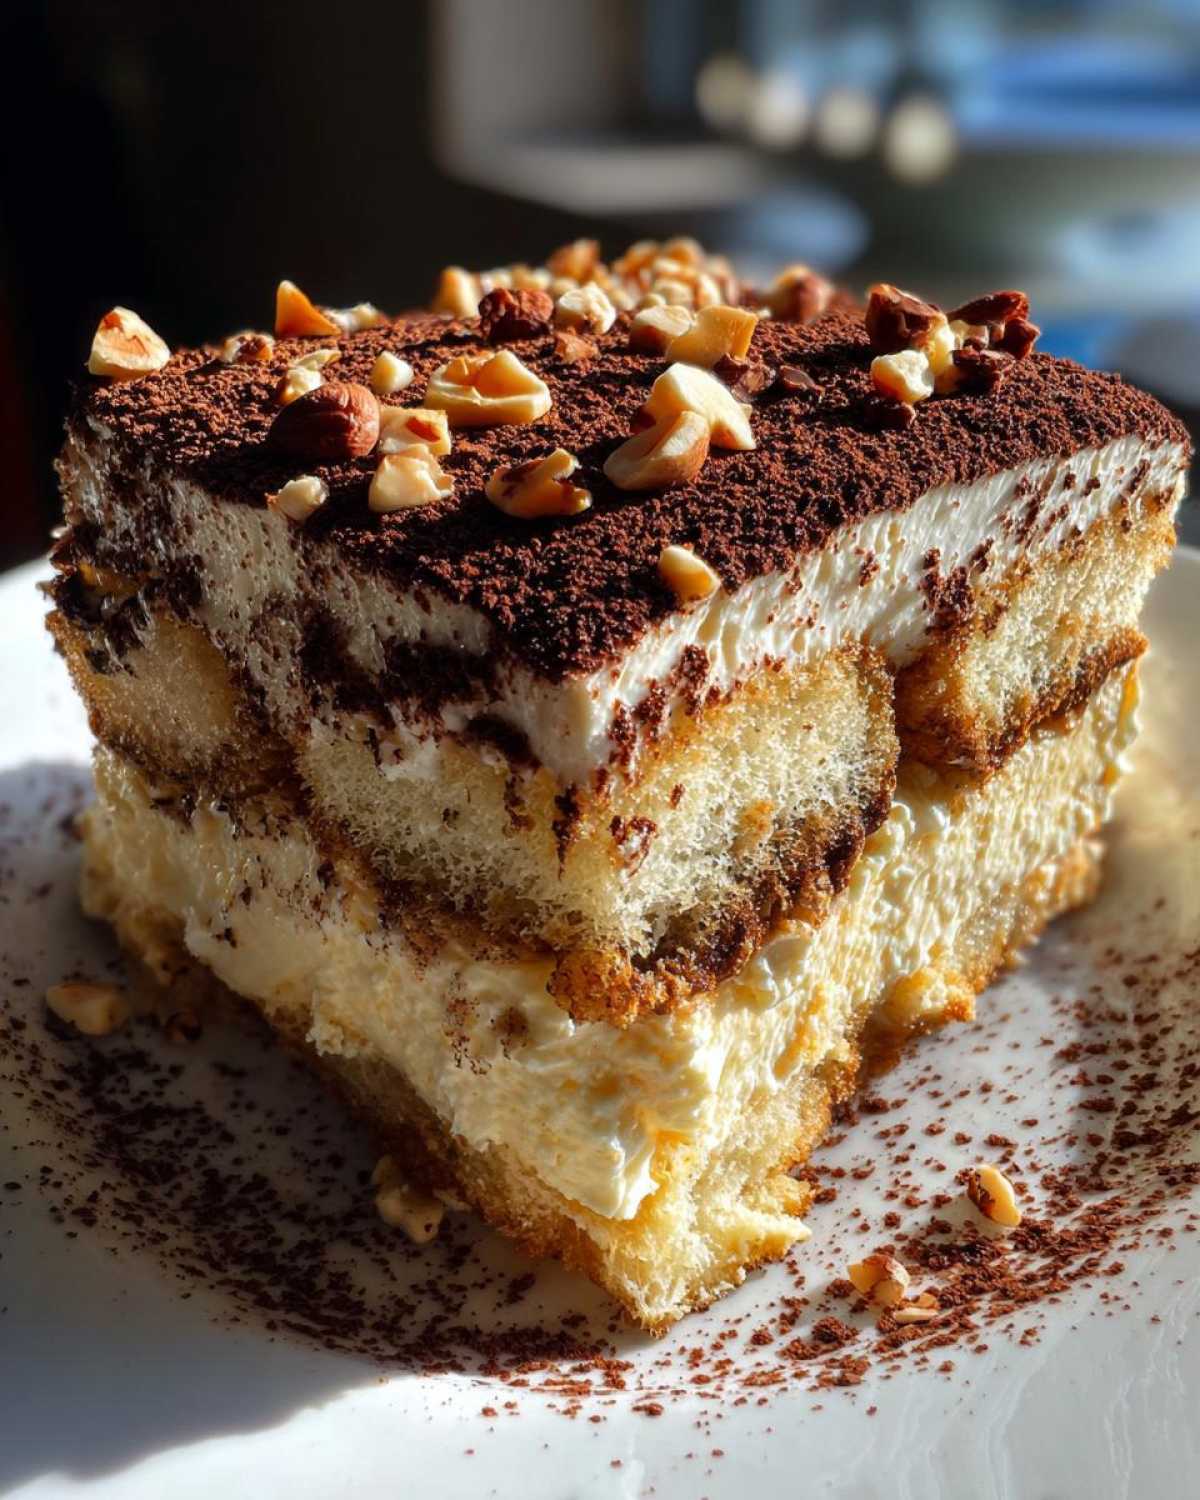
Why This Hazelnut Espresso Tiramisu with Coffee Recipe Works
This recipe offers something special, truly. It’s rich, yes, but it feels surprisingly light. Why does it always impress my family?
- The flavor profile hits all the right notes. Deep coffee meets sweet hazelnut heaven.
- It requires zero oven time. Perfect for warm evenings or busy days.
- The texture remains perfectly creamy, not dense or heavy at all.
- It’s a fantastic way to use up strong leftover espresso.
Quick Flavor Tips from Spoon & Sprout
We always tweak things slightly based on what we have. Here are a couple of quick pointers.
If you decide to skip the hazelnut liqueur entirely, don’t worry. Just add one teaspoon of hazelnut extract to the mascarpone mixture. It keeps that nutty depth.
Remember how gentle you must be folding the whites? That step keeps the final product airy. That lightness is the secret ingredient.
Crucial Setting Time for Hazelnut Espresso Tiramisu with Coffee
Now, here comes the hardest part for us impatient bakers: waiting. Step eleven is non-negotiable.
You must cover the dish tightly. Then, it needs chilling for six hours minimum. Honestly, overnight is always better.
Why the long wait for this espresso dessert? The chilling time lets the ladyfingers soften fully. More importantly, it lets the cream firm up. No-bake desserts require patience!
Rushing this means a sloppy slice. We want clean, beautiful servings. Give it the time it needs to set.
Finishing Touches and Serving Your Hazelnut Espresso Tiramisu with Coffee
The waiting is over! Your rich, creamy dessert has set beautifully. Now, it’s time for the grand finale presentation.
Take your chilled dish straight from the refrigerator. Grab a fine-mesh sieve. Dust the entire top surface generously with unsweetened cocoa powder. This adds a lovely, slightly bitter contrast.
Next, sprinkle those ground hazelnuts evenly across the cocoa layer. They add a fantastic crunch.
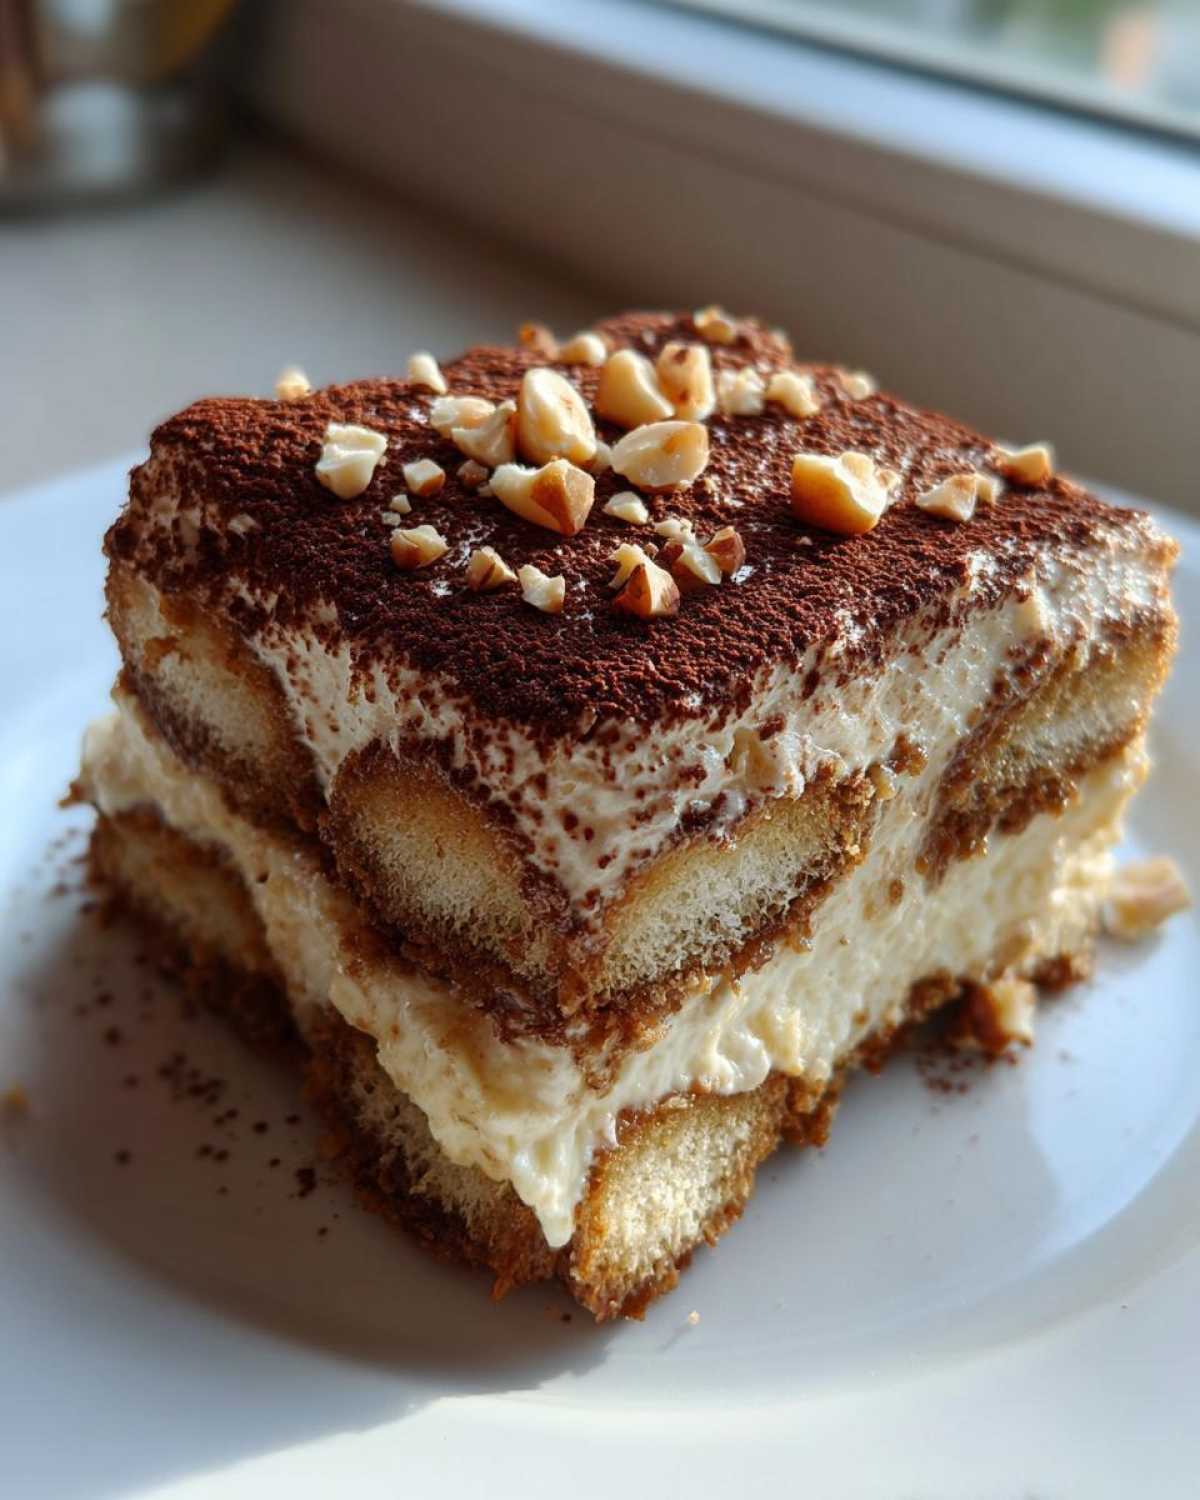
Slice it carefully into neat portions. Serve this Hazelnut Tiramisu immediately while it is wonderfully cold. Enjoy the look on everyone’s faces!
Expert Questions Answered About This Espresso Dessert
I know you might have questions brewing. Cooking should never feel scary. That is why we are here to help you succeed. Check out our blog for more tips!
Let’s tackle some common queries about this delightful Hazelnut Tiramisu.
How do I make the cream lighter if I skip the egg whites?
If you skip the whites, you lose lift. You can add a cup of whipped heavy cream instead. Fold it in very gently. This gives you a lighter mouthfeel still. It just won’t be quite as cloud-like.
Can I use regular coffee instead of strong espresso for the Hazelnut Espresso Tiramisu with Coffee?
You absolutely can use regular brewed coffee. However, the flavor depth changes. Strong espresso is highly concentrated. It stands up to the mascarpone better. Regular coffee might taste a bit weak here. For context on coffee strength, you might look into official coffee industry standards.
What is the best way to store leftovers of this creamy dessert?
Storage is simple but important for this Espresso Dessert. Keep leftovers covered tightly in the fridge. Use plastic wrap pressed right against the surface. This prevents drying out. It tastes great for up to three days.
Storage and Reheating Instructions for Your Hazelnut Espresso Tiramisu with Coffee
This incredible Hazelnut Tiramisu should always be served cold. Keep it refrigerated until you are ready to eat it.
Cover the dish well with plastic wrap. Press the wrap gently onto the surface, if you can. This stops the top from drying out.
It holds up beautifully for three to four days in the cold. It honestly tastes even better on day two. Never try to reheat this dessert.
Option B: Nutritional Information Disclaimer
Please know that we focus on flavor here at Spoon & Sprout. We share the heart of the recipe.
Exact nutritional data is tricky for home cooking. Values change based on brands used. Ingredient amounts can vary slightly too.
Therefore, we do not provide precise calorie or nutrient counts. Calculate estimates if needed for your specific needs. For general guidance on calculating nutrition, resources like the FDA guidelines can be helpful.
Enjoy this decadent treat responsibly. That is our main cooking advice!
PrintSinful 6 Hazelnut Espresso Tiramisu with Coffee
Enjoy a rich and indulgent Hazelnut Espresso Tiramisu. This dessert combines the deep flavor of coffee and hazelnut with classic creamy layers for a memorable treat.
- Prep Time: 30 minutes
- Cook Time: 0 minutes
- Total Time: 6 hours 30 minutes
- Yield: 8 servings
- Category: Dessert
- Method: No-Bake Assembly
- Cuisine: Italian
- Diet: Vegetarian
Ingredients
- Mascarpone cheese: 500g
- Eggs, separated: 4 large
- Granulated sugar: 100g
- Strong brewed espresso, cooled: 250ml
- Hazelnut liqueur (optional): 60ml
- Ladyfingers: About 200g
- Unsweetened cocoa powder, for dusting: As needed
- Ground hazelnuts, for garnish: 50g
Instructions
- Whisk the egg yolks and sugar together until pale and thick.
- In a separate bowl, whip the egg whites to stiff peaks.
- Gently fold the whipped egg whites into the yolk mixture.
- Fold in the mascarpone cheese until just combined. Do not overmix.
- Combine the cooled espresso and hazelnut liqueur (if using) in a shallow dish.
- Quickly dip each ladyfinger into the espresso mixture, ensuring they absorb liquid but do not become soggy.
- Arrange a single layer of dipped ladyfingers in the bottom of an 8×8 inch dish.
- Spread half of the mascarpone cream mixture evenly over the ladyfingers.
- Repeat with another layer of dipped ladyfingers.
- Top with the remaining mascarpone cream, smoothing the surface.
- Cover the dish and refrigerate for at least 6 hours, or preferably overnight.
- Before serving, dust generously with unsweetened cocoa powder and sprinkle with ground hazelnuts.
Notes
- For a richer hazelnut flavor, use hazelnut-flavored espresso beans when brewing.
- If you skip the hazelnut liqueur, add a teaspoon of hazelnut extract to the mascarpone mixture.
- Be very gentle when folding the egg whites to keep the cream light.
- The chilling time is crucial for the tiramisu to set properly.
Nutrition
- Serving Size: 1 slice
- Calories: Estimate based on ingredients
- Sugar: Estimate based on ingredients
- Sodium: Estimate based on ingredients
- Fat: Estimate based on ingredients
- Saturated Fat: Estimate based on ingredients
- Unsaturated Fat: Estimate based on ingredients
- Trans Fat: 0g
- Carbohydrates: Estimate based on ingredients
- Fiber: Estimate based on ingredients
- Protein: Estimate based on ingredients
- Cholesterol: Estimate based on ingredients