

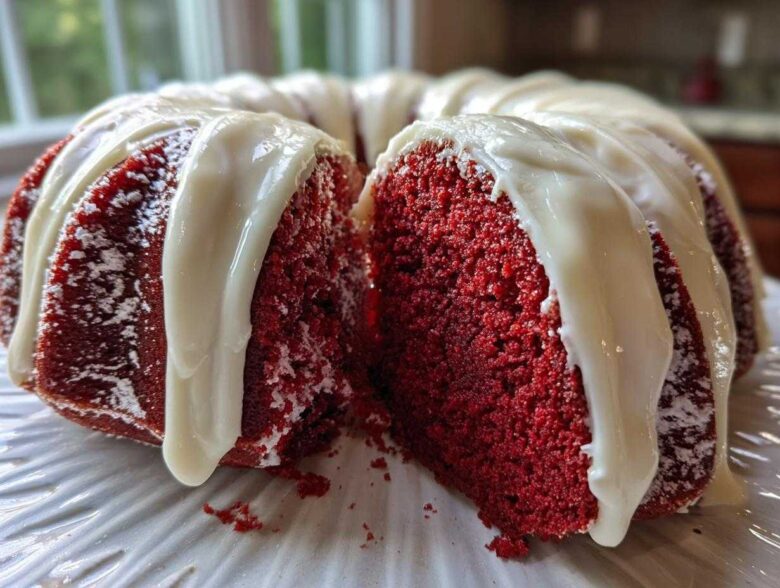
Oh, the visual drama of a Bundt cake fresh out of the pan! Those deep flutes and that beautiful shape just scream ‘special occasion.’ But let’s be honest, sometimes those bakery-style beauties can be a little… dry? Not this one! I’m Mei Sprout, and my mission with this recipe was to take a deep-rooted classic and inject a little bit of garden life into it. Trust me when I say you are going to adore how rich and unbelievably tender this Perfectly Moist red velvet bundt cake with Tangy Cream Cheese Glaze turns out. It’s the showstopper everyone asks about, but it’s grounded in simple, honest baking techniques. It truly is the best of all worlds!
Why This is the best red velvet bundt cake Recipe You Will Make
I know, I know, everyone claims their recipe is the best! But Spoon and I truly believe this best red velvet bundt cake recipe hits every single point people usually complain about with this cake. When I started tinkering with this recipe, I needed to make sure it delivered the goods every single time we baked it. We weren’t aiming for fussy; we were aiming for perfect. If you need more inspiration on deep-flavored bakes, check out how we handle nuts and honey in our fig walnut baklava!
- That crackle-top look of a bakery-style bundt cake, but made effortlessly at home.
- A truly deep cocoa flavor that isn’t masked by too much red coloring.
- A tender crumb texture that just melts when you eat it.
- That essential, slightly sharp cream cheese glaze that cuts through the richness.
If you’ve been disappointed before, stick with us. This time, the cake stays beautifully moist for days!
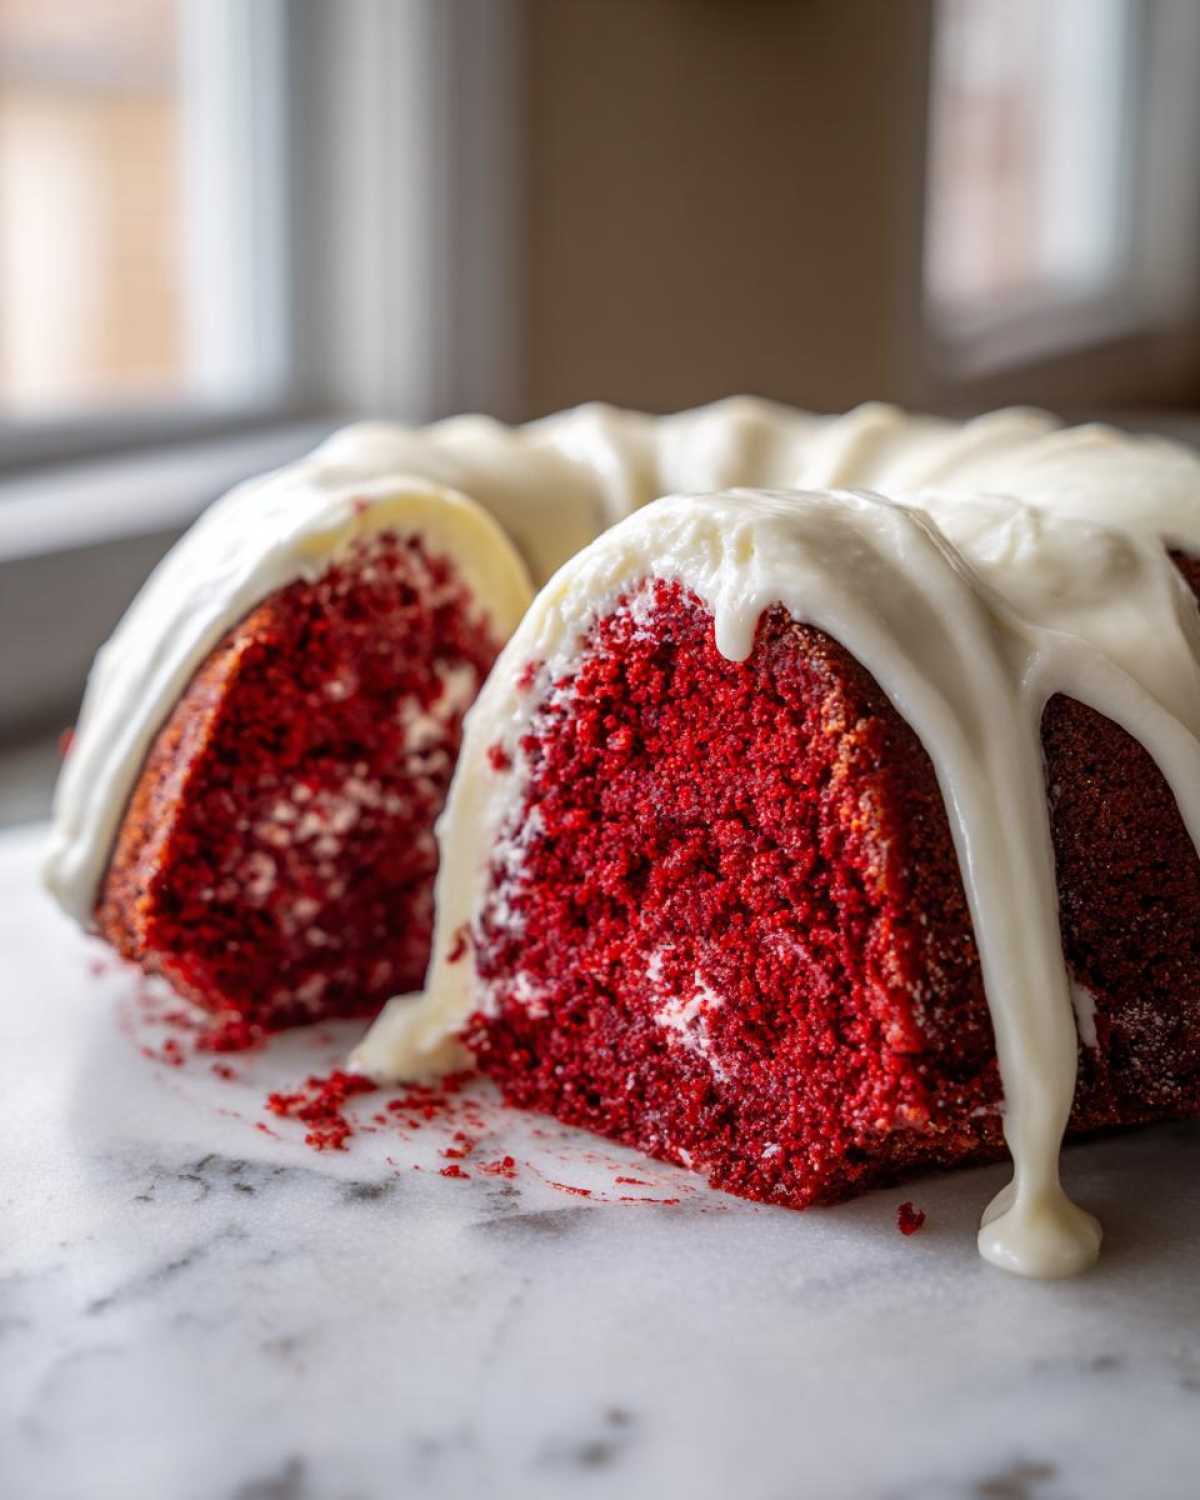
Achieving Unmatched Moisture in Your red velvet bundt cake
Moisture is everything, isn’t it? Dry cake is just sad! What guarantees us a moist red velvet bundt cake here comes down to three things working together. First, we use oil alongside the butter—that little bit of liquid fat stays liquid when it cools, keeping things soft. Second, that tangy buttermilk reacts perfectly with the soda. But the real secret? We fold in boiling water right at the end. I know it feels weird adding hot water to a batter, but trust me, it blooms the cocoa and ensures you get that beautifully plush texture we’re after.
Gathering Ingredients for Your red velvet bundt cake with cream cheese glaze
Now we get down to the good stuff—what you actually need! Spoon always reminds me that for a classic flavor like this, you can’t skimp on the basics. He says that the quality of your cocoa powder is central to that deep, rewarding taste we want in our cranberry brie bites, and it’s just as true here. For this red velvet bundt cake with cream cheese glaze, make sure your butter is softened just right for creaming, and read those measurements twice. We are aiming for perfection, not guesswork!
Here is what you’ll need:
- 1 cup unsalted butter, softened
- 2 cups granulated sugar
- 3 large eggs
- 1 teaspoon vanilla extract
- 2 tablespoons unsweetened cocoa powder
- 1 teaspoon salt
- 2 1/2 cups all-purpose flour
- 1 teaspoon baking soda
- 1 cup buttermilk
- 1 teaspoon white vinegar
- 1 teaspoon red food coloring (gel preferred)
- 1/2 cup vegetable oil
- 1 cup boiling water
- For the Glaze: 8 ounces cream cheese, softened
- 1/2 cup unsalted butter, softened
- 3 cups powdered sugar, sifted
- 1 teaspoon vanilla extract
- 1-3 tablespoons milk or heavy cream
Ingredient Notes and Substitutions for a Perfect red velvet bundt cake
I have a few non-negotiables for getting that perfect texture and color in this red velvet bundt cake. Please, if you can swing it, grab a gel food coloring instead of the thin liquid drops. The gel gives you that vibrant, signature red without adding too much extra liquid to your batter, which keeps it from getting thin. Also, don’t skip the buttermilk and vinegar! That’s the engine that gets our baking soda fired up, and it’s crucial for that signature velvety crumb and flavor profile. It works alongside the cocoa to create a real depth, not just a sweet cake.
Step-by-Step Instructions: How to Make red velvet bundt cake from scratch
Okay, let’s get this show on the road! Learning how to make red velvet bundt cake from scratch is easier than you think, but we need to respect the process. First thing’s first: Preheat that oven to 325 degrees Fahrenheit. Remember how paranoid I used to be about sticking? You have to grease and flour that 10-cup Bundt pan until it shines! Seriously, don’t skim on that prep step if you want that gorgeous, intact finish. Then, we cream the butter and sugar until it’s pale and dreamy. Mix in the eggs, then alternate your dry flour mix with that tangy buttermilk mixture, just until they disappear. Don’t stir too much, or the cake gets tough!
Once that batter is looking beautifully red, we stir in the oil and the boiling water last. Yes, boiling water! It makes the batter look super thin, like soup, but don’t panic for a second—that’s exactly what this recipe needs for that velvet texture. For more tips on balancing flavors, you can see how beautifully different spices work together in my apple pie crumb bars! Pour the batter gently into your prepared pan and pop it in the oven to work its magic.
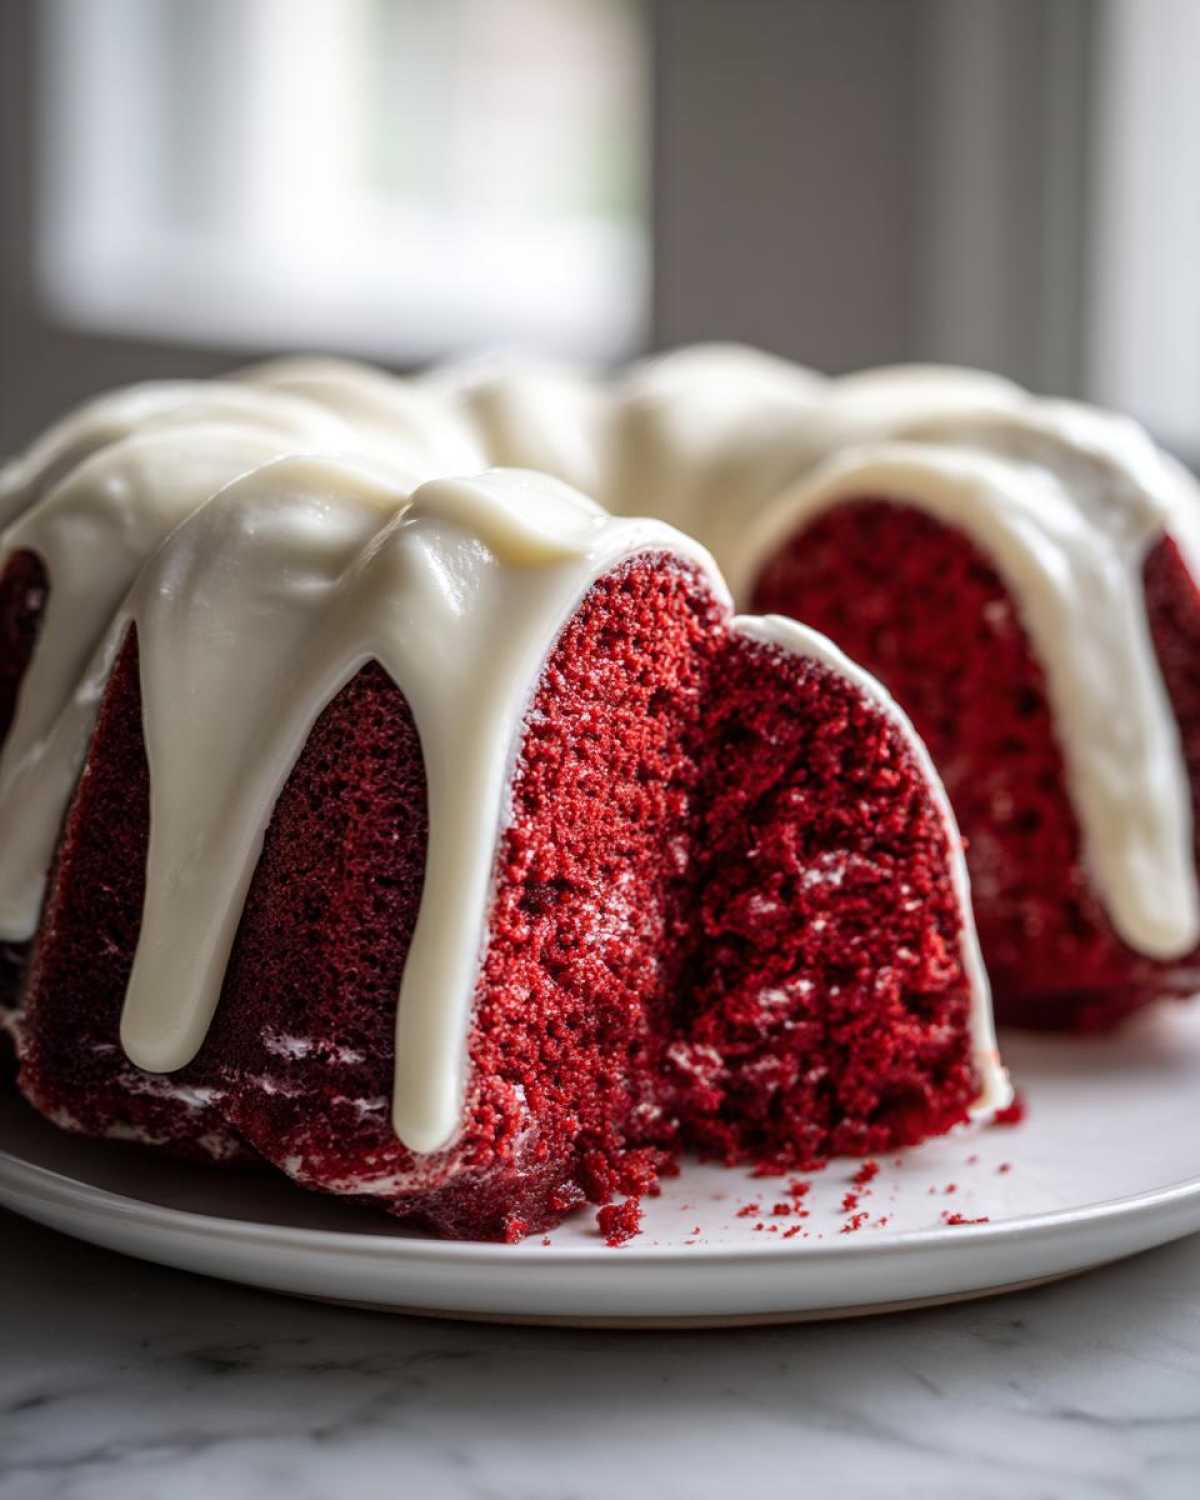
Baking and Cooling Tips for a Showstopper red velvet bundt cake
We need patience here, but not too much! Bake this rich beauty for about 55 to 65 minutes. You’re looking for a clean wooden skewer removal near the center. The most crucial part for keeping your red velvet bundt cake intact is the cooling. Once it’s out, let it sit right there in the warm pan on a rack for a full 15 minutes. If you try to flip it sooner, trust me, parts of the sides will stick and tear. After 15 minutes, gently turn it out onto the rack to cool completely. Then, and only then, can we glaze it!
Crafting the Tangy Cream Cheese Glaze for Your red velvet bundt cake
This beautiful red velvet bundt cake deserves a crown, and that crown is definitely the glaze! You need that slight little tanginess to balance the deep cocoa flavor, so don’t skip the cream cheese and butter base here. We start by beating them until they are totally smooth—no lumps allowed! Then, we gently introduce that sifted powdered sugar. I always get nervous here because if you dump it all in at once, you end up wearing sugar dust everywhere. The real trick to getting that perfect thickness for drizzling over your gorgeous cake is taking your time with the last bit of liquid. Take a peek at how we handle layering flavors in our cookie dough truffles!
Start with just one tablespoon of milk or cream when you mix in the vanilla. You might only need one, or you might need three—it depends on the day! Keep adding that liquid one tablespoon at a time until it flows over the side of your mixing spoon slowly, almost like thick, happy honey. You want it thick enough to cling to that intricate Bundt shape you worked so hard for, but thin enough to drip just a little. If you want even more zest, try pouring it over after reading up on this other great idea for cream cheese bundt cake ideas.
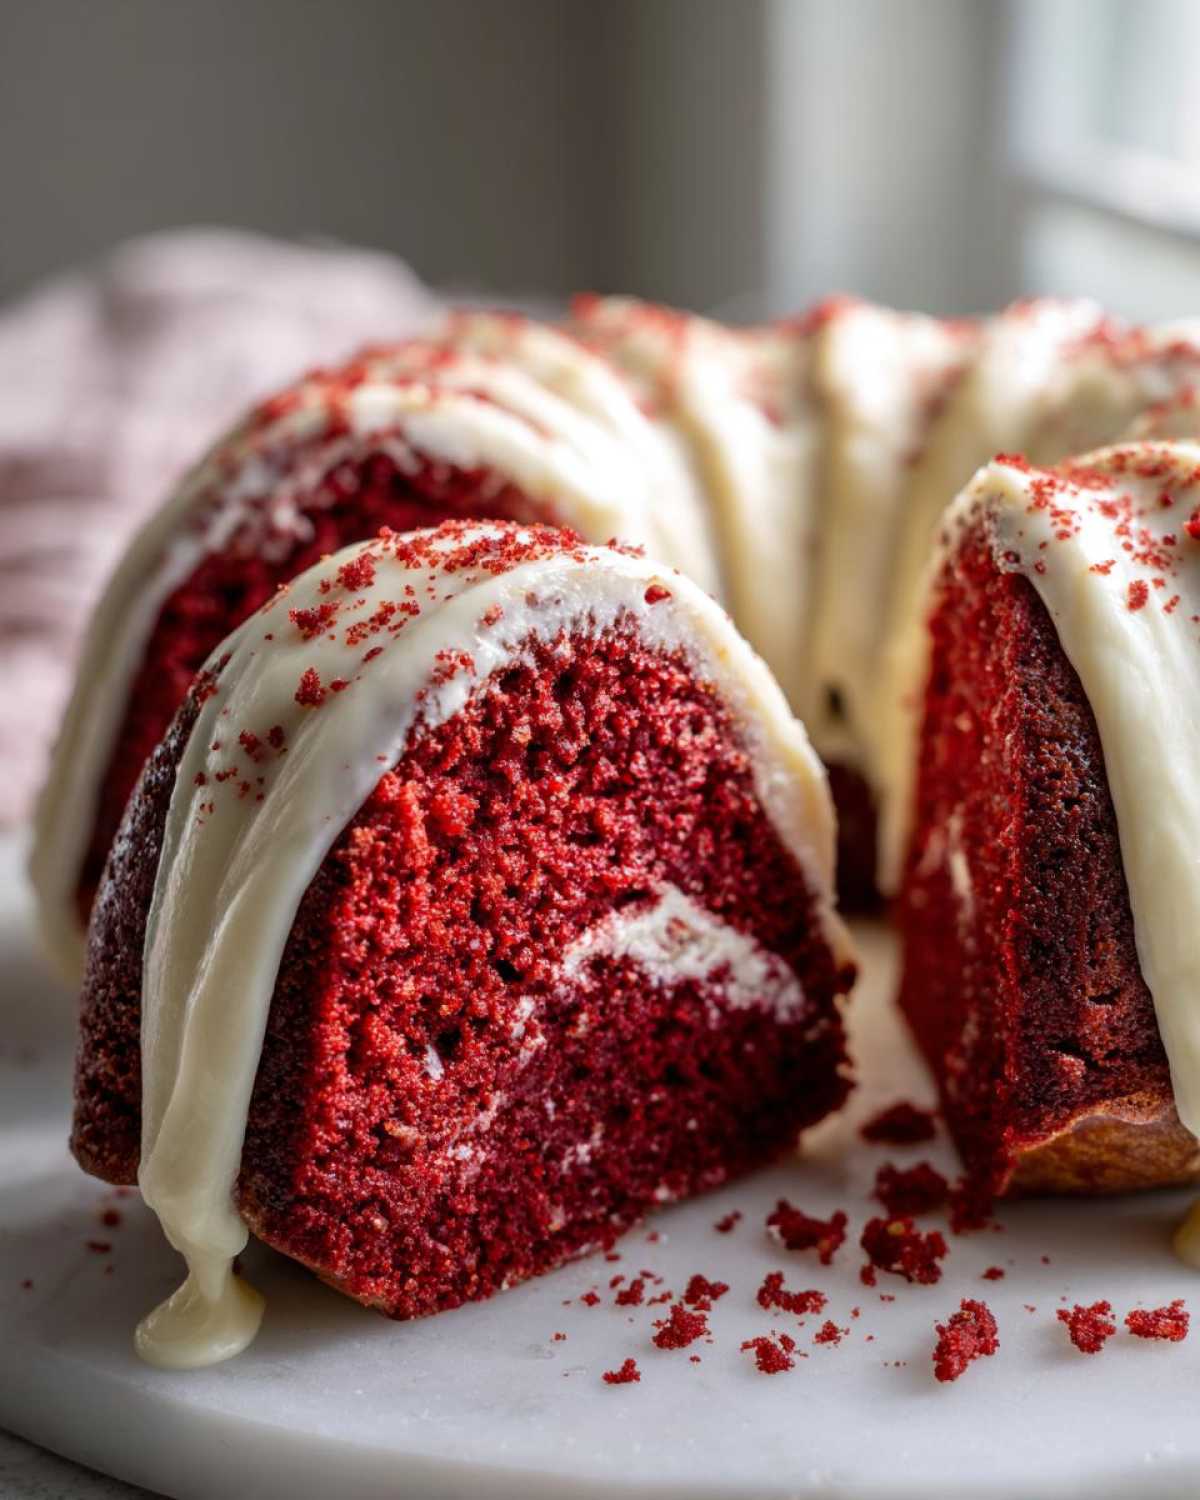
Bundt Cake Baking Tips for a Bakery Style red velvet bundt cake
If you want that gorgeous, flawless finish—the kind that looks like it was shipped straight from your favorite bakery—you need a few good bundt cake baking tips up your sleeve. Sticking is the enemy, of course, but so is overmixing the batter once we add that liquid. I’m telling you, a light touch is your best friend!
Here is my specific trick for prepping the pan for this dense, moist red velvet bundt cake: Instead of just flouring, I make a paste using vegetable shortening, vegetable oil, and flour—equal parts of each, mixed really well until it’s smooth. I brush that paste into every single crevice of the cool Bundt pan. It takes an extra minute, but it seals the deal against sticking better than anything else I’ve tried! It keeps the edges from drying out and ensures that wonderful, deep-fluted pattern releases perfectly. For more tricks on getting a great base flavor, think about how much difference the spices make in my apple cider donut holes!
Also, when you pour that thin batter in, do it slowly. I like to pour it right in the center and let it settle out to the sides naturally. It keeps the consistency even until it goes into the oven. If you try to rush it or stir it too much once it’s in the pan, you risk ruining that beautiful texture we worked so hard to create. Trust me, preparing the pan properly is worth the effort for a cake this stunning! If you’re looking for holiday inspiration for this cake, check out one of the great Christmas ideas over here: Christmas Red Velvet Bundt Cake.
Serving Suggestions for Your Rich Cocoa red velvet bundt cake
This rich cocoa bundt cake is meant to be shown off! Since it bakes up so beautifully, I usually only use a light dusting of powdered sugar or let that tangy cream cheese glaze do all the talking. For holidays, scattering some pomegranate seeds around the base looks festive, and Spoon loves it when I add a few sprigs of fresh mint.
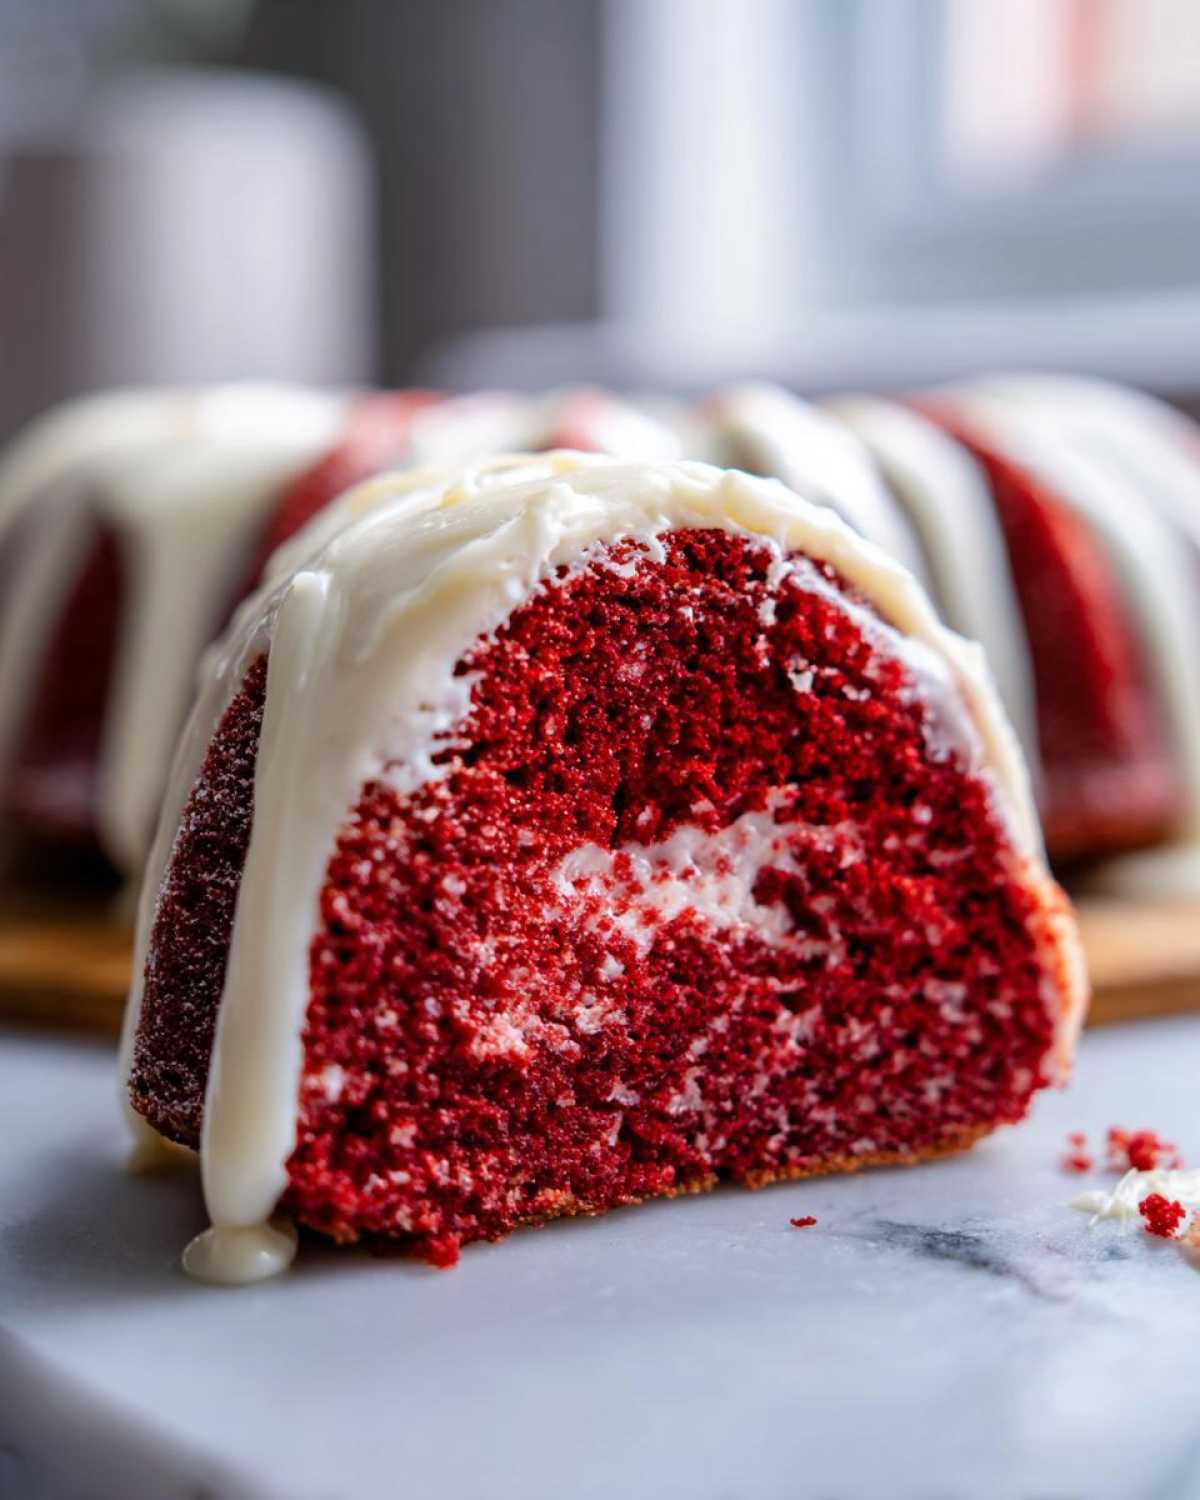
If you want to go extra decadent—which, let’s face it, we often do—serve a slice warm with a scoop of high-quality vanilla bean ice cream. It’s the perfect contrast to this dense, flavored red velvet bundt cake. If you’re looking for other comforting recipes to serve alongside it, my maple pecan sticky buns are a family favorite!
Storage and Make-Ahead Instructions for red velvet bundt cake
This is where that wonderful moisture we worked so hard for really pays off! If you’ve made it ahead of time—and honestly, you totally should—you can keep this red velvet bundt cake tightly covered at cool room temperature for about three days. If you happen to have any leftover after that, pop it in the fridge, but you’ll want to let it come back up to room temperature before serving so it’s not stiff.
If you’re worried about freezing, don’t be! Wrap the unfrosted cake really tightly in plastic wrap, then foil. It freezes beautifully for up to three months. When you pull it out, let it thaw on the counter, then drizzle that gorgeous glaze over the top. For more sweet ideas to prep in advance, you must see my recipes for peppermint hot cocoa bombs. People always ask me if it tastes as moist as the ones I make ahead, and the answer from this source is a resounding yes!
Frequently Asked Questions About red velvet bundt cake
It’s natural to have questions when you’re making something this special! Dealing with a deep color and ensuring that perfect velvet crumb can feel a bit daunting, even though I promise this red velvet bundt cake is straightforward. Most of the questions I get are about moisture—which we covered with the hot water trick—but people also want to know how it stacks up against those famous bakery versions. We always recommend starting from scratch because you get to control the flavor quality, especially that rich cocoa! For more of our favorite deep-flavored recipes, you can see how we approach dips in our cheesy spinach artichoke dip.
Here are a few things I hear most often from fellow bakers:
- Why is my cake dry even when I followed the recipe? Sometimes using liquid coloring instead of gel makes a big difference, or maybe the oven temperature was running hot!
- How can I get that thick, shiny glaze like the one from the copycat bakeries? That usually comes down to using high-quality cream cheese and beating it perfectly before adding the sugar slowly.
- Is there a way to make this less red? You can reduce the dye, but remember those deep colors come from the chemical reaction between the cocoa and vinegar, too!
Many people ask about the famous copycat bakeries, like the one mentioned here: Nothing Bundt Cake Copycat Red Velvet Cake. While that is a great shortcut, our scratch method truly elevates that classic flavor profile!
Can I make this an easy red velvet bundt cake using a mix?
Oh, you absolutely *can* use a box mix if you’re in a real pinch—it certainly is an easy red velvet bundt cake shortcut! But honey, you’ll miss that deep, soulful cocoa flavor and the incredible tenderness this scratch version gives you, especially with the oil and boiling water boost. For a real showstopper, the scratch method pays off.
Nutritional Estimates for This Velvety red cake recipe
Now, I’m the last person who worries too much about numbers when something tastes this good—food is memory, right? But for those of you who like to keep track, here are the general estimates for one slice of this velvety red cake recipe, glaze included. Remember, these are just guidelines, and they change based on exactly what brand of butter or sugar you use!
- Calories: 480
- Fat: 28g
- Carbohydrates: 58g
- Protein: 5g
This recipe gives you that rich, decadent feel, so enjoy every bite without guilt! If you want a warm beverage to go with this treat, check out my recipe for the hot buttered rum. And for more on making things ahead, see some great make-ahead tips over at Erren’s Kitchen!
Nutritional Estimates for This Velvety red cake recipe
Now, I’m the last person who worries too much about numbers when something tastes this good—food is memory, right? But for those of you who like to keep track, here are the general estimates for one slice of this velvety red cake recipe, glaze included. Remember, these are just guidelines, and they change based on exactly what brand of butter or sugar you use!
- Calories: 480
- Fat: 28g
- Carbohydrates: 58g
- Protein: 5g
This recipe gives you that rich, decadent feel, so enjoy every bite without guilt! If you want a warm beverage to go with this treat, check out my recipe for the hot buttered rum. And for more on making things ahead, see some great make-ahead tips over at Erren’s Kitchen!
PrintPerfectly Moist Red Velvet Bundt Cake with Tangy Cream Cheese Glaze
Bake a show-stopping, moist Red Velvet Bundt Cake from scratch that delivers a rich cocoa flavor and vibrant red color. This recipe, perfected with the wisdom of the Spoon and the freshness of the Sprout, results in a tender crumb, topped with a simple, tangy cream cheese glaze.
- Prep Time: 25 min
- Cook Time: 65 min
- Total Time: 90 min
- Yield: 12 servings
- Category: Dessert
- Method: Baking
- Cuisine: American
- Diet: Vegetarian
Ingredients
- 1 cup unsalted butter, softened
- 2 cups granulated sugar
- 3 large eggs
- 1 teaspoon vanilla extract
- 2 tablespoons unsweetened cocoa powder
- 1 teaspoon salt
- 2 1/2 cups all-purpose flour
- 1 teaspoon baking soda
- 1 cup buttermilk
- 1 teaspoon white vinegar
- 1 teaspoon red food coloring (gel preferred)
- 1/2 cup vegetable oil
- 1 cup boiling water
- For the Glaze: 8 ounces cream cheese, softened
- 1/2 cup unsalted butter, softened
- 3 cups powdered sugar, sifted
- 1 teaspoon vanilla extract
- 1-3 tablespoons milk or heavy cream
Instructions
- Preheat your oven to 325 degrees Fahrenheit. Grease and flour a 10-cup Bundt pan thoroughly. This step helps you achieve a bakery-style cake release.
- In a large bowl, cream together the softened butter and granulated sugar until the mixture is light and fluffy. This aeration is key to a tender crumb.
- Beat in the eggs one at a time, mixing well after each addition. Stir in the vanilla extract.
- In a separate medium bowl, whisk together the flour, cocoa powder, and salt.
- In a small bowl, combine the buttermilk, white vinegar, and red food coloring until the color is uniform.
- Add the dry ingredients to the wet ingredients in three additions, alternating with the buttermilk mixture, beginning and ending with the dry ingredients. Mix only until just combined; do not overmix.
- In a small bowl, whisk together the vegetable oil and boiling water. Carefully pour this hot liquid into the batter and mix on low speed until smooth. The batter will be thin.
- Pour the batter evenly into the prepared Bundt pan.
- Bake for 55 to 65 minutes, or until a wooden skewer inserted near the center comes out clean.
- Let the cake cool in the pan on a wire rack for 15 minutes. Invert the cake onto the wire rack to cool completely before glazing.
- To make the cream cheese glaze, beat the softened cream cheese and butter together until smooth. Gradually add the powdered sugar, mixing until combined. Stir in the vanilla extract and add milk or cream, one tablespoon at a time, until you reach a thick, pourable consistency.
- Drizzle the tangy cream cheese glaze generously over the cooled cake. Allow the glaze to set before slicing and serving this showstopper bundt cake recipe.
Notes
- For the deepest red color and best flavor, use a high-quality gel food coloring instead of liquid drops.
- The combination of buttermilk and vinegar activates the baking soda, giving the cake its signature lift and velvety texture.
- If you are worried about sticking, you can dust the greased pan with a mixture of flour and cocoa powder instead of just flour.
Nutrition
- Serving Size: 1 slice
- Calories: 480
- Sugar: 55
- Sodium: 350
- Fat: 28
- Saturated Fat: 12
- Unsaturated Fat: 16
- Trans Fat: 0.5
- Carbohydrates: 58
- Fiber: 1
- Protein: 5
- Cholesterol: 75