

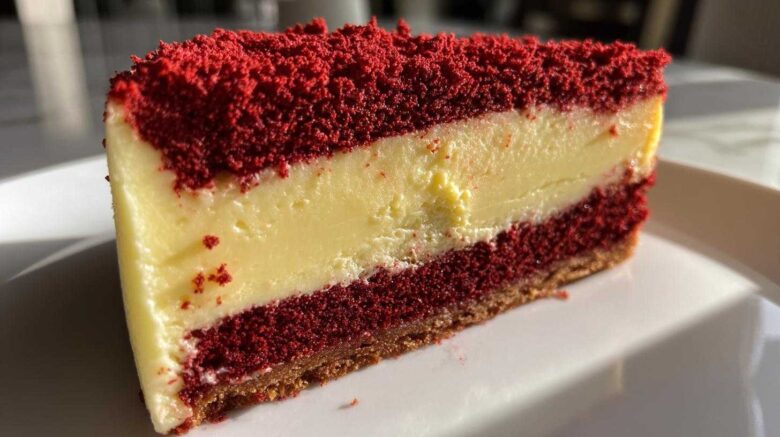
Introducing the Red Velvet Cake with a Hidden Cheesecake Layer
Welcome to our kitchen, friends. I’m Jun, and this is my Sprout, Mei.
We love sharing our food stories.
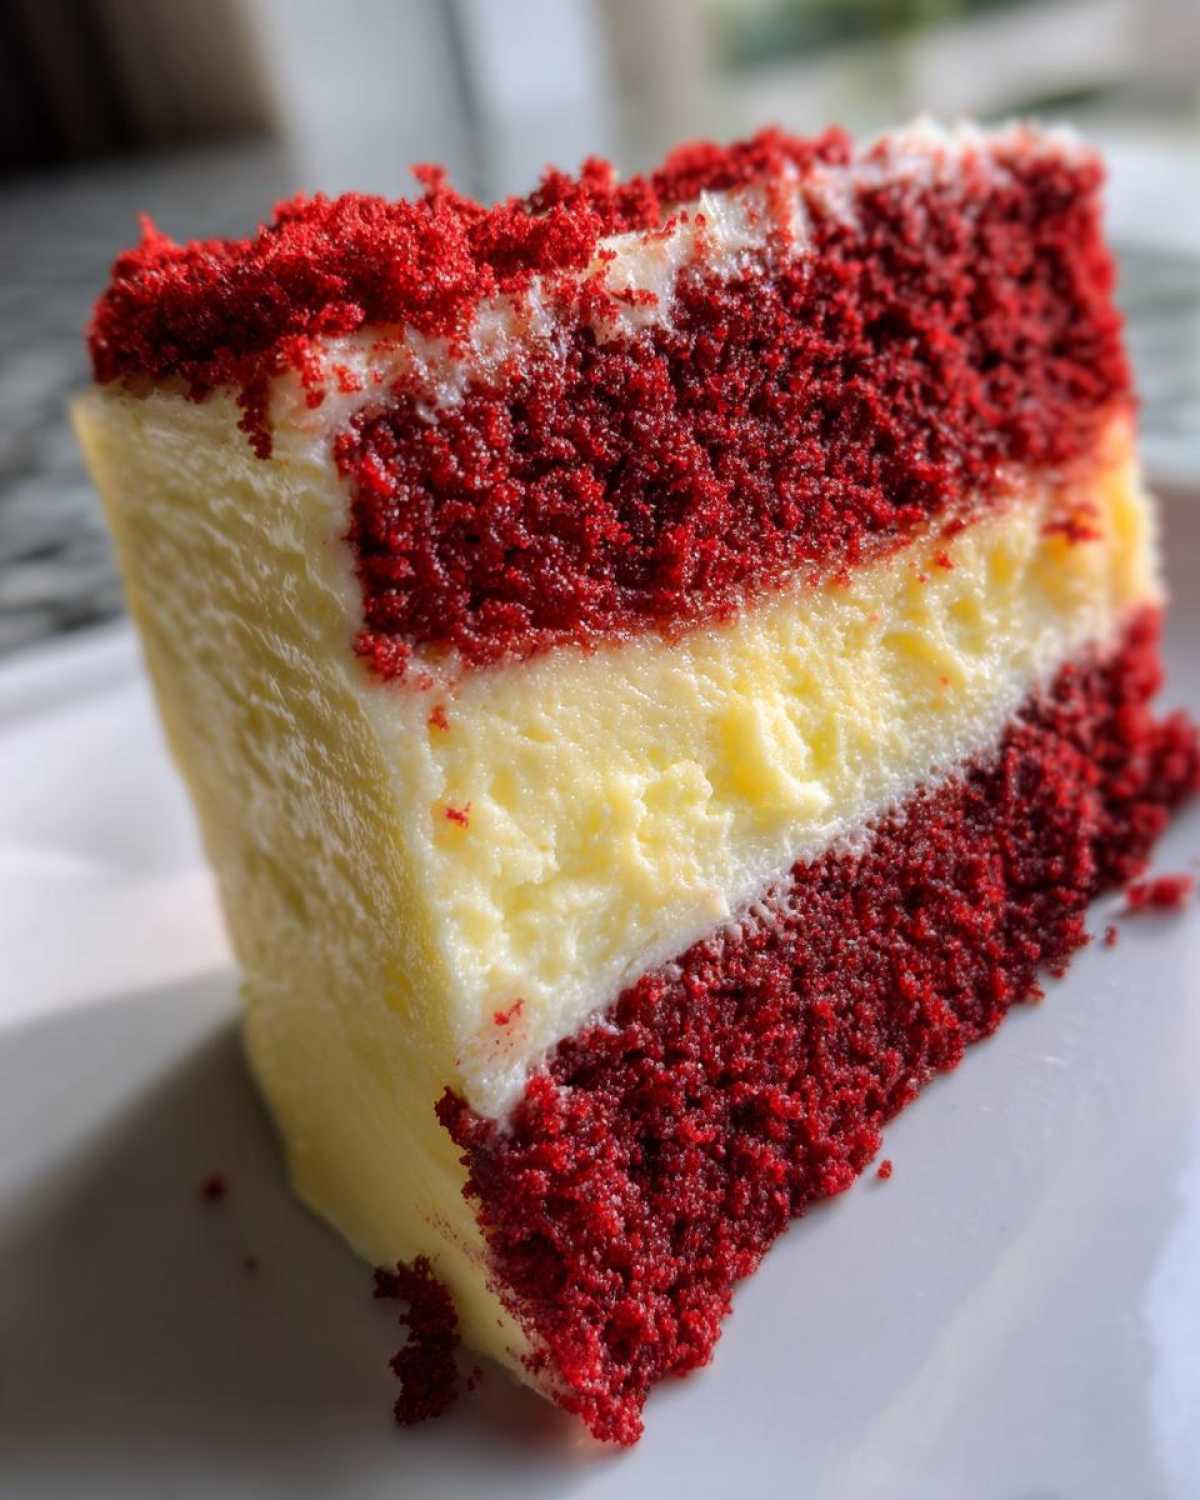
We know you crave that perfect bite. That’s why we created this amazing Red Velvet Cake with a Hidden Cheesecake Layer. It’s truly two desserts in one.
For us, baking is memory and growth combined. We spent decades perfecting these flavors.
This recipe shows our balance. It mixes tradition with a fresh, bright idea.
You get that deep, rich cocoa flavor. Then, the surprise tang hits you.
It’s decadent comfort baked right in. Get ready for your new favorite dessert.
Why This Red Velvet Cake with a Hidden Cheesecake Layer Works
Why do I keep coming back to this recipe? Simple. It solves a dessert dilemma.
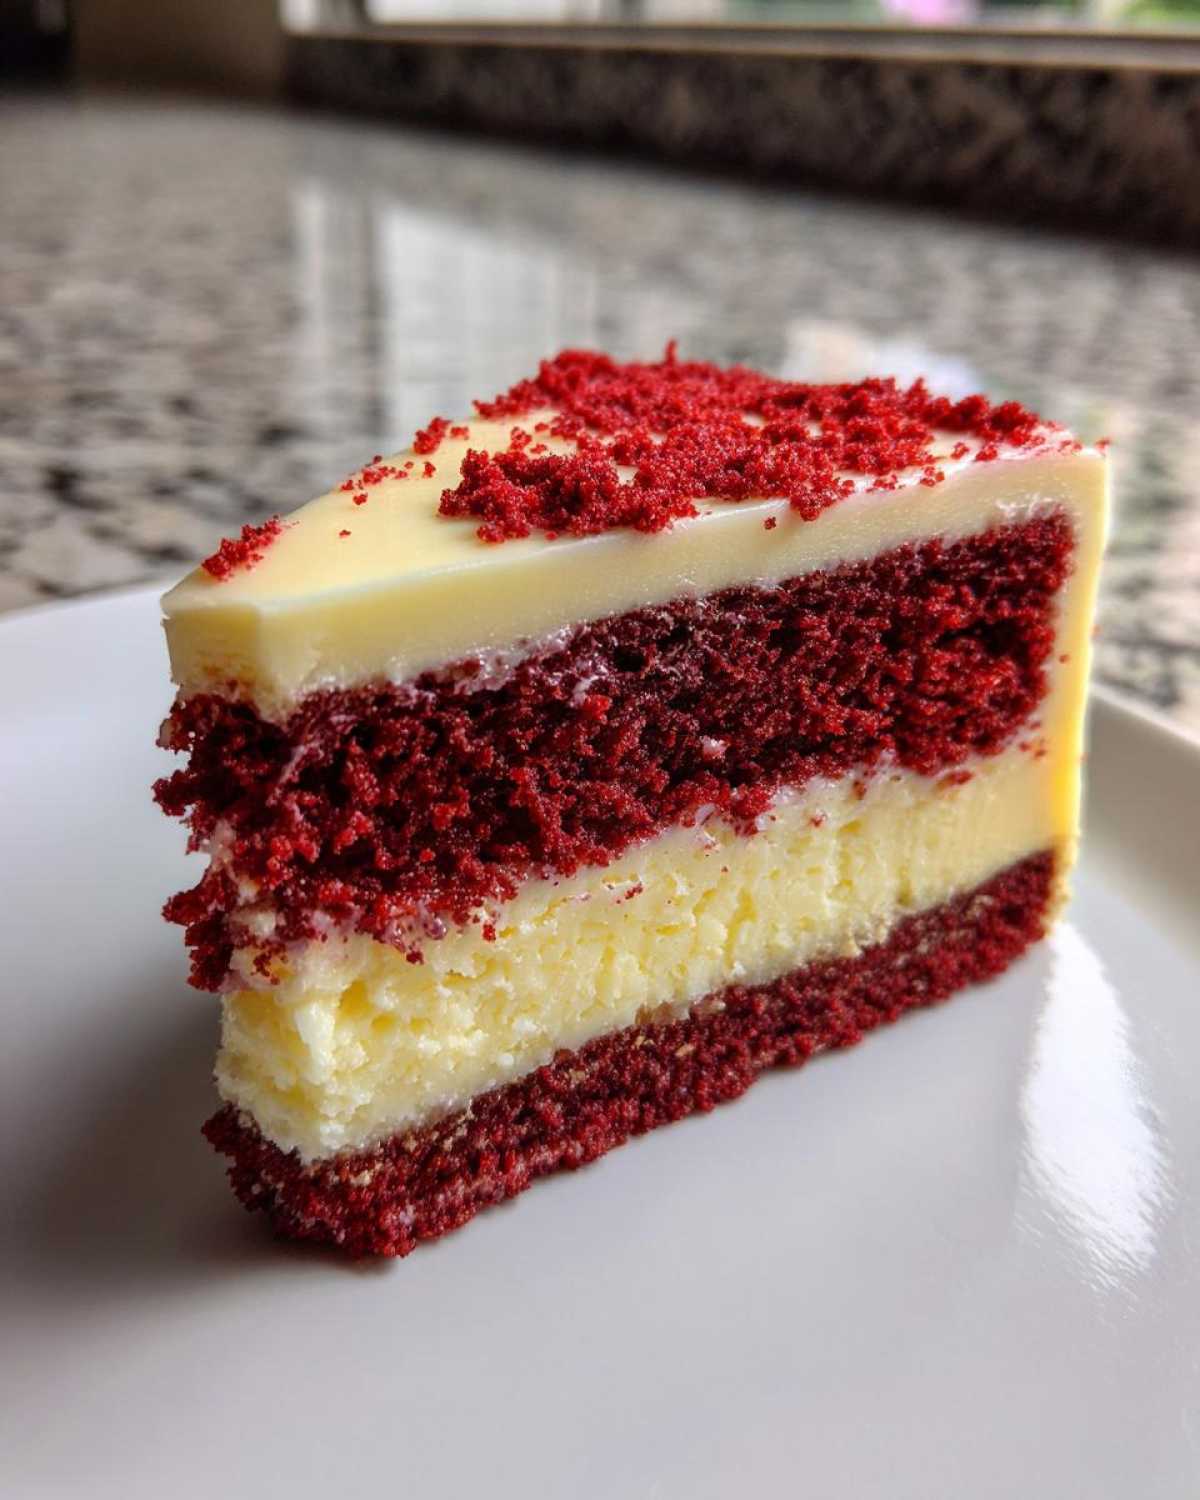
You get that deep, moist cake texture. Then you hit the creamy center. It’s magic, honestly.
The secret to a great Red Velvet Cake with a Hidden Cheesecake Layer is contrast.
- Rich, earthy cake meets bright, sour cream tang.
- The textures play together beautifully.
- It’s a showstopper for any gathering.
This combination feels special every time I make it.
The Perfect Balance of Flavors
Red velvet needs that slight cocoa depth. It shouldn’t taste like plain chocolate.
The cheesecake layer cuts through the richness. It adds a needed fresh lift.
Think about the pairing. It’s classic for a reason.
One bite offers warm spice and cool cream.
Tips from Spoon & Sprout for Your Red Velvet Cake with a Hidden Cheesecake Layer
When making this special Red Velvet Cake with a Hidden Cheesecake Layer, a couple of things matter.
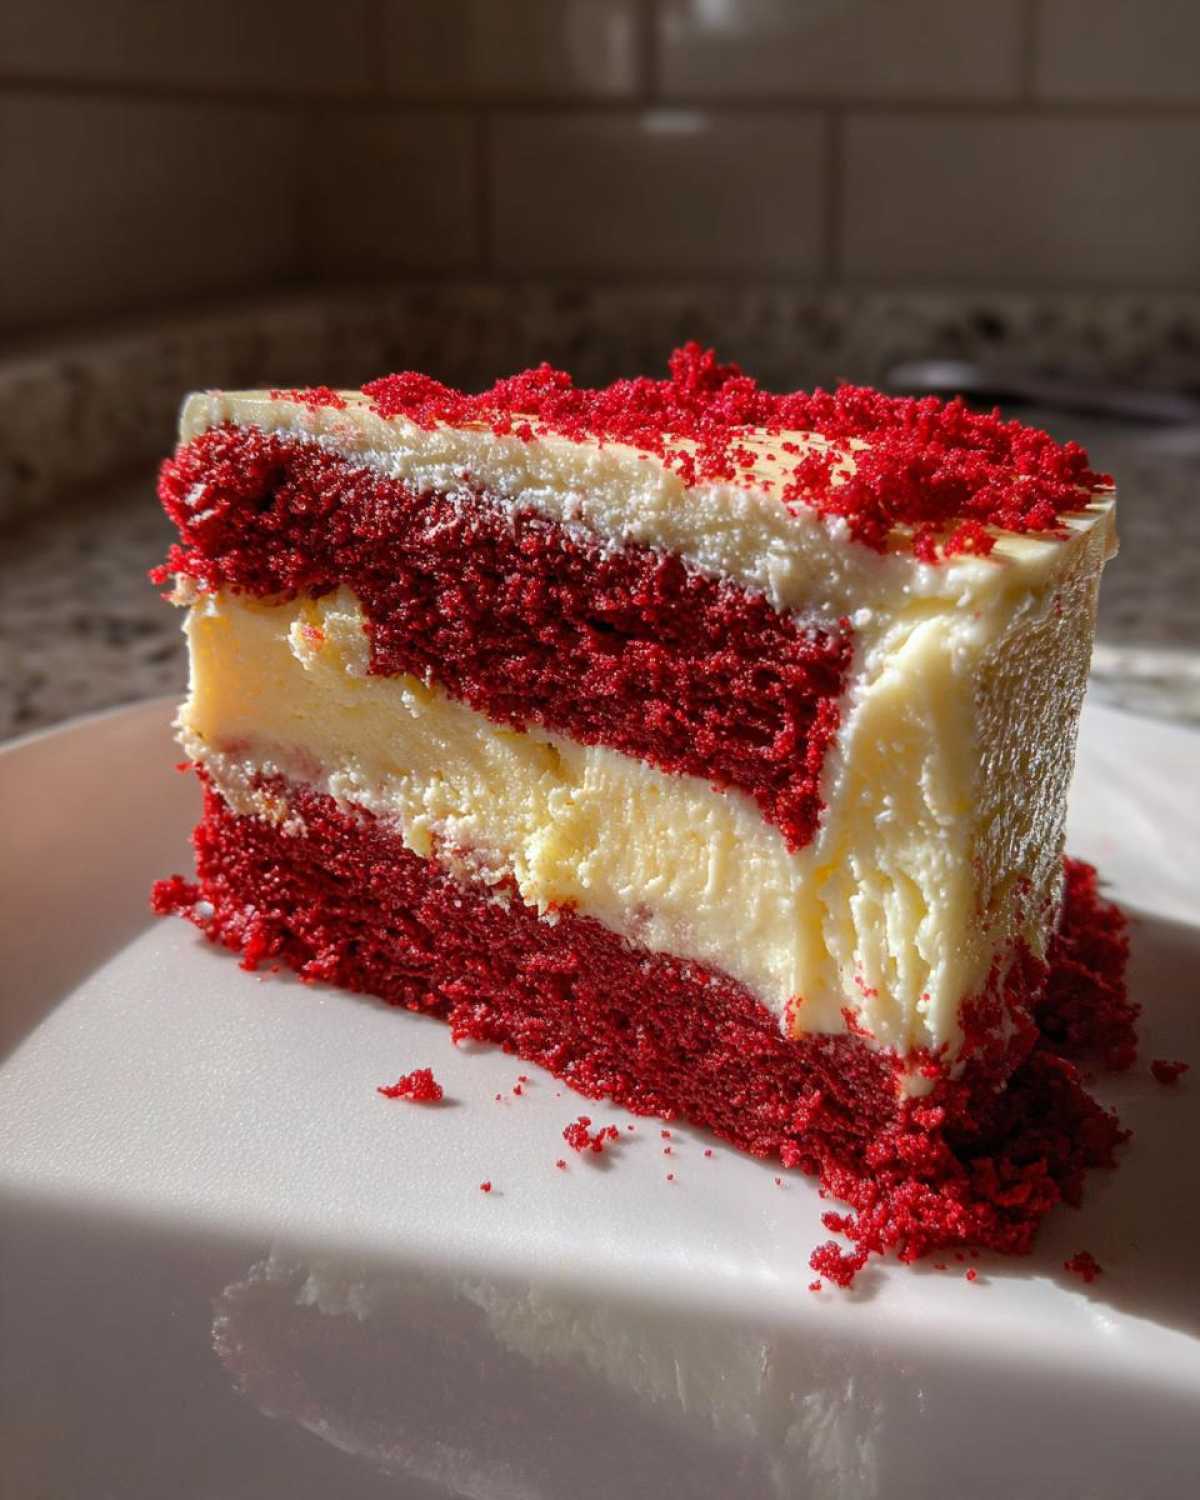
First, use good food coloring. It makes the red pop just right.
Second, add the vinegar last, really quick. It helps the baking soda work fast. Baking science can be fascinating!
Don’t overmix after that vinegar goes in. Keep it light.
Equipment List
You don’t need fancy gadgets for this bake. I use my trusty stand mixer.
Having the right tools makes everything smoother. Here is what you will need.
Essential Baking Tools
- One 9-inch round cake pan.
- Two mixing bowls, various sizes.
- A whisk for dry ingredients.
- Electric mixer, hand or stand type.
- Rubber spatula for folding.
- Wire cooling rack ready.
Make sure your pan is well greased first. This step is non-negotiable for easy release.
Ingredients for the Red Velvet Cake with a Hidden Cheesecake Layer
Gathering your ingredients is like setting the stage for a performance. For this Red Velvet Cake with a Hidden Cheesecake Layer, organization matters a lot. I always measure everything twice.
We need two distinct sets of components here. One for the deep red cake. Another for that creamy core.
Using room temperature butter and cream cheese helps everything blend right. This ensures a smooth batter and filling.
For the Red Velvet Cake Batter
- 1 3/4 cups all-purpose flour.
- 1 teaspoon baking soda.
- 1 teaspoon cocoa powder.
- 1/2 teaspoon salt.
- 1 cup granulated sugar.
- 1/2 cup unsalted butter, softened.
- 2 large eggs.
- 1 cup buttermilk.
- 1 teaspoon vanilla extract.
- 1 tablespoon red food coloring.
- 1 tablespoon white vinegar.
For the Hidden Cheesecake Center
- 8 ounces cream cheese, softened.
- 1/4 cup granulated sugar.
- 1 large egg.
- 1 teaspoon vanilla extract.
Don’t skip the buttermilk. That acidity is key to the texture. For more baking tips, check out our latest posts.
Step-by-Step Instructions for Your Red Velvet Cake with a Hidden Cheesecake Layer
Now for the fun part. Putting this beauty together takes a little care. Follow these steps closely.
We want that perfect Red Velvet Cake with a Hidden Cheesecake Layer structure. Don’t rush the layering process.
Preparing the Oven and Dry Ingredients
First things first, start the oven. Set it to 350\u00b0F (175\u00b0C). This gives it time to heat up evenly. Food safety guidelines recommend specific oven temperatures.
Grab your 9-inch round cake pan now. Grease it well. Then dust it lightly with flour.
In a smaller bowl, whisk your dry cake ingredients. That’s the flour, baking soda, and salt.
Set this dry group aside for now. It waits patiently for the wet parts.
Mixing the Red Velvet Batter Components
In a large bowl, cream the sugar and butter. You want it light and airy, like a cloud.
Beat in your two eggs one at a time. Wait until each one blends completely in.
Mix the buttermilk, vanilla, and red coloring separately. Keep that color mixed well.
Alternate adding the dry mix and the buttermilk mix. Start and end with the dry stuff.
Stir until it’s just combined. Seriously, stop mixing then.
Finally, stir in the white vinegar quickly. Watch the batter lighten up a bit.
Assembling the Layers
Pour half of your velvety red batter into the prepared pan. Spread it gently.
Time for the cheesecake filling. Beat the cream cheese until smooth. Add the sugar.
Mix in the extra egg and vanilla until just smooth. Don’t whip it too much.
Spoon this creamy mixture over the red batter layer. Be gentle here.
Carefully pour the rest of the red batter on top. Cover the cheesecake completely.
This layering creates our special hidden center.
Baking and Cooling the Cake
Slide the pan into that preheated oven. Bake for 40 to 50 minutes.
Test the cake near the edge with a pick. It should come out mostly clean.
The cheesecake part needs to look set, not jiggly.
Let the cake cool in the pan for ten minutes. This helps it firm up.
Then, turn it out onto a wire rack. Let it cool fully before frosting.
Ingredient Notes and Substitutions for This Recipe
Every ingredient plays a role here, Sprout reminds me. A few tweaks are okay.
Buttermilk is important for the cake’s tang. You can make a quick substitute.
Mix one cup of regular milk with one tablespoon of white vinegar or lemon juice.
Let it sit for five minutes. It curdles slightly. That works just fine.
For that deep color, use gel food coloring. It gives better saturation.
Liquid coloring might thin your batter too much. Be mindful of that change.
Frequently Asked Questions About the Red Velvet Cake with a Hidden Cheesecake Layer
I get so many questions about this bake. It’s a showstopper, after all. People always want to know about texture and timing.
This Red Velvet Cake with a Hidden Cheesecake Layer is special. A few tips help guarantee success for you.
Here are answers to what folks ask me most often.
Can I make a cream cheese frosting for this cake?
Absolutely! A cream cheese frosting is the perfect partner. It matches the cheesecake tang beautifully.
Keep the frosting simple. Don’t make it too sweet.
This balances the richness of the cake layers.
Why did my cheesecake layer not stay in the middle?
This usually happens if the cheesecake mix is too thin. Or maybe you poured the top batter too fast.
Remember, the cheesecake layer should be thick enough. It sinks slightly during baking.
Pour that top layer gently, like you’re laying down silk.
If it sinks too much, your oven might be too hot initially.
Storing and Serving Your Creation
Once cooled, this cake needs proper care. I like to serve it chilled slightly. The cheesecake is firmer that way.
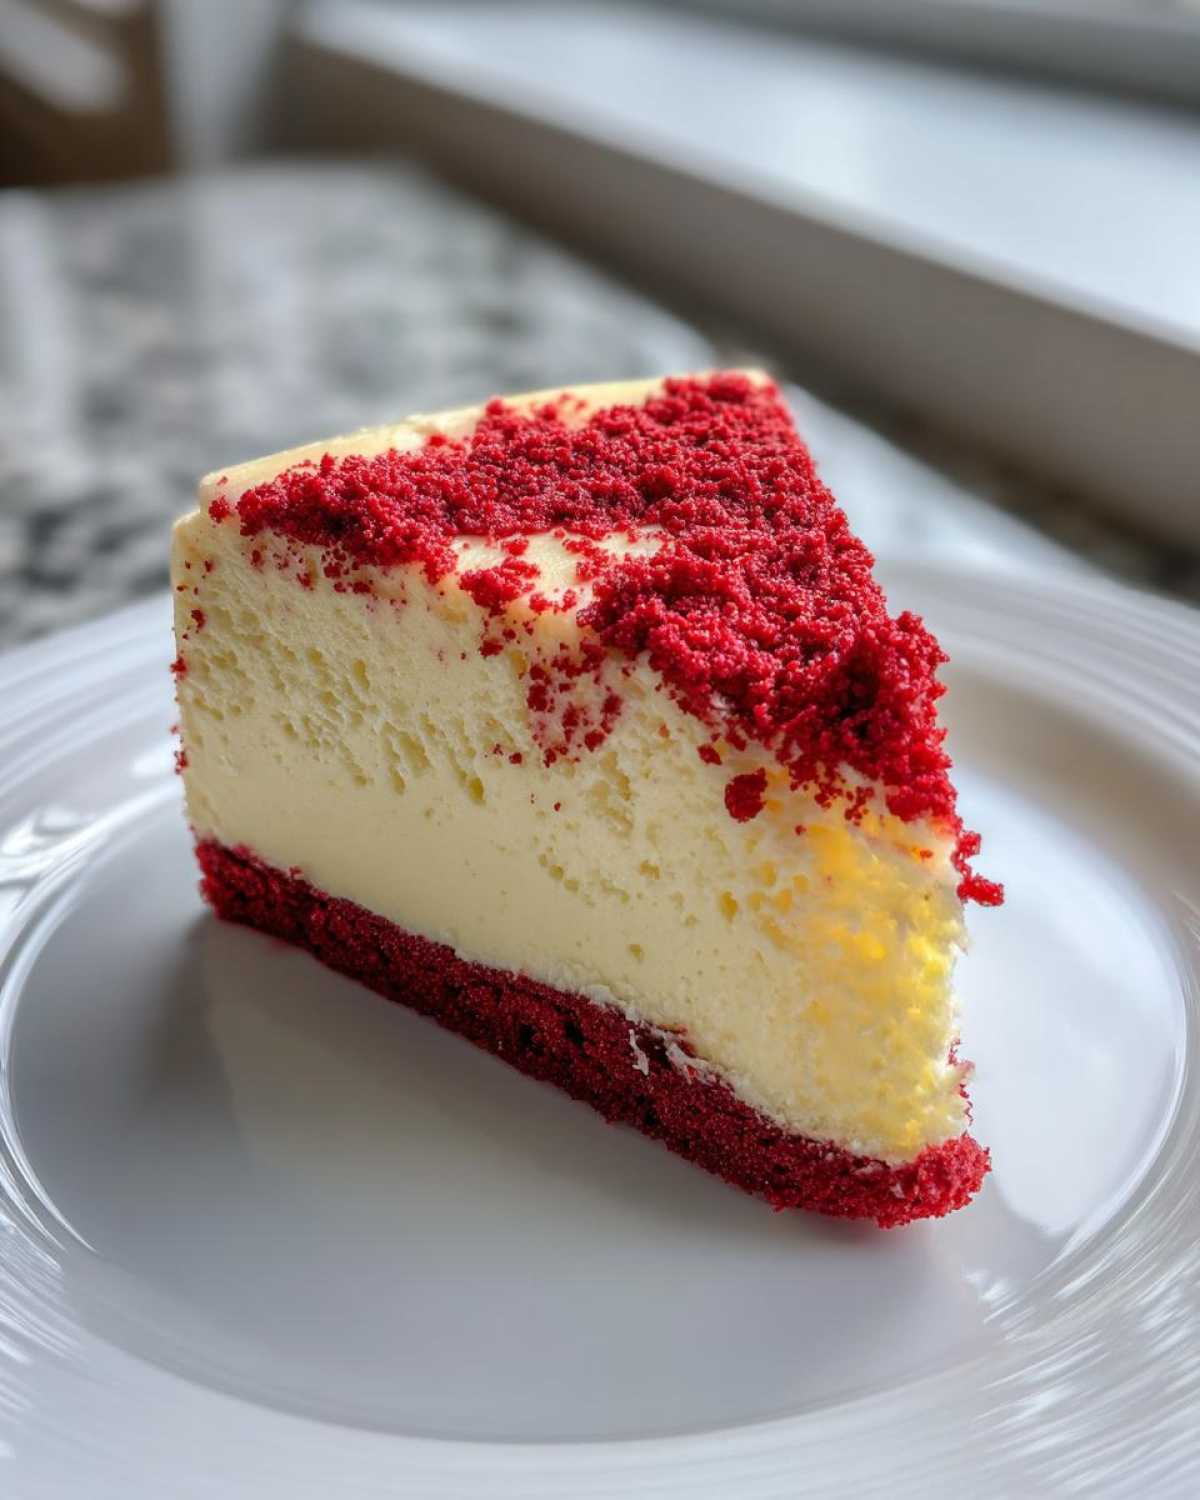
It keeps well for several days. Just remember that moisture is the enemy here.
Best Practices for Storage
- Cover the cake loosely with plastic wrap.
- Store leftovers in the refrigerator. It lasts up to four days.
- The cake tastes best within the first two days.
- If you want to serve it slightly softer, let it sit out briefly.
Do not leave frosted cake at room temperature long. That cream cheese filling needs the cold.
Share Your Spoon & Sprout Experience
We poured our hearts into this recipe for you. Baking is a conversation, remember?
Now, it’s your turn to join in. Tell us how it went in your kitchen.
Did the hidden layer surprise your guests? I love hearing those stories.
Your feedback helps us grow and learn more together.
Don’t be shy about sharing your successes or little kitchen adventures.
Rate This Recipe
Did this cake become a new family tradition for you?
Leave a rating below. Five stars means Spoon is happy.
We read every single comment you leave. We truly appreciate you baking with us.
Happy baking until our next shared recipe!
PrintAmazing 1 Red Velvet Cake with a Hidden Cheesecake Layer
Enjoy a decadent Red Velvet Cake featuring a surprise, creamy cheesecake layer baked right inside. This recipe combines deep, comforting flavor with a bright, fresh twist.
- Prep Time: 25 minutes
- Cook Time: 45 minutes
- Total Time: 70 minutes
- Yield: 10 servings
- Category: Cake
- Method: Baking
- Cuisine: American
- Diet: Vegetarian
Ingredients
- 1 3/4 cups all-purpose flour
- 1 teaspoon baking soda
- 1 teaspoon cocoa powder
- 1/2 teaspoon salt
- 1 cup granulated sugar
- 1/2 cup unsalted butter, softened
- 2 large eggs
- 1 cup buttermilk
- 1 teaspoon vanilla extract
- 1 tablespoon red food coloring
- 1 tablespoon white vinegar
- 8 ounces cream cheese, softened
- 1/4 cup granulated sugar (for cheesecake layer)
- 1 large egg (for cheesecake layer)
- 1 teaspoon vanilla extract (for cheesecake layer)
Instructions
- Preheat your oven to 350°F (175°C). Grease and flour a 9-inch round cake pan.
- In a small bowl, whisk together the flour, baking soda, and salt. Set aside.
- In a large bowl, cream together the 1 cup of sugar and softened butter until light and fluffy.
- Beat in the 2 eggs, one at a time, mixing well after each addition.
- In a separate bowl, mix the buttermilk, vanilla extract, and red food coloring.
- Gradually add the dry ingredients to the wet ingredients, alternating with the buttermilk mixture, beginning and ending with the dry ingredients. Mix until just combined.
- Stir in the white vinegar quickly. The batter will lighten slightly.
- Pour half of the red velvet batter into the prepared cake pan.
- Prepare the cheesecake layer: beat the softened cream cheese with the 1/4 cup sugar until smooth. Beat in the extra egg and 1 teaspoon of vanilla extract until just combined.
- Gently spoon the cheesecake mixture over the red velvet batter in the pan.
- Carefully pour the remaining red velvet batter over the cheesecake layer.
- Bake for 40 to 50 minutes, or until a wooden pick inserted near the edge comes out clean. The cheesecake center will be set.
- Let the cake cool in the pan for 10 minutes before inverting onto a wire rack to cool completely.
Notes
- The contrast between the rich cake and the smooth cheesecake creates a wonderful texture.
- Use high-quality red food coloring for the best color saturation.
- This cake pairs well with a simple cream cheese frosting.
- The cheesecake layer should sink slightly during baking, creating the hidden center.
Nutrition
- Serving Size: 1 slice
- Calories: Approx. 450
- Sugar: Approx. 45g
- Sodium: Approx. 250mg
- Fat: Approx. 28g
- Saturated Fat: Approx. 17g
- Unsaturated Fat: N/A
- Trans Fat: Trace
- Carbohydrates: Approx. 48g
- Fiber: Approx. 1g
- Protein: Approx. 6g
- Cholesterol: Approx. 110mg