

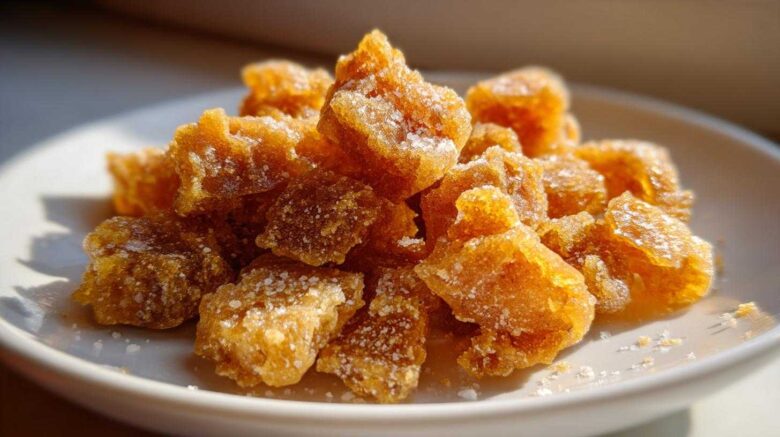
Crafting the Perfect Salted Honeycomb Sea Salt Candy
Are you ready for true decadence? I mean the kind of sweet that makes you close your eyes. This Salted Honeycomb Sea Salt Candy is pure magic. It’s deep, rich, and wonderfully airy. It feels like eating a cloud dipped in gold. Spoon and I spent years perfecting this balance. We wanted something truly indulgent. This recipe delivers that perfect, shattering crunch every time. Get your candy thermometer ready. We’re making something special today.
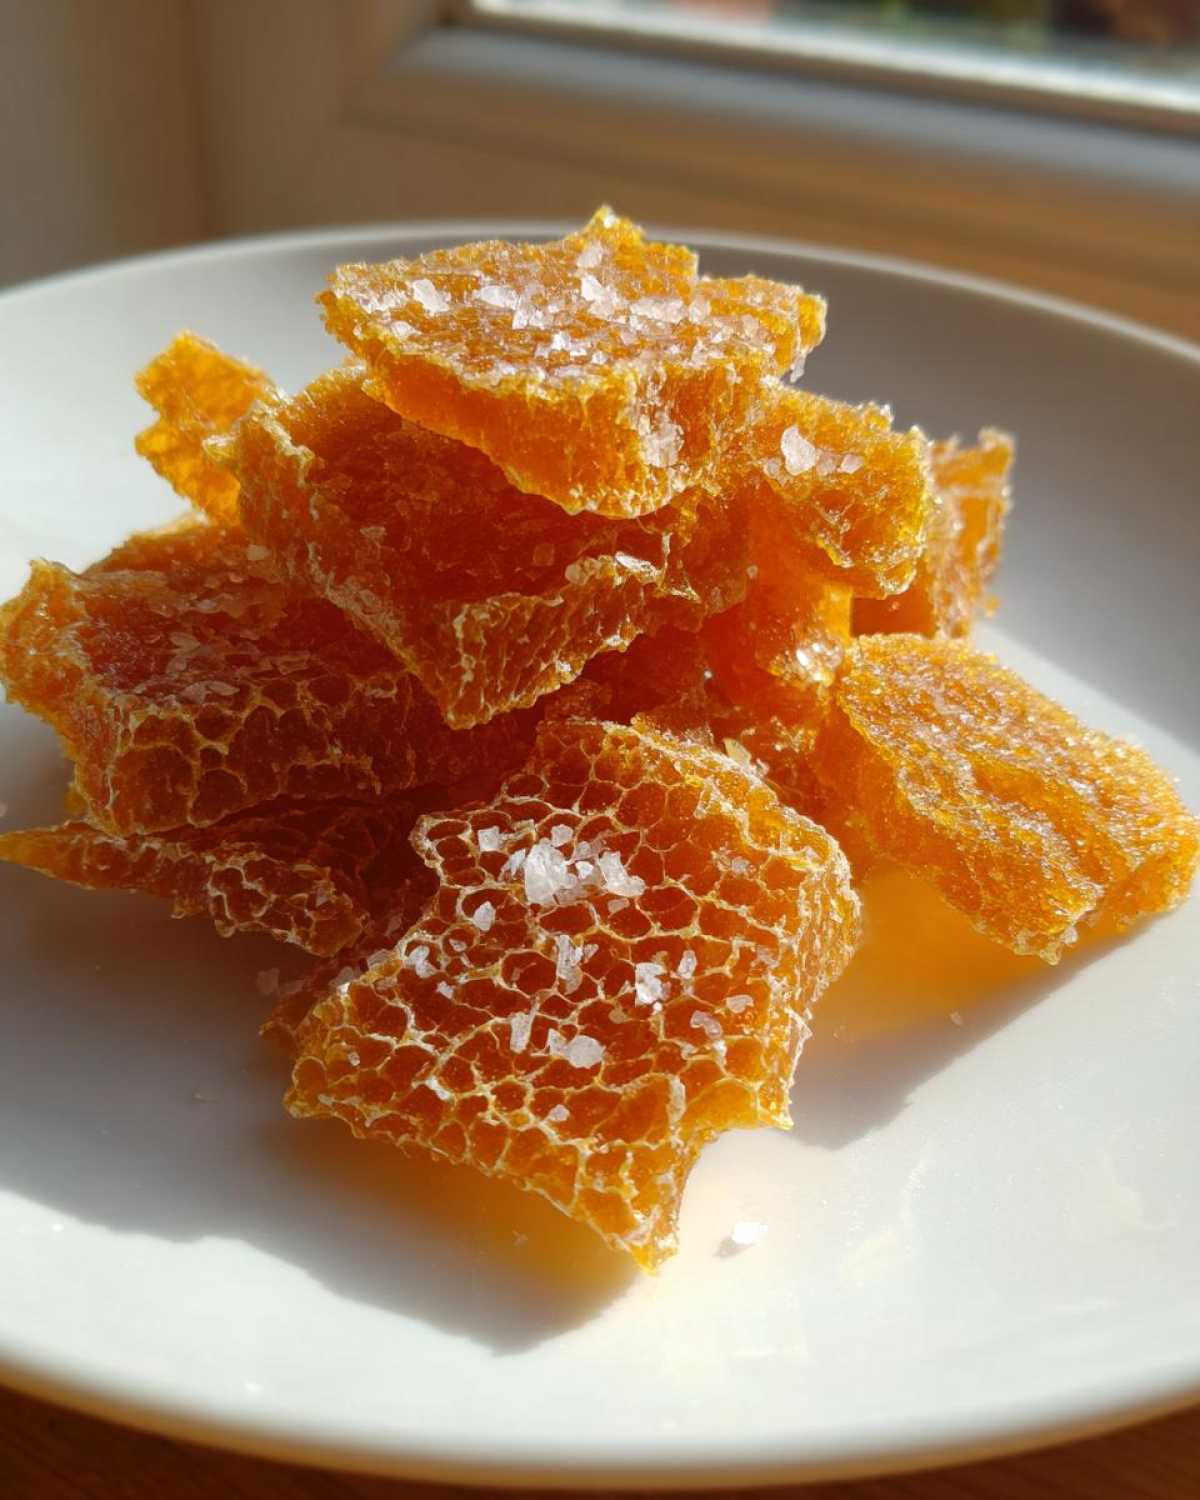
Why This Salted Honeycomb Sea Salt Candy Recipe Works
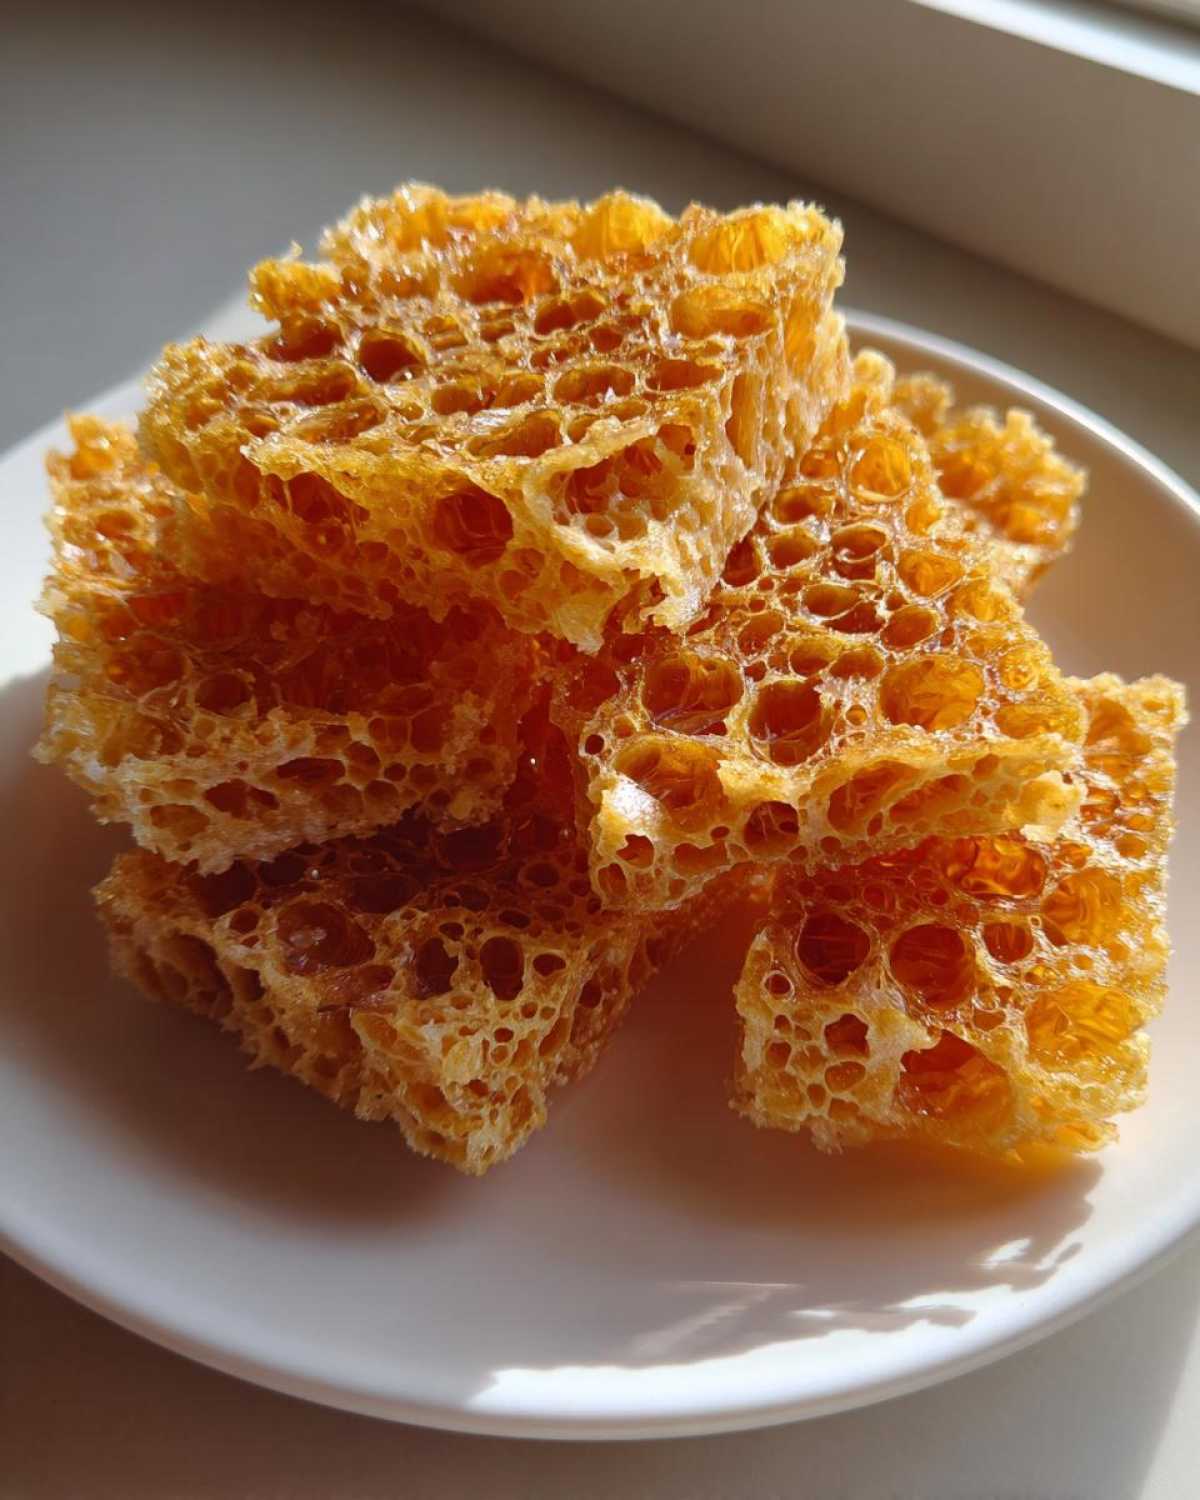
This recipe captures that sweet spot. It’s where intense sugar meets sharp sea salt. That contrast is what makes it so addictive. As Sprout, I love how the salt cuts through the sweetness. It keeps the flavor bright, not heavy. Spoon says it has wonderful “roots” in classic toffee making. We ensure the texture is light and airy. That makes this rich treat feel almost guilt-free. You’ll see why this is our favorite homemade candy.
Essential Ingredients for Your Salted Honeycomb Sea Salt Candy
Gathering your supplies is step one. Think of these ingredients as the foundation. They build the structure for this amazing treat. Quality matters here, friends. We need pure sugar for that clean caramel flavor. Remember, we are aiming for that perfect Salted Honeycomb Sea Salt Candy experience. Don’t skimp on the salt!
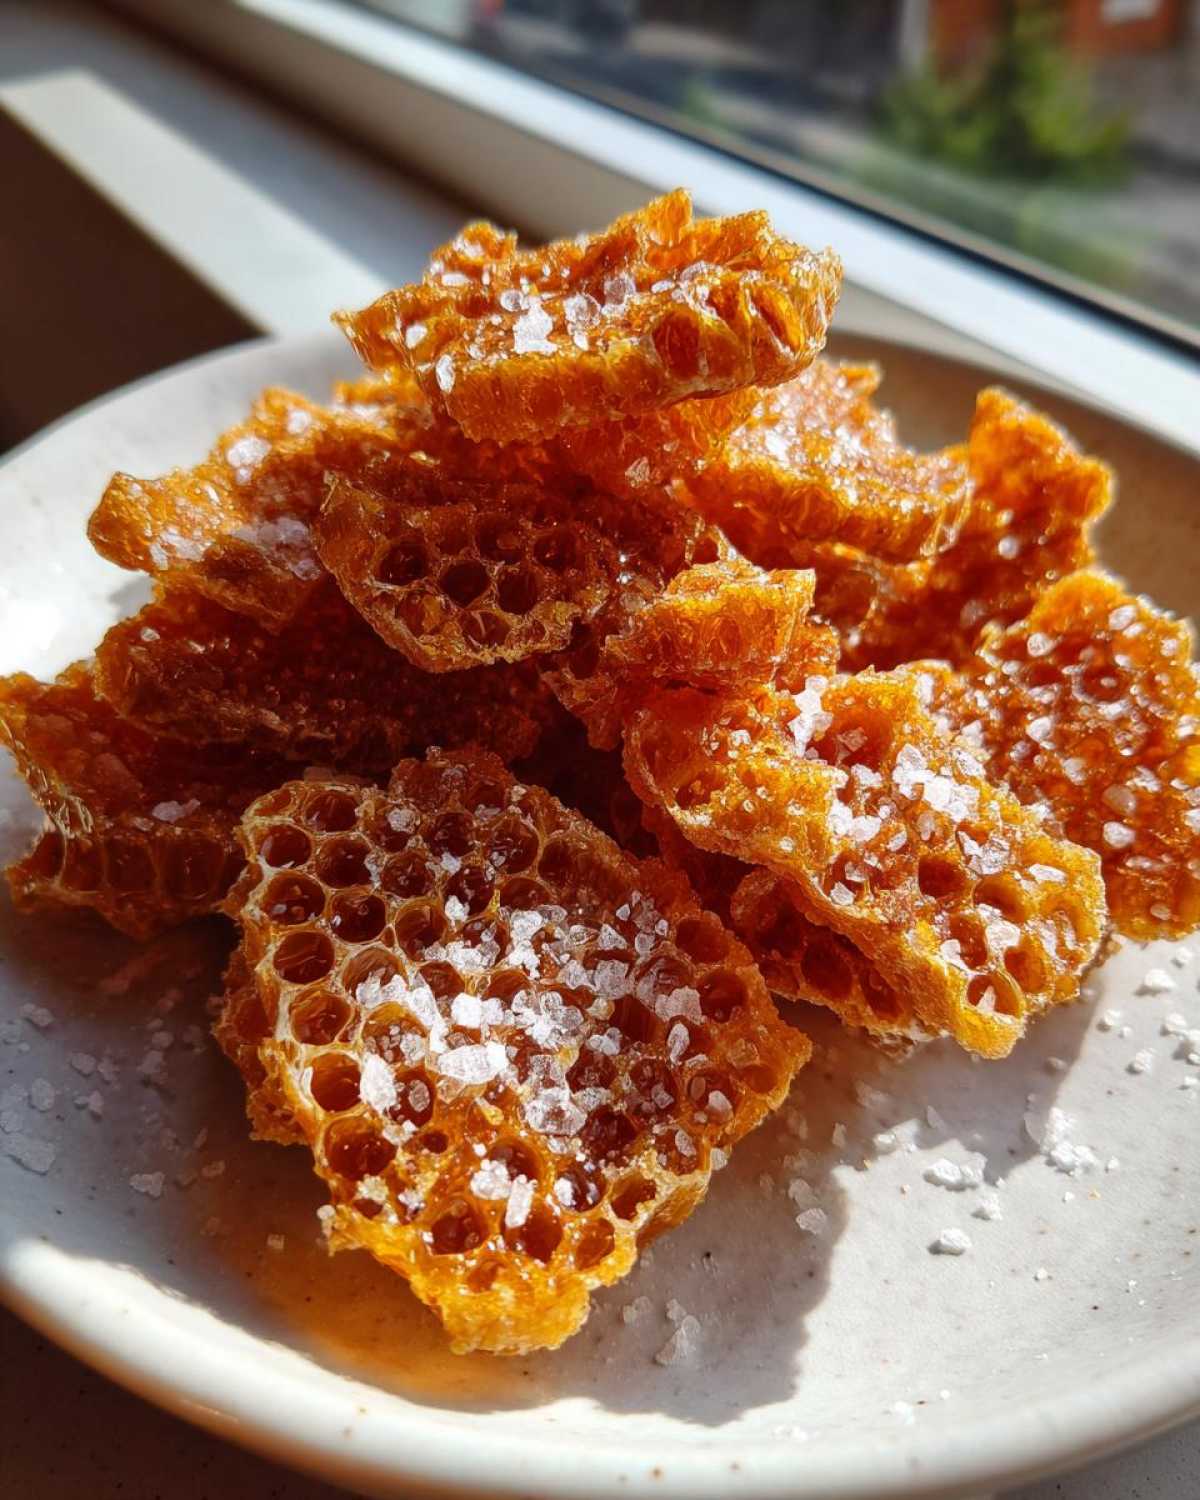
Ingredient Clarity and Preparation
I’ve listed exactly what you need. Measure everything before you turn on the heat. Things move fast later on. Grab two cups of plain granulated sugar. Use half a cup of light corn syrup. We need a quarter cup of clean water too. Don’t forget one tablespoon of baking soda. Add one teaspoon of vanilla extract. Finally, get your one teaspoon of flaky sea salt ready. That flaky texture is so important for the finish.
Equipment Needed for Salted Honeycomb Sea Salt Candy
You need the right tools for success. A candy thermometer is non-negotiable here. Seriously, trust me on this one. You must hit that hard crack stage. Grab a medium, heavy-bottomed saucepan. This helps distribute the heat evenly. You also need a baking sheet lined with parchment paper. This keeps your beautiful Salted Honeycomb Sea Salt Candy from sticking. Have a good whisk ready for the fast part.
Step-by-Step Instructions for Making Salted Honeycomb Sea Salt Candy
Now for the fun part, friends! Making candy can feel scary. Don’t let it intimidate you. We follow these steps closely. Precision means a perfect, airy result. This is where the magic happens for your Salted Honeycomb Sea Salt Candy.
Preparing the Surface
First things first, get your station ready. Line a baking sheet with parchment paper. You can use a silicone mat instead. Lightly grease the surface you choose. This prevents sticking later on. Trust me, you want that easy release. Everything must be ready to go quickly.
Reaching the Hard Crack Stage on the Stovetop
Grab your saucepan. Add the sugar, corn syrup, and water. Set the heat to medium. Stir gently just until the sugar dissolves. Stop stirring right when it starts boiling. Now, you wait patiently. Let the mixture cook for about 10 to 15 minutes. Watch that candy thermometer closely. You need exactly 300 degrees F or 149 degrees C. This is the hard crack stage. Do not stir once it boils!
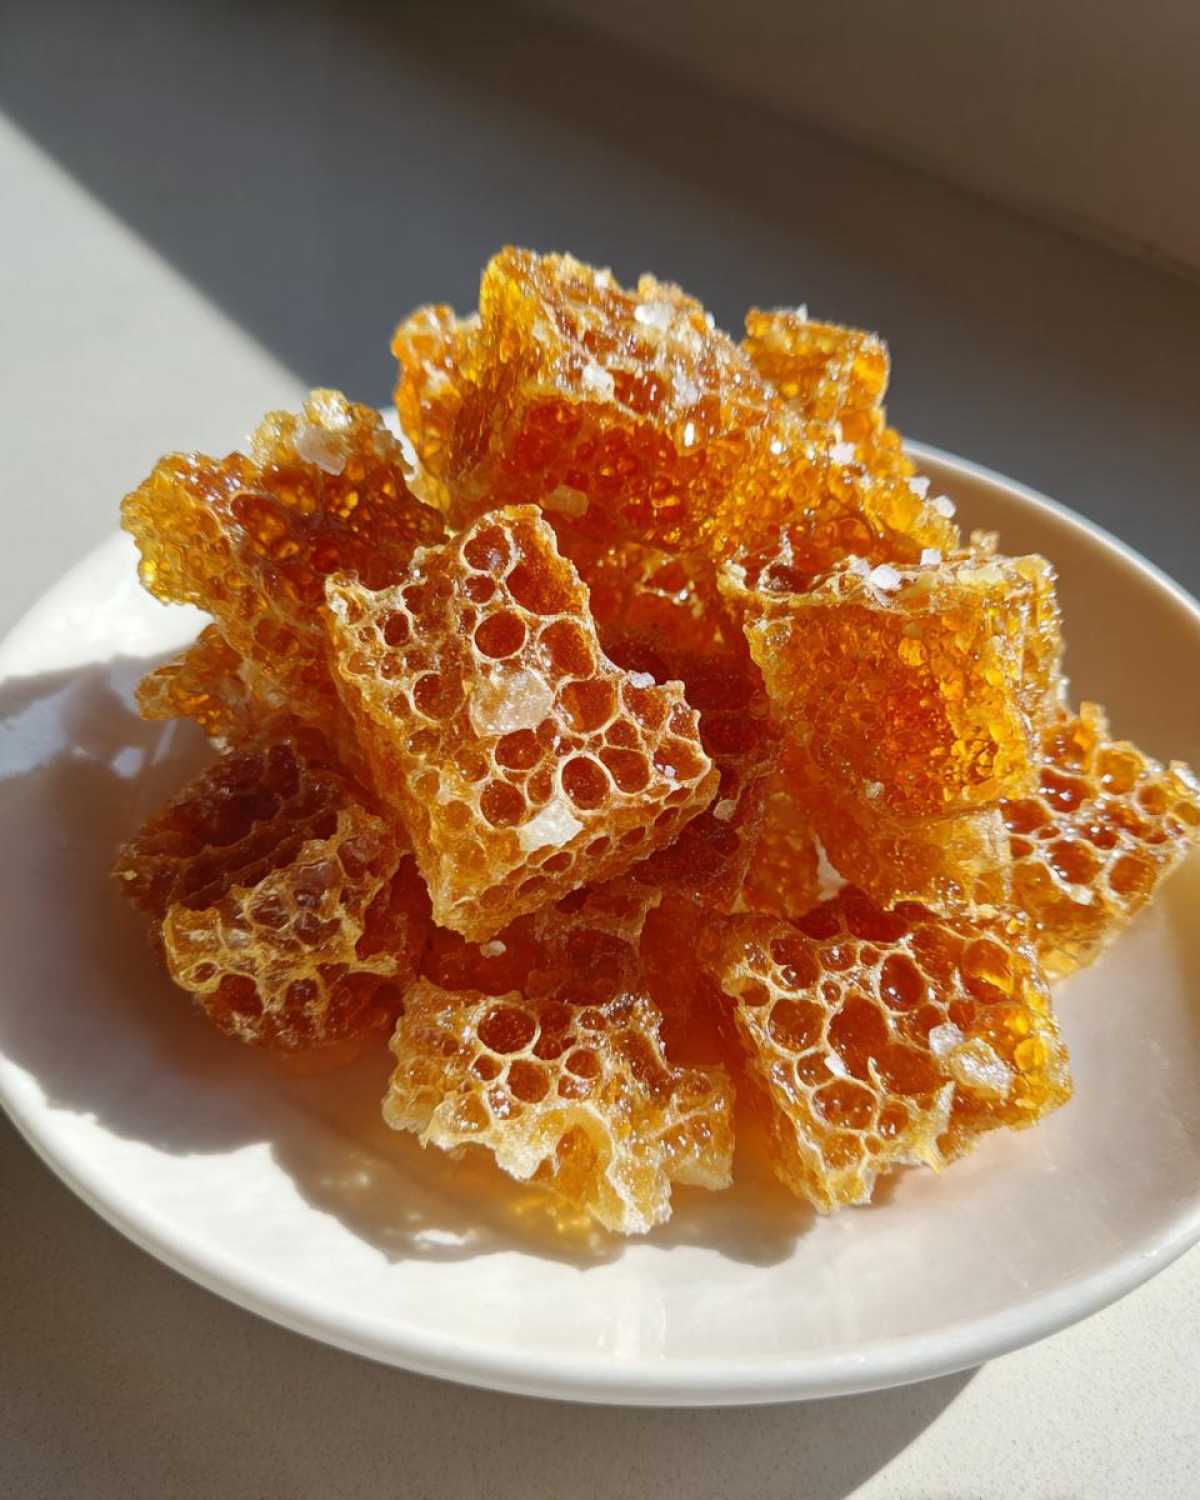
The Critical Foaming Reaction for Salted Honeycomb Sea Salt Candy
Time is now of the essence. Take the pan off the heat immediately. Stir in the vanilla extract quickly. Then, whisk in the baking soda very rapidly. It will foam up like a volcano erupting! This reaction creates the honeycomb structure. Work fast but keep control of the mixture. This quick action sets your Salted Honeycomb Sea Salt Candy.
Cooling and Breaking Your Homemade Candy
Pour the foaming syrup onto your prepared sheet. Do not try to spread it around. Let it settle all by itself. Sprinkle that flaky sea salt over the hot candy top. Now, leave it alone completely. Let it cool for one full hour. Do not touch it while it hardens. Once totally cool and solid, break it apart. Make irregular, rustic pieces. Enjoy that satisfying crack!
Tips for Success with Salted Honeycomb Sea Salt Candy
Making candy is chemistry in action, my friends. A few small details make a giant difference. I call these my Spoon & Sprout secrets. They help you avoid sunken candy. These tips guarantee that light, shatteringly crisp texture. We want that perfect Salted Honeycomb Sea Salt Candy.
Here are a few pointers I’ve learned over the years.
- Use a lighter colored pan if you have one. This helps you see the syrup color change. It prevents accidental burning.
- Measure your baking soda ahead of time. You need zero hesitation when it’s time to add it.
- The final product should be airy, not dense. This relies on speed and temperature control.
Mastering the Baking Soda Addition
This step is the heart of the honeycomb. When you whisk in the baking soda, you create bubbles. These bubbles get trapped as the candy cools. This traps the air, making it light. If you mix slowly, the reaction fizzles out too soon. If you add it while the pan is still hot on the burner, you might scorch it. Taking it completely off the heat allows for a vigorous, quick reaction. Whisking fast traps those tiny air pockets. This gives you the beautiful structure of true Salted Honeycomb Sea Salt Candy.
Storing Your Finished Salted Honeycomb Sea Salt Candy
You’ve made something truly special. Now, we need to protect that perfect crunch. Humidity is the absolute enemy here. If moisture gets in, your candy gets sticky fast. That’s the worst feeling after all that work.
I learned this the hard way years ago. My beautiful Salted Honeycomb Sea Salt Candy turned into a sticky mess overnight. We want to keep that shatteringly crisp texture. So, storage is just as important as the cooking.
Here is my best advice for keeping your candy fresh.
- Use an airtight container always. No exceptions here, folks.
- Keep the container at room temperature. Never put honeycomb in the fridge.
- Make sure the container is completely dry inside.
Store your finished Salted Honeycomb Sea Salt Candy inside that sealed jar. A dry environment keeps the air out. This keeps your homemade candy perfect for weeks. Enjoy every crunchy, salty bite.
Frequently Asked Questions About This Indulgent Dessert
I know candy making seems tricky sometimes. It did for me too when I started. Don’t worry if you have questions. We all learn through practice. Here are some common things readers ask me about this recipe.
What Happens If My Salted Honeycomb Sea Salt Candy Doesn’t Foam Up?
This usually means one thing, friend. The temperature was too low. You must reach that hard crack stage. If you pull it off the heat too early, the reaction won’t be strong enough. The baking soda needs high heat energy. Also, make sure you whisk the baking soda in very fast. A slow whisk means a weak foam. Double-check your thermometer next time.
Can I Substitute the Corn Syrup in This Recipe?
That’s a great question about ingredients. Corn syrup is key here, truly. It keeps the sugar from crystallizing too soon. It keeps the texture smooth. You can try using glucose syrup instead. It works very well in candy making. I would avoid honey or maple syrup though. They change the flavor profile too much. They also affect the final structure of your Salted Honeycomb Sea Salt Candy.
Nutritional Disclaimer
As Spoon, I believe in honest sharing. These numbers are just estimates for you. They help guide your choices in the kitchen. We used standard ingredient brands for calculation. Your specific ingredients might change things a bit. Portion size matters a lot too. If you eat a bigger piece, the numbers change.
These figures reflect the general recipe data. They aren’t a medical guarantee of any kind. Enjoy this rich treat mindfully. Food is memory and life. Nutrition facts are secondary to joy.
Share Your Salted Honeycomb Sea Salt Candy Experience
Now you have the secret to this incredible treat. I can’t wait for you to try it. Spoon and I love hearing from you all. Did you get the perfect airy crunch?
Tell me about your kitchen adventure. Did you use the flaky salt on top?
I want to know if this became your new favorite indulgence. Did you share your Salted Honeycomb Sea Salt Candy? You can see more of our kitchen adventures on our blog.
Please rate this recipe below. Leave a comment sharing your results. Your stories help our Spoon & Sprout kitchen grow. Happy baking, everyone!
PrintSalted Honeycomb Sea Salt Candy: 1 Amazing Indulgence
Create a truly decadent Salted Honeycomb Sea Salt Candy. This recipe balances rich sweetness with a touch of sea salt for an indulgent treat.
- Prep Time: 10 minutes
- Cook Time: 15 minutes
- Total Time: 1 hour 25 minutes
- Yield: About 1 pound
- Category: Candy/Dessert
- Method: Stovetop Cooking
- Cuisine: American
- Diet: Vegetarian
Ingredients
- 2 cups Granulated Sugar
- 1/2 cup Light Corn Syrup
- 1/4 cup Water
- 1 tablespoon Baking Soda
- 1 teaspoon Vanilla Extract
- 1 teaspoon Flaky Sea Salt
Instructions
- Prepare a baking sheet by lining it with parchment paper or a silicone mat. Lightly grease the paper or mat.
- In a medium, heavy-bottomed saucepan, combine the sugar, corn syrup, and water.
- Place the saucepan over medium heat. Stir gently until the sugar dissolves. Stop stirring once boiling begins.
- Cook the mixture without stirring until it reaches 300 degrees F (149 degrees C) on a candy thermometer, which is the hard crack stage. This will take about 10 to 15 minutes. Watch carefully to prevent burning.
- Remove the saucepan from the heat immediately.
- Quickly stir in the vanilla extract.
- Rapidly whisk in the baking soda. The mixture will foam up significantly and turn light in color. Work fast.
- Pour the foaming mixture onto the prepared baking sheet. Do not spread it out; let it settle naturally.
- Sprinkle the flaky sea salt evenly over the top of the hot candy.
- Let the honeycomb cool completely and harden, about 1 hour. Do not touch or move it while cooling.
- Once fully cooled and hard, break the honeycomb into irregular pieces.
Notes
- The key to light honeycomb is adding the baking soda off the heat and mixing quickly.
- Use a light-colored pan so you can accurately monitor the color change of the syrup.
- Store your finished candy in an airtight container at room temperature. Humidity is the enemy of honeycomb.
Nutrition
- Serving Size: 1 ounce (approx. 28g)
- Calories: 120
- Sugar: 24g
- Sodium: 150mg
- Fat: 0g
- Saturated Fat: 0g
- Unsaturated Fat: 0g
- Trans Fat: 0g
- Carbohydrates: 30g
- Fiber: 0g
- Protein: 0g
- Cholesterol: 0mg