

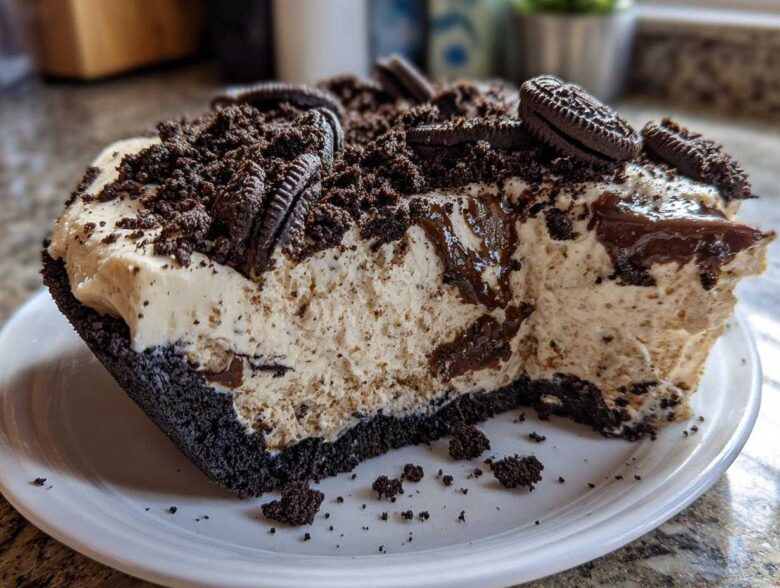
If you’re like me, sometimes you just need a massive hit of chocolate and creaminess without turning on the oven for an hour. Seriously, who has the patience sometimes? That’s why this No-Bake Creamy Oreo Pie is my absolute go-to rescue dessert. It’s ridiculously decadent, it sets up beautifully in the fridge, and it tastes like someone blended a giant, perfect cup of cookies and cream straight into a crust.
This isn’t just any chocolate pie; it’s the definitive, easy Oreo pie that disappears before any other dessert at a party. I love it because I can whisk it together while the coffee is brewing, and walk away knowing I have a showstopper ready later. Trust me, you’re going to want to keep this recipe card tucked away safely!
Why This No-Bake Oreo Pie Recipe Works So Well
I hear people stress about baking all the time, but this recipe reminds everyone that magic doesn’t require an oven or complicated techniques. This is genuinely the most dependable Easy Oreo Dessert you’ll ever make. You’ll be astonished at how professional it looks considering the minimal effort required!
Speed and Simplicity: The Ultimate Quick Oreo Dessert
We’re talking about 20 minutes of active work, tops. That’s it! You combine a few pantry staples, press the crust, and let the refrigerator do all the heavy lifting. This makes it the perfect last-minute Quick Oreo Dessert when you suddenly realize you forgot to bring a treat to the gathering. It’s fool-proof, which is exactly what I need on a busy weeknight.
Achieving the Velvety Oreo Filling Texture
The texture is where this filling really sets itself apart from those simple, one-note pudding pies. We use softened cream cheese for structure, and then we gently fold in the whipped topping. That combination creates an unbelievably smooth, Velvety Oreo Filling that feels decadent, almost like a frozen mousse. It’s light enough to still be refreshing, but rich enough to satisfy that intense chocolate craving.
Gathering Ingredients for Your Creamy Oreo Pie Recipe
Before we dive into the magic mixing stage, let’s take a peek at what you need for this amazing Oreo Pie. The beauty of this recipe is that you likely have most of these things floating around already! We skip the whole oven step, so all you need are simple things to make that spectacular, creamy filling.
I always keep a bag of Oreos in the pantry specifically for emergencies like this. Remember to grab the cream cheese when you’re getting your groceries because it absolutely has to be softened—don’t try to rush it! That’s the key to avoiding a lumpy disaster.
- 1 1/2 cups Oreo cookie crumbs (about 30 cookies—make sure you save a few for snacking while you work!)
- 6 tablespoons unsalted butter, melted
- 8 ounces cream cheese, softened
- 1 cup powdered sugar
- 1 teaspoon vanilla extract
- 1 (8 ounce) container frozen whipped topping, thawed
- 1 (3.4 ounce) package instant chocolate pudding mix
- 1 1/2 cups cold milk
- 1 cup crushed Oreo cookies, for topping
Crafting the Homemade Oreo Crust for Your Oreo Pie
Okay, the very first step in building this incredible oreo pie is getting that foundation right. We take our cookie crumbs—and listen closely, I usually pulse the whole cookies in the food processor until they’re fine—and mix them right up with the melted butter. You want that mixture to look like wet sand, something that will definitely hold together when pressed.
In your 9-inch pie plate, press that buttery mixture firmly down. I mean *firmly*! Use the bottom of a glass or a measuring cup to really pack it in along the bottom and up the sides. Once it’s tight, pop that crust into the freezer while you start on the filling. This quick chill is essential to keep it from crumbling when you pour in the filling later.
Pro Tip for a Firm Homemade Oreo Crust
Seriously, don’t skip the freezer step for the crust. If you think your crust is packed well enough, pack it one more time! I always press down until my hand starts to ache a little bit—that’s how you guarantee a slice that stays intact when you cut into this beautiful oreo pie later on. Give it a good solid 15 minutes in the freezer to set up hard before moving on!
Mixing the Indulgent Oreo Cheesecake Pie Filling
Now that our crust is safely chilling and hardening up, we can get to the real fun: the filling that makes this the best oreo pie around! This is where we build that incredible creaminess. You have three main stars here: the cream cheese layer, the instant pudding, and the whipped topping.
First thing first: attack the cream cheese! Get that softened cream cheese, the powdered sugar, and your vanilla extract into a nice big bowl. Beat them together first until everything looks gorgeous and absolutely lump-free. Then, in a separate bowl, you need to whisk your instant chocolate pudding mix with the cold milk. Whisk it like you mean it for a full two minutes. It’s going to look a little thin at first, but let it sit for about five minutes, and you’ll be amazed at how quickly it thickens up—that’s the magic of the instant type!
Once the pudding has thickened slightly and your cream cheese base is smooth, it’s time to combine the heavy hitters. Gently fold in the thawed whipped topping until it’s just incorporated and light. Then, very gently, fold in that thickened chocolate pudding mixture. Don’t overmix here; we want to keep those air bubbles for a lighter bite. Pour all that luxurious filling right into your waiting crust. This is what makes it an amazing oreo pie!
Ensuring Smoothness in the Cream Cheese Base
I cannot stress this enough: your cream cheese must be genuinely soft. If it’s too cold, you end up with those little rubbery chunks in your base, and honestly, that ruins the whole velvety experience of a perfect oreo pie. Take it out of the fridge an hour before you plan to bake (or not bake, in our case!). It should yield easily when you press your finger into it. Soft cream cheese whips up beautifully and marries with the sugar far better than its cold counterpart.
Assembling and Chilling Your Easy Oreo Dessert
We’re almost there, just a couple more simple steps until this glorious Easy Oreo Dessert is ready for its close-up! Once that dreamy filling is totally mixed, you’re just going to pour it right over your firm, chilly crust. Take your time getting it level; a spatula works great for smoothing the top surface. That smooth sheen is just gorgeous before we add the final flourish!
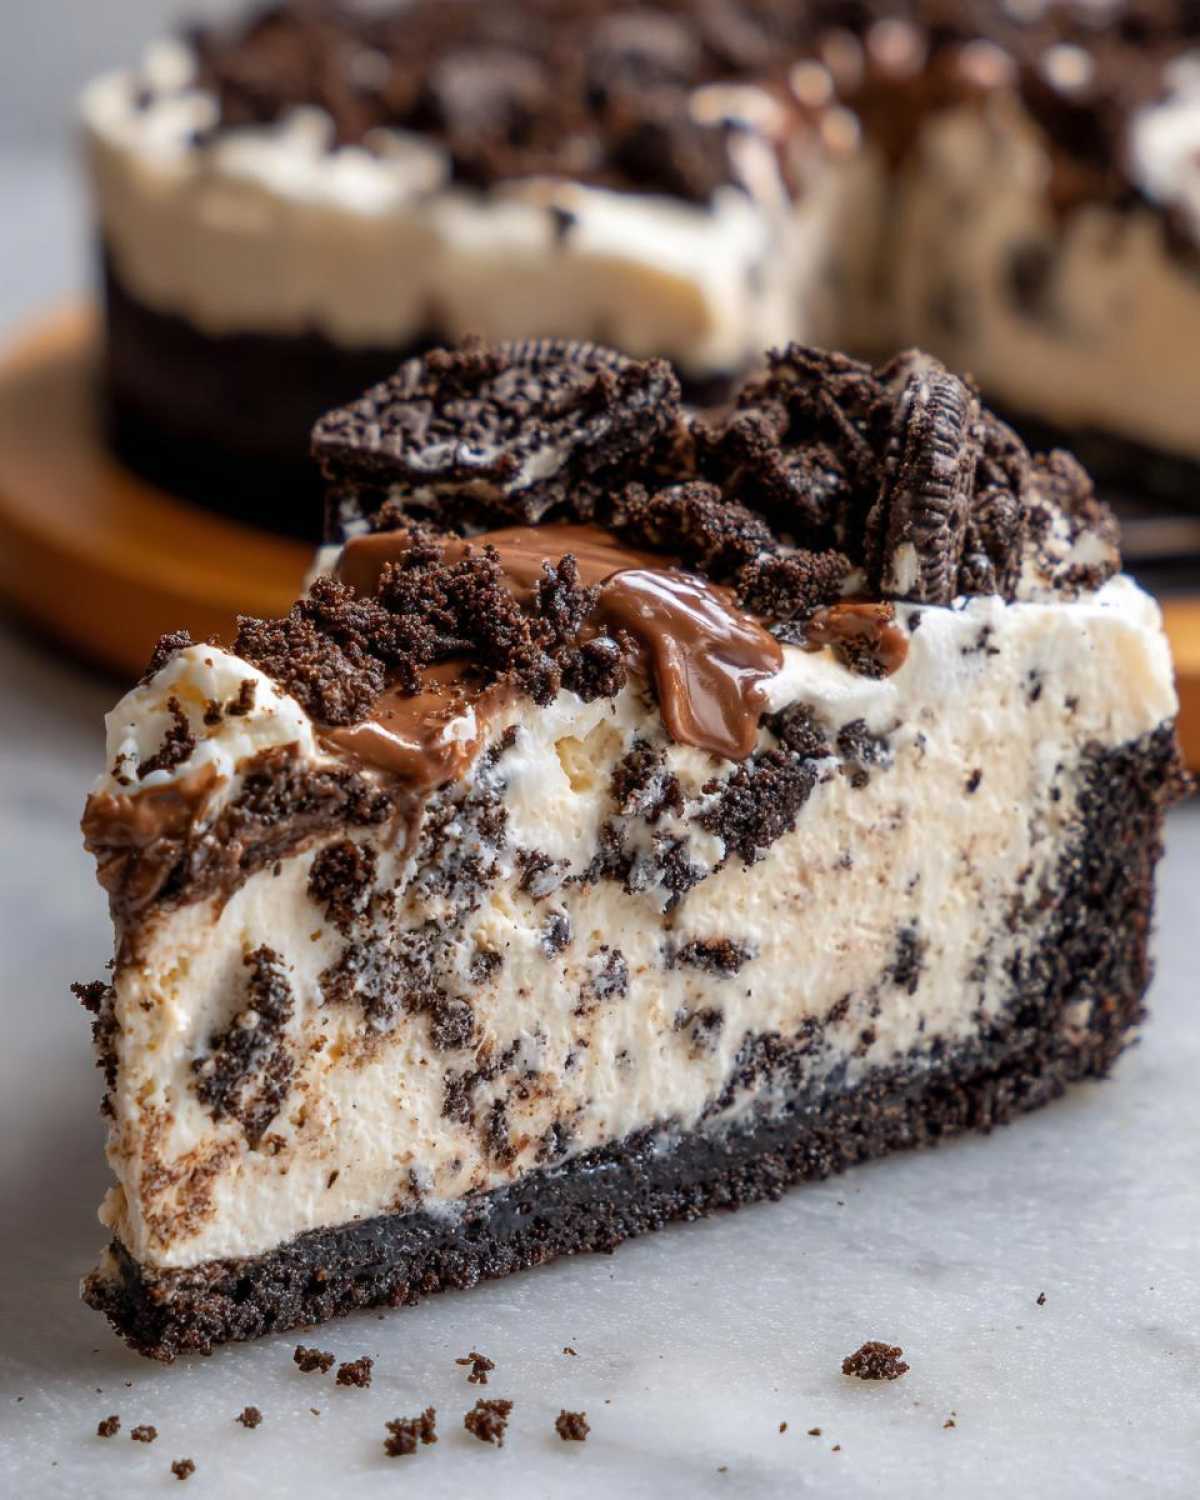
Now, for the best part—take that reserved cup of crushed Oreos and sprinkle them generously all over the top. I like to make sure there’s a little cookie crunch visible in every single slice. Once you’ve added the topping, it needs time to really set up. You absolutely must chill this pie for a minimum of four hours. I usually aim for five or six, or just make it the day before you plan to serve it. This is a serious Chilled Oreo Dessert, and chilling is non-negotiable for clean slices!
Tips for Success with Your No Bake Cookies and Cream Pie
Even though this is a super simple No Bake Cookies and Cream Pie, a couple of tiny pointers can take it from great to absolutely legendary. Remember how I mentioned whisking the pudding mix? Don’t skimp on that two minutes! If you don’t let that instant pudding activate properly, the filling will stay grainy instead of achieving that promised velvet texture.
Also, think about serving temperature. Because this pie relies on the cold cream cheese and whipped topping to stay firm, it really is at its peak straight from the coldest part of your fridge. If your kitchen is super warm, maybe chill it a little longer than the recommended four hours. That way, every bite stays perfectly firm and luscious.
Make-Ahead and Storage for This Oreo Pie
The best thing about this Oreo Pie is that it practically demands to be made ahead of time! I think it actually tastes better the next day once the flavors have had a chance to really marry. You can safely store leftovers in the fridge, covered snugly with plastic wrap, for up to three days. The crust stays surprisingly sturdy.
Can you freeze it? Yes, but I recommend freezing it *before* you put the final sprinkle of crushed cookies on top. Wrap the whole pie tightly in cling wrap, then maybe foil, and freeze for up to a month. When you want to serve it, let it thaw in the fridge overnight, and then add those fresh crumbs right before slicing. Perfection!
Frequently Asked Questions About This Oreo Pie
It’s normal to have a few questions when diving into a new, no-fuss favorite! I’ve pulled together the things folks ask me most often about making sure this simple Oreo Pie comes out flawlessly every single time. It really is the ultimate No Oven Dessert!
Can I use a baked crust instead of freezing the Oreo crust?
You absolutely could, but why would you want to? The beauty of this entire recipe is that it’s totally No Oven Dessert! Freezing the crust for 15 minutes makes it perfectly firm enough to hold that creamy filling without ever needing to turn on the heat. Baked crusts can sometimes shrink or get too hard, so I always stick to freezer chilling!
How do I get the richest flavor for my Oreo Pudding Pie?
For the best, deepest chocolate flavor in your Oreo Pudding Pie, I always recommend using whole milk when you whisk up the instant pudding mix. The higher fat content in whole milk helps create a richer, silkier pudding consistency compared to skim or low-fat milk. It makes a huge difference in the final mouthfeel of the pie!
Do I have to use instant pudding mix?
Yes, you really do! Because this is a no-bake recipe, the instant pudding is what sets up when mixed with the cold milk and then incorporates the cream cheese mixture. Cook-and-serve pudding just won’t thicken enough on its own in the fridge to hold the slicing structure we need for this amazing oreo pie.
Can I substitute a different cookie for the Oreos?
You could try it, but then it stops being an Oreo Pie, doesn’t it? The flavor balance of the vanilla cream filling and the dark chocolate cookie is what makes this recipe iconic! Since the cookies are the star of both the crust and the topping, I strongly recommend sticking with the classic dark chocolate sandwich cookies for the best result.
Approximate Nutritional Data for One Slice of Oreo Pie
Now, I know most of us aren’t worried about nutrition when we are diving headfirst into a slice of chocolate heaven like this, but I always like to give you an idea of what you’re getting into! Please remember that these numbers are just estimates based on the ingredients I listed, and if you use different brands or add extra toppings, your final count will change.
I calculated this based on getting 8 generous slices out of the whole oreo pie. It’s rich, decadent, and definitely a treat, so enjoy it guilt-free!
- Serving Size: 1 slice
- Calories: 410
- Sugar: 35g
- Fat: 26g (with 15g Saturated Fat)
- Carbohydrates: 42g
- Protein: 5g
Share Your Thoughts on This Simple Oreo Treat
Wow, you made it all the way through! I am so excited for you to try this Simple Oreo Treat. Please, please, please come back and leave me a star rating right down below. Did you love the cream cheese swirl? Let me know in the comments how it went, and tag me if you snap a picture on social media! Happy eating!
PrintNo-Bake Creamy Oreo Cheesecake Pie

Make this easy, no-bake Oreo pie using a simple cookie crust and a rich, creamy filling made with cream cheese and whipped topping. This dessert sets quickly in the refrigerator.
- Prep Time: 20 min
- Cook Time: 0 min
- Total Time: 4 hr 20 min
- Yield: 8 servings
- Category: Dessert
- Method: No Bake
- Cuisine: American
- Diet: Vegetarian
Ingredients
- 1 1/2 cups Oreo cookie crumbs (about 30 cookies)
- 6 tablespoons unsalted butter, melted
- 8 ounces cream cheese, softened
- 1 cup powdered sugar
- 1 teaspoon vanilla extract
- 1 (8 ounce) container frozen whipped topping, thawed
- 1 (3.4 ounce) package instant chocolate pudding mix
- 1 1/2 cups cold milk
- 1 cup crushed Oreo cookies, for topping
Instructions
- Combine the Oreo cookie crumbs and melted butter in a medium bowl. Press the mixture firmly into the bottom and up the sides of a 9-inch pie plate. Place the crust in the freezer while you prepare the filling.
- In a large bowl, beat the softened cream cheese, powdered sugar, and vanilla extract until smooth.
- In a separate bowl, whisk together the instant chocolate pudding mix and cold milk for two minutes until slightly thickened. Let it stand for five minutes.
- Gently fold the whipped topping into the cream cheese mixture until just combined.
- Fold the thickened chocolate pudding into the cream cheese mixture until uniform.
- Pour the filling evenly into the prepared crust.
- Sprinkle the remaining crushed Oreo cookies over the top of the pie.
- Chill the pie in the refrigerator for at least 4 hours, or until firm, before slicing and serving.
Notes
- You can make your own Oreo crumbs by pulsing whole cookies in a food processor until fine.
- Use whole milk for the richest pudding flavor.
- This pie tastes best when served cold directly from the refrigerator.
Nutrition
- Serving Size: 1 slice
- Calories: 410
- Sugar: 35
- Sodium: 320
- Fat: 26
- Saturated Fat: 15
- Unsaturated Fat: 11
- Trans Fat: 0.5
- Carbohydrates: 42
- Fiber: 1
- Protein: 5
- Cholesterol: 55