

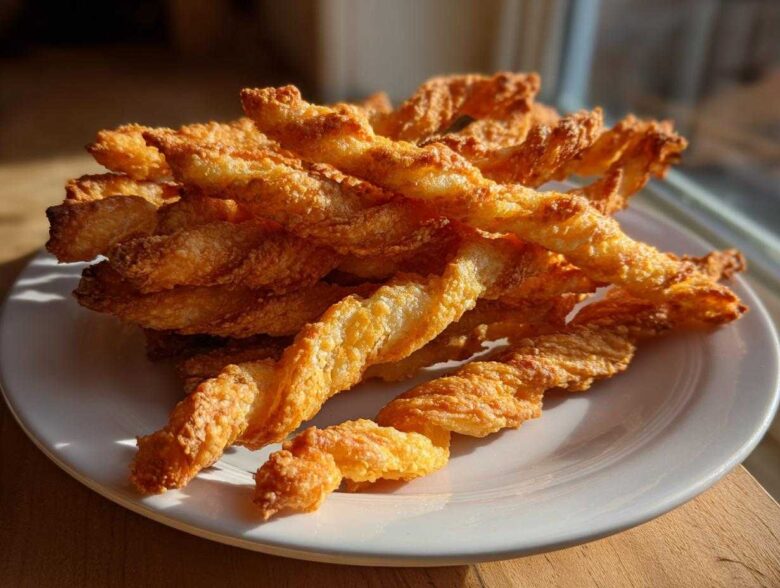
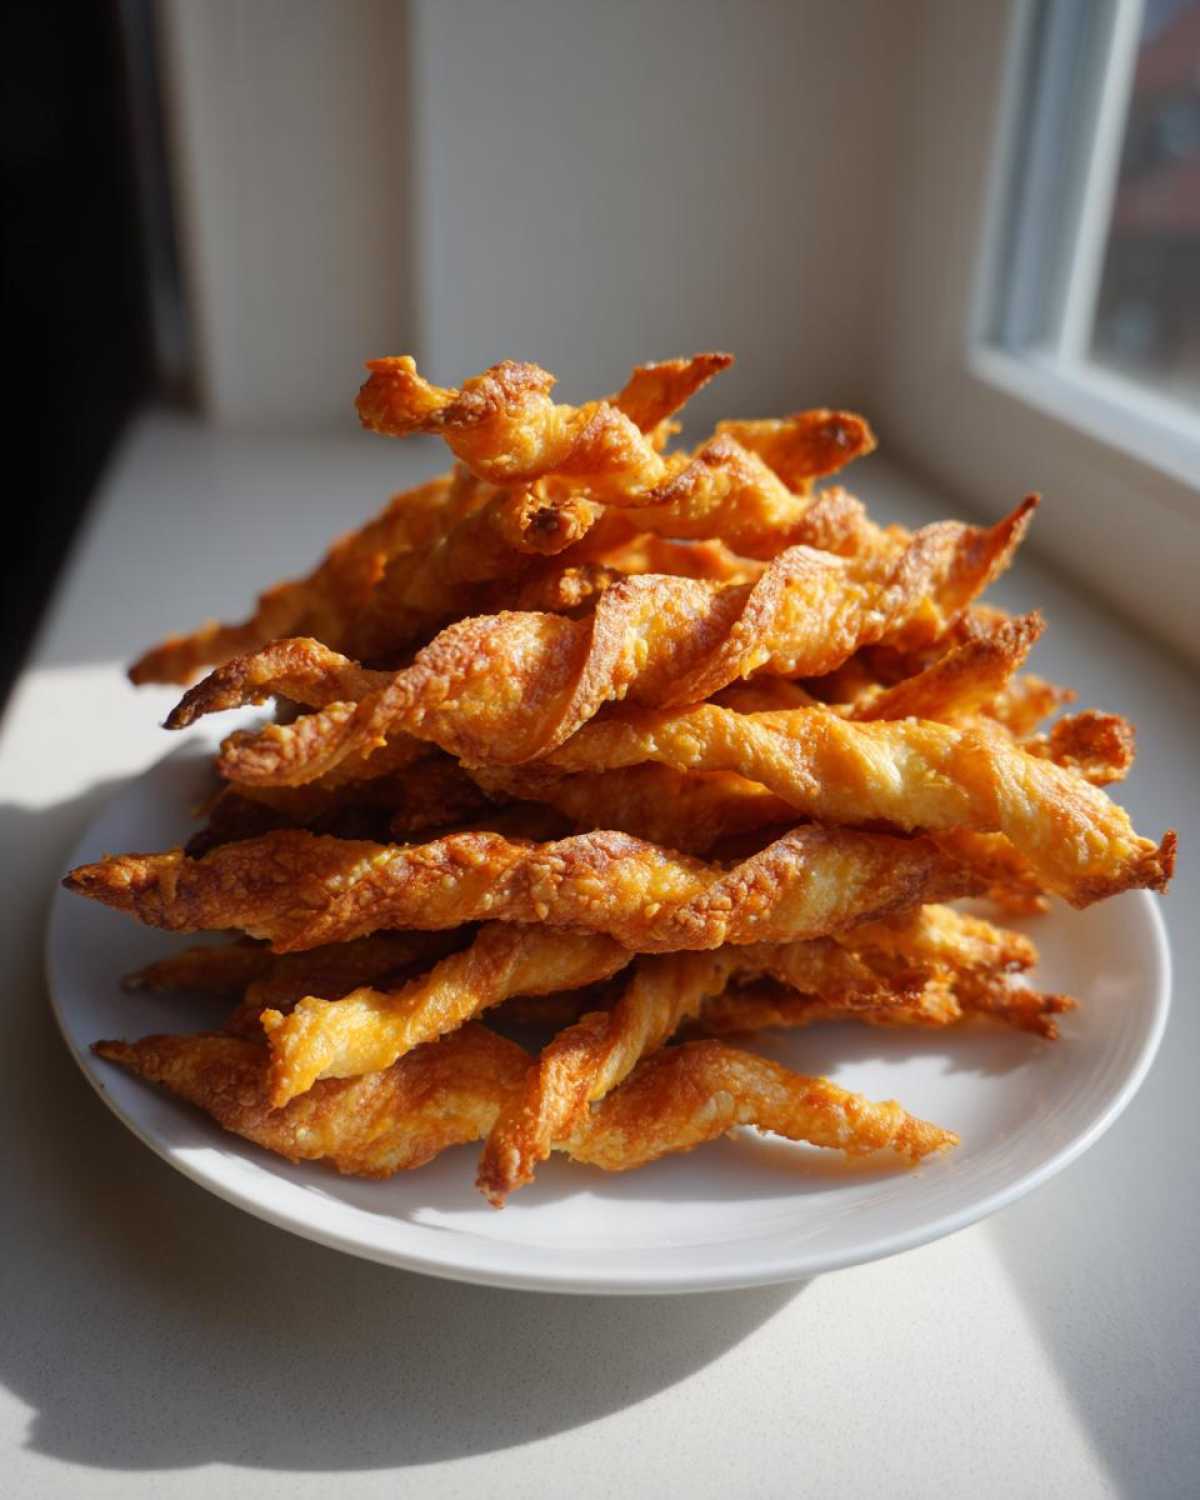
Oh, if there is one thing Spoon insists on recreating whenever we have company over, it’s these glorious, savory bites. In the South, you really haven’t thrown a proper gathering until you have a bowl of freshly baked cheese straws sitting out. These aren’t your airy, store-bought crackers; we’re talking about the deeply flavorful, shatteringly crispy kind that melt slightly in your mouth before delivering that signature sharp cheddar punch. Making the Classic Southern Extra-Crispy Cheddar Cheese Straws is one of those recipes I learned right from Spoon—it connects me directly to the heritage of our family kitchen. Once you taste this homemade crunch, you’ll never go back, trust me.
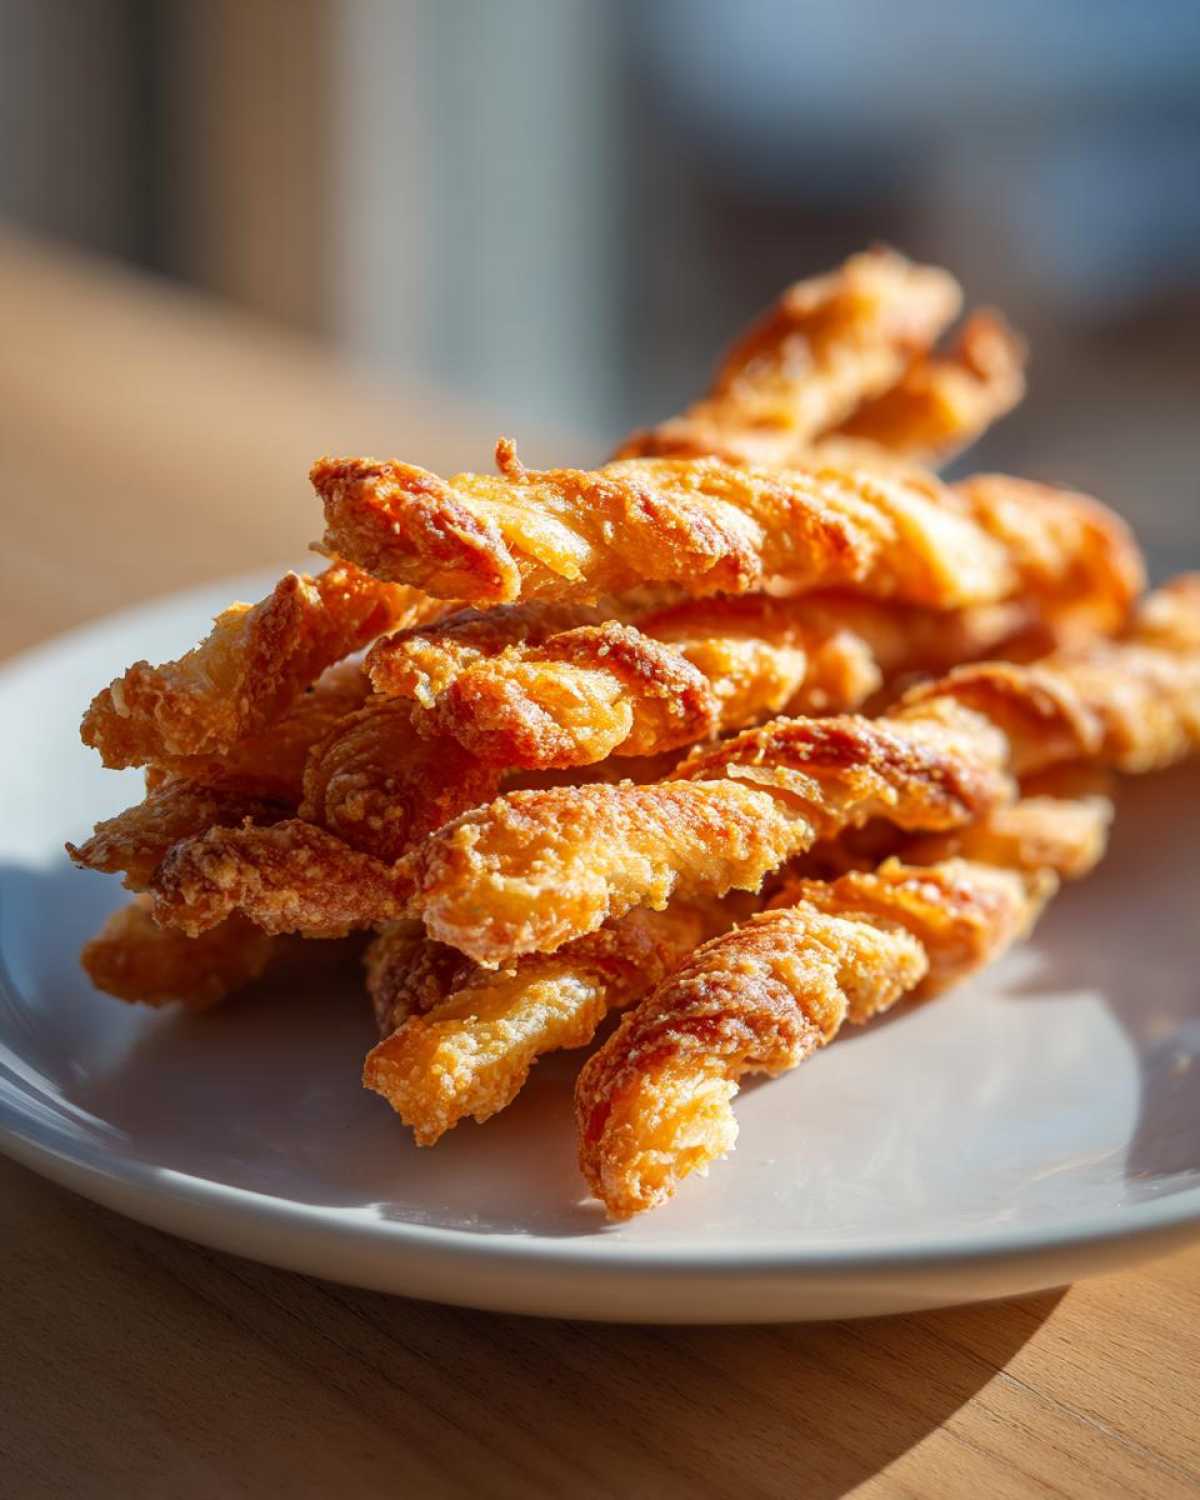
Why You Will Love These Classic Southern cheese straws
Why fuss with store-bought when you can have this simple batch of homemade goodness? These Southern cheese straws are truly destined for your party table. They’re the ultimate easy party appetizers for a reason. Here is what makes this Crispy Cheese Straws Recipe a keeper:
- Shattering Crunch: They bake up perfectly flaky and incredibly crisp—the exact texture we aim for.
- Bold Flavor: We use sharp cheddar, so you get that rich, tangy cheese flavor in every bite.
- Speedy Entertaining: They come together fast, meaning less time stressing and more time enjoying your guests.
- Perfect for Any Occasion: Whether it’s game day or a holiday celebration, these savory bites vanish quickly!
The Essential Ingredients for Perfect cheese straws
Spoon learned long ago that for any truly great savory snack, especially a delicious Sharp Cheddar Appetizer, the quality of the ingredients really sets the stage. Don’t skimp here! We are building those incredible, flaky layers, and that starts with everything being just right.
Here is what you need to gather for these addictive cheese straws:
- 1 cup unsalted butter, kept cold and cut into small cubes.
- 2 cups all-purpose flour—the backbone of our cracker texture.
- 1 teaspoon salt.
- 1/2 teaspoon cayenne pepper (if you want that little bit of warmth!).
- 1/4 teaspoon black pepper.
- 2 cups—and this is important—freshly grated sharp cheddar cheese.
- 1/4 cup cold water, measured out and ready to go.
Ingredient Notes and Substitution Tips for Your cheese straws
Now, about that cheese! This is where so many recipes go wrong. You really, truly need to grate your own sharp cheddar. Seriously, skip the bags! Those bags of pre-shredded cheeses have anti-caking agents dusted on them, and those keepers stop our dough from binding nicely and stop you from getting that ultimate crispness we are after. We want pure, buttery, cheesy goodness melting in the oven, not sticking together awkwardly.
If you’re feeling adventurous, I love swapping out maybe half of that sharp cheddar for some Parmesan. It gives the final product a nutty, saltier edge. It’s just divine, but keep the sharp cheddar as the main component for that classic Southern flavor profile.
How to Make Homemade cheese straws Crispy and Flaky
Alright, Sprout here! Spoon usually handles the slow braises, but when it comes to these quick Homemade Cheese Straws, I enjoy whipping up the dough because it’s so fast. We are aiming for that wonderfully crispy texture—the kind that makes a satisfying snap when you break a straw in half. Follow these steps closely, and you’ll master the art of making cheese straws crispy every single time.
- We start by mixing our dry goods: that’s the flour, salt, cayenne, and black pepper.
- Next, the crucial part: cutting in that cold butter! Use a pastry blender, or honestly, just use your fingertips (they work great if your hands aren’t too warm). Mix it until it looks like coarse crumbs, making sure you still see little pea-sized bits of butter floating around. That’s the key to flaky layers!
- Toss in your sharp cheddar and just stir until everything is barely mixed together.
- Now, slowly add the cold water, one tablespoon at a time. Stop mixing the second the dough comes together into a firm mass. It should be stiff, not sticky.
- Divide the dough in half, flatten those pieces into disks, wrap them tight, and let them chill. When you’re ready to roll them out—we’re going about 1/8-inch thick—cut them into strips about half an inch wide. Feel free to twist them for that classic look!
- Bake them at 400 degrees Fahrenheit for about 10 to 14 minutes. Watch them! They should be golden brown at the edges. You can find more great tips on achieving that perfect crunch over at Classic Spicy Southern Cheddar Cheese Straws.
Chilling the Dough: A Key Step for Great cheese straws
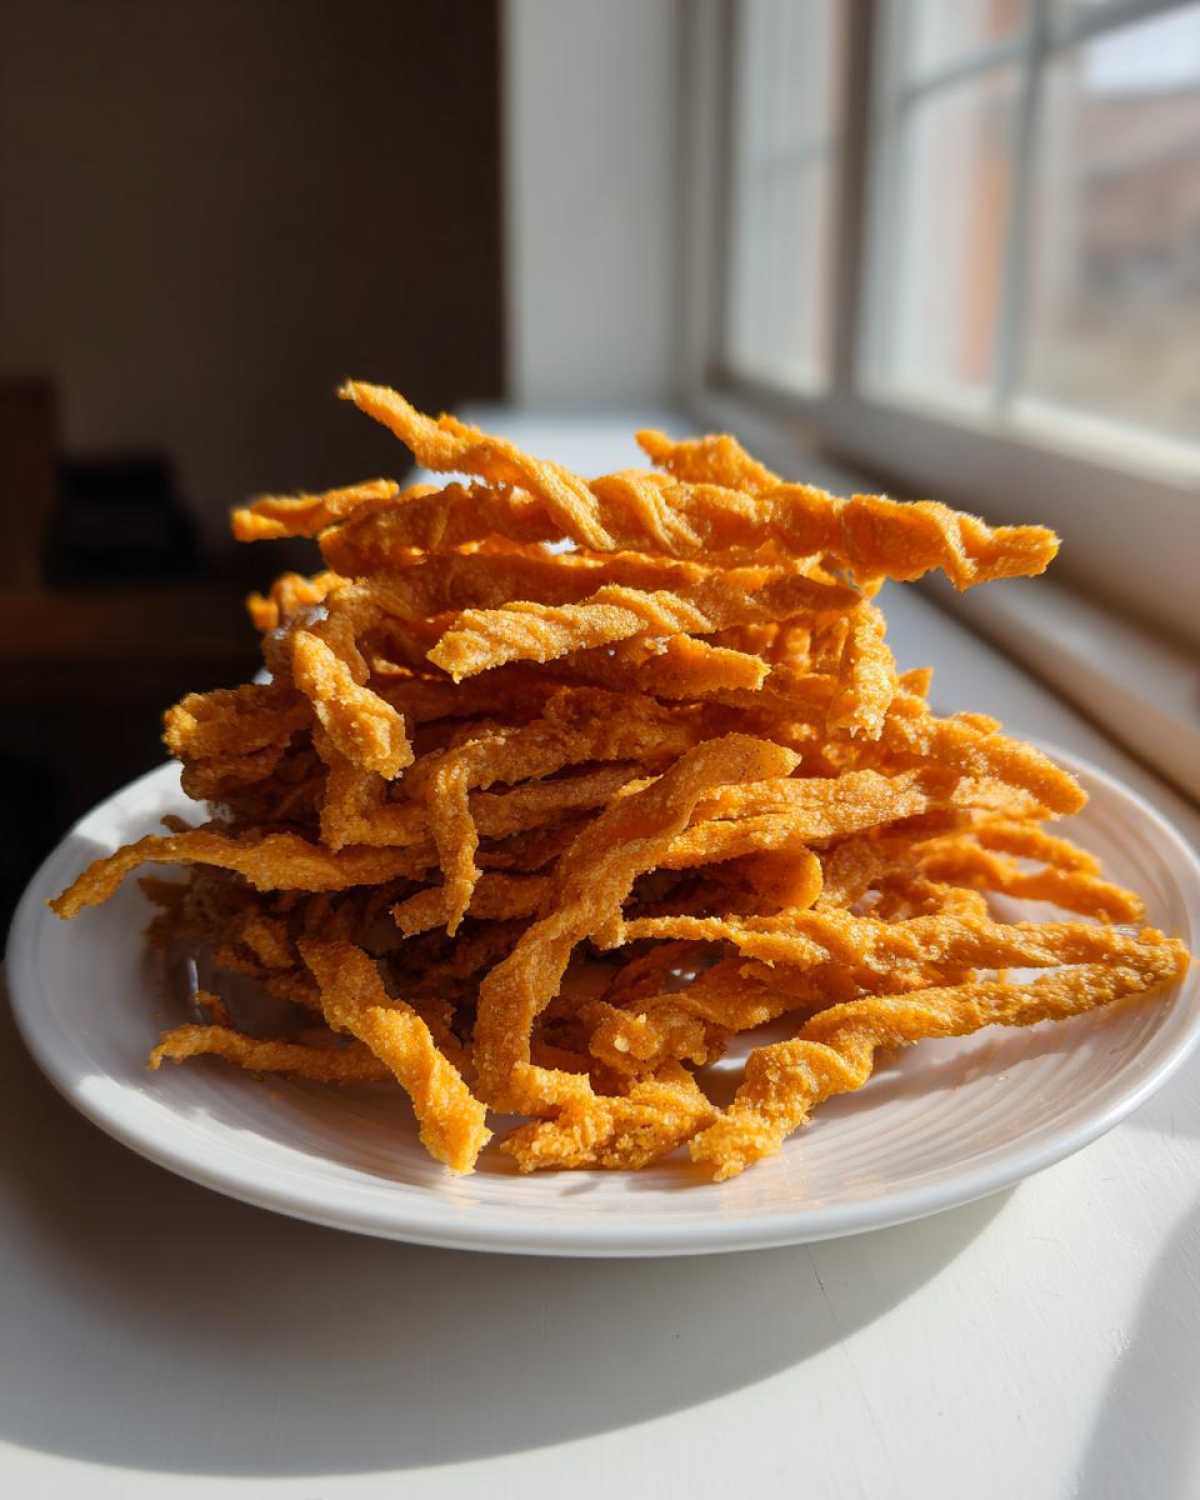
I can’t stress this enough: Do not skip the chilling time! When that butter is cold, it melts slowly in the oven, creating steam pockets that result in those beautiful, flaky layers. If you try to roll warm dough, it will just smear the fat into the flour, and you end up with a tough, greasy cracker instead of a shatteringly crispy one. At least 30 minutes in the fridge is non-negotiable if you want truly amazing, traditional Southern Cheese Straws.
Tips for Success with Savory cheese Snacks
Baking these is fun, but getting that perfect, addictive crunch on our Savory Cheese Snacks comes down to a few small details Spoon always makes sure I cover. First, when you cut those dough strips, feel free to give them a little dramatic twist! It’s not just for looks; twisting them slightly helps create more surface area, which equals more crispiness when they bake up golden brown. That’s a chef’s trick right there!
Also, keep an eye on the edges of your baking sheet. Since these bake so quickly, sometimes the straws near the edge of the oven get done before the middle ones. As soon as you see true golden color creeping in, pull them out! They will finish baking and crisping up perfectly once they are cooling on the pan. For more inspiration on delightful baked treats, you can check out my apple pie crumb bars with cinnamon!
Variations on Classic Southern cheese straws
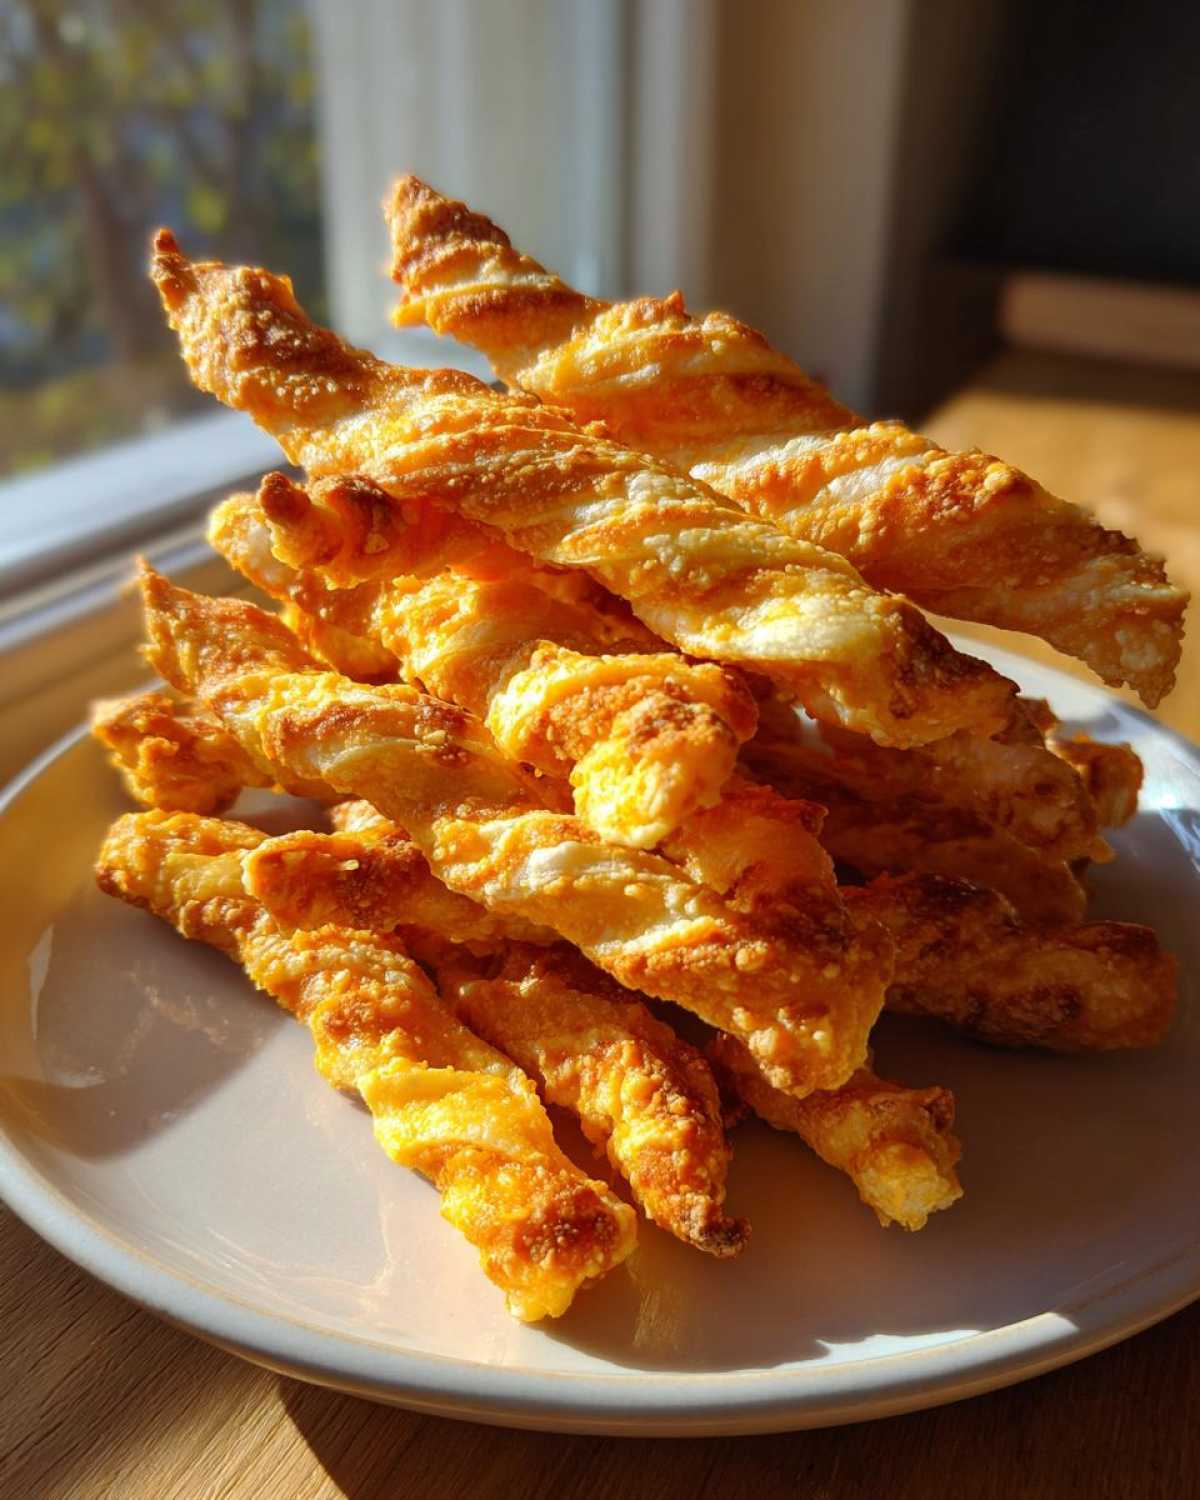
While the pure sharpness of cheddar is what our family loves most in these Buttery Cheese Crackers, these are just so versatile! It’s important for a good recipe to be able to grow with your tastes, right? Spoon sometimes likes to introduce an herb note just to change things up for guests.
For instance, if you’re looking for something a little less traditional but just as savory, you can create lovely Rosemary Parmesan Straws. Just substitute half of that sharp cheddar with freshly grated Parmesan—oh, and toss in about a teaspoon of finely minced fresh rosemary when you add the cheese. It smells heavenly coming out of the oven!
Or, if you are making these for a crowd who enjoys a little more fire, doubling down on the cayenne or swapping the heat source works wonderfully. We’ve made batches of straight-up Spicy Cheese Straws using Pepper Jack instead of cheddar, and they disappear just as fast. You can find a fantastic example when you look at Crispy Rosemary Parmesan Cheese Straws if you want to explore the herbal route. No matter what you choose, these variations are still based on that rock-solid technique you learned above. If you love pecan flavors, you should check out my recipe for maple pecan sticky buns with glaze for a sweet contrast!
Serving Suggestions for Your cheese straws
These tangy, savory bites are fantastic solo, but pairing them up makes them truly shine as part of your spread of Entertaining Cheese Snacks. Spoon loves seeing them stacked high on a platter during big events like the Super Bowl—they are the ultimate Game Day Snacks Cheese alternative to chips!
Try dipping them lightly into a sharp quick beer cheese fondue dip recipe if you want to go all-in on the cheese factor. They are also surprisingly wonderful served alongside a bowl of creamy tomato soup for lunch, or even offered up alongside a dry martini or a crisp Sauvignon Blanc as a pre-dinner nibble.
Storage and Reheating Instructions for Buttery cheese straws
Because these Buttery Cheese Crackers are packed with so much wonderful fat and baked until completely dry, they store beautifully! Spoon insists they taste even better on the second day once the flavors have really married, but you must keep them away from any humidity. Store them in a truly airtight container—no cheating with a loosely covered Ziploc bag, trust me—at room temperature for up to five days.
If they accidentally lose a bit of their glorious crispness, don’t panic! Just spread the cheese straws out on a baking sheet and warm them in a 300-degree oven for about five to seven minutes. That gentle heat pulls out any lingering moisture and crisps them right back up to perfection. You can find my recipe for no bake peanut butter cup cheesecake if you need a sweet treat for later!
Frequently Asked Questions about cheese straws
I know you might still have a few things swirling around in your head about achieving the perfect batch of cheese straws—it happens to every baker! We covered a lot of ground on technique, but here are a few quick answers to the questions I get asked most often about texture and ingredients. Getting these small details right makes all the difference between a good cracker and a true Southern classic.
Can I use pre-shredded cheese in these cheese straws?
Oh, I really wish you could, but the answer is a firm no! If you grab that bag of pre-shredded cheese off the shelf, it has these little powdery anti-caking agents dusted on it, usually things like potato starch or cellulose. These powders are designed to keep the shreds from sticking together in the bag, but they do the opposite in our dough! They prevent the cheese from melting and melding correctly with the butter and flour, which ruins the binding and definitely kills your chance at that extra-crispy texture we are looking for. Always grate the sharp cheddar fresh; it’s worth the two extra minutes!
What is the secret to making Old Fashioned cheese straws so crispy?
It truly is a trifecta of cold, cold, cold, and patience! The absolute **secret** to those phenomenal, Old Fashioned cheese straws is making sure your butter is rock solid when you cut it into the flour, and then you *must* chill the final dough for at least half an hour. Keeping that fat cold ensures that when the dough hits the hot oven, the butter melts slowly, creating pockets of air and steam that balloon out, giving you that light, flaky structure rather than a dense, hard biscuit. Don’t overwork that dough either; just bring it together, chill it, and bake it quickly!
Are these cheese straws suitable for holiday baking?
Absolutely! These are the quintessential Holiday Savory Bites down here! They are perfect for making ahead of time because, as we talked about in the storage section, they stay fresh for days in an airtight container. Plus, you scoop them out, twist them, and bake them right before the guests arrive! They are always the first thing to disappear off the appetizer tray during Christmas gatherings or New Year’s parties. If you’re looking for a dip counterpart while you’re prepping for the holidays, that recipe for my amazing cheesy spinach artichoke dip recipe is always a winner!
Nutritional Estimate for Savory Cheese Snacks
Now, I know Spoon is more concerned with the deep, comforting flavors than the exact numbers, but Sprout always likes to keep track of what we’re eating! Transparency is key in the kitchen, especially when you are sharing delicious recipes like these Savory Cheese Snacks with friends. Keep in mind that the exact breakdown can change slightly depending on the specific brand of butter or the exact type of sharp cheddar you end up using.
This estimate is based on the recipe yielding about 4 dozen straws, serving size listed as 3 straws per person. We always try to keep things balanced, but boy, are these buttery treats tempting!
- Calories: Approximately 110 per serving
- Total Fat: Around 9g
- Saturated Fat: About 5g
- Carbohydrates: Roughly 4g
- Protein: About 3g
- Sugar: Very low, around 0.1g
- Sodium: Around 150mg
I always recommend using this breakdown as a guideline. The most important thing is that these Buttery Cheese Crackers bring smiles to faces! If you’re looking for a wonderful finish to a meal, you simply must try my recipe for mint pots de creme with whipped cream!
PrintClassic Southern Extra-Crispy Cheddar Cheese Straws

Make these classic Southern cheese straws using sharp cheddar for a savory, shatteringly crispy snack perfect for parties or game day.
- Prep Time: 20 min
- Cook Time: 14 min
- Total Time: 34 min
- Yield: About 4 dozen
- Category: Appetizer
- Method: Baking
- Cuisine: American (Southern)
- Diet: Vegetarian
Ingredients
- 1 cup unsalted butter, cold and cubed
- 2 cups all-purpose flour
- 1 teaspoon salt
- 1/2 teaspoon cayenne pepper (optional, for a little kick)
- 1/4 teaspoon black pepper
- 2 cups freshly grated sharp cheddar cheese
- 1/4 cup cold water
Instructions
- In a large bowl, combine the flour, salt, cayenne pepper, and black pepper.
- Cut in the cold butter using a pastry blender or your fingertips until the mixture resembles coarse crumbs. You want small, pea-sized pieces of butter remaining for flakiness.
- Add the freshly grated sharp cheddar cheese to the flour mixture and mix until just combined.
- Gradually add the cold water, one tablespoon at a time, mixing until the dough just comes together. Do not overmix; the dough should be firm.
- Divide the dough in half, shape each half into a flat disk, wrap in plastic wrap, and chill in the refrigerator for at least 30 minutes. This step helps achieve the extra-crispy texture.
- Preheat your oven to 400 degrees Fahrenheit (200 degrees Celsius). Line baking sheets with parchment paper.
- On a lightly floured surface, roll out one disk of dough to about 1/8-inch thickness.
- Use a knife or pizza cutter to cut the dough into strips about 1/2-inch wide and 4 to 5 inches long. You can twist the strips slightly for a classic look.
- Place the cheese straws on the prepared baking sheets, leaving a little space between them.
- Bake for 10 to 14 minutes, or until the edges are golden brown and the straws are crisp. Baking time varies based on thickness, so watch them closely.
- Let the cheese straws cool completely on the baking sheet before serving. They will crisp up more as they cool.
Notes
- For the best flavor and crispness, use freshly grated, high-quality sharp cheddar cheese. Pre-shredded cheese often contains anti-caking agents that affect texture.
- If you want a variation, substitute half the cheddar with Parmesan cheese for a different savory note.
- If you prefer a softer dough for easier cutting, let it sit at room temperature for 5 minutes before rolling, but keep it cold enough to handle.
Nutrition
- Serving Size: 3 straws
- Calories: 110
- Sugar: 0.1
- Sodium: 150
- Fat: 9
- Saturated Fat: 5
- Unsaturated Fat: 4
- Trans Fat: 0.2
- Carbohydrates: 4
- Fiber: 0.2
- Protein: 3
- Cholesterol: 25