

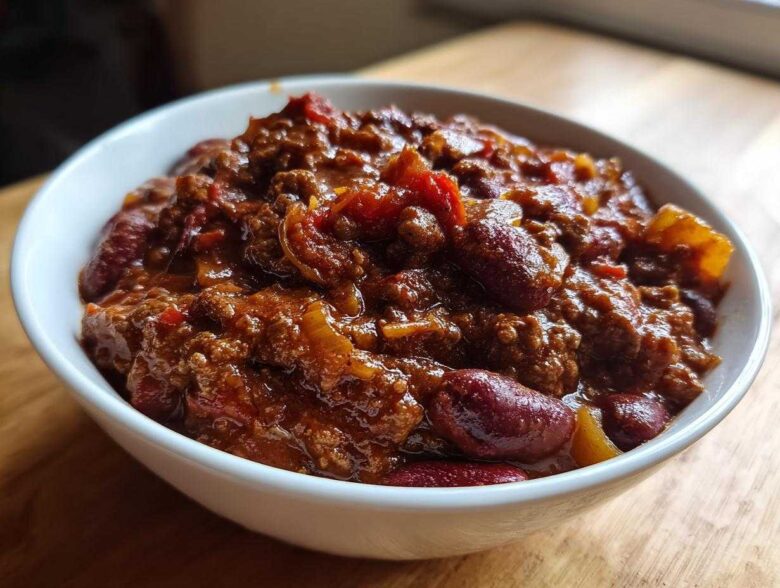
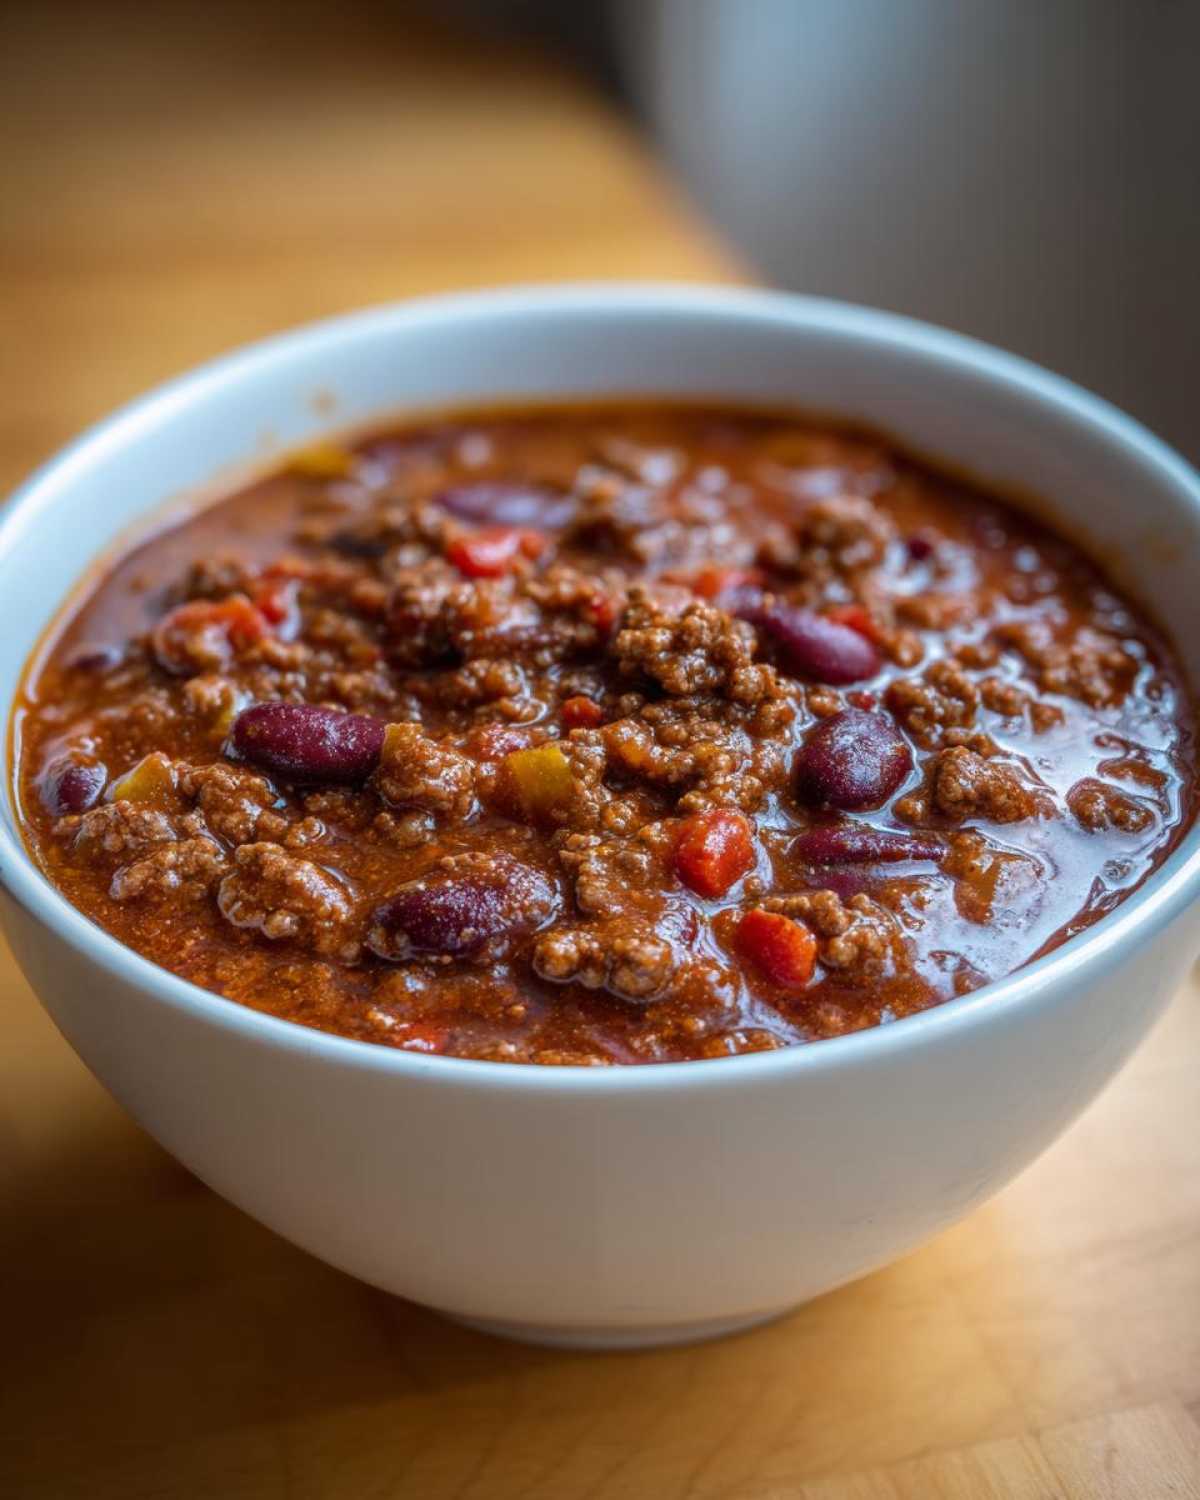
Oh, my friends, pull up a chair by the fire! When the air gets crisp and you just need that warm, heavy hug only food can give, nothing beats a deeply soulful bowl of homemade chili. This isn’t about speed over substance; this is the ultimate hearty ground beef chili that manages to deliver incredible, layered flavor even if you only have 45 minutes. It’s my Sprout side balancing Jun’s (my dear Spoon) love for slow-simmered tradition to create the perfect easy weeknight chili dinner. It sets the standard, truly, for what comfort food should taste like.
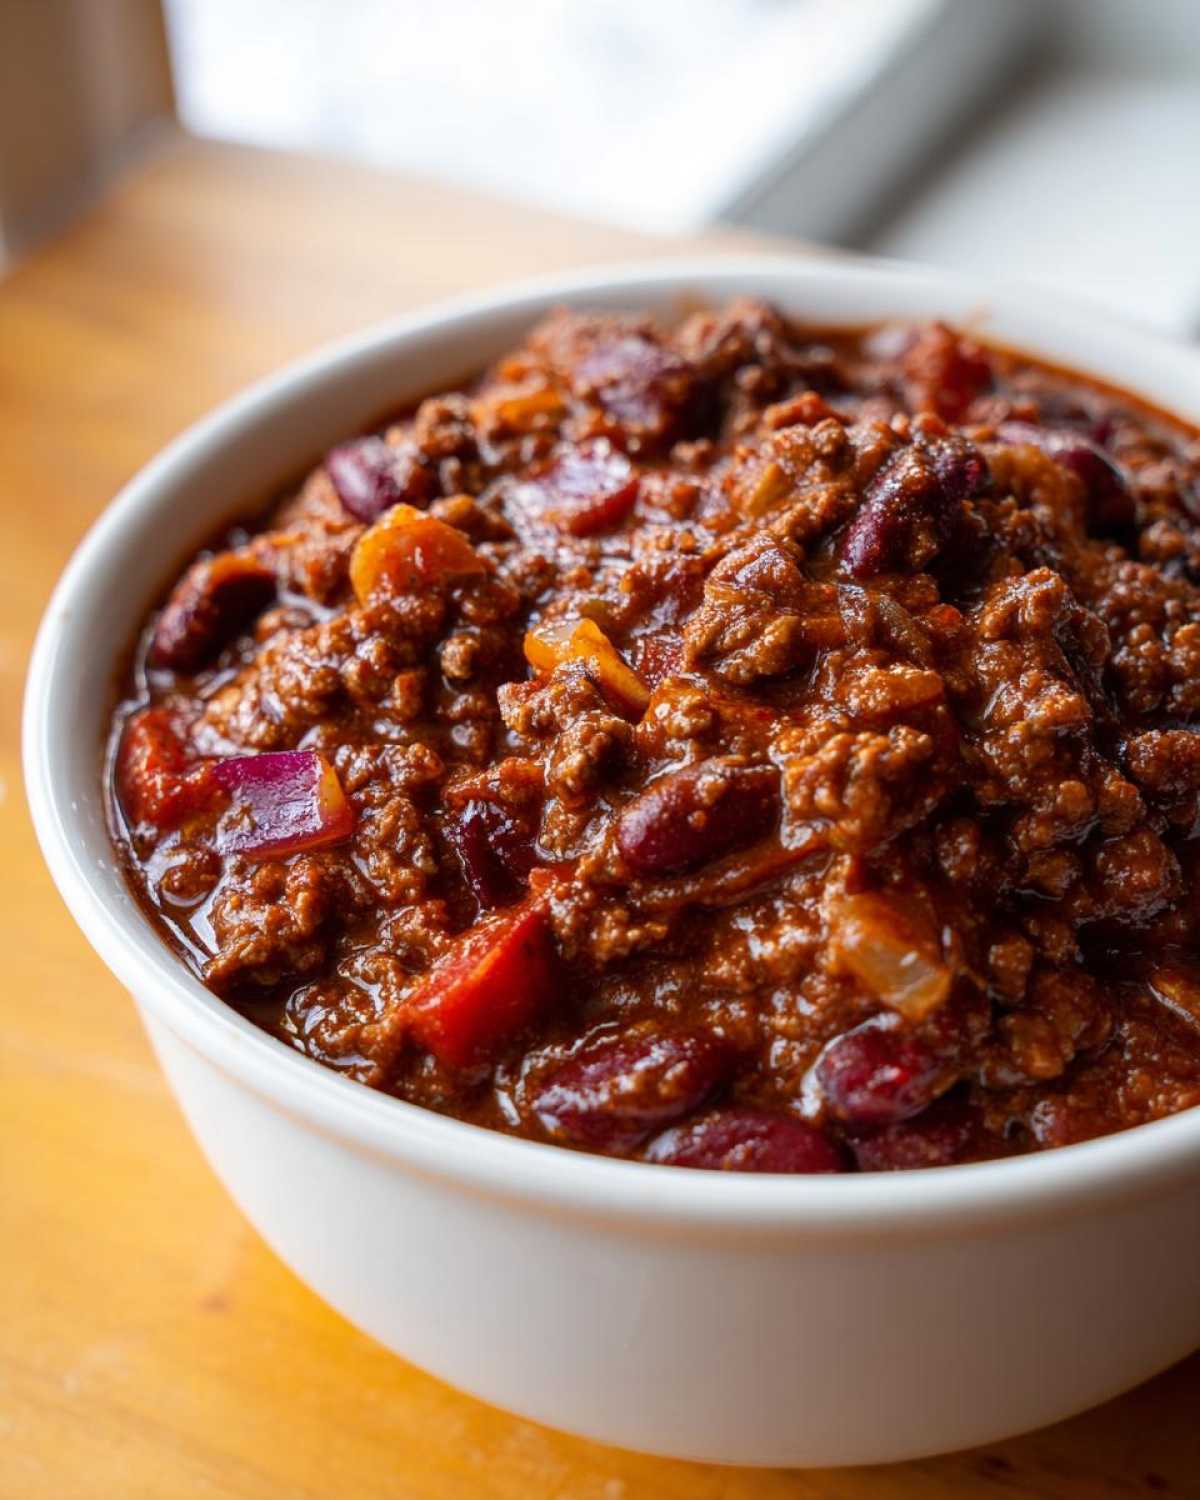
Why This Hearty Ground Beef Chili is the Ultimate Comfort Food Chili
When I think about the best foods, they always manage to fill me right up, deep down in my cozy spot. That’s why this recipe is my go-to for the Ultimate Comfort Food Chili. Jun, my Spoon, always reminds me that big flavor takes time, but my Sprout side insists we can get that soulful depth even on a Tuesday night. This flavorful beef and bean chili is the perfect marriage of our styles! We’re building on memories of great bowls, like the one we always serve on the big game day—you can see another fun version here.
We aren’t just throwing cans into a pot here; we’re layering tastes. You get the heartiness you crave from the ground beef and multiple beans—it’s thick, it’s rich, and it just sticks to your ribs the right way. It’s proof that you don’t need hours stewing on the stove to create something amazing for the family.
Achieving Deep Flavor in Your Quick Stovetop Chili
So, how do we cut the time without killing the character? It’s all about those secret little nudges. We sneak in unsweetened cocoa powder. Trust me, it sounds wild, but it draws out this gorgeous, dark depth in the spices without tasting like a chocolate bar. That, and a proper simmer time lets the magic happen. Even 30 minutes of low bubbling on the stove for this Quick Stovetop Chili makes a huge difference. Don’t skip the browning part!
The Perfect Balance for a Family Favorite Chili Recipe
This is truly a Family Favorite Chili Recipe because it hits just the right notes. It’s robust enough for a big gathering—think big screens and touchdowns for our Game Day Chili Ideas—but gentle enough that even the youngest sprouts will ask for seconds. We keep the spice simple, letting that earthy cumin and rich chili powder do the heavy lifting, ensuring every spoon of this wonderful chili tastes like home.
Ingredients for the Best Chili Recipe Ever
Before we even think about turning on that burner, we have to talk about what goes into the pot. This recipe is straightforward, which is why it comes together so nicely when you need an Easy Weeknight Chili Dinner, but the quality of these simple components really matters. Remember, this is our masterpiece, the Best Chili Recipe Ever, so let’s make sure we have everything ready to go!
I always tell Jun, “Mise en place, Spoon, mise en place!” Having everything chopped and ready before you start browning the meat makes all the difference, especially when you’re keeping that simmer time short.
Right at the top, we need the meat. I insist on 80/20 ground beef. That little bit of fat is essential for richness—it melts down and coats everything beautifully, giving you that authentic, hearty texture in your chili.
- Two tablespoons of nice olive oil
- Two pounds of ground beef, and please, go for that 80/20 blend!
- One big yellow onion, chopped finely—we want it to disappear into the sauce.
- One green bell pepper, chopped, just to give it a little freshness.
- Three cloves of garlic, minced super fine. Don’t use that jarred stuff, promise me!
- One 15-ounce can of plain tomato sauce.
- One 14.5-ounce can of diced tomatoes, and leave all that juice in there!
- One 15-ounce can of kidney beans, rinsed and drained well.
- One 15-ounce can of pinto beans, rinsed and drained.
- One 15-ounce can of black beans, rinsed and drained too. We rinse them to cut down on extra saltiness.
- One cup of good beef broth—low sodium is fine if you watch your salt later.
- Three tablespoons of good quality chili powder. This is the backbone!
- One tablespoon of ground cumin—it gives that earthy warmth.
- One teaspoon of dried oregano.
- One teaspoon of salt.
- Half a teaspoon of black pepper.
- Just a tiny sprinkle, maybe a quarter teaspoon, of cayenne pepper if you like a little kick, but keep it optional for now.
- And here’s the one you’ve heard about: one teaspoon of unsweetened cocoa powder. This is our magic trick for depth, making this the Best Chili Seasoning Blend imaginable!
Step-by-Step Instructions for Quick Stovetop Chili
Alright, let’s get cooking! This is the part where the magic really starts to happen, and I promise, the whole house is going to smell amazing by the time we’re done. Since Jun and I are all about building flavor from the ground up, we always start on the stovetop rather than just dumping everything into the slow cooker when we need this chili fast. Keep an eye on your heat, we don’t want scorching, just beautiful browning! You know, sometimes when I’m just whipping up something simple like this, I think about how much care goes into a big undertaking, like our one-pot chicken pot pie bake, but honestly, layering flavor right from the start is the key to everything.
Browning Meat and Sautéing Aromatics for Your Chili
First things first, you need a big pot—a nice heavy Dutch oven is my absolute preference because it holds heat so evenly. Get that olive oil nice and warm over medium heat. Now, toss in your two pounds of 80/20 ground beef. You need to let it brown properly, breaking it up as you go. Once it’s completely browned, take a moment to drain off every bit of that excess grease! That’s crucial for a cleaner, richer mouthfeel later on. We want beef flavor, not greasy sludge, right?
Next up are the veggies for texture and sweetness. Add your chopped onion and green pepper right into that beefy pot. Let them soften up nicely; I usually give them about five to seven minutes, stirring them around so they get a little translucent. This sweetens them up perfectly before we move into the spice stage.
Building Flavor: Adding Spices and Simmering the Chili Base
Once those veggies are looking soft, toss in your minced garlic. Be careful here! Garlic burns fast, so give it just sixty seconds until you can really smell it poking out. That’s when you pile in all those dry spices: the chili powder, cumin, oregano, salt, pepper, and, yes, that secret teaspoon of cocoa powder!
Stir that spice mix into the meat and veggies for about a minute. See how it gets fragrant? That’s called blooming the spices, and it’s one of our Award Winning Chili Secrets! Then, add your tomato sauce, the whole can of diced tomatoes (liquid and all!), and that cup of beef broth. Bring this whole gorgeous mixture up to a gentle simmer. Now, cover the pot just slightly—leave a little gap—and let it cook down for a minimum of 30 minutes. Seriously, aim for an hour if you can swing it; that long simmer is where the depth comes from.
Finishing Your Flavorful Beef and Bean Chili
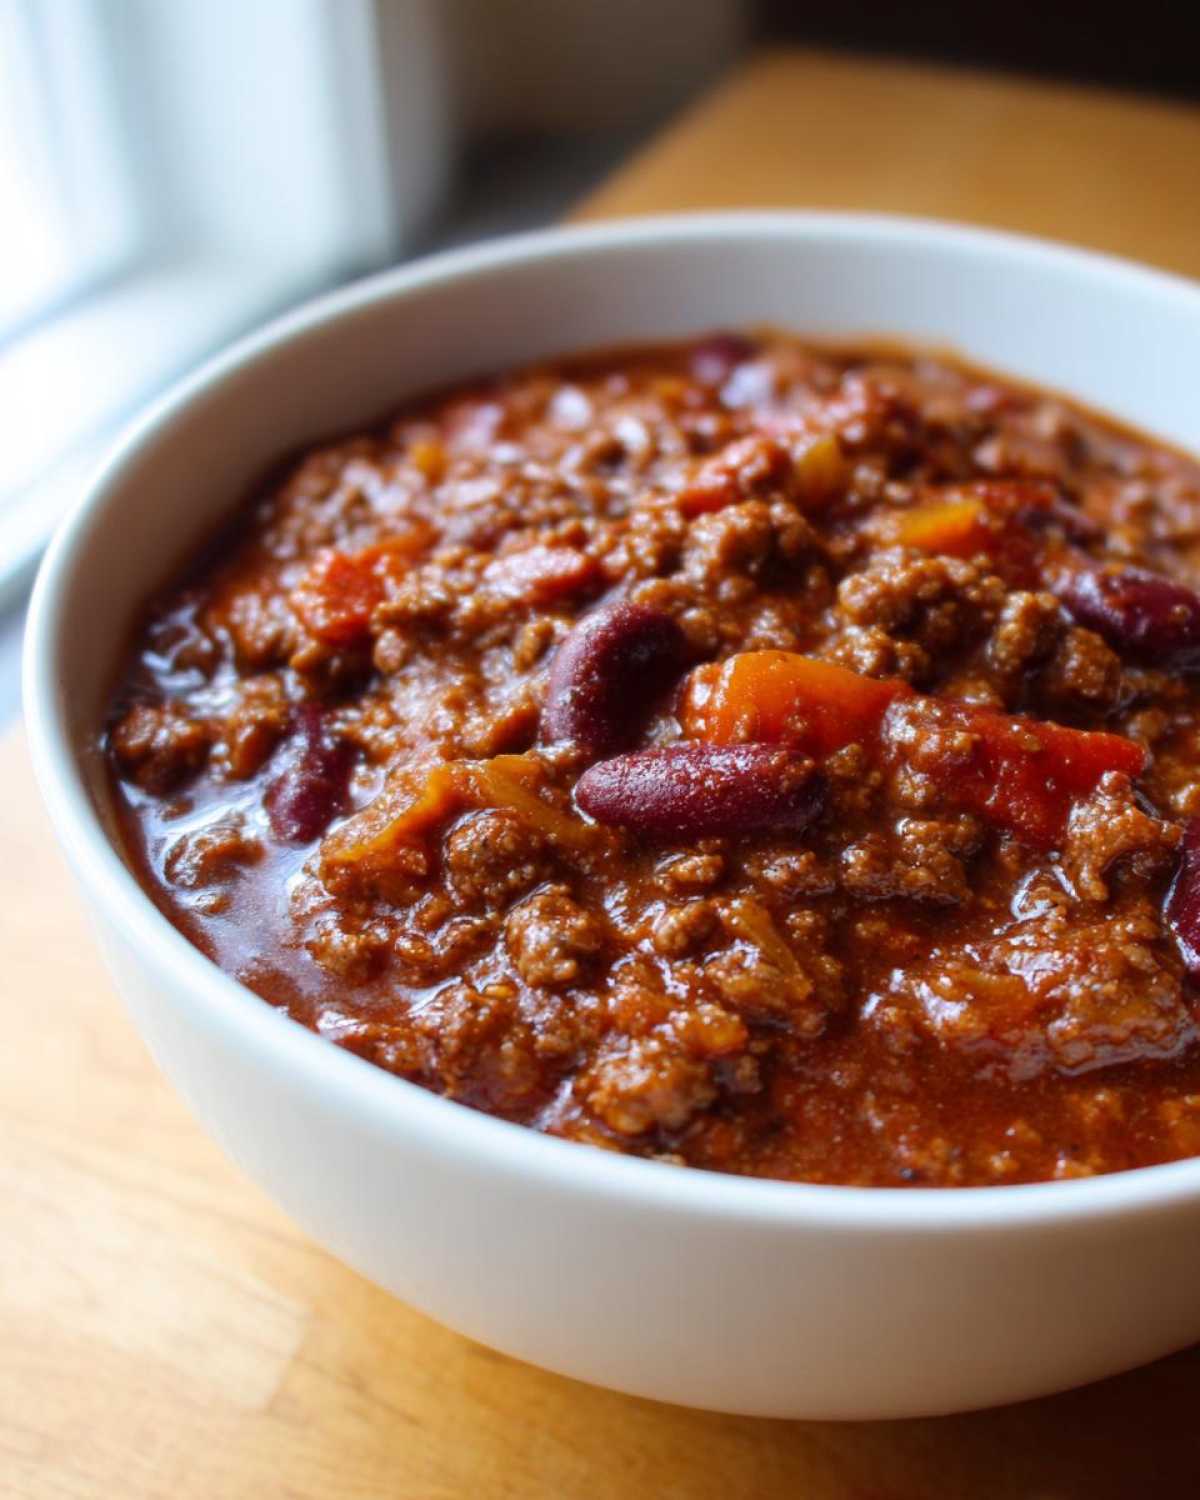
After that initial simmer, it’s time for the beans! Gently fold in the rinsed and drained kidney, pinto, and black beans. We add them later so they don’t turn to mush! Let the whole pot simmer for another 10 minutes just to heat the beans all the way through and let them absorb some of that incredible spice blend. After that final short simmer, give it a good taste test. Does it need a pinch more salt or maybe a whisper more cayenne? Adjust it until it sings to you. And that’s it! Your robust, Flavorful Beef and Bean Chili is ready to serve hot!
Tips for Success: Making the Best Chili Seasoning Blend
Now that you’ve seen the basic steps for heating everything up quickly, let me share a few little secrets I’ve picked up over the years—things Jun always emphasizes when we talk about building layers. A great chili isn’t just about throwing chili powder in; it’s about listening to what the pot needs. My specialty is figuring out that perfect flavor harmony, making this truly the Best Chili Seasoning Blend you’ll ever use. I often think about how we use deep, dark flavors, like in our dark chocolate mousse with chili, to create complexity, and that same principle applies right here in this savory dish!
If you end up with a pot that tastes a little flat, don’t panic! It just means the flavors haven’t fully married yet. This is where the Sprout side comes in with quick fixes to brighten things up.
- The Brightness Factor: Acid is Your Friend. If your chili tastes deep and earthy, but maybe a tiny bit dull, reach for a secret weapon that isn’t chili powder! A teaspoon of apple cider vinegar right at the end, just before serving, wakes everything up. It’s like turning on a light switch for the rest of the spices. I always keep a bottle handy just for this purpose.
- Managing Thickness: Patience or Slurry? If your chili is feeling too thin after that 30-minute simmer, you have two ways to go. The slow way is just removing the lid and letting it bubble gently for another 10–15 minutes so the liquid reduces. If you need it thicker *now*, mix one tablespoon of cornstarch with two tablespoons of cold water in a small bowl until it’s smooth—that’s a slurry. Whisk that in while simmering, and it will thicken up fast!
- Heat Control: Flavor First, Burn Second. If you’re getting requests for extra heat, never bloom cayenne powder right away with the cumin and chili powder. Because cayenne is so intense, it can burn easily. Instead, reserve a small bowl of hot broth from the simmering chili, add your extra cayenne to that small bowl, stir it well, and then pour that spiced broth mixture back into the main pot. This distributes the heat evenly without scorching it.
- A Touch of Sweetness for Balance. Sometimes the tomatoes or beans can bring a bit too much tartness. If you want to soften that edge—especially if you skipped the cocoa powder or are using a different brand of canned tomatoes—try dissolving half a teaspoon of sugar (or even a tiny drizzle of maple syrup!) into the simmering pot. It’s not meant to make the chili sweet, just to balance the acidity so the savory notes shine through.
These tiny adjustments are what separate a good pot of stew from a genuinely memorable bowl of comfort. It’s about tasting along the way, just like Jun taught me!
Variations: Simple Slow Cooker Chili Instructions
Now, I know what some of you are thinking: “Mei, this smells amazing, but I already have the slow cooker warming up for game day!” And that’s totally fair—life is busy, and sometimes, we need the magic to happen while we’re out gardening or running errands. Jun and I rely on our slow cooker all the time for those truly low-and-slow meals, like our easy slow cooker white chicken chili, but honestly, for this specific ground beef chili, I still insist on that initial stovetop work. You really can’t skip browning the meat and softening the veggies if you want that deep, robust flavor base.
If you’re going the Simple Slow Cooker Chili route, follow the first steps we did above—don’t just dump it all in the pot raw! Brown your beef and sauté your onions, peppers, and garlic right there in a skillet. This step is non-negotiable for maximum flavor, people!
Once that meat is browned and the veggies smell fragrant, transfer everything over to your slow cooker insert. Add in all your liquids, spices, tomato products, and that secret cocoa powder. Give it a good stir to make sure everything is married together. You can cook this on low for six to eight hours, or if you’re in a rush, crank it up to high for about three to four hours. Just make sure you keep that lid on tight to trap all that lovely steam!
This is the key difference: save those three cans of rinsed beans until the very end. Add your kidney, pinto, and black beans in for the final 30 minutes of cooking. If you toss them in at the beginning, they’ll turn into mush by dinner time, and we want texture! Let them warm through, give it one last taste test for seasoning, and then ladle out the best beef and bean chili you’ve ever made without ever standing over the stove.
Serving Suggestions: Chili with Toppings Ideas
You’ve done the hard work! You’ve built the flavor, you’ve simmered it perfectly, and now you have this incredible, hearty bowl of homemade comfort. But honestly, a great bowl of chili isn’t truly finished until you dress it up a little. This is the Sprout’s favorite part—the presentation and personalization! Jun always says the toppings are the ‘jewelry’ for the meal, and I think he’s right. We always have a little toppings bar set up on the counter whenever we serve this, because everyone likes to customize their own perfect bowl.
It’s fun because you can take this same base recipe—our amazing, flavorful beef and bean stew—and by changing what you put on top, you can make it feel completely different for the next night. If you are looking for great appetizer ideas to serve alongside, you should check out my pesto caprese skewers; they offer a nice cool contrast to the heat of the chili!
Here are the toppings that absolutely must be on the table when you serve this ultimate chili:
- Sharp Cheddar: I mean, come on. Nothing beats the salty, semi-soft bite of freshly shredded sharp cheddar melting right into the hot stew. Don’t buy the pre-shredded stuff, though—it has coatings that don’t melt as beautifully as the block does!
- Cool Creaminess: A big dollop of full-fat sour cream or plain Greek yogurt is essential. It cuts through the richness of the beef and the spice, providing a lovely cooling element.
- A Little Green Pop: You need freshness! Chopped fresh cilantro, or if you aren’t a fan, some sliced green onions really brighten up the deep, earthy flavors of the cumin and cocoa.
- The Smash Factor: Diced Avocado. I love the textural surprise of soft, cool avocado cubes mixed in. It adds a healthy fat that makes the whole thing feel richer without weighing it down, and it’s divine when you top it with a little lime juice.
- Crunch Time: Tortilla Strips. Whether you buy those crispy strips or quickly fry up some corn tortillas yourself, you need a crunch! This keeps the chili from being just one texture. Plus, they work perfectly for scooping up extra broth at the bottom of the bowl!
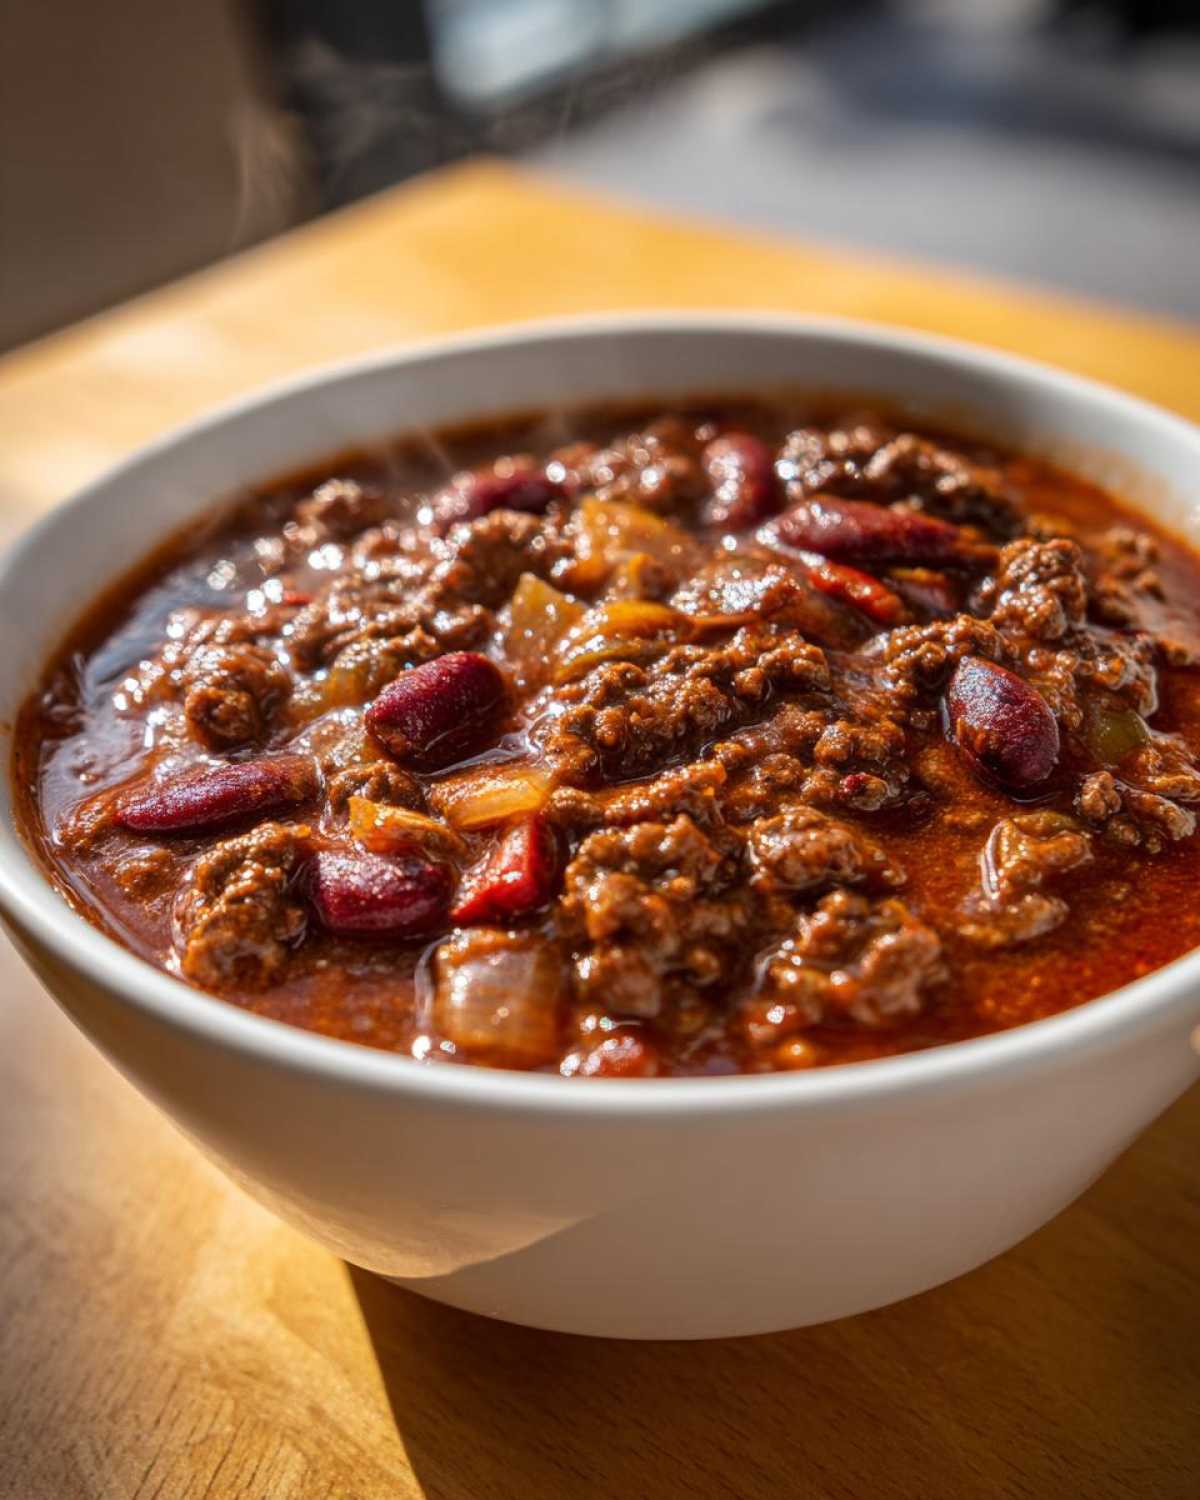
Have fun with it! The beauty of this recipe is how well it plays with others, no matter how simple or fancy your toppings bar is.
Storage and Reheating Instructions for Leftover Chili
Oh, this is my favorite part of making a huge pot of chili—knowing there’s a second, even better meal waiting for me tomorrow! If you think this recipe tastes delicious fresh off the stove, just wait until it’s had a night to cool down in the fridge. Jun and I always agree: the flavors just have time to kiss each other and settle in perfectly overnight. It’s like the spices go to sleep, wake up refreshed, and come back stronger, you know?
When it comes to leftovers, you want to treat this hearty ground beef chili right so it stays excellent. Make sure you let the pot cool down slightly on the counter, maybe for about 30 minutes, before you transfer it. You never want to put a piping hot pot straight into the fridge; it can mess with your fridge temperature and that’s just not good for the food!
For the fridge, this stuff keeps beautifully for three to four days in an airtight container. We use sturdy glass containers so we can see what deliciousness we have waiting for lunch! When you pull it out the next day, you might notice it seems a bit thick—that’s normal because the starches and fats solidify a bit when cold. Don’t worry; it loosens right back up when you reheat it slowly on the stovetop or even carefully in the microwave.
Now, if you made a big batch because you know you’ll want it later (and you should!), freezing is your best friend. This specific Flavorful Beef and Bean Chili freezes like a dream! Portion it out into freezer-safe containers or heavy-duty freezer bags. If you use bags, lay them flat on a baking sheet in the freezer first until they set up; that makes stacking them in the freezer so much neater. It’s good frozen for up to three months, easily. Thaw it overnight in the fridge and reheat slowly on the stove. Honestly, sometimes I think the frozen, re-heated chili is even better than the fresh batch!
Frequently Asked Questions About Making Great Chili
Whenever Jun and I test a recipe over and over—which we do, often ending up with way too much amazing food in our kitchen—we always end up with a list of little questions. I know you must have some too after making this batch of absolute Best Chili Recipe Ever! It’s normal to wonder about swapping ingredients or tweaking the consistency, especially when you’re planning a big, cozy meal for a chilly night. I’m happy to share what we’ve learned about keeping these recipes flexible for your own family’s needs. These tips should help you nail that perfect bowl every time you need a Cozy Winter Dinner Recipe! If you’re curious about other satisfying, hearty meals we love, take a peek at our classic chicken noodle soup recipe for comparison!
Can I make this chili vegetarian or use turkey instead of beef?
Oh, absolutely, you can tweak the meat! That’s the wonderful thing about a spice-forward dish like this. If you want to go vegetarian, skip the beef entirely and use a mix of firm mushrooms (like cremini or portobello, chopped finely) and maybe 10 ounces of brown or green lentils that you’ve cooked ahead of time. You’ll want to boost your sautéing time a bit to let the mushrooms release their water and brown nicely. If you prefer poultry, ground turkey is a fantastic swap. Just be mindful that turkey is leaner than the 80/20 beef we use, so you might want to add that tablespoon of oil back in when you sauté your veggies so they don’t stick while they soften.
How can I make this chili thicker without overcooking?
This is a classic worry! If you’ve simmered your chili base for the full 30 minutes and it still looks runnier than you’d like, resist the urge to just crank the heat up for a long time. High heat can evaporate the flavor along with the liquid. The best trick is to simmer it uncovered for the last 15 minutes. This lets steam escape gently. If you’re in a real rush, my go-to is the slurry trick. Take about one cup of the hot chili liquid out into a small bowl. Whisk one tablespoon of cornstarch completely smoothly into that warm liquid, then pour that slurry back into the main pot while stirring constantly. It will thicken up beautifully in just a few minutes!
Speaking of liquids, if you ever need an emergency substitute for beef broth that adds great depth, Jun and I both agree that a little bit of depth can transform a meal. This technique works wonders when you’re building flavor!
Understanding the Nutritional Profile of This Chili
Now, I know that when you’re making something as wonderfully hearty as this ground beef chili, you’re not usually counting every single macronutrient, but Jun and I believe in transparency in the kitchen. We want you to know exactly what’s going into your body—the good stuff that keeps you warm and nourished! We’ve done the math based on the standard ingredient quantities for this batch, making sure to account for that rich beef and the various beans we packed in there for fiber.
Keep in mind, these numbers are only estimates, of course. They change based on the leanness of your beef, whether you used low-sodium broth, and exactly which can of diced tomatoes you grabbed off the shelf. For the full legal picture on how we present this info, you can always check out our general disclaimer page, but here’s the breakdown for a standard 1.5-cup serving size of this Ultimate Comfort Food Chili.
This recipe really delivers on protein and fiber, which is what I love about a good, solid Homemade Chili From Scratch!
- Serving Size: 1.5 cups
- Calories: 450
- Protein: 30g (That’s some serious staying power!)
- Fat: 22g (Remember, this is from the 80/20 beef, giving it amazing flavor!)
- Saturated Fat: 9g
- Carbohydrates: 35g
- Fiber: 10g (Thanks to all those lovely beans!)
- Sugar: 8g (Mostly natural sugars from tomatoes and onions)
- Sodium: 650mg (This is where using low-sodium broth helps you control things!)
- Cholesterol: 75mg
See? It’s a fantastic, satisfying meal that delivers real substance. It’s no wonder this dish is a staple for Cozy Winter Dinner Recipes around here. Enjoy every spoonful, knowing you’re fueling your body with rich, honest food!
PrintThe Ultimate Hearty Ground Beef Chili: A Family Favorite

This is the best chili recipe ever, combining deep, comforting flavor with simple preparation for an easy weeknight dinner or game day meal. It is hearty, flavorful, and a true comfort food.
- Prep Time: 15 min
- Cook Time: 45 min
- Total Time: 60 min
- Yield: 6 servings
- Category: Dinner
- Method: Stovetop
- Cuisine: American
- Diet: Meat
Ingredients
- 2 tablespoons olive oil
- 2 pounds ground beef (80/20 recommended)
- 1 large yellow onion, chopped
- 1 green bell pepper, chopped
- 3 cloves garlic, minced
- 1 (15 ounce) can tomato sauce
- 1 (14.5 ounce) can diced tomatoes, undrained
- 1 (15 ounce) can kidney beans, rinsed and drained
- 1 (15 ounce) can pinto beans, rinsed and drained
- 1 (15 ounce) can black beans, rinsed and drained
- 1 cup beef broth
- 3 tablespoons chili powder
- 1 tablespoon ground cumin
- 1 teaspoon dried oregano
- 1 teaspoon salt
- 1/2 teaspoon black pepper
- 1/4 teaspoon cayenne pepper (optional, for heat)
- 1 teaspoon unsweetened cocoa powder (secret ingredient for depth)
Instructions
- Heat olive oil in a large Dutch oven or heavy pot over medium heat. Add the ground beef and cook, breaking it apart with a spoon, until fully browned. Drain off any excess grease.
- Add the chopped onion and bell pepper to the pot with the beef. Cook until the vegetables soften, about 5 to 7 minutes.
- Stir in the minced garlic and cook for 1 minute until fragrant.
- Add the tomato sauce, diced tomatoes (with their liquid), beef broth, chili powder, cumin, oregano, salt, pepper, cayenne pepper (if using), and the cocoa powder. Stir well to combine all ingredients.
- Bring the mixture to a simmer. Reduce the heat to low, cover the pot partially, and let the chili cook for at least 30 minutes, stirring occasionally. For deeper flavor, simmer for 1 hour.
- Stir in the rinsed and drained kidney beans, pinto beans, and black beans. Continue to simmer for another 10 minutes, allowing the beans to heat through.
- Taste the chili and adjust seasonings as needed. Serve hot with your favorite toppings.
Notes
- For a slow cooker method, brown the beef and sauté the vegetables on the stovetop first. Transfer everything to the slow cooker, add the remaining ingredients (except beans), and cook on low for 6-8 hours or high for 3-4 hours. Add the beans during the last 30 minutes of cooking.
- This chili tastes even better the next day after the flavors have fully melded.
- Consider adding a splash of apple cider vinegar near the end to brighten the flavor profile.
Nutrition
- Serving Size: 1.5 cups
- Calories: 450
- Sugar: 8
- Sodium: 650
- Fat: 22
- Saturated Fat: 9
- Unsaturated Fat: 13
- Trans Fat: 0.5
- Carbohydrates: 35
- Fiber: 10
- Protein: 30
- Cholesterol: 75