

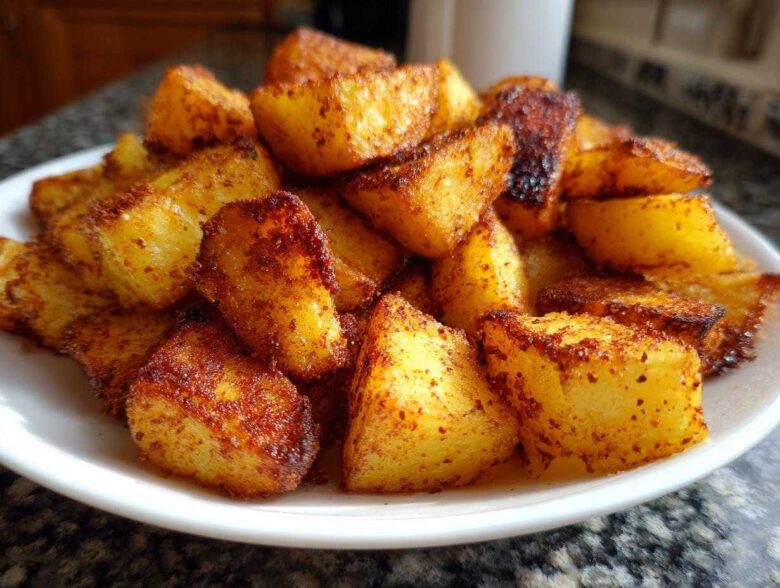
Let’s be honest, soggy breakfast potatoes are a culinary crime, aren’t they? I spent years wrestling with potatoes that just refused to get that beautiful, shatteringly crisp exterior we all dream about when we sit down for weekend brunch. But I cracked the code! I’m telling you, these **breakfast potatoes** are the real deal—golden on the outside, fluffy on the inside, and ready to rock your morning. The secret isn’t just high heat; it’s all about treating those starches right before they even see the oven. Trust me, once you use my simple soaking and roasting method, you’ll never look back. This is the *best breakfast potato recipe* you will ever need!
The Secret to Perfectly Crispy Breakfast Potatoes (Oven Method)
If you want truly crispy breakfast potatoes, you have to stop thinking of them like you’re just par-boiling them. Nope! The absolute game-changer here is starch removal. I know, it sounds fussy, but hear me out. We cover those diced potatoes in cold water and let them soak for a good 30 minutes. That water turns cloudy, and that cloudiness is pure starch that would otherwise steam the potatoes and make them soft when baking. We want crispy edges, not mushy insides!
After soaking, you absolutely *must* dry them thoroughly. I mean bone dry! Use a clean kitchen towel and pat, pat, pat until you think they can’t possibly hold any more water. Seriously, this step is non-negotiable for that golden brown crust. Once they are dry, we toss them in the oil and spices. While you can definitely check out my guide on how to make crispy potatoes generally, this specific technique saves time and guarantees perfection for breakfast.
Essential Ingredients for Flavorful Morning Potatoes
The seasoning is simple, letting the texture do the heavy lifting, but these specific spices make them taste like they came straight from a great diner. Don’t try to substitute the paprika; it’s what gives them that gorgeous color!
- 2 lbs Russet potatoes, peeled and diced into 1/2 inch cubes
- 3 tablespoons olive oil
- 1 teaspoon salt
- 1/2 teaspoon black pepper
- 1 teaspoon garlic powder
- 1 teaspoon paprika
- 1/2 teaspoon dried oregano
Step-by-Step Guide to Oven Roasted Potatoes Breakfast Perfection
Okay, now that we’ve talked about why we soak those spuds, let’s get them into the oven! This is where the magic happens, but timing is everything. We are aiming for a total cook time of about 40 minutes, but it happens in two distinct phases. We want those edges to start crisping up before we even think about flipping them, so don’t peek too early!
Prepping and Seasoning Your Breakfast Potatoes
First things first: make sure your oven is screaming hot—we need it at 425 degrees Fahrenheit (that’s 220 Celsius) before anything goes in. While it heats up, you’re handling that dry potato situation we talked about. Once they’re bone dry, dump them in your bowl and add all those lovely seasonings: the salt, pepper, oregano, garlic powder, and paprika, along with your 3 tablespoons of olive oil. Toss it like you mean it! Then, spread them out on your baking sheet. I can’t stress this enough: single layer only! If the potatoes are piled up, they steam. If they’re spread out in one layer, they roast. Use two pans if you have to—it’s worth it for truly crispy breakfast potatoes.
Roasting Times and Achieving Golden Brown Potatoes
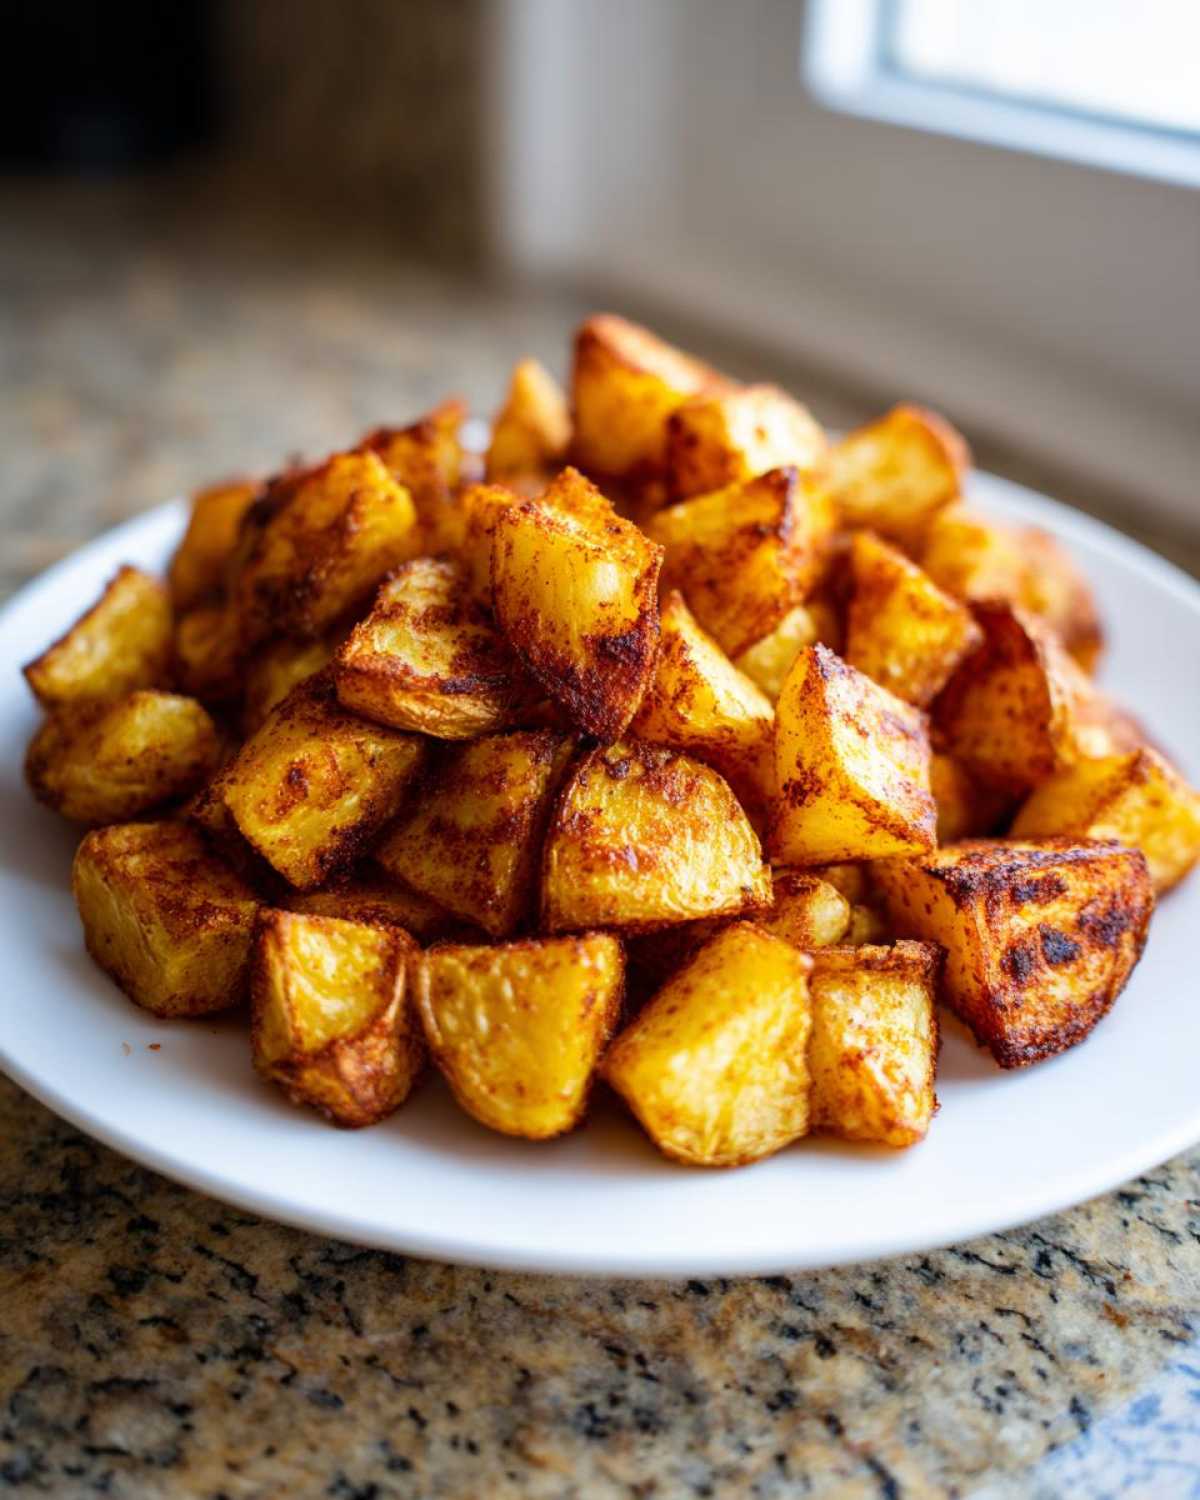
Toss those prepared potatoes into that blazing hot oven for the first 20 minutes. Don’t touch them! After 20 minutes, pull the sheet out. You’ll see some browning happening already, which is great. Now, grab your spatula and flip every single piece over. This ensures all sides get equal attention. Back into the heat they go for another 15 to 20 minutes. When they come out, they should be gloriously golden brown potatoes, crispy all over, and cooked perfectly through. If you want to see more great recipes for your morning meal, check out my stuff over at the breakfast category!
Tips for Making the Best Breakfast Potato Recipe
You know I love using the oven because it handles large batches so easily, but sometimes you just need a quick batch on a Tuesday morning. That’s when we turn to the stove top! My culinary wisdom tells me the secret to getting those perfect breakfast potatoes via skillet is twofold: heat and patience. You need a heavy pan—cast iron is your best friend here—and you need to let that skillet get screaming hot before the potatoes even touch it. I mean, really hot! Don’t overcrowd the pan either; if you do, they will inevitably turn soft instead of crispy.
Also, for the absolute crunchiest results, try putting your empty metal baking sheet right into the oven while it preheats. When you slide those oiled and seasoned potatoes onto a blazing hot surface, you shock the exterior and lock in the crispness immediately. Remember that Russets are best for soaking and roasting because they have high starch content, but if you use Yukon Golds, they will be creamier on the inside, so adjust your expectations slightly!
Alternative: Making Skillet Breakfast Potatoes
If you opt for the stove, ignore the 425-degree oven setting, obviously! Pop your cast iron skillet over medium-high heat. Once it’s hot, add your seasoned potatoes in a single layer—seriously, don’t pile them up. For the first 10 minutes, do not stir or mess with them! Let them develop that bottom crust. After that initial sear, you can stir them gently to move the uncooked sides to the hot surface. You might need to lower the heat slightly after the first 15 minutes just so the inside cooks without burning all your beautiful spices on the outside. If you’re looking for other amazing savory ideas to go with your potatoes, check out my savory oatmeal recipe!
Variations for Homemade Breakfast Potatoes
Part of the fun of making your own **breakfast potatoes** is customizing them exactly how you like them, right? While the core recipe gives you that amazing crispy base, we can totally jazz up the flavor profile without ruining that perfect texture we worked so hard to achieve! My biggest suggestion is onions and peppers. Diced yellow onion mixes beautifully with the garlic powder we used, but you need to add them later in the cook time. They’ll burn if you toss them in at the beginning with the raw potatoes.
Try adding 1/2 cup of diced onion and maybe a splash of diced jalapeño or bell pepper during those last 15 minutes of roasting. It adds a nice fresh snap!
If you’re feeling adventurous with herbs, dried rosemary is fantastic with potatoes—just use a little less, maybe 1/4 teaspoon, since it’s potent. Or, if you want something entirely different, you could check out how I handle sweet potatoes in my sweet potato hash recipe. It’s a great way to mix things up for a truly vibrant batch of morning potatoes!
Serving Suggestions for Your Quick Breakfast Side Dish
These potatoes are the backbone of any fantastic breakfast or brunch, seriously. They’re there to support the star, whatever that may be! For a super quick weekday plate, you can’t beat serving them alongside some perfectly fried or soft-scrambled eggs. That little bit of yolk mixing with the potato seasoning? Heaven.
For a bigger weekend spread, pile these flavorful morning sides next to crispy bacon or sausage patties. If you’re feeling trendy, they are the perfect chunky base for a slice of loaded avocado toast. I put some great pairing advice in my avocado toast recipe if you need some inspiration!
Storage and Reheating Instructions for Leftover Breakfast Potatoes
Life happens, and sometimes we over-make these perfect **breakfast potatoes**—which is not a bad problem to have! First off, you have to cool them completely before storing them. If you put hot potatoes in an airtight container, the steam gets trapped, and boom, you’re back to square one with soft potatoes. Let them cool on the counter for about 30 minutes.
Then, I store them in a shallow, airtight container in the fridge for up to four days. Do not use the microwave for reheating, unless you absolutely have to—it’s the enemy of crispiness! The best way to bring these back to life is back in the oven at about 375 degrees Fahrenheit until they feel hot and slightly crunchy again. If you have an air fryer, that’s even better; it takes maybe 7 minutes and restores that snap instantly! For more thoughts on using leftovers, check out my post on leftover ham and potato hash.
Frequently Asked Questions About Making Easy Breakfast Potatoes
I get so many questions about these potatoes because everyone wants that perfect crispiness, and I totally get it! It’s frustrating when you follow a recipe and they still turn out sad and soggy. Here are answers to some of the most common issues I hear about making easy breakfast potatoes that come out spectacular every single time.
Can I use sweet potatoes instead of Russets for these breakfast potatoes?
Oh, sure you can! Sweet potatoes are delicious, but they handle heat differently than Russets. They have more natural sugar, so they caramelize quicker, which means they can burn before they get fully tender inside. If you switch to sweet potatoes, drop your oven temperature down to about 400 degrees F and keep a very close eye on them. They will probably be done closer to the 30-minute mark, maybe even less, so start checking around 25 minutes!
How do I make these gluten free breakfast potatoes completely safe?
The great news is that this core recipe—just potatoes, oil, and basic seasonings like salt, pepper, paprika, and oregano—is naturally gluten free breakfast potatoes heaven! Potatoes don’t have gluten, and plain spices are usually safe. My only caution would be if you are bringing in pre-mixed spice blends or bouillon cubes; those are the sneaky places gluten likes to hide due to cross-contamination at the factory. Always check the label on your garlic powder and paprika if you have Celiac disease or a severe intolerance!
If you are looking for other quick ideas that fit your dietary needs, check out my collection of easy snack recipes. Sometimes a side dish needs a simple, clean profile!
Estimated Nutritional Data for This Recipe
Okay, let’s talk numbers. Nobody needs me droning on about nutrition while they’re hungry for hash browns, but I know some of you are curious about what you’re putting into your body, especially on a busy morning. Here are the estimated values based on the recipe for a single serving. I always stress this part heavily:
These figures are just estimates, you know? They change depending on the exact brand of olive oil you use or how much salt you sprinkle on top (and I know some of you are heavy-handers with the salt shaker!). For official dietary tracking, you should always double-check your specific ingredient labels. You can read more about how I approach this on my site disclaimer page.
- Calories: 250
- Fat: 12g (1.5g Saturated Fat)
- Carbohydrates: 33g
- Fiber: 4g
- Protein: 4g
- Sugar: 1g
- Sodium: 450mg
- Cholesterol: 0mg
The good news is that because we’re roasting instead of deep-frying, these come in nicely balanced! They offer a great energy boost without weighing you down for the rest of the morning.
Share Your Perfect Breakfast Potatoes Creations
Now it’s your turn! I’ve given you all my best secrets—the soaking, the drying, the blazing hot oven—to make what I honestly believe is the absolute cornerstone of any great breakfast: perfectly crispy **breakfast potatoes**. Seriously, I need to know how they turned out for you!
Did you manage to get that incredible golden crust? Did you add any spicy variations we talked about, or maybe stick to the classic garlic and herb blend? Don’t be shy! Give this recipe a star rating down below—it really helps other folks see how reliable this method is. If you tried them out, snap a picture!
I absolutely live for seeing your culinary results on social media. Tag me when you post your gorgeous, fluffy, crispy potatoes so I can celebrate with you! If you have any lingering questions after all those steps, or if you just want to send me a note about how much better your Sunday brunch is now, you can always reach out through my contact page. Happy cooking, everyone!
PrintPerfectly Crispy Oven Roasted Breakfast Potatoes

Follow this simple method to make golden brown, crispy breakfast potatoes using the oven. This recipe focuses on technique to achieve the best texture.
- Prep Time: 10 min
- Cook Time: 40 min
- Total Time: 50 min
- Yield: 4 servings
- Category: Side Dish
- Method: Oven Roasting
- Cuisine: American
- Diet: Gluten Free
Ingredients
- 2 lbs Russet potatoes, peeled and diced into 1/2 inch cubes
- 3 tablespoons olive oil
- 1 teaspoon salt
- 1/2 teaspoon black pepper
- 1 teaspoon garlic powder
- 1 teaspoon paprika
- 1/2 teaspoon dried oregano
Instructions
- Preheat your oven to 425 degrees Fahrenheit (220 degrees Celsius).
- Place the diced potatoes in a large bowl.
- Cover the potatoes completely with cold water and let them soak for at least 30 minutes. This removes excess starch for crispier results.
- Drain the potatoes completely and then spread them out on a clean kitchen towel or several layers of paper towels. Pat them very dry. Moisture prevents crisping.
- In the bowl, toss the dry potatoes with olive oil, salt, pepper, garlic powder, paprika, and oregano until evenly coated.
- Spread the seasoned potatoes in a single layer on a large baking sheet. Do not overcrowd the pan; use two sheets if necessary.
- Roast for 20 minutes.
- Remove the pan from the oven and flip the potatoes using a spatula.
- Return the pan to the oven and roast for another 15 to 20 minutes, or until the potatoes are deep golden brown and crispy on the outside.
- Serve immediately as a side dish for your breakfast.
Notes
- For extra crispiness, use a metal baking sheet and place it in the oven while it preheats. Add the oiled potatoes directly to the hot pan.
- If you prefer a skillet method, use a large cast iron skillet over medium-high heat, ensuring the potatoes are in a single layer and not stirring them for the first 10 minutes.
- You can add 1/2 cup of diced onion during the last 15 minutes of cooking for added flavor.
Nutrition
- Serving Size: 1 serving
- Calories: 250
- Sugar: 1
- Sodium: 450
- Fat: 12
- Saturated Fat: 1.5
- Unsaturated Fat: 10.5
- Trans Fat: 0
- Carbohydrates: 33
- Fiber: 4
- Protein: 4
- Cholesterol: 0