

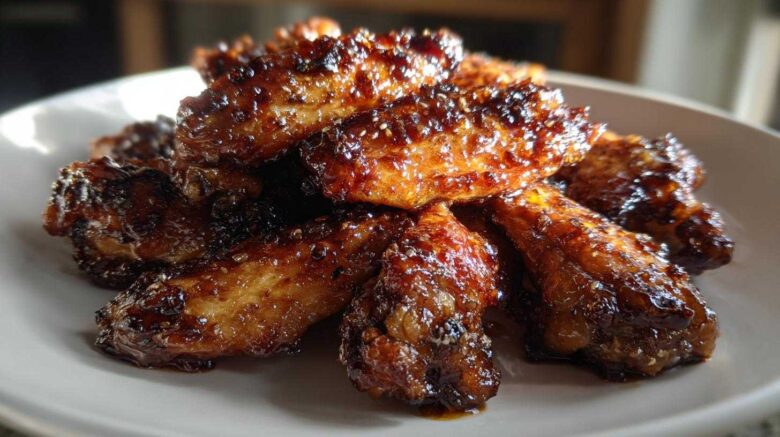
Welcome to the Kitchen: Making Oven Baked Honey Garlic Chicken Wings
Hello there! I’m Mei, the Sprout of Spoon & Sprout.
Jun, my dear Spoon, and I are so happy you’re here.
We’re sharing a recipe we adore.
These Oven Baked Honey Garlic Chicken Wings are famous.
They are the perfect party food starter.
They truly show our kitchen philosophy.
We balance deep, warm flavors.
We mix them with a bright, fresh glaze.
It’s comfort food, but lighter.
Get ready for sticky, delicious wings.
Why You’ll Love This Oven Baked Honey Garlic Chicken Wings Recipe
Why should these wings sit on your table?
They are undeniably crowd-pleasing.
We bake them, no messy frying.
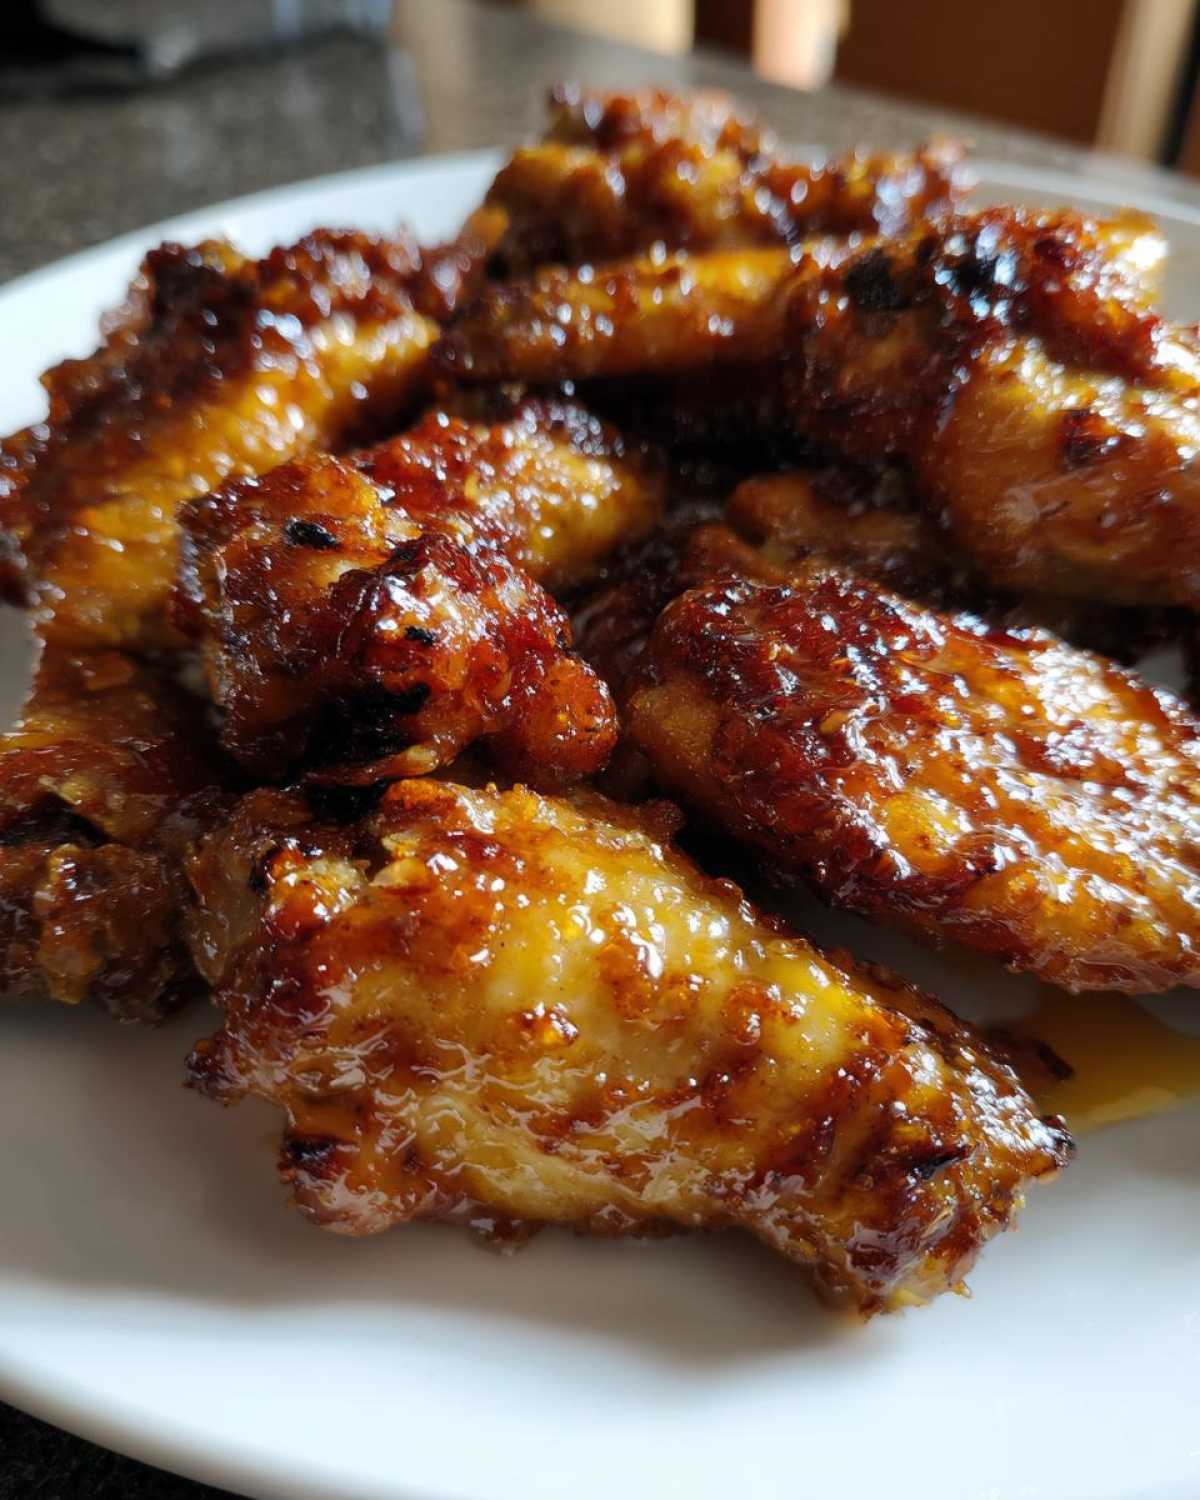
The glaze gets wonderfully sticky.
They make a fantastic appetizer.
- Easy baking method means less stress.
- Sticky glaze coats every single piece.
- Perfect for game days or parties.
Quick Prep for Your Oven Baked Honey Garlic Chicken Wings
The prep time is just fifteen minutes.
Seriously, fifteen minutes is all it takes.
You toss the wings with simple dry rubs.
Then you mix the sauce while they bake.
It is quick cooking, my friends.
Flavor Profile: The Spoon Meets the Sprout
This recipe is our kitchen’s heart.
The Spoon brings the deep, savory base.
It is warm and comforting flavor.
The Sprout adds that bright, fresh lift.
The resulting sticky glaze is balanced perfectly.
It tastes like tradition meeting sunshine.
Equipment Needed for Oven Baked Honey Garlic Chicken Wings
Knowing your tools helps everything flow.
Good equipment makes baking easier.
You don’t need fancy gadgets here.
We rely on simple, sturdy kitchen items.
- A large mixing bowl for tossing wings.
- A rimmed baking sheet is essential.
- Use a wire rack that fits the sheet.
- A small saucepan for the sauce.
- Paper towels for drying the skin well.
Ingredients for Perfect Oven Baked Honey Garlic Chicken Wings
Now, let’s talk about what you need.
Gathering your components is key to success.
These ingredients create that famous sticky coating.
We need good quality honey for sweetness.
Soy sauce provides that salty depth.
Don’t forget lots of fresh, minced garlic.
A little acid from vinegar brightens things up.
We also use cornstarch for a secret crisping trick.
Ingredient Clarity and Preparation Notes
What kind of wings should you use?
I usually grab whole wings, then split them.
Separated wings bake a bit more evenly.
The most important step is drying them completely.
Pat them dry until they feel almost rough.
That cornstarch coating is not for flavor.
It pulls moisture from the skin while baking.
This helps us get that beautiful crisp texture.
A little grated ginger is optional, but nice.
How to Prepare Oven Baked Honey Garlic Chicken Wings Step-by-Step
Let’s get cooking, shall we?
Follow these steps closely for wonderful baked wings.
This two-stage baking method is my secret weapon.
It ensures the inside cooks perfectly first.
Then we add the sticky glaze later on.
This keeps the sauce from burning too soon.
Stage One: Prepping and Initial Bake for Crispy Skin
First, crank your oven up to 400 degrees Fahrenheit.
Remember that drying step we talked about?
Use paper towels until those wings are totally dry.
Next, toss them in a bowl.
Add just salt, pepper, and your cornstarch.
You want a very light, even coating.
Line your sheet pan with a wire rack now.
Place the wings in a single layer on that rack.
They need space to breathe and crisp up nicely.
Bake them for exactly thirty minutes to start.
Creating the Sticky Oven Baked Honey Garlic Chicken Wings Sauce
While the wings are doing their first bake,
we make that amazing honey garlic sauce.
In a small saucepan, whisk everything together.
That means honey, soy sauce, garlic, and vinegar.
Add ginger if you decided to use it.
Bring this mixture to a gentle simmer.
Stir it often for three to five minutes.
It should thicken up just a little bit.
Taste the sauce right there, friend.
This is where you adjust for your liking.
Need more sweetness? Add honey.
Want more punch? Add a dash more soy sauce.
Stage Two: Glazing and Caramelizing Your Oven Baked Honey Garlic Chicken Wings
When the initial thirty minutes pass, pull the pan out.
Now, turn that oven temperature way up.
Set it to 425 degrees Fahrenheit instead.
Toss those hot wings right into your sauce.
Make sure every wing gets a good slathering.
Return the sauced wings to the wire rack.
Bake them for ten to fifteen more minutes.
Remember to turn them halfway through this part.
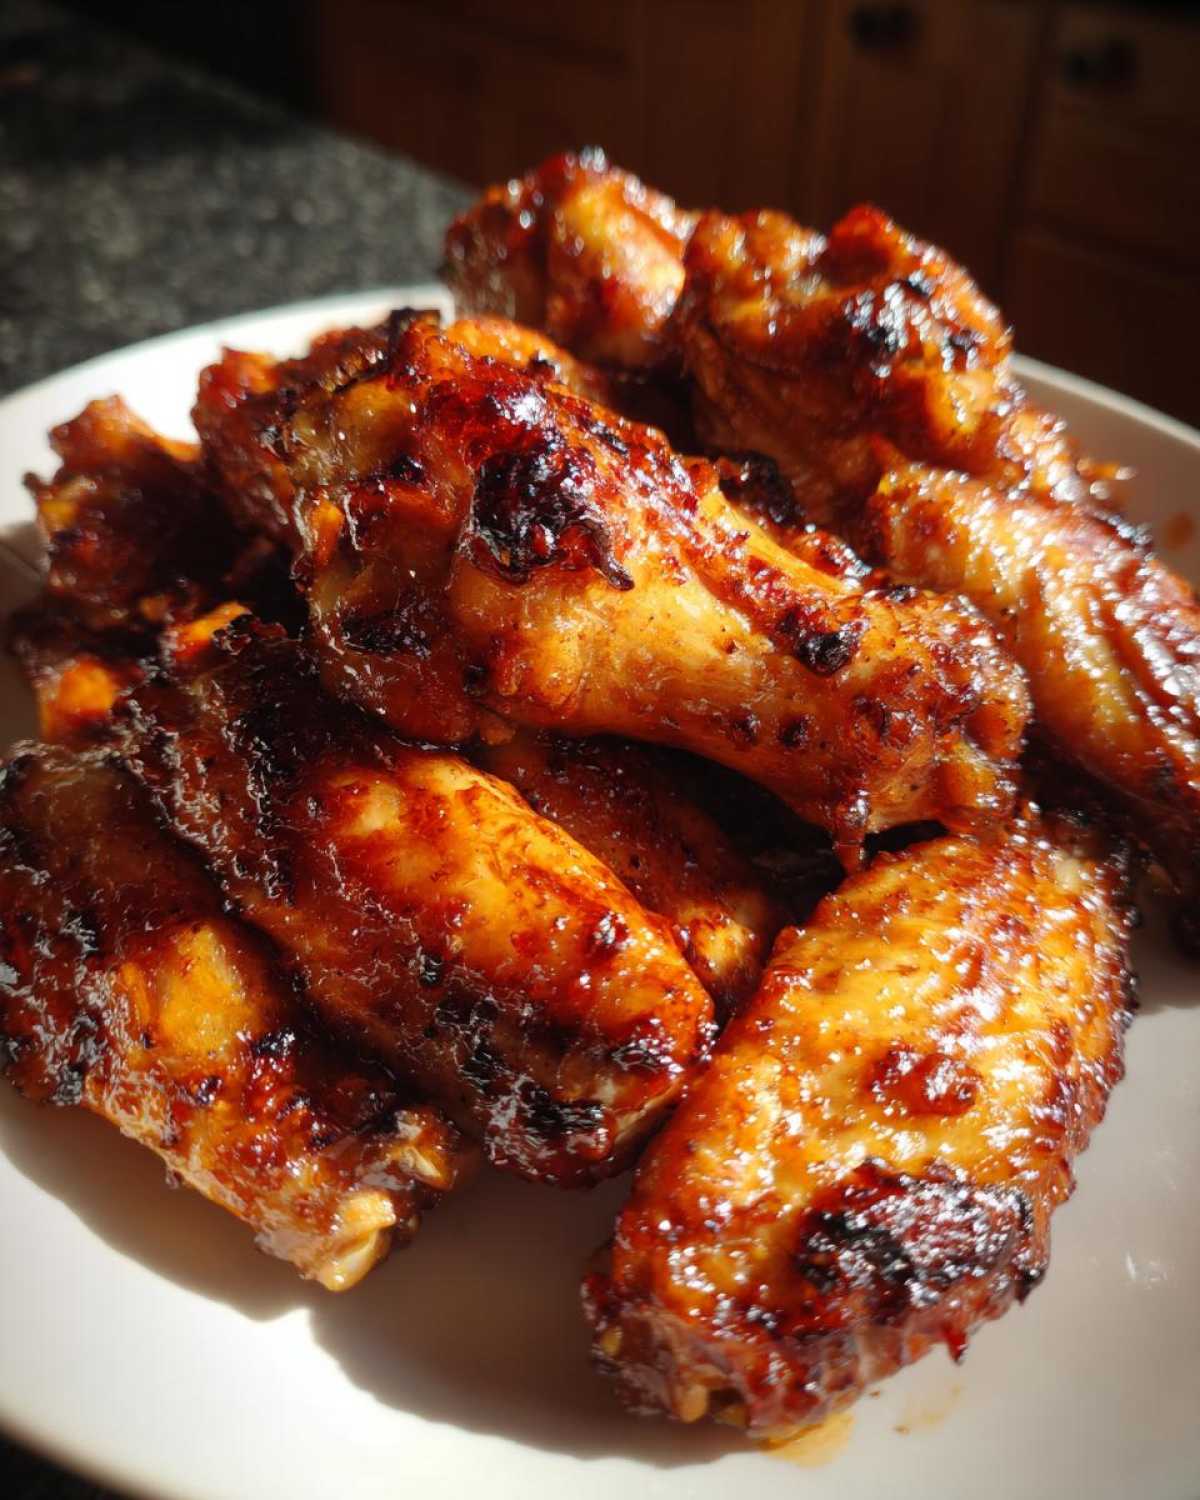
You want that glaze to get beautifully sticky.
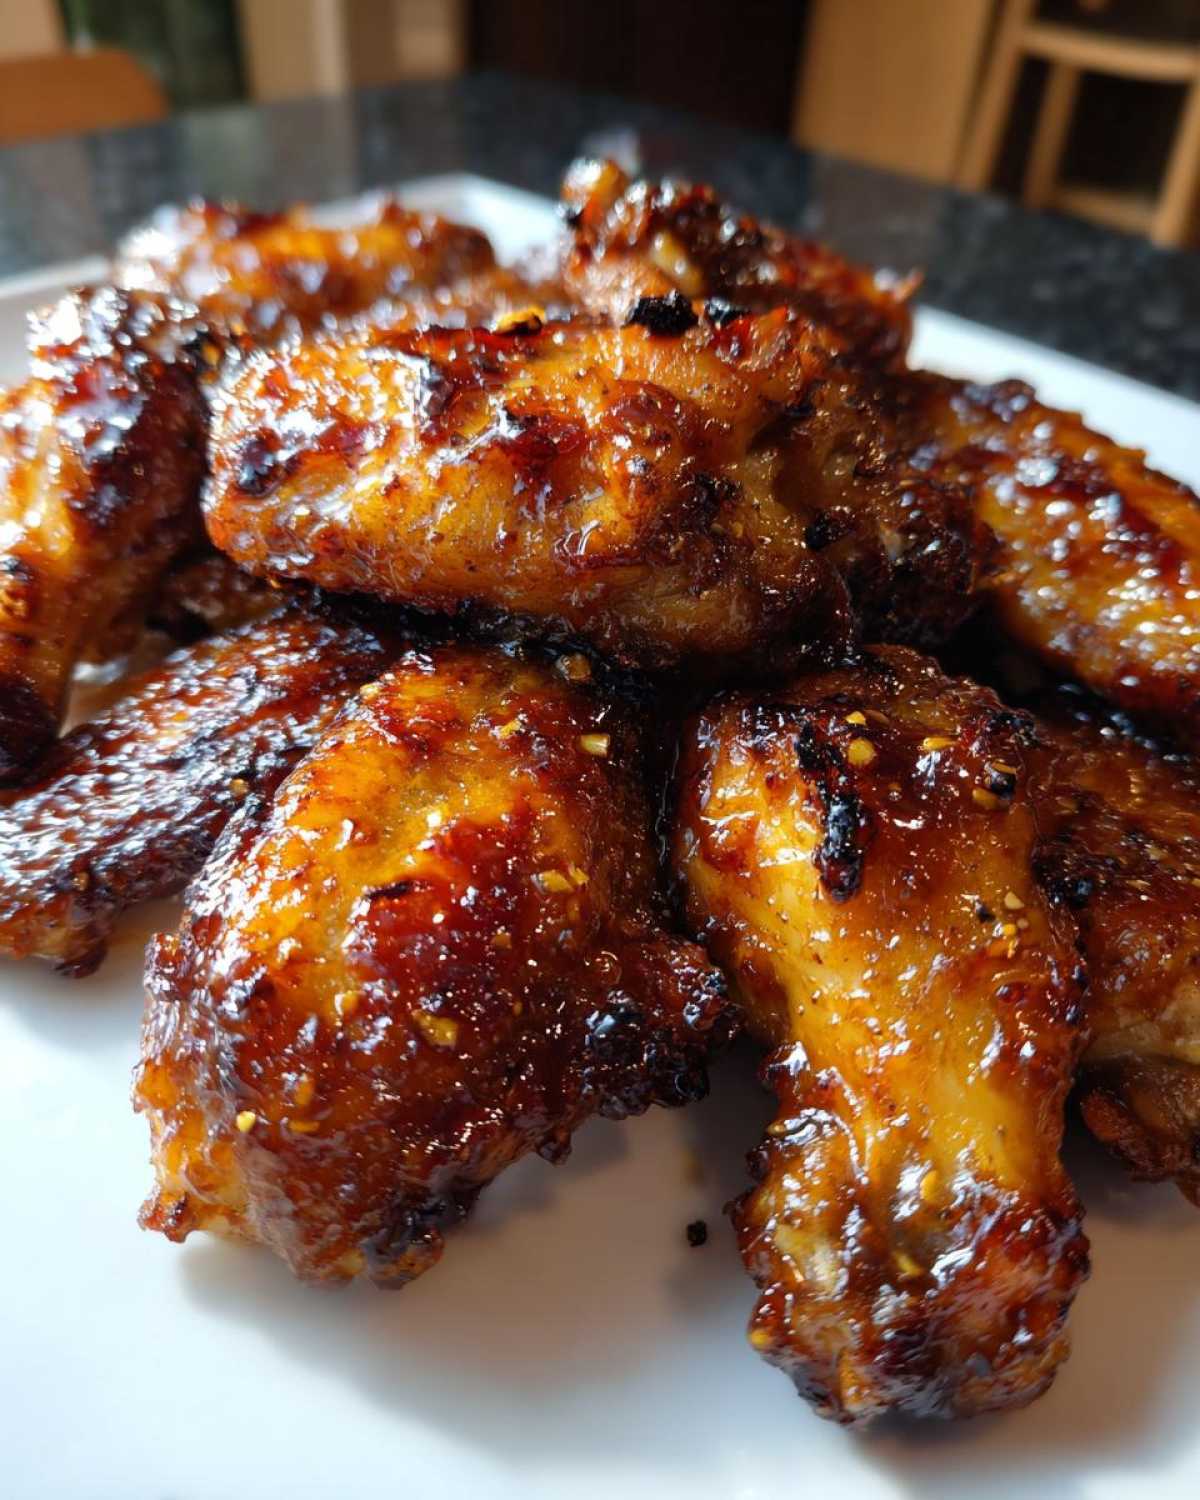
It should look caramelized and gorgeous.
Serve these Oven Baked Honey Garlic Chicken Wings right away!
Tips for Success with Your Oven Baked Honey Garlic Chicken Wings
Getting that perfect texture is key, isn’t it?
Jun, the Spoon in our partnership, always says,
good food needs patience and good technique.
These wings are no exception to that rule.
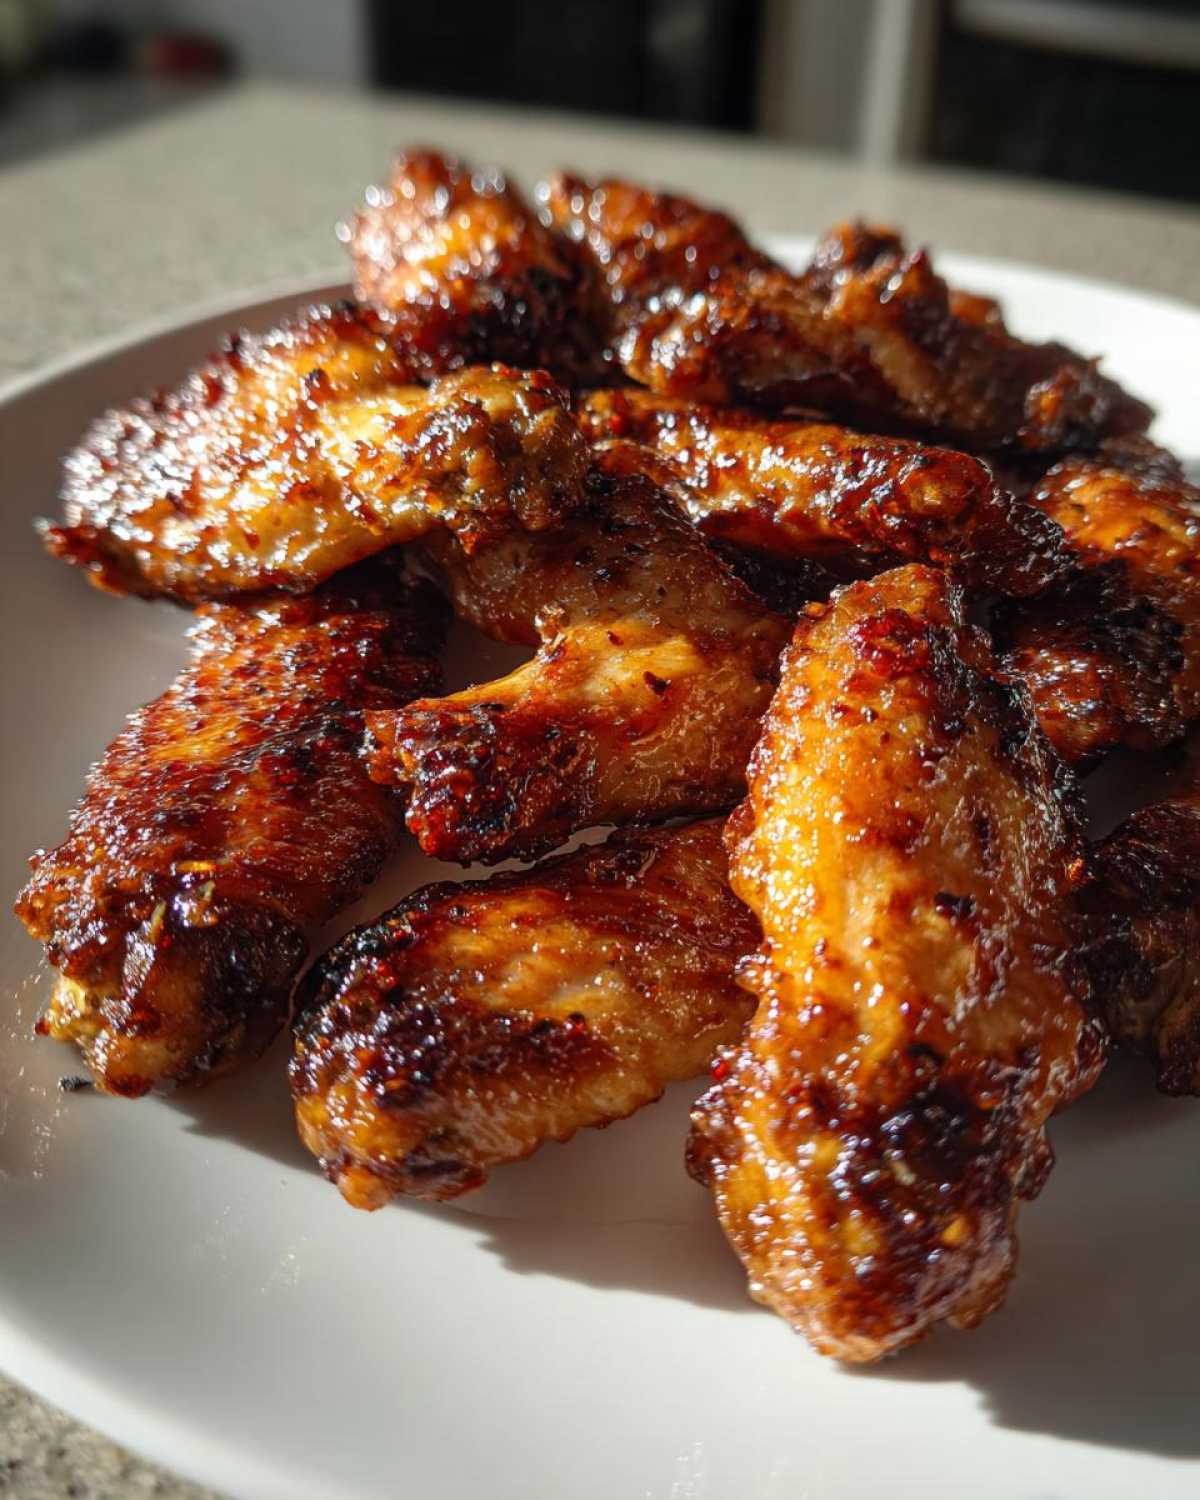
We want them truly crisp under that glaze.
Follow these small secrets for the best results.
Achieving Maximum Crispiness
Do you crave that deep, satisfying crunch?
I have a little trick from our notes for you.
If you have extra time, try a double bake.
Cook them the initial time at a lower heat.
Then, after saucing, crank the heat way up.
This second blast of heat really sets the glaze.
It locks in moisture while crisping the skin.
Adjusting the Honey Garlic Glaze Balance
Remember tasting the sauce earlier?
That step is critical for true flavor.
The Spoon likes a deeper savory flavor profile.
I often lean toward a brighter, sweeter glaze.
Taste your sauce before you toss the wings.
Adjust the honey or soy sauce as needed.
This ensures the final flavor is yours alone.
Serving Suggestions for Oven Baked Honey Garlic Chicken Wings
These sticky wings are rich and bold.
They pair well with something cool.
Think crisp celery sticks or carrot rounds.
A simple blue cheese dip is fantastic.
Or try a side of quick, fresh coleslaw.
It cuts through the sweetness nicely.
Storing and Reheating Leftover Oven Baked Honey Garlic Chicken Wings
Did you actually have leftovers?
That is rare in our house!
Store any extra wings right away.
Use an airtight container for storage.
Keep them in the refrigerator, not too long.
Reheating is where the magic happens again.
Avoid the microwave if you can, please.
It makes the sticky glaze soft again.
Try the oven or an air fryer instead.
A brief reheat at 350 degrees works well.
Frequently Asked Questions About Oven Baked Honey Garlic Chicken Wings
I know you might have a few lingering questions.
It’s normal when trying a new technique.
We want your wings to turn out perfectly.
Here are a few things people often ask us.
These usually come up when planning party food.
Can I make these Oven Baked Honey Garlic Chicken Wings ahead of time?
You surely can prep parts ahead of time.
I suggest baking the wings fully first.
Let those fully cooked wings cool down.
Store the plain baked wings in the fridge.
Do not toss them in the sauce yet.
When ready, reheat them, then quickly sauce and bake.
This keeps the skin from getting soggy.
What is the best way to ensure the skin gets crispy?
Crispness is the Sprout’s favorite challenge.
First, dry the chicken skin completely.
Use paper towels until you think you’re done.
Then, toss them lightly with cornstarch.
Bake them on a wire rack over a sheet pan.
This lets hot air circulate underneath them.
That combination yields great results every time.
Estimated Nutritional Information for Oven Baked Honey Garlic Chicken Wings
We bake these wings, so they are lighter.
This recipe is surprisingly low in fat.
Remember these numbers are just estimates.
They are based on a four-wing serving size.
Jun always reminds me that fresh ingredients vary.
- Calories hover around 300 each.
- Protein is a solid 22 grams.
- Fat content is about 15 grams total.
- Carbohydrates come in around 20 grams.
This makes them a satisfying snack.
Share Your Spoon & Sprout Moments
We’ve shared our kitchen conversation with you.
Now, we want to hear from your home!
Did these sticky wings bring joy?
Rate this recipe if you loved it.
Tell us how you found your balance.
Share your Spoon & Sprout story below.
For more kitchen inspiration, check out our latest blog posts.
PrintAmazing 30 Oven Baked Honey Garlic Chicken Wings
Bake these Oven Baked Honey Garlic Chicken Wings for a crowd-pleasing appetizer or snack. They offer a perfect balance between deep, comforting flavor and a fresh glaze.
- Prep Time: 15 minutes
- Cook Time: 45 minutes
- Total Time: 60 minutes
- Yield: 4-6 servings
- Category: Appetizer
- Method: Baking
- Cuisine: American/Fusion
- Diet: Low Fat
Ingredients
- Chicken Wings (whole or separated)
- Honey
- Soy Sauce (or Tamari for gluten-free)
- Garlic (minced)
- Ginger (grated, optional)
- Vinegar (rice or apple cider)
- Cornstarch (for crisping)
- Salt
- Black Pepper
Instructions
- Preheat your oven to 400 degrees Fahrenheit (200 degrees Celsius).
- Pat the chicken wings completely dry with paper towels. This helps you get crispy skin.
- In a bowl, toss the wings with a little salt, pepper, and cornstarch until lightly coated.
- Arrange the wings in a single layer on a wire rack set over a baking sheet.
- Bake for 30 minutes.
- While the wings bake, whisk together the honey, soy sauce, minced garlic, vinegar, and ginger (if using) in a small saucepan.
- Bring the sauce to a gentle simmer over medium heat, stirring until slightly thickened. This should take about 3-5 minutes.
- Remove the wings from the oven. Increase the oven temperature to 425 degrees Fahrenheit (220 degrees Celsius).
- Toss the baked wings thoroughly in the prepared honey garlic sauce.
- Return the sauced wings to the baking sheet.
- Bake for another 10-15 minutes, turning halfway through, until the glaze is sticky and caramelized.
- Serve immediately.
Notes
- For extra crispiness, you can bake the wings twice—once at a lower temperature to cook through, and a second time at a higher temperature after saucing.
- Mei suggests tasting the sauce before tossing; adjust honey for sweetness or soy sauce for saltiness.
- This recipe balances the deep flavor of tradition (Spoon) with a bright glaze (Sprout).
Nutrition
- Serving Size: 4 wings
- Calories: 300
- Sugar: 15g
- Sodium: 450mg
- Fat: 15g
- Saturated Fat: 4g
- Unsaturated Fat: 11g
- Trans Fat: 0g
- Carbohydrates: 20g
- Fiber: 0g
- Protein: 22g
- Cholesterol: 70mg