

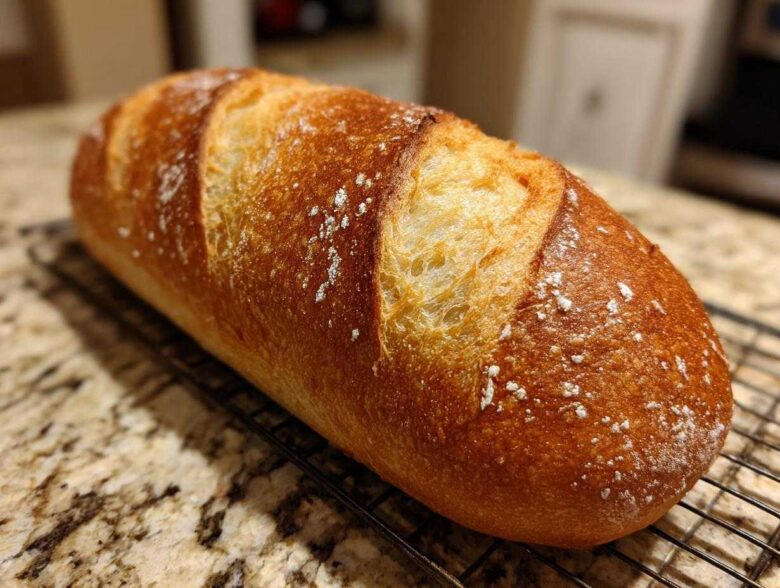
There is just something about the smell of fresh baked bread that anchors a home, isn’t there? Mei, my Sprout, always says that deep, yeasty aroma is the kitchen’s best welcome mat. For years, getting that perfect bakery-style French bread—that crackly, loud crust paired with the soft, airy inside—felt like a complex mystery reserved for true artisan bakers. Well, I’m here to tell you, it’s not! This Easy Homemade French Bread recipe is the conversation we needed to have. We’ve stripped away the fuss, and I promise you can have two stunning loaves on your table in under two hours. Trust me, this is a totally achievable beginner baking success story. For more on how we blend the old ways with new ideas in our kitchen, you can read more about the Spoon and Sprout philosophy.
The Secrets to Perfect Homemade French Bread
When I first tackled the concept of French bread, I thought it required hours of dedicated folding and waiting. Mei, my Sprout, always pushes me to find the pathway of least resistance without losing flavor, and we finally figured out the rhythm for this one. This recipe is all about speed meeting substance. We use simple, reliable pantry ingredients to get that incredible, hollow sound when you tap the finished loaf. When you’re starting out with your artisan bread at home journey, you need reliability, and this method delivers bakery style bread quality every single time.
Why This Easy Bread Recipe Works for Beginners
Honestly, this is one of the most easy bread recipes I’ve ever endorsed. You don’t need to turn your kitchen into a flour bomb dodging missile site. We knead just long enough—five to seven minutes—to wake up the gluten, but that’s it. The yeast does most of the heavy lifting during the first rise. Because we aren’t doing three or four long proofs like some complex recipes demand, this becomes a true quick bread recipe. You’re using basic flour, salt, and water; nothing complicated required here, which is perfect for any beginner baking project.
Achieving That Signature Crusty Bread Exterior
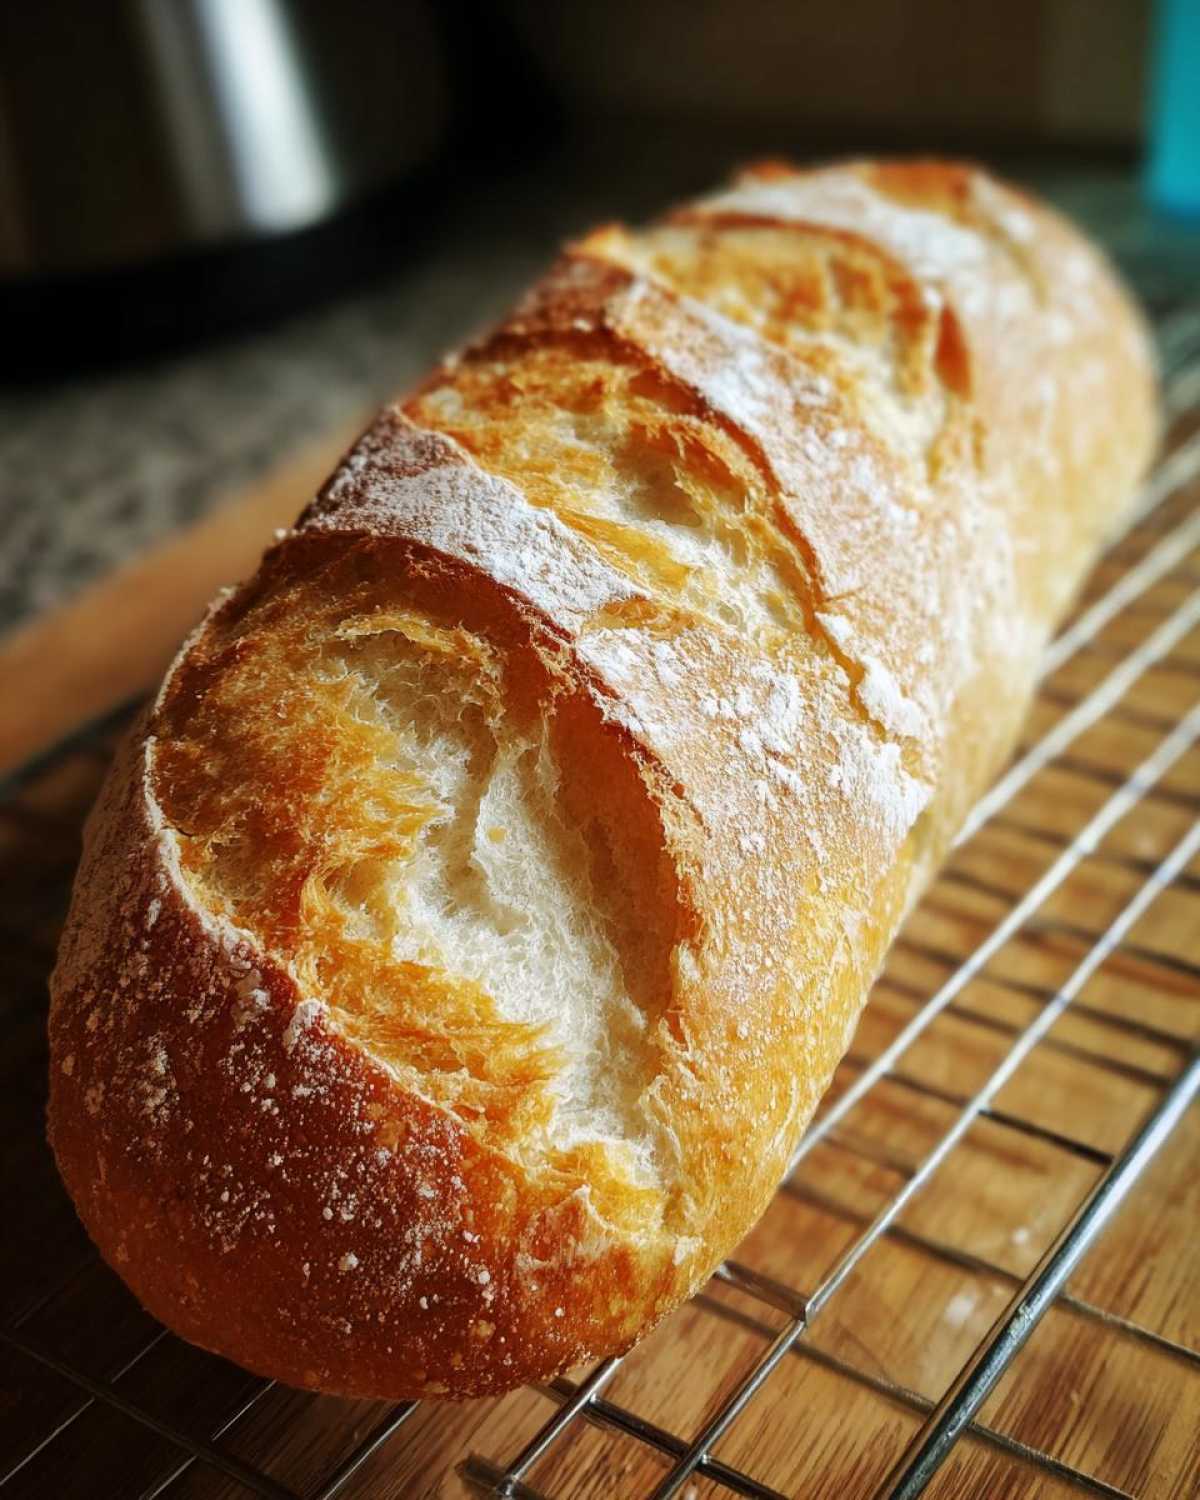
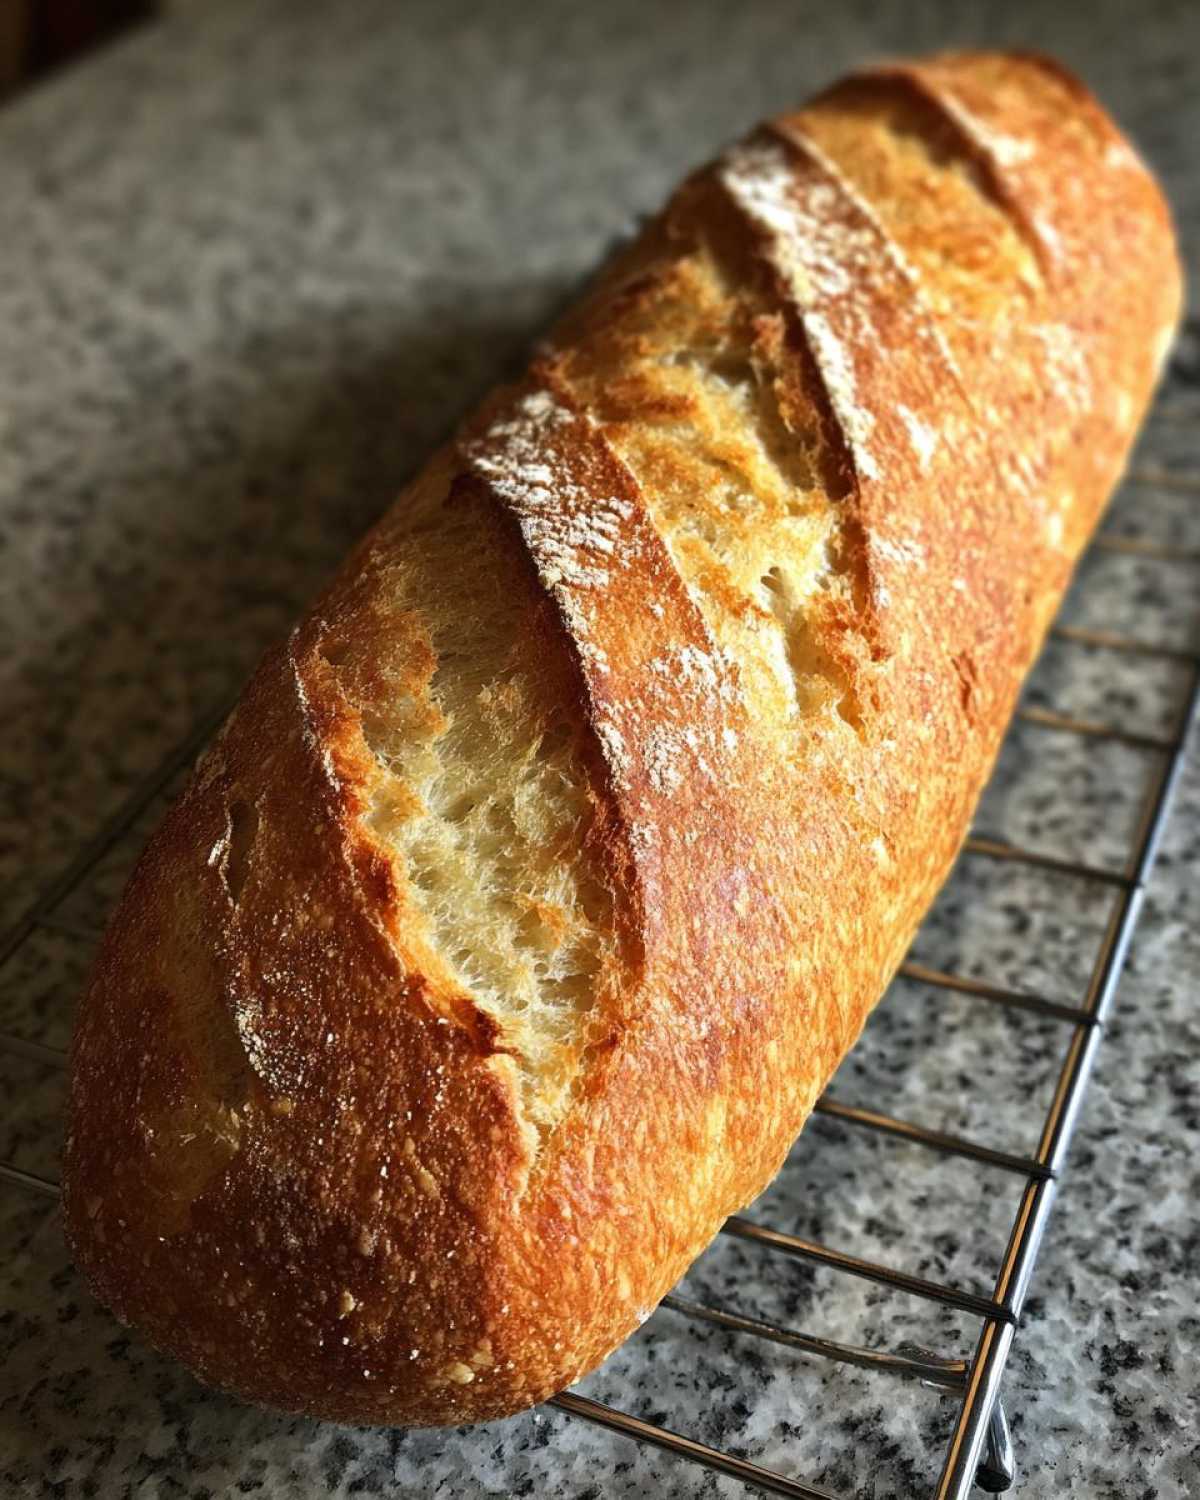
Here’s where we emulate the professional bakery environment right in your home oven. That beautiful, audible crackle when you slice into the loaf? That comes from steam. You’ll place a shallow metal pan in the bottom of your oven while it preheats, then carefully pour in some hot water right before the bread goes in. This burst of humidity keeps the exterior soft enough to expand fully before setting hard as a shell. The optional egg wash just gives it that gorgeous deep golden finish for that shiny, crispy crust bread look!
Ingredients for Your Quick French Bread Recipe
When I gather my components for this French bread, I love how much of it I already have on hand. These are true pantry ingredient bread staples, Sprout says, and she’s right! You won’t need anything esoteric here, just good, reliable basics for making two beautiful loaves. Keep an eye on that water temperature, though; it’s important for waking up the yeast properly. This list is what you need for a fantastic dinner bread tonight!
- 3 teaspoons active dry yeast
- 1 1/2 cups warm water (about 105-115°F)
- 1 teaspoon sugar
- 3 1/2 cups all-purpose flour, plus more for dusting
- 2 teaspoons salt
- 1 tablespoon olive oil, plus more for greasing
- 1 egg white, beaten with 1 teaspoon water (for egg wash)
Step-by-Step Instructions: Making Your Classic French Loaf
This is where the magic of turning simple flour into a beautiful French bread loaf happens. Don’t get intimidated by the steps; we’re just moving nice and steady. The goal here is to respect the yeast and keep things warm. I always tell Mei that patience in the rising stages is what separates a good loaf from a truly great one, even though this whole process moves quite quickly for a Classic French Loaf.
Activating the Yeast and Mixing the Dough for French Bread
First up, we wake up the yeast! That’s step one. In a big bowl, ditch the cold water and grab the warm stuff—remember, 105 to 115°F. Sugar and yeast go in, and you wait about five to ten minutes. If you see a nice foamy top, congratulations, the yeast is happy and ready to work hard for your Homemade French Bread! Then, just stir in your flour, salt, and that olive oil until it comes together into what looks like a clumsy, shaggy mess. That’s exactly right.
Kneading and First Rise for Soft Fluffy Bread
Now for a bit of elbow grease, but not too much! Turn that shaggy dough out onto a floured surface and knead it for about five to seven minutes. You are looking for it to feel smooth and stretchy, not sticky—that means the gluten is developing nicely for that Soft Fluffy Bread interior. Next, oil up a clean bowl, tuck the dough ball inside, and cover it snugly. Find a warm, draft-free spot and let it hang out for 60 to 75 minutes. It needs to double in size; don’t rush this part!
Shaping and Creating Steam for Crusty Bread
Once doubled, give that dough a gentle ‘punch down’ (it’s surprisingly satisfying!) and divide it right in half. On your floured surface, roll each half into a tight, even cylinder, about 12 to 14 inches long, to get that classic look. Place them on your parchment-lined sheet and let them rest for just 30 minutes while the oven hits 400°F. Before they go in, brush them with the egg white wash and slice three shallow diagonal marks across the top with a sharp blade. Now, remember that special trick for Crusty Bread? Pour a cup of hot water into your bottom pan right as you slide the loaves in. We learned from our artisan bread at home experiments that this burst of steam keeps the exterior soft enough to expand fully before setting hard as a shell. That’s how we get that crackle!
Tips for Success When Baking Your French Bread
Baking is a process of conversation between the ingredients and the baker, and sometimes, the ingredients talk back! With this French bread recipe, most hiccups are easy to fix once you know what to listen for. I remember the first dozen loaves I baked when I was trying to nail down the timing—they were flat as pancakes! That usually means the yeast wasn’t active, which is heartbreaking when you’re eager for that fresh baked bread aroma.
Troubleshooting Common Issues with Homemade French Bread
If your dough doesn’t double during the first rise, check your water temperature next time; it might have been too hot and killed the yeast, or too cold and put them to sleep. If your crust isn’t shatteringly crisp, I can nearly guarantee you skipped the hot water steam bath during baking. Don’t worry, we all forget! That steam is the key step that separates a soft loaf from a true, crusty bread masterpiece. A little attention to heat and steam goes a very long way.
Serving Suggestions for Your Fresh Baked Bread
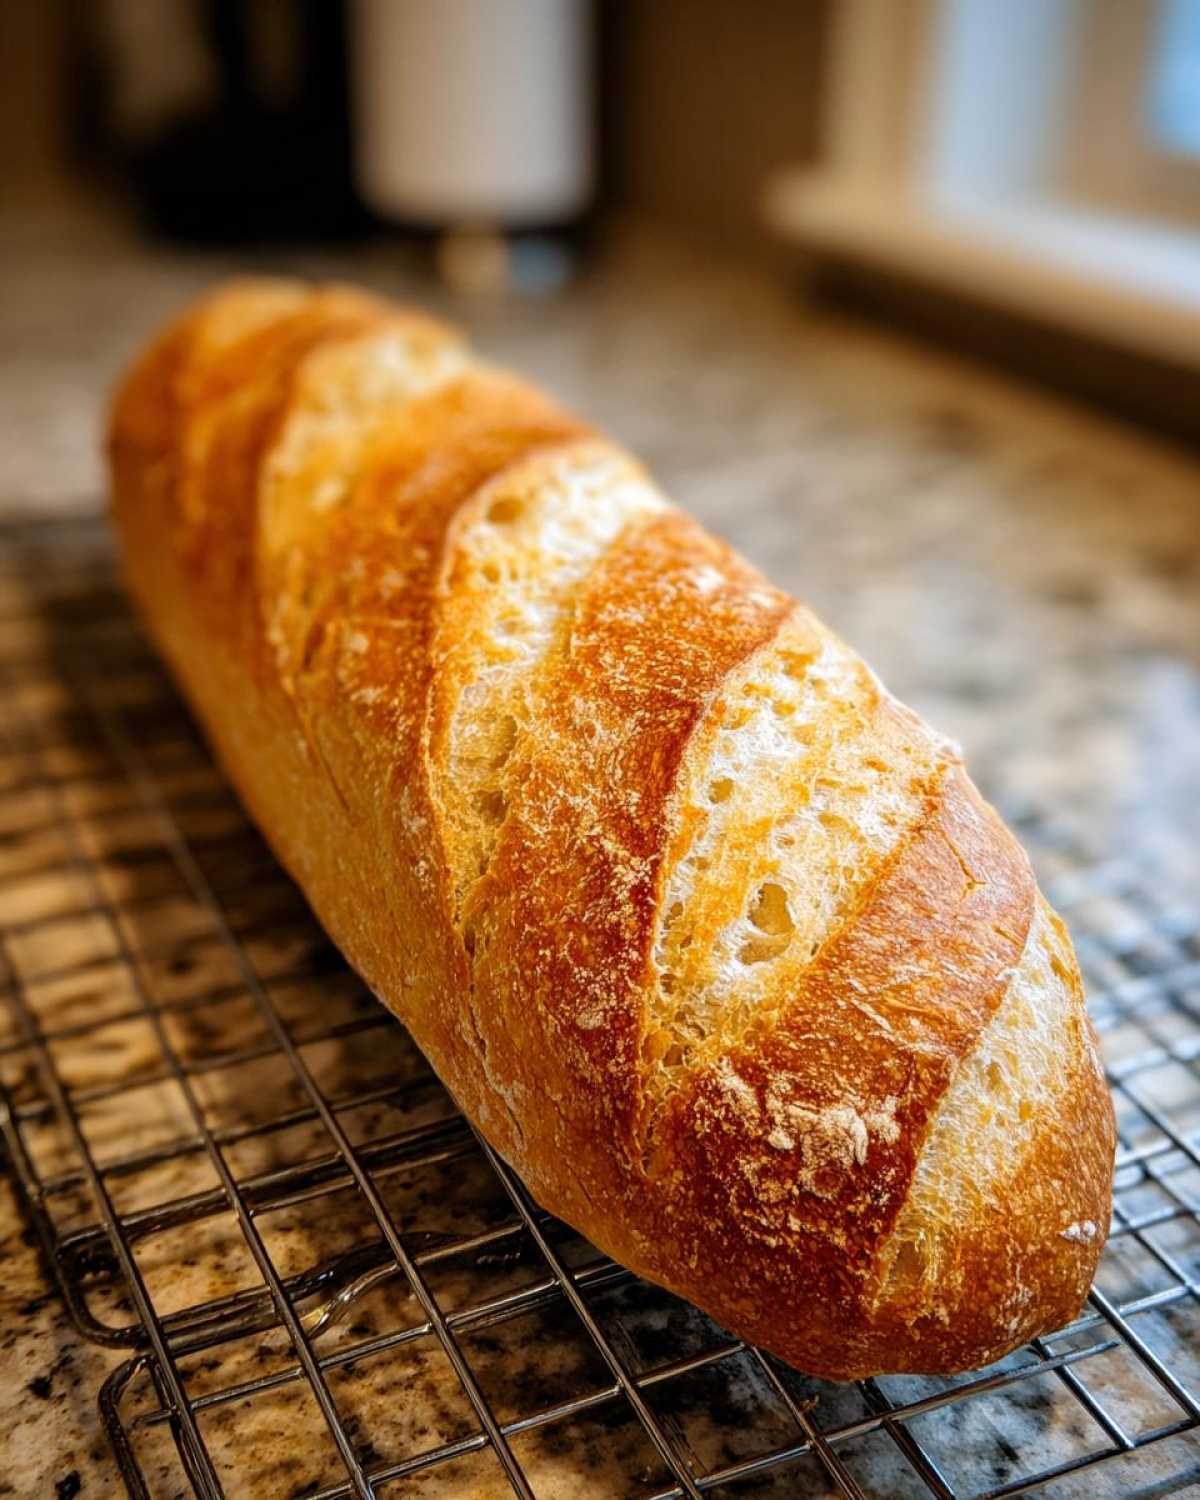
Oh, the best part! Pulling those two glorious loaves of French bread out of the oven means dinner just got ten times better. This bread is so versatile, making it a perfect go-to for dinner bread ideas. Of course, it’s phenomenal sliced thick and slathered with butter while it’s still warm. But Mei and I love using the ends for dipping. It’s the perfect sturdy companion for a big bowl of my slow-simmered creamy tomato basil soup. And honestly, nothing beats dragging a chunk of that chewy interior through a good, thick dip, like our favorite cheesy spinach and artichoke dip. It tastes like home.
Storage and Reheating Instructions for French Bread
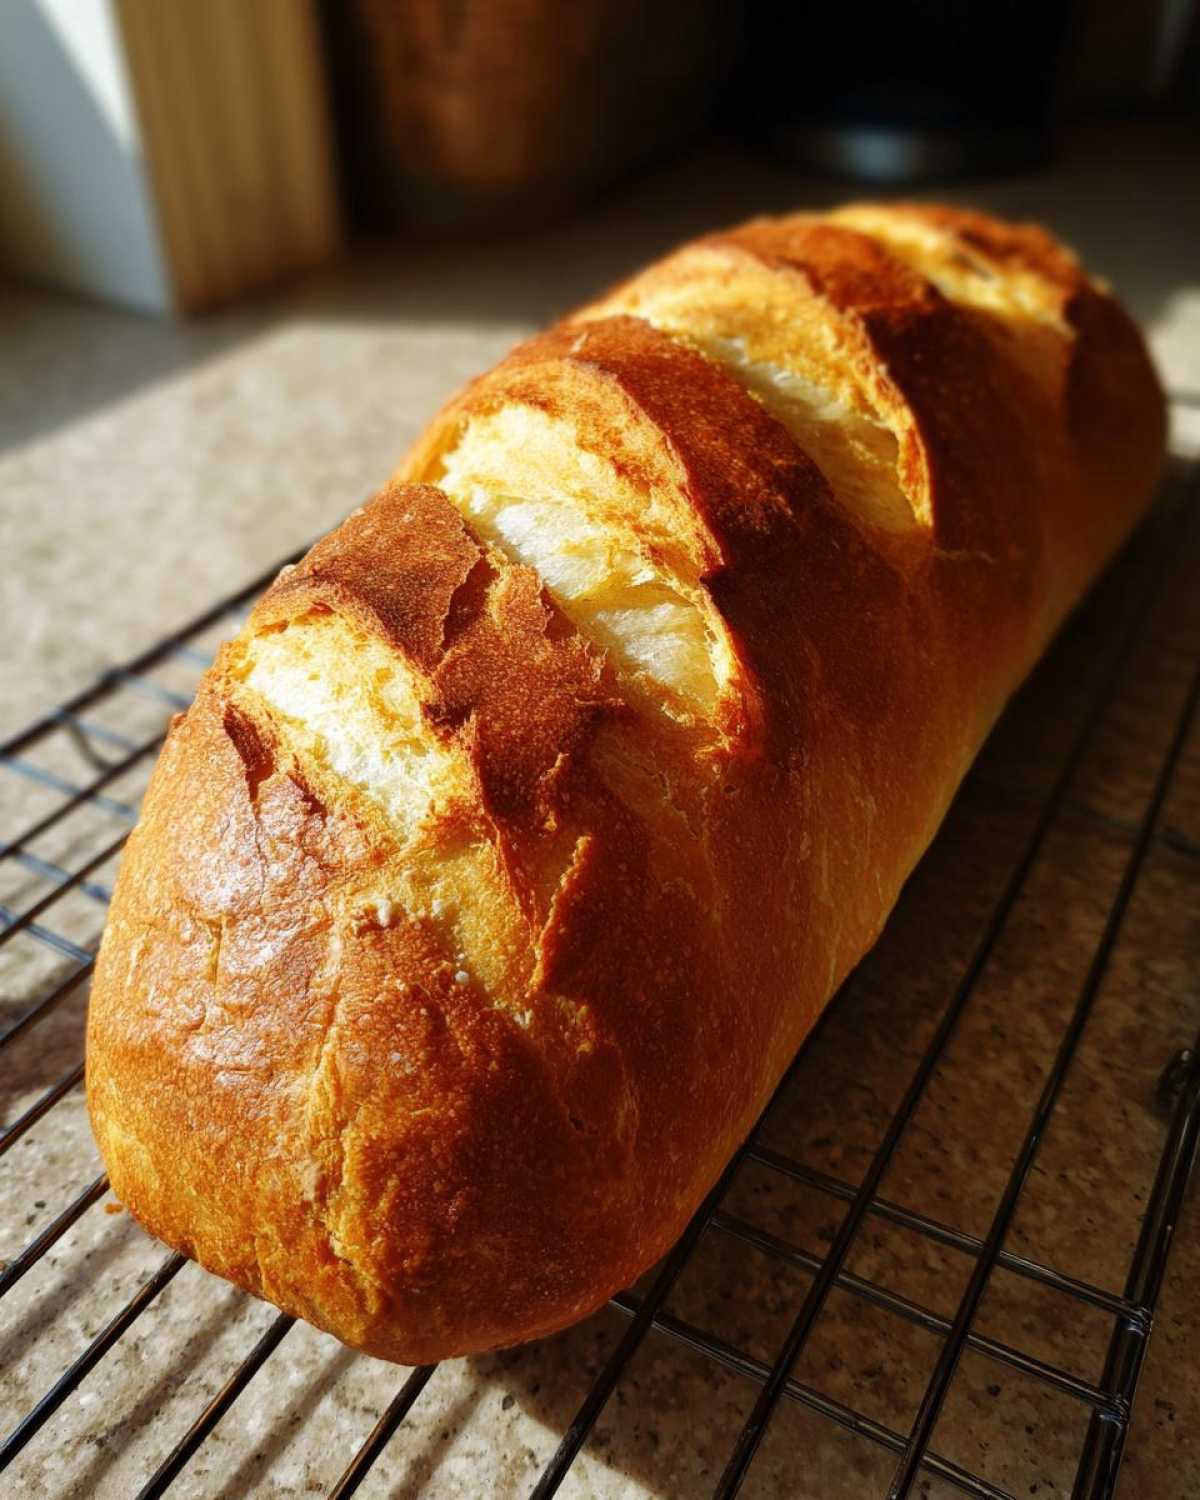
Now, this is serious business: how to keep your magnificent French bread tasting bakery-fresh overnight. My first rule? Never, ever put it in the refrigerator. Cold air steals the moisture right out, and you’ll end up with a hard, sad brick instead of that soft fluffy bread you worked for. Store the loaf in a paper bag at room temperature for one day. If you have leftovers past that, revival is key!
To bring that crust back to life, just give the loaf a quick spray of water and pop it back into a 350°F oven for about five minutes. That little bit of steam brings back the lovely crunch of the crust perfectly.
Frequently Asked Questions About This Easy Bread Recipe
I know when you’re trying a new recipe, especially one that promises speed and great results, you always have little questions bubbling up. That’s perfectly normal! Mei and I have had these discussions dozens of times while perfecting this Homemade French Bread. Here are a few things people often ask about making this loaf.
Can I swap the all-purpose flour for bread flour?
You certainly can! If you swap to bread flour, you’ll get a slightly chewier texture, closer to some of the more traditional, denser loaves. Since we’re aiming for wonderfully soft fluffy bread here, I usually stick to all-purpose flour as it keeps the crumb lighter. If you do use bread flour, you might need to add just a splash more water, as it absorbs more liquid.
Is this truly a ‘No Knead Bread’ recipe?
No, this isn’t technically a No Knead Bread recipe, though I wish it was sometimes! I find that taking those five minutes to knead really ensures you get that structure necessary for the high oven steam to create that perfect crust. Since the rise time is so short, a little mechanical work upfront goes a long way toward achieving that lovely Crusty Bread exterior without sacrificing time.
How quickly can I have this fresh baked bread ready?
If you are quick with your hands, you can absolutely have this bread cooling in under 100 minutes, making it a fantastic Quick Bread Recipe for a weeknight! The hands-on time is maybe 25 minutes total between mixing, kneading, and shaping. Because the first rise is only about 75 minutes max, you get that amazing Artisan Bread at Home result without waiting all day.
What if I don’t have an egg white for the wash?
Honestly, don’t sweat it! Skipping the egg wash just means you won’t get that deep, shiny golden look on your French bread. The loaf will still bake up beautifully—it just might look a little more matte, maybe closer to an untouched Classic French Loaf. You’ll still get the crackly crust if you used the steam method, which is really what matters most!
Nutritional Estimates for Homemade French Bread
Mei always reminds me that when we cook from scratch, we control exactly what goes into our food, which is such a comfort. But just so you have an idea—especially if you’re keeping track of macros or watching sugar—here are the general estimates for this French bread. Remember, these numbers are calculated based on my exact measurements, and your portion size might shift things a bit, especially since this makes two big loaves! For a full run-down on how we interpret nutritional information on the site, always check out our official disclaimer.
- Serving Size: 1 slice (approx 1/12 loaf)
- Calories: 155
- Sugar: 0.5 g
- Sodium: 280 mg
- Fat: 1.2 g
- Saturated Fat: 0.2 g
- Unsaturated Fat: 1.0 g
- Trans Fat: 0.0 g
- Carbohydrates: 32 g
- Fiber: 1.5 g
- Protein: 5 g
- Cholesterol: 0 mg
Share Your Homemade French Bread Creations
Well, my friend, you’ve officially done it! You’ve traded that tired old store-bought loaf for the real deal—that authentic, crackly, French bread we were talking about. I truly hope the aroma filled your kitchen just like it does mine when I pull them out. Now that you’ve mastered this recipe and perhaps tried your hand at true artisan bread at home, I want to hear all about it!
Did your crust shout when you sliced it? Tell us how it turned out! Leaving a rating here on the site helps other folks trust this method, and Mei and I absolutely cherish reading your feedback. If you shared a picture of your beautiful loaves on social media, please tag us. It means the world to see our conversation continuing right there in your own kitchen. If you ever have a question or just want to share a little kitchen story, feel free to reach out through our contact page. Happy baking until next time!
PrintEasy Homemade French Bread: Crusty Outside, Soft Inside in Under 2 Hours
Learn the simple secrets to making amazing bakery-style French bread at home. This beginner-friendly recipe delivers a loaf with a crackly crust and a perfectly soft, fluffy interior, ready in less than two hours.
- Prep Time: 20 min
- Cook Time: 25 min
- Total Time: 1 hour 40 min
- Yield: 2 loaves
- Category: Dinner
- Method: Baking
- Cuisine: French
- Diet: Vegetarian
Ingredients
- 3 teaspoons active dry yeast
- 1 1/2 cups warm water (about 105-115°F)
- 1 teaspoon sugar
- 3 1/2 cups all-purpose flour, plus more for dusting
- 2 teaspoons salt
- 1 tablespoon olive oil, plus more for greasing
- 1 egg white, beaten with 1 teaspoon water (for egg wash)
Instructions
- Activate the yeast: In a large bowl, combine the warm water, sugar, and yeast. Let it sit for 5 to 10 minutes until foamy. This shows the yeast is active.
- Mix the dough: Stir in the flour, salt, and olive oil into the yeast mixture. Mix until a shaggy dough forms.
- Knead: Turn the dough out onto a lightly floured surface. Knead for 5 to 7 minutes until the dough is smooth and elastic.
- First Rise: Lightly grease a clean bowl with olive oil. Place the dough in the bowl, turning to coat. Cover the bowl with plastic wrap or a clean kitchen towel. Let the dough rise in a warm place for 60 to 75 minutes, or until doubled in size.
- Shape the loaves: Gently punch down the risen dough. Divide it in half. On a lightly floured surface, shape each half into a long, even loaf, about 12 to 14 inches long. For a classic look, gently roll the dough into a tight cylinder.
- Second Rise: Place the shaped loaves on a baking sheet lined with parchment paper, leaving space between them. Cover loosely and let them rise for 30 minutes. While the dough rests, place a shallow pan on the bottom rack of your oven. Preheat the oven to 400°F (200°C).
- Create steam and bake: Just before baking, brush the tops of the loaves lightly with the egg white wash. Use a sharp knife or razor blade to make three diagonal slashes across the top of each loaf. Carefully pour 1 cup of hot water into the preheated shallow pan on the bottom rack to create steam. This helps achieve the crusty exterior.
- Bake for 20 to 25 minutes, rotating the pan halfway through, until the bread is deep golden brown and sounds hollow when tapped on the bottom.
- Cool: Transfer the baked French bread to a wire rack to cool completely before slicing. Enjoy this bakery style bread warm or at room temperature.
Notes
- To get that shatteringly crisp crust, the steam in the oven is important. Do not skip adding hot water to the pan during the first part of the bake.
- If you want a softer crust, skip the egg wash and bake without adding water to the bottom pan.
- This recipe makes two loaves, perfect for sandwiches or dipping in soup.
Nutrition
- Serving Size: 1 slice (approx 1/12 loaf)
- Calories: 155
- Sugar: 0.5
- Sodium: 280
- Fat: 1.2
- Saturated Fat: 0.2
- Unsaturated Fat: 1.0
- Trans Fat: 0.0
- Carbohydrates: 32
- Fiber: 1.5
- Protein: 5
- Cholesterol: 0