

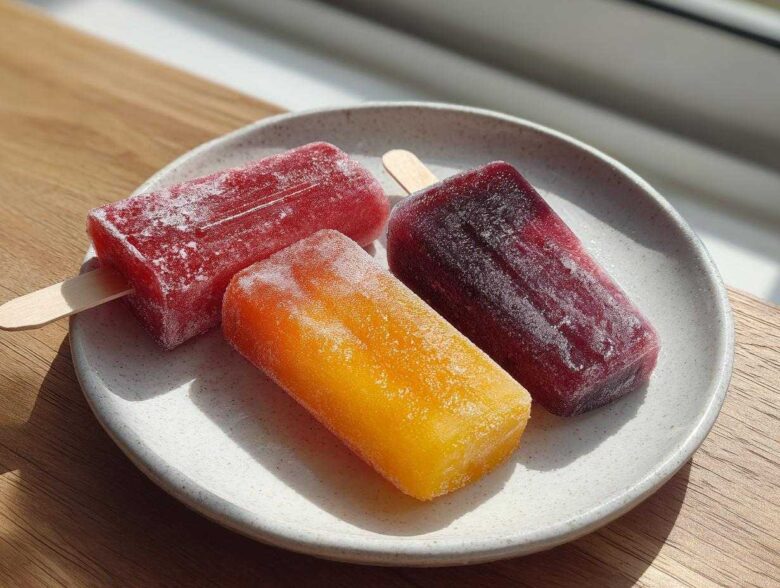
Oh my gosh, you guys, the heat is officially starting to make me melt into a puddle on my kitchen floor! When the sun is blazing, there is absolutely nothing better than something icy cold and bursting with real fruit flavor. Forget those neon-colored things from the grocery store full of weird syrups—we are making the real deal today. I’m sharing my favorite, super easy recipes for Homemade Fruit Popsicles. We’re diving deep into three absolute winners: bright Strawberry, sunshiney Mango, and a truly vibrant Mixed Berry blend. Seriously, the best part about making these yourself is you control *everything*. If you want zero added sugar, you got it! That’s why I absolutely insist on making my own frozen treats every summer. If you’re looking for other fun, healthy frozen options, you should totally check out my recipe for yogurt granola popsicles too!
Why You Will Love These Homemade Fruit Popsicles (Strawberry, Mango, Mixed Berry)
I’m telling you, these summer treats are going to be your new obsession. We keep the ingredients list tiny because the fruit should be the absolute star of the show. It’s so simple, you might actually scoff!
- They are shockingly easy—just blend and freeze!
- You control the sweetness, making them genuinely healthy.
- The flavor intensity from real fruit blows any store-bought version out of the water.
- They are the perfect kid-friendly way to cool down when the sun is trying to melt the pavement.
If you’re looking for another ridiculously fast staple recipe, check out my super simple homemade bagels!
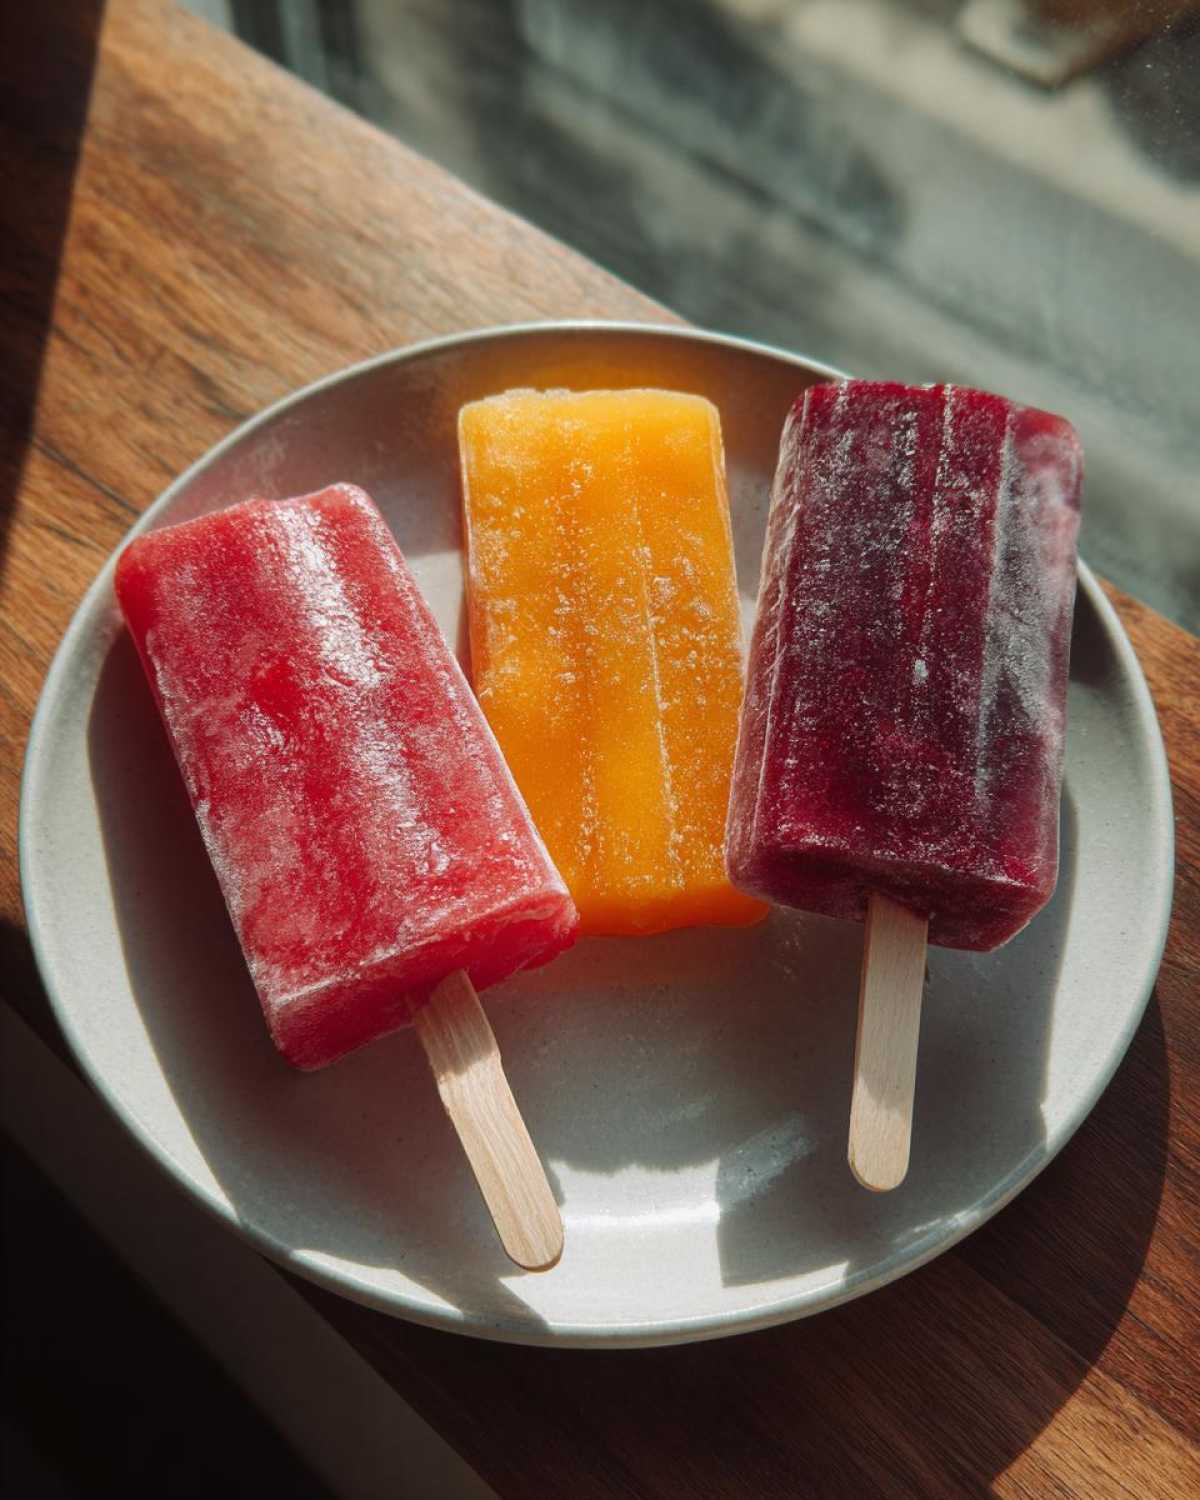
Essential Equipment for Perfect Homemade Fruit Popsicles
Okay, before we get to the messy, fun part, we need our tools lined up. Don’t stress if you don’t have a fancy setup! This whole process is really built around just two key items. Trust me, having these ready makes the prep smooth sailing.
First up, you absolutely need something to blend your fruit into that perfect liquid base. My trusty **blender** handles everything from firm mangoes to tiny mixed berries without batting an eye. Make sure it’s easy to clean because you’ll be rinsing it out between flavors!
The second must-have? Your favorite **popsicle molds**. I know some people try to use paper cups or ice cube trays, and that works in a pinch, but for that classic, perfect frozen treat shape, molds are the way to go. I have a set with wooden sticks, and another set with those fun, slightly curved plastic handles. They usually come with lids, which are essential for keeping the sticks straight while freezing. If you’re planning on making these all summer long, investing in a good mold set is totally worth it.
You’ll also want a good **fine-mesh sieve** if you want to be totally fussy with the strawberry seeds, though I usually skip it for speed! And obviously, a sharp knife and a cutting board for prepping the fruit.
Ingredients for Your Homemade Fruit Popsicles (Strawberry, Mango, Mixed Berry)
This is where the magic starts because the ingredient list is ridiculously short. I promise, we aren’t sneaking in a ton of preservatives or artificial colors. We are just using great fruit and making sure it tastes amazing.
You’ll need the main ingredients broken down by flavor base. We’re using water as our primary blending liquid, but you can totally swap that out for something special if you want a little extra something!
For the liquid base, I often use plain filtered water, but if you want a little electrolyte boost and a subtle sweetness, try using coconut water! You can find tons of great info on that here: coconut water for rehydration.
Strawberry Base
- 1 cup fresh strawberries, hulled – Make sure they look nice and ripe; the flavor really comes through!
- 1/2 cup water (or coconut water) – This helps everything blend smoothly.
- 1-2 tablespoons sweetener (honey or maple syrup), optional – Only add if your strawberries aren’t super sweet already.
Mango Base
- 1 cup ripe mango chunks – Frozen mango works in a pinch, but fresh, super ripe mangoes are incredible here.
- 1/2 cup water (or coconut water)
- 1-2 tablespoons sweetener (honey or maple syrup), optional
Mixed Berry Base
This one is my favorite because you get all those antioxidants!
- 1 cup mixed berries (blueberries, raspberries, blackberries) – Feel free to use frozen berries here if that’s what you have on hand!
- 1/2 cup water (or coconut water)
- 1-2 tablespoons sweetener (honey or maple syrup), optional
That’s it! Just three main fruit sets, our liquid, and the option to sweeten things up. Ready to blend these colorful beauties?
Step-by-Step Guide to Making Homemade Fruit Popsicles
Alright, this is the exciting part! Once your fruit is prepped and your molds are out, the actual work takes maybe fifteen minutes, tops. The hard part is just waiting for them to freeze, but trust me, the payoff is delicious. I always try to get these ready right after lunch so they are perfectly solid by snack time the next day. If you’re looking for another great frozen treat idea using berries, you have to bookmark my recipe for frozen yogurt bark!
Preparing the Strawberry Homemade Fruit Popsicles Base
First up, strawberries! Toss your hulled strawberries right into the blender jar along with half a cup of your chosen liquid—I usually start with plain water. Blend this baby until she is completely smooth. Remember, you want liquid, not chunky ice cubes. Once it looks silky, taste it! If your berries were a little tart, now is the time to drizzle in a teaspoon of honey or maple syrup if you’re using it. Give it one quick final whirl to mix in that sweetener, and you are done with flavor number one!
Creating the Natural Mango Popsicles Flavor
Now for the gorgeous mangoes. You absolutely have to clean out your blender pitcher before moving on, or you’ll end up with strawberry-mango swirl! Once it’s clean, add your mango chunks and the second half-cup of liquid. Blend, blend, blend. Mango is usually softer than strawberries, so this should whip up quickly into a gorgeous, smooth purée. Make sure there are no stringy bits left; we want those super refreshing Natural Mango Popsicles to be perfect.
Blending the DIY Mixed Berry Ice Pops
Time for the powerhouse blend! Into the blender go the blueberries, raspberries, and blackberries, plus the final half-cup of liquid. This mixture tends to be a little darker and might splash more, so hold that lid on tight! Blend until everything has broken down nicely. Don’t worry too much if you see tiny seeds from the raspberries; that’s just proof they are real fruit! Rinse out your blender quickly after this one because we are moving straight to the molds.
Freezing and Unmolding Your Homemade Fruit Popsicles
This is the assembly line stage. Carefully pour each blended base into its own section of the popsicle mold. Pro Tip: Leave about a half-inch of space at the absolute top of the mold. Fruit expands when it freezes, and if you fill it to the brim, you’ll end up with warped popsicles or cracked molds—oops! Snap the lids on or carefully place your sticks right down the middle of each cavity. Then, they go straight into the deep freeze for at least four hours, but five or six is better. When they are rock solid, let a little warm water run over the *outside* of the mold for just 10 seconds. Pull gently, and BAM! Perfection.
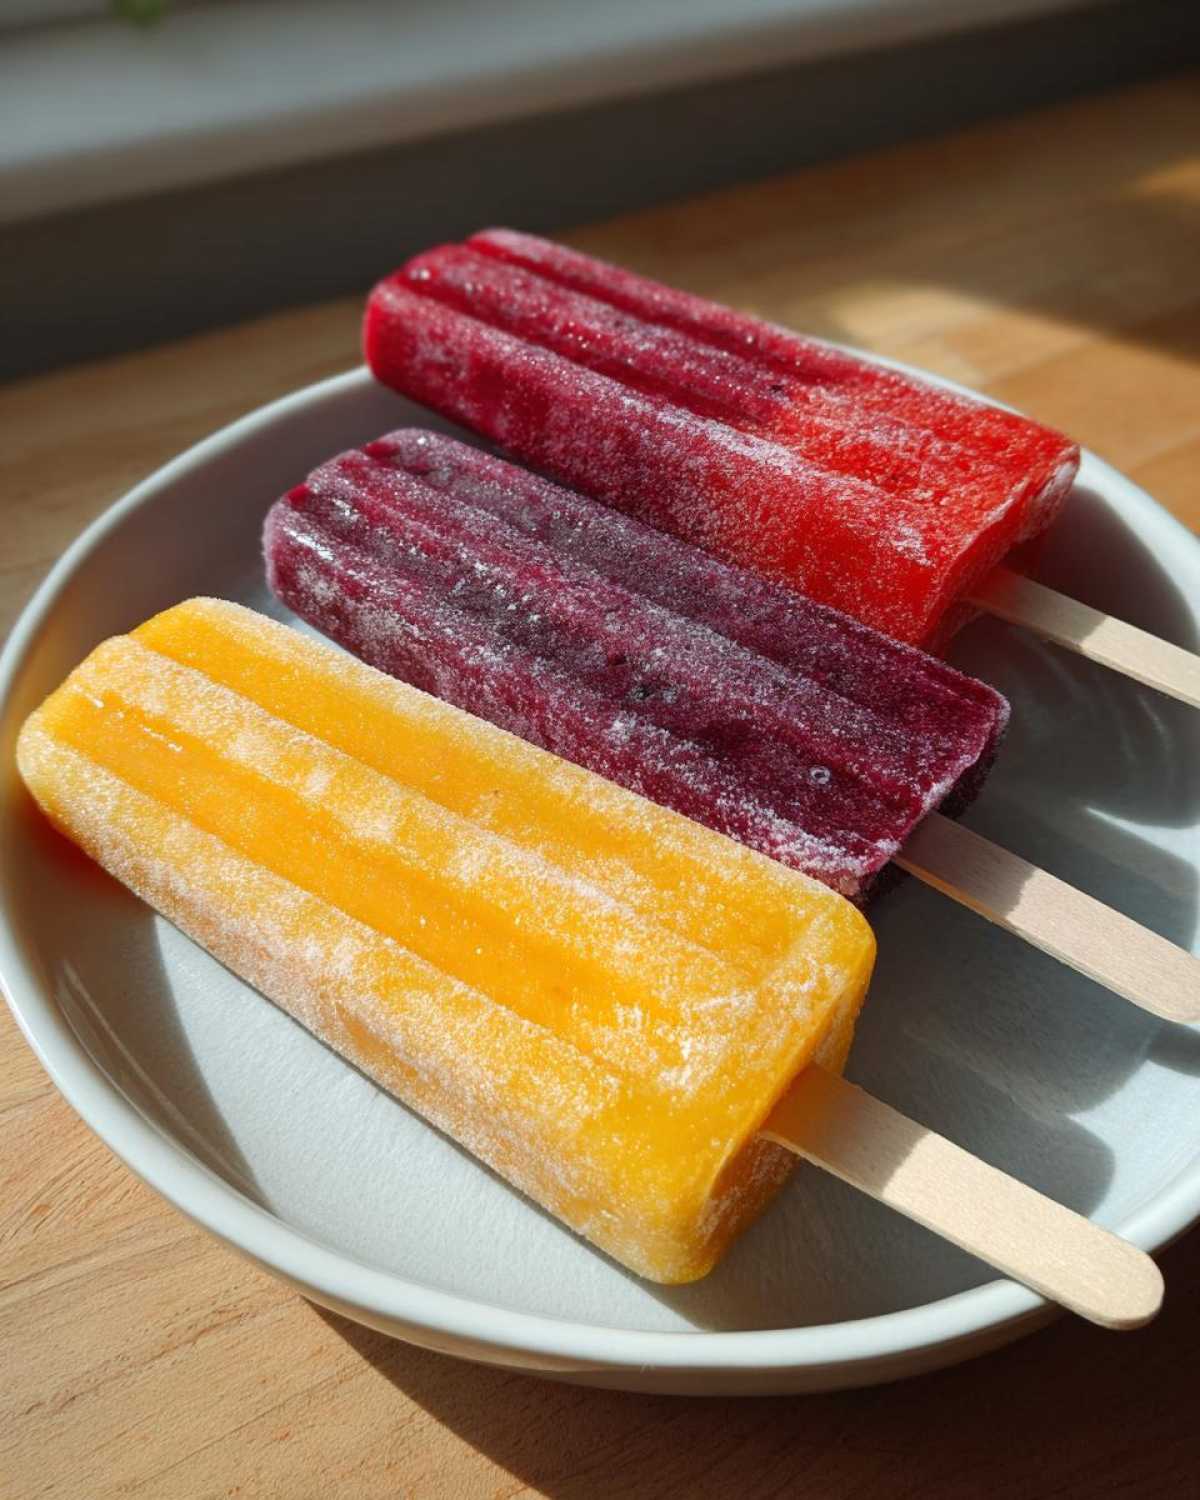
Tips for Creamy Texture in Your Homemade Fruit Popsicles
Look, I’m going to be honest with you: when you just blend fruit and water, they freeze up pretty hard. They are refreshing, yes, but sometimes they feel like you’re chewing on a shard of ice, right? We want creamy fruit popsicle secrets popping up in this recipe, not rock-hard ice!
The secret to avoiding that ice-chip crunch is adding just a little bit of fat or protein to disrupt the full freezing structure. It’s a game-changer, especially for the mango flavor. My favorite trick is replacing half of the water—that’s right, just half—with plain Greek yogurt.
If you want to keep this recipe strictly vegan or just want a different flavor profile, use full-fat coconut milk instead of the yogurt. The slight increase in fat keeps the final product smoother and creamier when you bite into it. Try it once, even just on one batch, and I guarantee you’ll never go back to the water-only version!
Ingredient Notes and Substitutions for Homemade Fruit Popsicles
The beauty of these recipes is how forgiving they are, but a few tiny tweaks can elevate them from good to absolutely legendary. It’s all about the quality of your starting ingredients and how you manage the liquid content. Remember that if you use a slightly acidic berry like raspberries, you might need a tiny bit more sweetener just to balance that tanginess.
Let’s talk sweeteners first. I actually prefer maple syrup over honey these days. Why? Because maple syrup mixes in easier when things are cold, and it gives a really nice background note to the fruit. If you’re looking for a dense, gooey treat using maple, check out my maple pecan sticky buns recipe for inspiration on flavor depth!
However, if you’re using very sweet fruit, like incredibly ripe mangoes, you might decide you don’t need any sweetener at all—and that’s perfectly fine! Taste your base mixture before it hits the molds, because once it’s frozen, you can’t change it.
The other really important thing to nail down is the liquid amount. We started with half a cup of water per cup of fruit, which gives you a nice, solid pop that’s easy to remove but still melts nicely in your mouth. If you want a super-firm, almost clear ice pop that lasts longer on a hot day—maybe one for the adults who want to suck on it slowly—cut that liquid down to just a quarter cup. It’ll be super intense in flavor!
If you go the other route and want something that’s just barely frozen—maybe for very young kids who can’t handle super hard pops—add a splash more water. Just be careful! Too much extra liquid, and you end up with a very weak flavor once it freezes into that giant block of ice.
Storage and Making Ahead Homemade Fruit Popsicles
The absolute best thing about these recipes is that they are designed for bulk prep, which is perfect for surviving a long, hot summer! Because they need at least four to six hours to freeze, I always plan on making a double or triple batch whenever I get the molds out.
You can totally make these like a week ahead of time. If you plan on freezing them for more than a couple of days, you’ll want to take one extra step to protect them from freezer burn or absorbing weird smells from the back of the freezer. Trust me, nobody wants a slightly onion-flavored mango pop!
Once your popsicles are rock solid—and I mean solid, not even a little squishy—carefully remove them from their plastic molds. If you’re struggling to pull them out, run that mold under warm water for a quick second, and they should slide right out.
Here’s my storage secret: Forget leaving them in the plastic mold tray. Instead, wrap each individual frozen treat tightly in plastic wrap. Get it as snug as you can. After the first layer of plastic wrap, I like to slide them all into a large, labeled freezer-safe Ziploc bag. This double-layer protection keeps them fresh for weeks.
They are wonderful for making ahead, which means you can have a stash ready for spontaneous after-school snack time or when friends drop by unexpectedly. Just imagine pulling those bright strawberry ones out when you need a refreshing hit! If you’re looking for another great make-ahead dessert that’s rich and cold, you have to try my recipe for no-bake peanut butter cup cheesecake.
The only thing to remember is that because they are mostly just fruit and water, they will freeze harder than something with milk or sweeteners. So, just let them sit on the counter for two or three minutes before you try to take a big bite, otherwise, you might chip a tooth!
Quick Answers: FAQ About Easy Homemade Popsicles
I know you might still have a few nagging questions floating around in your head about technique or substitutions. Don’t worry, that’s totally normal! When you’re making something special like these Homemade Fruit Popsicles for the first time, you want to make sure they turn out perfectly. Here are the questions I get asked the most about achieving the best results with my Easy Homemade Popsicles!
Can I make these Homemade Fruit Popsicles without added sugar?
You absolutely can! If you let your fruit get really, truly ripe—especially the mangoes and strawberries—you’ll find they are sweet enough on their own. This is the secret to making some fantastic No Sugar Added Popsicles. I only add the optional honey or maple syrup if I’m using berries that are a bit tart, like raspberries, or if I need to cut the acidity. Always taste the base mixture before it hits the freezer!
How long do Easy Homemade Popsicles take to freeze solid?
The waiting game is the hardest part of any freezing project! For these Easy Homemade Popsicles, you need a minimum of four hours, but I always push it to six just to be safe. If you used a lot of juice or added cream to make them extra creamy instead of icy, they might take closer to eight hours to get perfectly rock hard. If you’re making them for a party, definitely prepare them the day before!
What is the best way to serve these Healthy Fruit Popsicle Recipes to kids?
Because these Healthy Fruit Popsicle Recipes are dense with fruit, they freeze up quite firm. If you have very little ones, you might find a full-sized pop too much for them to handle. My recommendation is to use smaller molds if you have them—they make perfect snack sizes! Alternatively, if you are using standard molds, when you pull them out after they are frozen, you can just use a sharp knife to slice the pop right in half horizontally. Instant, smaller portions! They still get that great flavor without having to fight a giant frozen block.
Share Your Favorite Homemade Fruit Popsicles Creations
Now that you have the secrets to making incredibly flavorful Strawberry, Mango, and Mixed Berry treats, I really, really want to see what you whip up! Honestly, seeing your photos of those bright colors sitting next to a cold drink on a sunny patio is what keeps me tinkering in the kitchen.
Don’t be shy! When you nail these Homemade Fruit Popsicles, snap a picture, post it online, and tag me so I can admire your handiwork. Seriously, tag me everywhere!
And please, don’t forget to come back here and leave a quick star rating for the recipe. It helps other people who are scared of blending fruit figure out that they can make something truly amazing themselves. Even if you made a tiny tweak, like adding a pinch of lime zest to the mango, let us know how it worked out in the comments below!
PrintSimple Homemade Fruit Popsicles: Strawberry, Mango, and Mixed Berry
Make refreshing, healthy fruit popsicles at home using fresh fruit. This guide provides recipes for strawberry, mango, and mixed berry flavors.
- Prep Time: 15 min
- Cook Time: 0 min
- Total Time: 6 hours 15 min
- Yield: Varies based on mold size (approx. 9-12 popsicles)
- Category: Dessert
- Method: Freezing
- Cuisine: American
- Diet: Vegetarian
Ingredients
- 1 cup fresh strawberries, hulled
- 1 cup ripe mango chunks
- 1 cup mixed berries (blueberries, raspberries, blackberries)
- 1/2 cup water (or coconut water) per flavor base
- 1-2 tablespoons sweetener (honey, maple syrup, or sugar), optional, per flavor base
Instructions
- Prepare the Strawberry Base: Place strawberries and 1/2 cup water into a blender. Blend until completely smooth. Taste and add sweetener if desired, then blend again briefly.
- Prepare the Mango Base: Place mango chunks and 1/2 cup water into a clean blender. Blend until smooth. Add sweetener if needed and blend.
- Prepare the Mixed Berry Base: Place mixed berries and 1/2 cup water into a clean blender. Blend until smooth. Add sweetener if needed and blend.
- Pour Bases: Carefully pour each fruit mixture into separate popsicle molds, leaving a small space at the top for expansion.
- Insert Sticks: Place the lids or insert popsicle sticks into the center of each mold.
- Freeze: Place the molds in the freezer for at least 4 to 6 hours, or until completely solid.
- Unmold: To release the popsicles, briefly run the outside of the mold under warm water for about 10-15 seconds. Pull the stick gently to remove the frozen treat.
Notes
- For a creamier texture, replace half the water in any base with plain Greek yogurt or coconut milk.
- If you do not have popsicle molds, you can pour the mixture into small paper cups and insert wooden sticks once the mixture starts to freeze (about 1 hour in).
- Adjust the amount of added liquid to control the final firmness; less liquid results in a firmer, more intense flavor.
Nutrition
- Serving Size: 1 popsicle
- Calories: 45
- Sugar: 8
- Sodium: 1
- Fat: 0.2
- Saturated Fat: 0.0
- Unsaturated Fat: 0.1
- Trans Fat: 0.0
- Carbohydrates: 11
- Fiber: 1
- Protein: 0.5
- Cholesterol: 0