

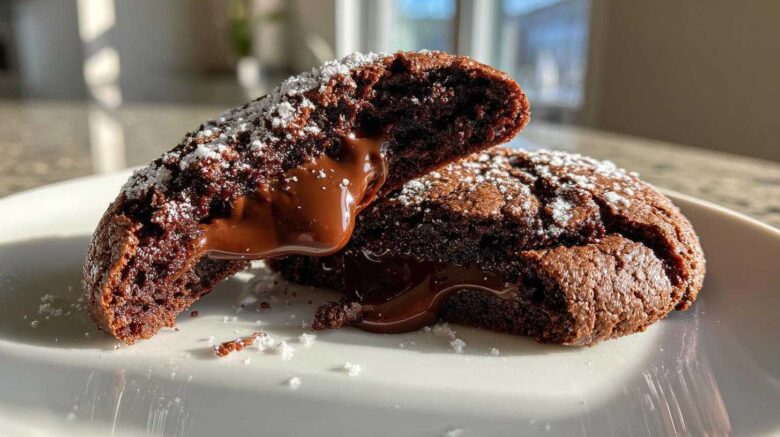
The Secret to Perfect Molten Chocolate Lava Cookies (with Gooey Centers)
Have you ever just craved that warm, flowing chocolate center?
We all know the joy of a perfect lava cake. Now imagine that richness inside a crisp cookie shell!
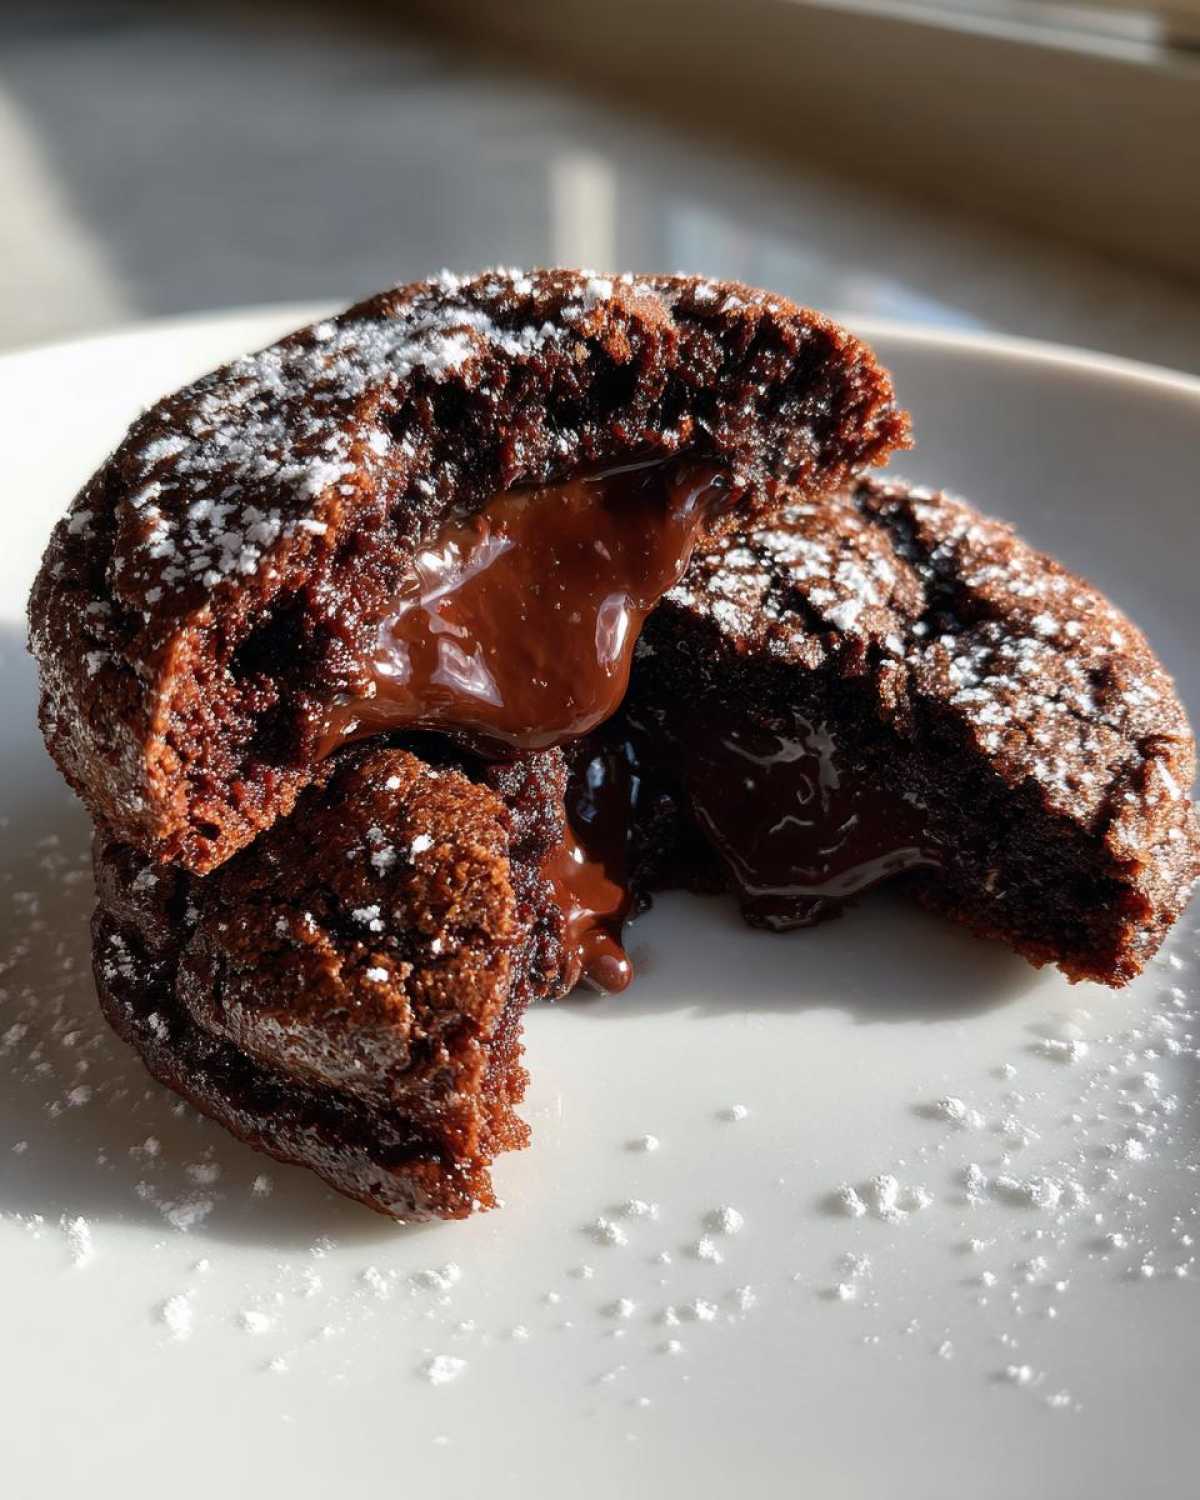
That is what we captured here. These Molten Chocolate Lava Cookies are pure magic.
Spoon brings the deep, traditional chocolate flavor from his heritage.
I, Sprout, add the fresh approach to keep them light.
This recipe blends our styles beautifully for you.
Why You’ll Love These Molten Chocolate Lava Cookies (with Gooey Centers)
Folks, these cookies aren’t just dessert. They are an experience waiting to happen.
I promise you’ll adore making these treats.
- Quick Baking Time: From start to finish, we are done fast.
- Unforgettable Texture Contrast: Think crisp edge meets warm, soft middle.
- Perfect for Sharing: This batch makes about two dozen wonderful cookies.
Quick Baking Time
Seriously, the whole process takes very little time. You’ll have warm cookies ready fast.
Unforgettable Texture Contrast
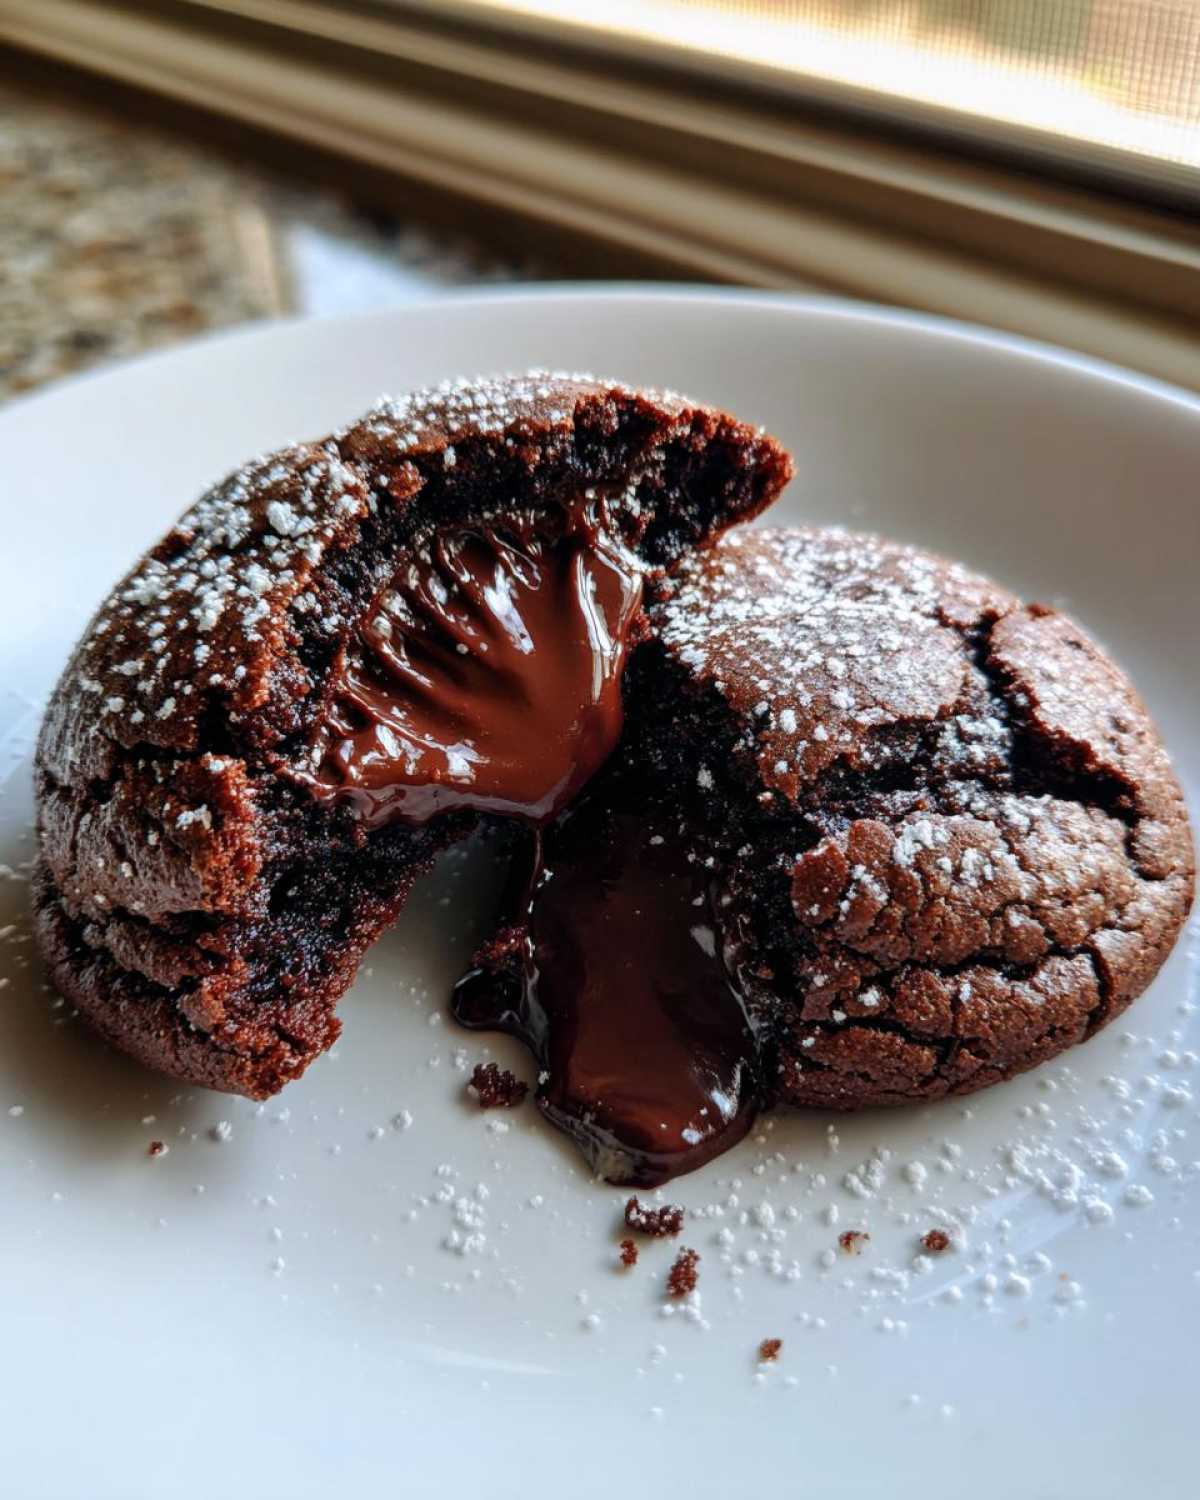
That first bite is everything. You get the satisfying cookie snap first.
Then, the warm chocolate just flows out. It’s pure bliss!
Perfect for Sharing
This recipe yields about two dozen cookies. That’s plenty to share with family.
Essential Equipment for Your Molten Chocolate Lava Cookies (with Gooey Centers)
You don’t need a fancy setup for amazing results.
Gathering your tools first makes everything smoother.
Here is what Spoon and I always keep ready.
Baking Basics
- Mixing bowls for wet and dry parts.
- Measuring cups and spoons, please be accurate.
- A good electric mixer helps a lot here.
- Rubber spatulas for scraping down sides.
Specialized Tools
These two items are non-negotiable for easy cleanup.
You must use parchment paper on your sheets.
Have at least two sturdy baking sheets ready to go.
Ingredients for Molten Chocolate Lava Cookies (with Gooey Centers)
Gathering the right components matters greatly.
These ingredients build that deep chocolate flavor base.
Remember, quality really shines through in simple bakes.
Here’s what Spoon insists we measure exactly.
It’s the foundation for our perfect cookie.
Dry Components
- 2 1/4 cups all-purpose flour.
- 1 cup unsweetened cocoa powder, sifted if lumpy.
- 1 teaspoon baking soda.
- 1/2 teaspoon salt.
Wet Components and Sugars
Make sure your butter is truly softened, not melted.
- 1 cup (2 sticks) unsalted butter, softened.
- 1 cup granulated sugar.
- 1/2 cup packed light brown sugar.
- 2 large eggs, room temperature is best.
- 1 teaspoon vanilla extract.
The Chocolate Elements
This is where the “lava” magic starts, Sprout says.
We need two distinct types of chocolate here.
- 1 cup semi-sweet chocolate chips for the dough itself.
- 12 small squares of dark chocolate for the gooey center.
Preparing the Molten Chocolate Lava Cookies (with Gooey Centers) Dough
Now for the fun part, mixing up this rich dough.
We build flavor layer by layer here.
Active mixing keeps the texture just right.
Follow these steps closely for success.
Your dough will come together quickly.
Creaming Butter and Sugars
Start with that softened butter in your big bowl.
Add both the white and brown sugars right in there.
Mix this until it looks truly light and fluffy.
This step adds necessary air to our cookies.
It makes a big difference later on.
Incorporating Eggs and Vanilla
Next come the eggs, one at a time, please.
Beat well after you add each egg.
This keeps the emulsion strong and smooth.
Stir in the vanilla extract last here.
It smells so good already, doesn’t it?
Combining Wet and Dry Mixes
In another bowl, whisk your dry things well.
Add these dry ingredients slowly to the wet mix.
Mix only until the flour just disappears.
Do not overmix the cookie batter, ever.
Overmixing makes tough cookies, we want tender ones.
Finally, fold in those semi-sweet chips gently.
Assembling the Gooey Center
This next part is the secret weapon.
It separates a good cookie from a great one.
We are hiding molten treasure inside our dough balls.
Take your time wrapping them up tight.
A good seal keeps that chocolate contained.
It ensures a perfect flow when you bite in.
Portioning the Dough
Use a spoon or a small scoop here.
Aim for about two tablespoons of dough per cookie.
Gently flatten that dough round in your palm.
It needs to be large enough to cover the square.
Don’t make them too thick just yet.
Sealing the Chocolate Square
Take one dark chocolate square now.
Place it right in the center of your flattened dough.
Carefully bring the edges of the dough up over it.
Pinch the seams together firmly but gently.
You want that chocolate completely hidden inside.
Roll it gently into a smooth ball shape again.
Baking Your Molten Chocolate Lava Cookies (with Gooey Centers) Perfectly
The moment of truth is fast approaching now.
Baking time is short but vital for lava flow.
We need precise heat for that gooey middle.
Spoon always reminds me not to walk away now.
These cookies develop fast in the oven.
Preheating and Pan Preparation
Start by setting your oven right now.
It needs to reach 350\u00b0F (175\u00b0C) before use.
Line those baking sheets with parchment paper first.
This prevents sticking, which is always a mess.
Place your dough balls far apart on the sheet.
Reading the Doneness Cues
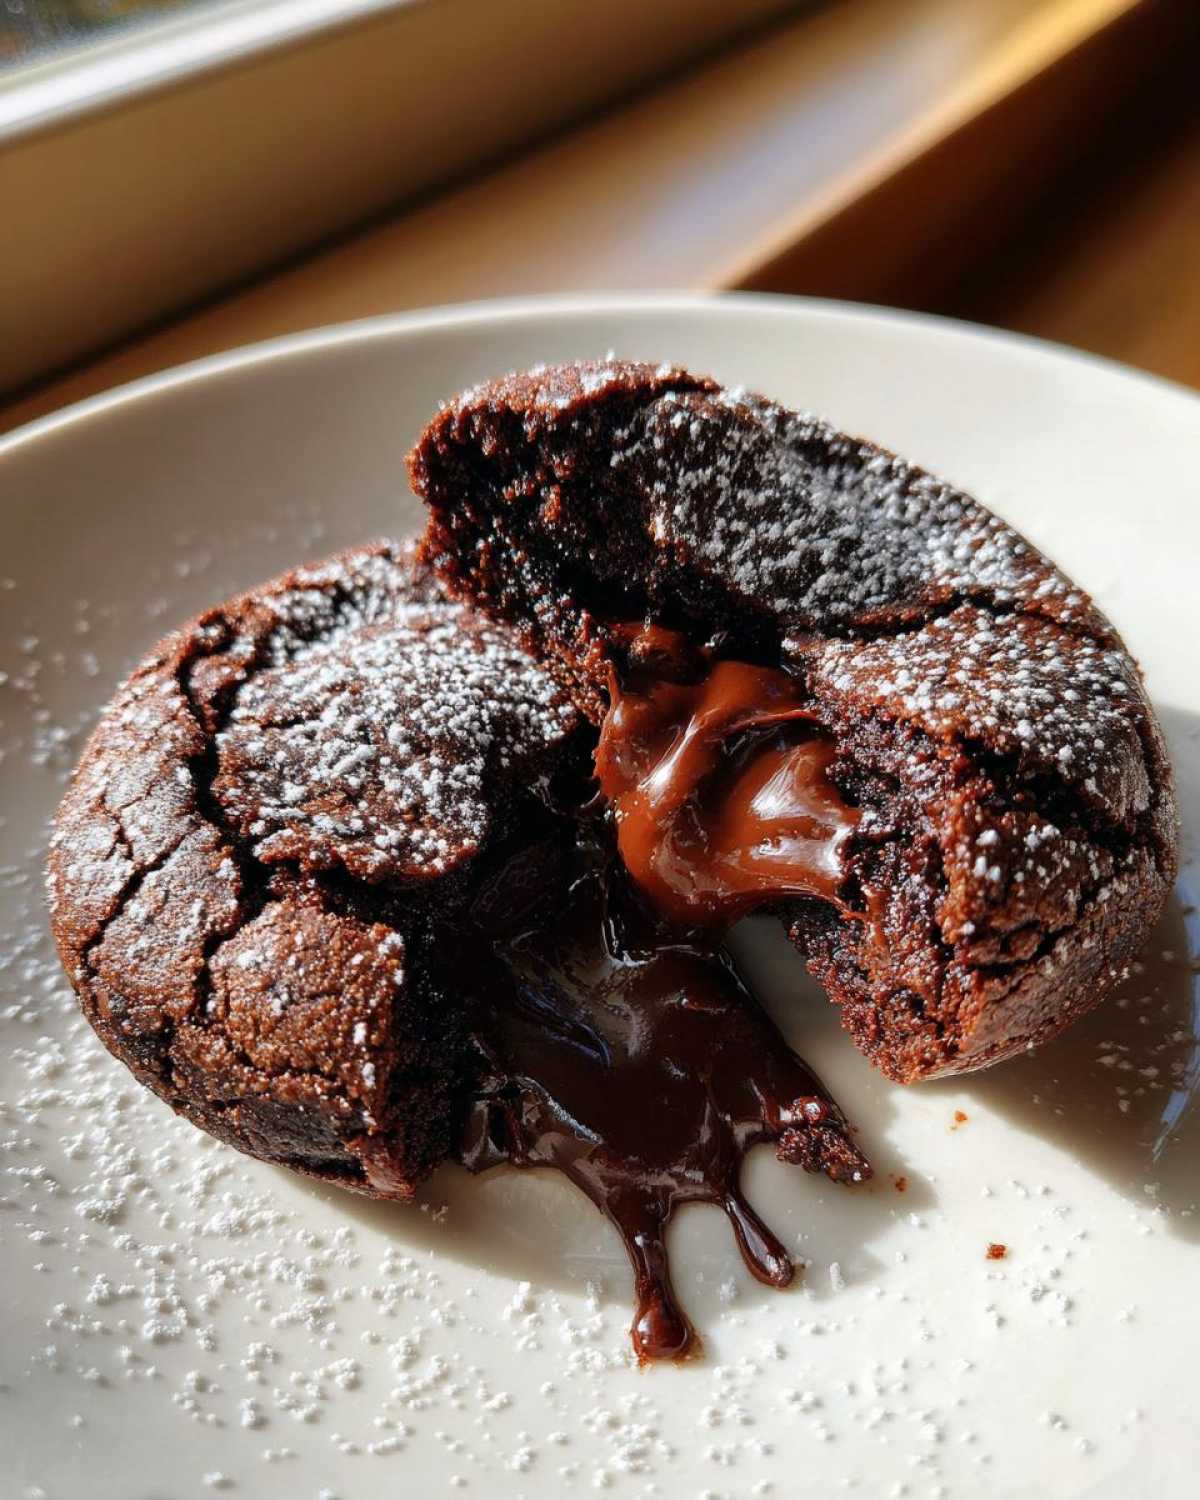
Bake time is only 10 to 12 minutes total.
Look closely at the edges, not the middle.
The edges should look just nicely set firm.
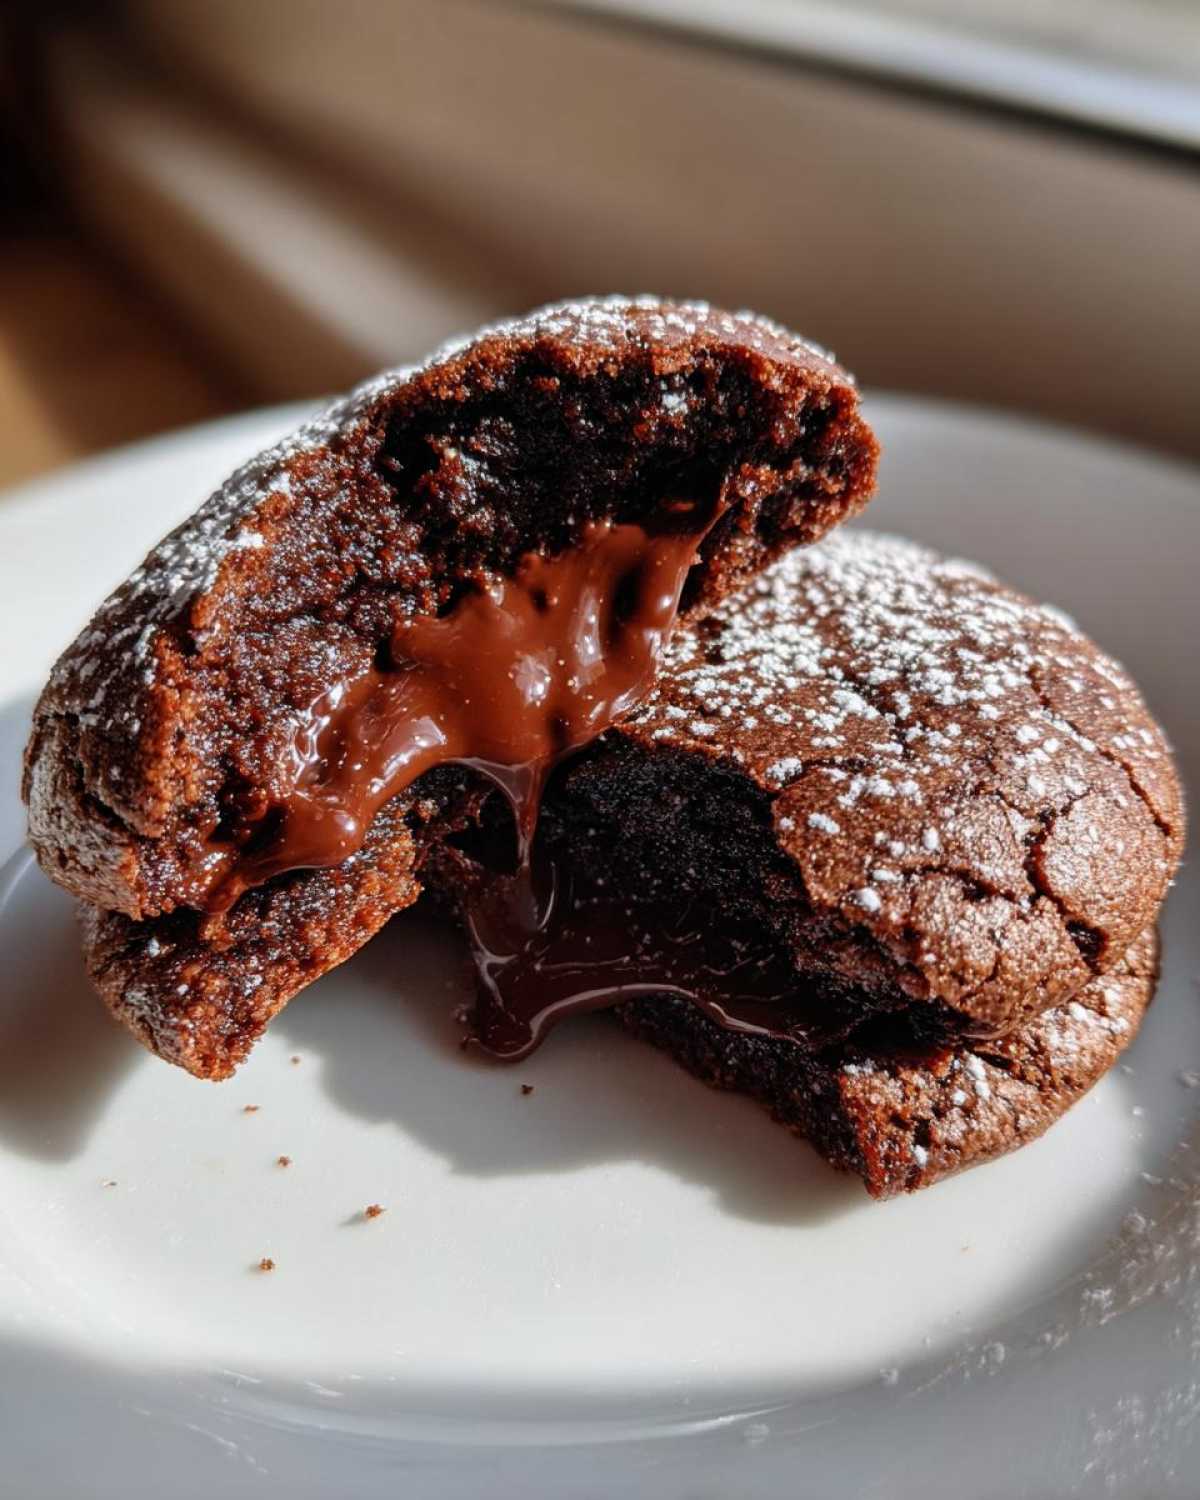
The center must still look a little soft.
That slightly underdone look is the lava secret.
Pull them out right when you see that sign.
Tips from Spoon & Sprout for Success
We learned these tricks over many years baking.
These little insights make a huge difference.
Listen to what Spoon and I have found works best.
They help you get that perfect texture every time.
Don’t skip these important cooking secrets.
Choosing the Right Chocolate
Use good quality dark chocolate squares inside.
They need to melt beautifully when hot.
Bittersweet chocolate gives a nice flavor contrast.
Poor quality chocolate might just burn instead.
Controlling the Bake Time
This is truly critical for the gooey center.
Do not let them bake too long, ever.
A slightly soft, underdone middle is the goal.
Trust the visual cues we talked about above.
Dough Chilling Option
If your kitchen is very warm, chill the dough.
A 30-minute chill firms things up nicely.
This results in a slightly thicker cookie shape.
It helps prevent too much spreading during baking.
Frequently Asked Questions About Molten Chocolate Lava Cookies (with Gooey Centers)
I get so many wonderful questions about these cookies.
It shows how much you all love that molten center!
Let me answer the ones I hear most often.
These tips should make your baking journey easier.
Can I make these ahead of time?
Yes, you absolutely can chill the dough.
Store dough balls in an airtight container first.
If baking from cold, add one or two minutes extra.
Keep watching those edges for doneness.
How do I reheat these for the best lava flow?
If they cool down, the center firms up a bit.
Warm them gently in a microwave for about 10 seconds.
Alternatively, use a low oven for a few minutes.
This brings back that beautiful gooey texture.
What type of chocolate works best inside?
Spoon really prefers dark or bittersweet chocolate.
It cuts through the sweetness of the cookie dough.
Use squares that melt well, like good quality baking bars.
Why did my chocolate leak out?
This usually means the dough seal wasn’t quite right.
Make sure you pinch the dough completely closed.
Give that chocolate core total coverage.
A good wrap prevents leaks during baking.
Serving and Storing Your Delicious Treats
The hardest part is waiting for these to cool slightly.
You want that perfect warm, flowing center.
Don’t let them sit too long, though.
Spoon always says enjoy them right away.
They are best eaten the day they are baked.
Best Way to Eat Them
Let them rest on the pan for five minutes.
This lets the structure set just a touch.
Then, move them gently to a wire rack.
Eat one while it is still warm inside.
Storing Leftovers
If you have any left over at all,
Place them in an airtight container quickly.
Keep them at room temperature for freshness.
They will still be good the next day.
Sharing Your Molten Chocolate Lava Cookies (with Gooey Centers) Experience
Did these cookies bring smiles to your table?
Tell me all about your gooey centers!
Share your baking success with us below.
For more great recipes and baking inspiration, check out our blog.
PrintAmazing 12 Molten Chocolate Lava Cookies Secrets
Bake cookies that surprise everyone with a warm, gooey molten chocolate center. These Molten Chocolate Lava Cookies give you the satisfying crunch of a cookie with the rich experience of a lava cake.
- Prep Time: 20 minutes
- Cook Time: 12 minutes
- Total Time: 32 minutes
- Yield: About 2 dozen cookies
- Category: Dessert
- Method: Baking
- Cuisine: American
- Diet: Vegetarian
Ingredients
- 1 cup (2 sticks) unsalted butter, softened
- 1 cup granulated sugar
- 1/2 cup packed light brown sugar
- 2 large eggs
- 1 teaspoon vanilla extract
- 2 1/4 cups all-purpose flour
- 1 teaspoon baking soda
- 1/2 teaspoon salt
- 1 cup unsweetened cocoa powder
- 1 cup semi-sweet chocolate chips (for cookie dough)
- 12 small squares of dark chocolate (for the lava center)
Instructions
- Preheat your oven to 350°F (175°C). Line baking sheets with parchment paper.
- In a large bowl, cream together the softened butter, granulated sugar, and brown sugar until light and fluffy.
- Beat in the eggs one at a time, then stir in the vanilla extract.
- In a separate bowl, whisk together the flour, baking soda, salt, and cocoa powder.
- Gradually add the dry ingredients to the wet ingredients, mixing until just combined. Do not overmix.
- Stir in the chocolate chips.
- Scoop about 2 tablespoons of dough per cookie and flatten slightly in your hand.
- Place one square of dark chocolate in the center of the dough round. Gently wrap the dough around the chocolate square, sealing it completely. Roll into a ball.
- Place the dough balls on the prepared baking sheets, leaving space between them.
- Bake for 10 to 12 minutes. The edges should look set, but the center will appear slightly underdone.
- Let the cookies cool on the baking sheet for 5 minutes before transferring them to a wire rack to cool completely. Serve warm for the best lava effect.
Notes
- For the best lava center, use high-quality dark chocolate squares that melt well.
- Do not bake these cookies too long; the soft center is the goal.
- You can chill the dough for 30 minutes before baking if you prefer a slightly thicker cookie.
Nutrition
- Serving Size: 1 cookie
- Calories: Approx. 250
- Sugar: Approx. 20g
- Sodium: Approx. 100mg
- Fat: Approx. 15g
- Saturated Fat: Approx. 9g
- Unsaturated Fat: Varies
- Trans Fat: Trace
- Carbohydrates: Approx. 28g
- Fiber: Approx. 2g
- Protein: Approx. 3g
- Cholesterol: Approx. 40mg