

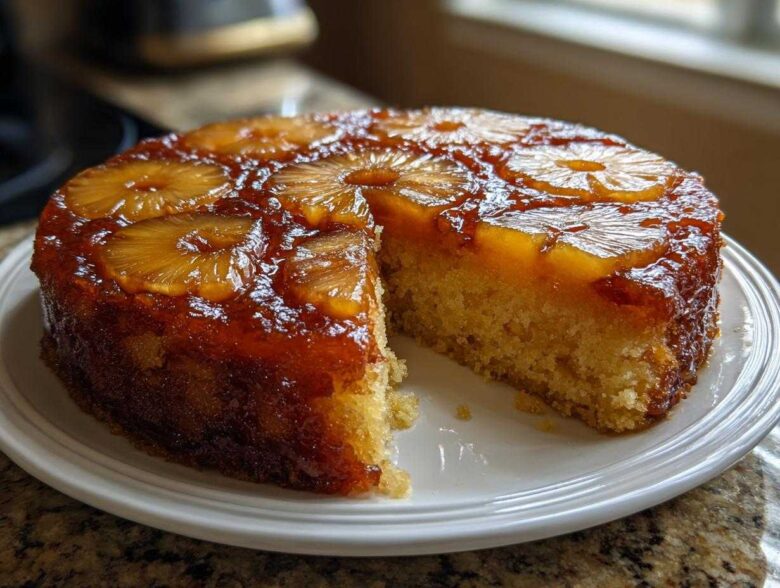
Oh, baking. For me, Jun, there’s nothing quite like the quiet comfort of turning simple things into something deeply memorable. That’s what this cake is—pure memory baked right into a skillet. When you see those rings of pineapple turn dark and glossy, you know you’re making something truly special, something that tastes like happy gatherings from long ago. We’ve worked this recipe over the years, talking it through—Spoon anchoring the deep sweetness and Sprout making sure the cake itself is light enough not to weigh you down.
I’m so delighted to share what we’ve settled on: The Ultimate Classic pineapple upside down cake (From Scratch). We’ve cracked the code on two things: getting that incredible, buttery caramelized topping perfect every time, and ensuring the cake base stays miraculously moist. This isn’t the dry, crumbly version you sometimes run into; this is the kind that makes everyone sigh contentedly when they take their first bite. It’s rooted in tradition, but perfected for today’s table.
If you’re looking for that perfect marriage of fruit and tender cake, you’ve found it here. Take a look at our little story about how we cook together at Spoon & Sprout Too, and then let’s get this glorious cake started!
Why This Classic pineapple upside down cake Recipe is a Family Favorite
The reason this recipe keeps showing up on our table for holidays and birthdays is simple: it’s a guaranteed win. It holds all those wonderful feelings associated with nostalgic baking ideas. But beyond the good memories, this recipe is structurally sound. I promise you, this isn’t like those recipes where half the fruit and caramel stick to the pan when you try to flip it. We worked hard to create something that releases beautifully.
It tastes like true comfort, and that’s why it’s one of our top family favorite cake recipes. It balances deep, rich caramel flavor with a cake that stays light and tender—never gummy.
Achieving the Perfect Buttery Pineapple Cake Topping
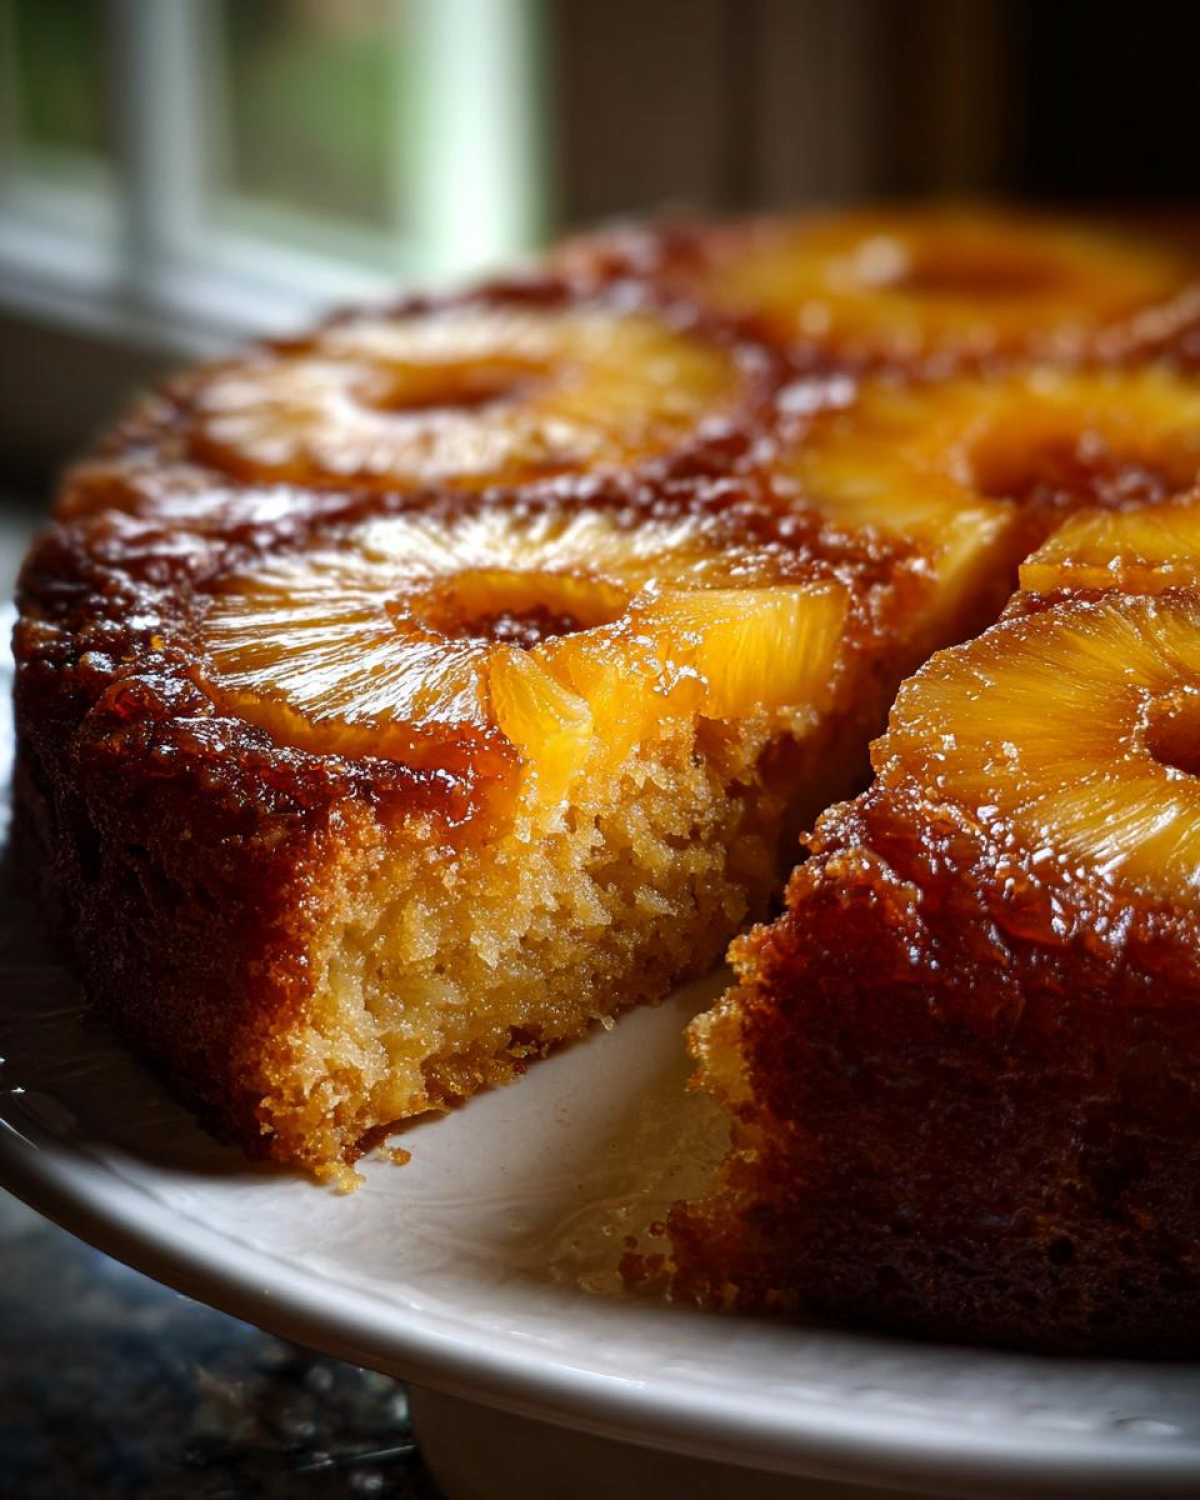
This is where the magic happens! The secret to that dark, glossy, perfect caramelized pineapple cake texture isn’t high heat; it’s preparation. We lay down a blanket of melted butter, followed immediately by the packed brown sugar. The sugar and butter melt together *gently* when the cake bakes. If you let this mixture get too hot before the cake even starts cooking, you’ll just end up with burnt sugar sludge. We want that deep, rich molasses flavor, not acrid smoke!
The Secret to a Moist pineapple upside down cake Recipe Crumb
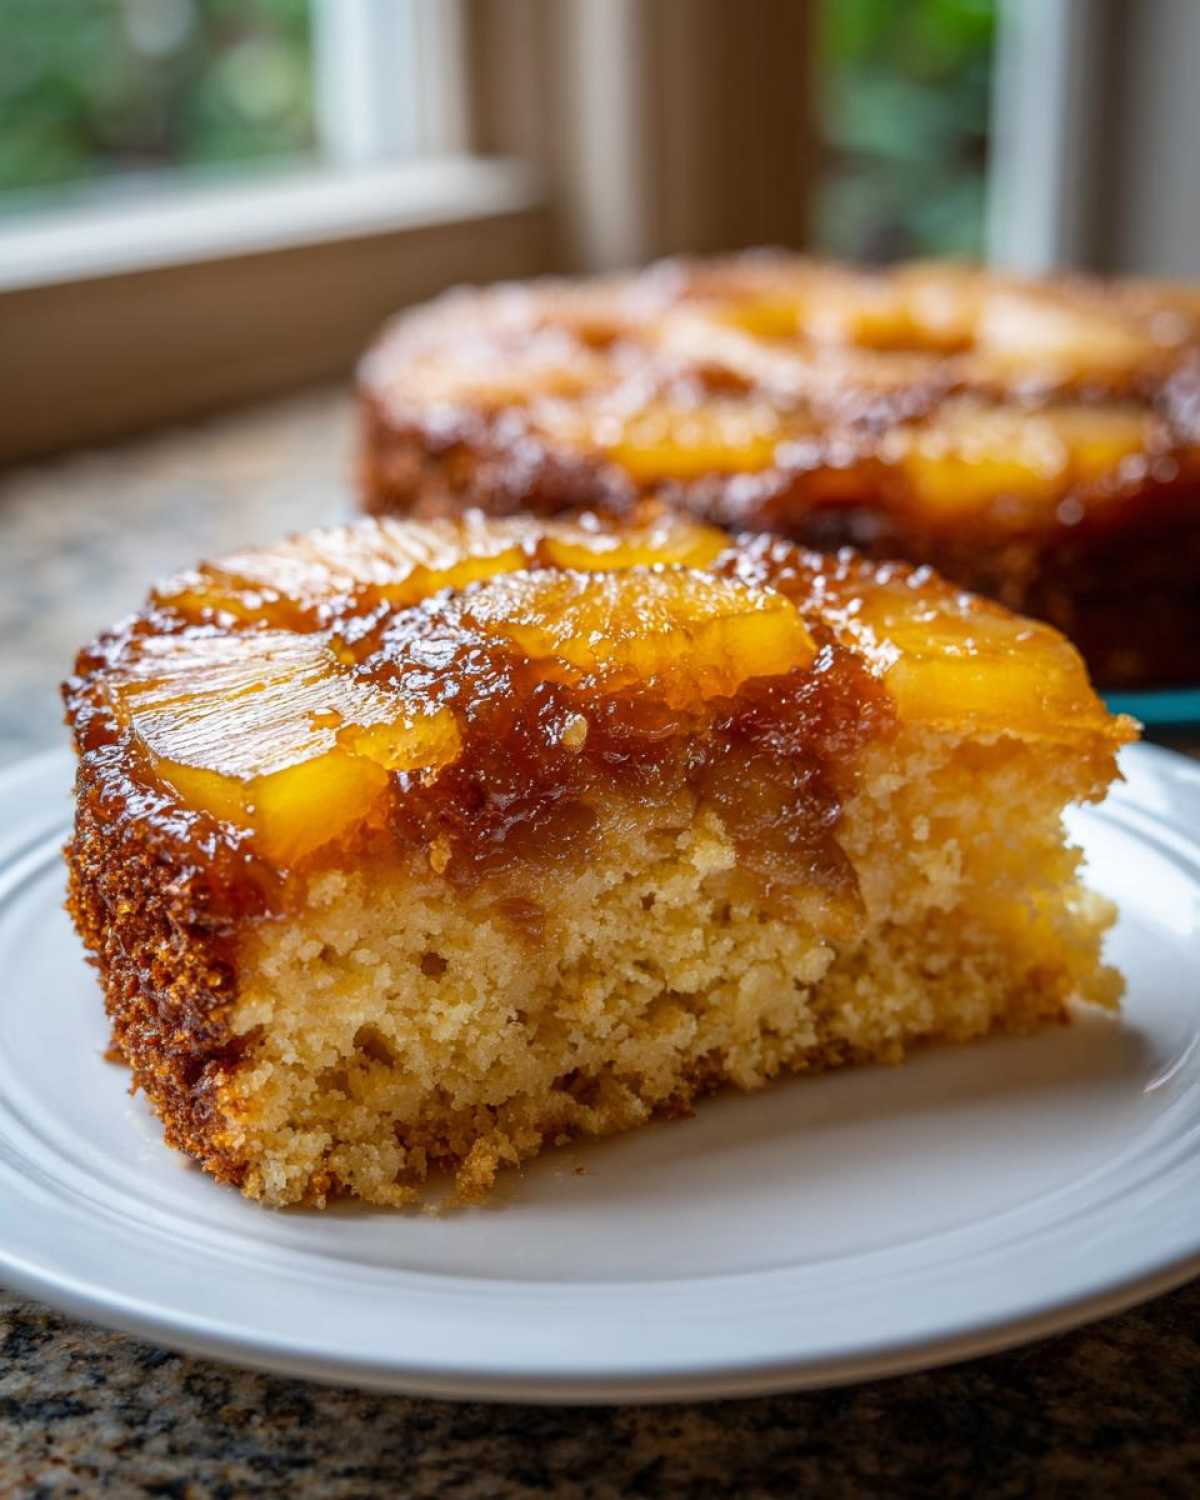
The second anchor point, classic Jun style, is keeping that cake base beautifully moist. The trick here isn’t just the pineapple juice in the batter—it’s how we integrate it. We alternate the dry flour mixture with the wet milk/juice combination. This keeps everything happy and prevents gluten from developing too fast. Trust me on this one: mix only until you see no more white streaks. Stop when you think you should keep going. Overmixing is the enemy of a truly moist pineapple upside down cake recipe.
Gathering Ingredients for Your pineapple upside down cake
Alright, let’s talk about what you need to pull this together. For me, Spoon, using the right ingredients is like setting a sturdy foundation for a good home—it just lasts longer and feels right. This recipe is beautiful because it relies on things you likely already have, but the details matter immensely, especially for that perfect buttery texture. I’ve listed everything below, but I want you to pay close attention to how things are measured. We need definite instructions here, not just vague ideas.
You’ll need 1/2 cup of butter melted for the bottom, and then another 1/2 cup of butter softened for the cake batter itself. Same with the sugar—brown sugar melts for the caramel, white granulated sugar creams for the cake lift. See how precise we have to be? It’s about balance! Even one small change affects the final flip.
Ingredient Notes and Substitutions for this Classic pineapple cake
When you grab your pineapple, make sure you get the slices that are packed in juice, not heavy syrup if you can help it. Syrup adds too much extra sweetness and messiness to the caramel layer. The absolute key step is draining those slices carefully and *reserving* that juice! That reserved juice becomes the moisture in our cake batter, swapping out some of that milk, and it’s essential for that slight tropical tang.
Now, I know Sprout sometimes gets busy and needs a faster approach. If you’re looking for an easy pineapple upside down cake, we mention in the notes detailed below that you can certainly use a box of yellow cake mix. When you do that, use the reserved pineapple juice and milk mix as the liquid called for on the box instructions. But truly, baking this pineapple upside down cake from scratch is so satisfying, and you get that superior tender crumb that the mix just can’t quite match.
How to Make pineapple upside down cake From Scratch: Step-by-Step
Now, here is where the magic really comes together, step by rewarding step. Remember what I said about food being memory? This process is sensory; trust your nose and your eyes as much as the timer. We’re using all the components we gathered to create that beautiful, classic presentation that makes this tropical dessert inspiration shine.
Preparing the Caramelized Fruit Base
Don’t skip the pre-work here; this is the foundation that holds everything up! First, get that 9-inch round pan ready. Pour in your 1/2 cup of melted butter—make sure it coats the entire bottom surface evenly. Next, sprinkle that brown sugar right over the melted butter; it will start dissolving immediately. This mixture is what becomes that beautiful, sticky, gorgeous caramel layer.
Now, you carefully arrange your pineapple slices. I like to lay them out so they slightly overlap where needed. Then, take those bright cherries and tuck one right into the center of every ring. If you have little gaps where the fruit doesn’t quite touch, that’s what the extra cherries are for! Arranging this perfectly is what gives you that dazzling retro dessert cake look when you finally flip it.
Mixing the Tender Cake Batter
While your base is chilling, focus on the batter. This is the structure part, Spoon’s expertise! Start by vigorously creaming the softened butter and granulated sugar until it looks pale and fluffy—this takes a good few minutes and it’s crucial for that light crumb. Beat in your eggs one at a time. You’re building air pockets here!
After that, we alternate! Add a third of your flour mixture, mix it briefly. Then add half of your liquid (milk and reserved pineapple juice mixed together). Repeat that sequence, starting and ending with the dry ingredients. And here’s the SPOUT tip: stop mixing as soon as it’s just combined. Don’t be tempted to keep going! A few tiny streaks of flour are better than a tough cake. Head over to the Spoon & Sprout Blog if you need extra tips on mixing techniques!
Baking and Inverting Your pineapple upside down cake
Pour that glorious batter right over your carefully placed fruit layer. Bake it at 350°F until that toothpick test works—usually 35 to 40 minutes. But listen closely: the biggest moment of truth comes *after* it comes out of the oven. You must let it rest on the cooling rack for exactly 10 minutes. Not 5, not 15. Ten minutes. If you flip too soon, the caramel is too liquidy and it slides all over the place. If you wait too long, the caramel hardens and glues itself to the pan bottom. Ten minutes is that sweet spot where the caramel sets up just enough to hold its shape but stays soft enough to come away clean. Then, grab your serving plate, do the dramatic flip, and lift that pan away slowly!
Tips for a No-Fail pineapple upside down cake
Baking can sometimes feel like walking a tightrope, especially when you’re dealing with upside-down cakes where the topping is upside-down until the very last second! But don’t you worry. We’ve made enough of these that we’ve cataloged every single way things can go wrong, so you can aim right for that perfect flip. Getting a no-fail pineapple cake experience is all about respecting the molten sugar.
First off, pan choice matters just as much as the batter. While a standard 9-inch round pan works perfectly for this recipe, I know some of you love that rustic feel. If you’re trying this in a cast iron pan—a lovely skillet pineapple upside down cake approach—just remember that cast iron retains heat much longer. You might need to let it cool for a couple of extra minutes before flipping, maybe 12 minutes instead of 10, just so that caramel doesn’t instantly burn onto the plate.
My absolute biggest tip, and I mean this from the bottom of my Spoon heart, is about the cherries. Don’t use the syrupy ones straight from the jar! If you do, that extra syrup will boil and thin out your brown sugar base, causing the whole thing to run. Always drain those maraschino cherries really, really well. Pat them dry with a paper towel if you have to. It seems fussy, but that dense, dry cherry sitting in the center of the pineapple ring keeps your caramel layer concentrated and thick.
Also, if you find that even after 10 minutes, the edges look a little loose but the center is holding, run a thin, flexible offset spatula or a small knife right around the perimeter of the pan *before* you flip. Just a gentle scrape to ensure no tiny bit of cake edge is clinging to the metal. Then, place your plate down, hold your breath, and flip with confidence!
Variations on the Classic pineapple cake with cherries
Now, just because we call this the Classic doesn’t mean we can’t play around with it a bit! That’s where Sprout usually steps in, wanting to see what else this rich base can handle. The beauty of this buttery pineapple cake is that it’s flexible, even though we love our traditional 9-inch round anchor here. Sometimes tradition needs a little room to breathe, doesn’t it?
If time is absolutely flying and you need dessert on the table *now*, remember that cake mix trick I mentioned earlier. It’s truly my go-to shortcut when hosting unexpected company! You treat the fruit and caramel layer exactly the same way—that’s non-negotiable. Then, you just mix up a box of yellow cake mix according to its directions, but swap out some of the required liquid with that marvelous reserved pineapple juice you saved. It’s our little secret for an easy pineapple upside down cake with almost zero fuss added, and it still looks stunning.
Switching to a Pineapple Bundt Cake Recipe
If you want a dessert that looks wonderfully dramatic without needing a single knife stroke to serve, you absolutely should try this as a pineapple bundt cake recipe. Bundt pans make everything look fancy, even humble cake ingredients! The main thing you must watch for when switching pan shapes is the depth. A Bundt pan is usually deeper than our standard recipe calls for, meaning the center of the cake will take longer to bake through.
When pouring the batter into a fluted tube pan, you might find you have a little extra batter. If you do, bake that extra amount in a small loaf pan or even a few ramekins! Just keep a close eye on them. For the Bundt, I always check around the 45 to 50-minute mark, pressing gently near the edges to confirm it feels fully set before pulling it out. Check out some of the fun ways we use different pans over at Spoon & Sprout: Recipes in Action.
Making Individual Mini Pineapple Upside Down Cakes
Oh, I love this idea! Serving things individually is so charming, isn’t it? It’s like everyone gets their own perfect, personal little caramel puddle. You can easily make Individual Mini Pineapple Upside Down Cakes by using a standard muffin tin. Muffins are just small cakes, after all!
When you prepare the muffin tins, don’t just spray them; use a paper liner, and then carefully place a small scrap of pineapple (or half a cherry) right in the bottom of each liner cup. Pour just a teaspoon or two of the melted butter/brown sugar mix over that fruit. Then, carefully spoon the batter in, filling the cups maybe two-thirds full. Because these are small, their baking time drops drastically—usually needing only 18 to 22 minutes. They invert beautifully out of the muffin tin, often with no fuss at all since the sides are so shallow!
Serving Suggestions for Your Caramelized pineapple cake
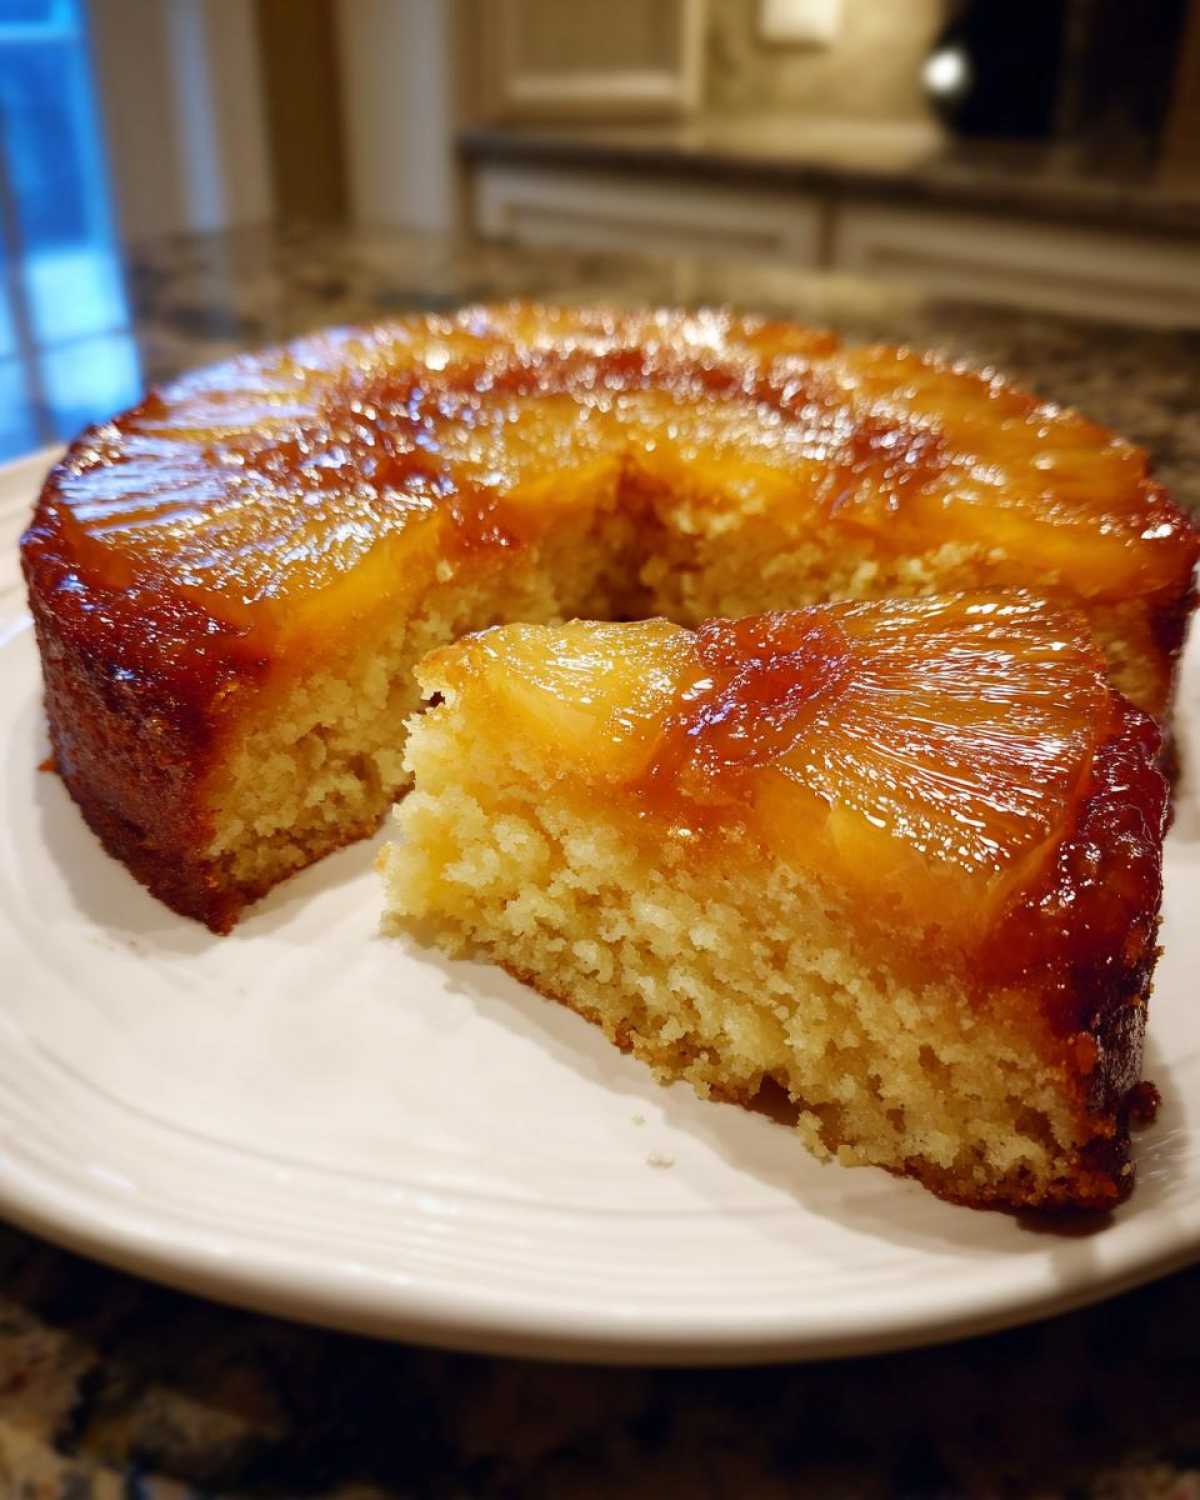
When this gorgeous, glossy cake comes out of the pan, it sings! It truly is a spectacular centerpiece all on its own—that pattern of golden pineapple and bright red cherries is simply unmatched. That’s the power of simple, classic baking, pulling together something that looks so impressive with just a few pantry staples. But, of course, we have to talk about what goes *with* it, because a truly memorable dessert is all about the pairing!
For me, Jun, the best way to serve this buttery pineapple cake is warm. Not hot, but pleasantly warm, so the caramel is soft and almost liquid again when you press your fork into it. That’s when it really needs a cool counterbalance, don’t you think?
The absolute classic accompaniment—and I can never resist it—is a big, generous scoop of good quality vanilla ice cream. The way the cold, creamy ice cream meets the warm, tangy caramel and the soft cake? It’s heaven. It cools down the sweetness just enough so you can keep going back for another bite. If you haven’t tried this combination, you are missing out on one of life’s greatest little pleasures!
If ice cream feels too heavy, Sprout often whips up some fresh whipped cream. If you want to elevate that whipped cream just a tiny bit for this tropical dessert inspiration, try folding in a teaspoon of rum extract or just a little pinch of dark brown sugar while you whip it up. Soft mounds of lightly sweetened cream are wonderful for soaking up any extra caramel sauce that pools on the plate.
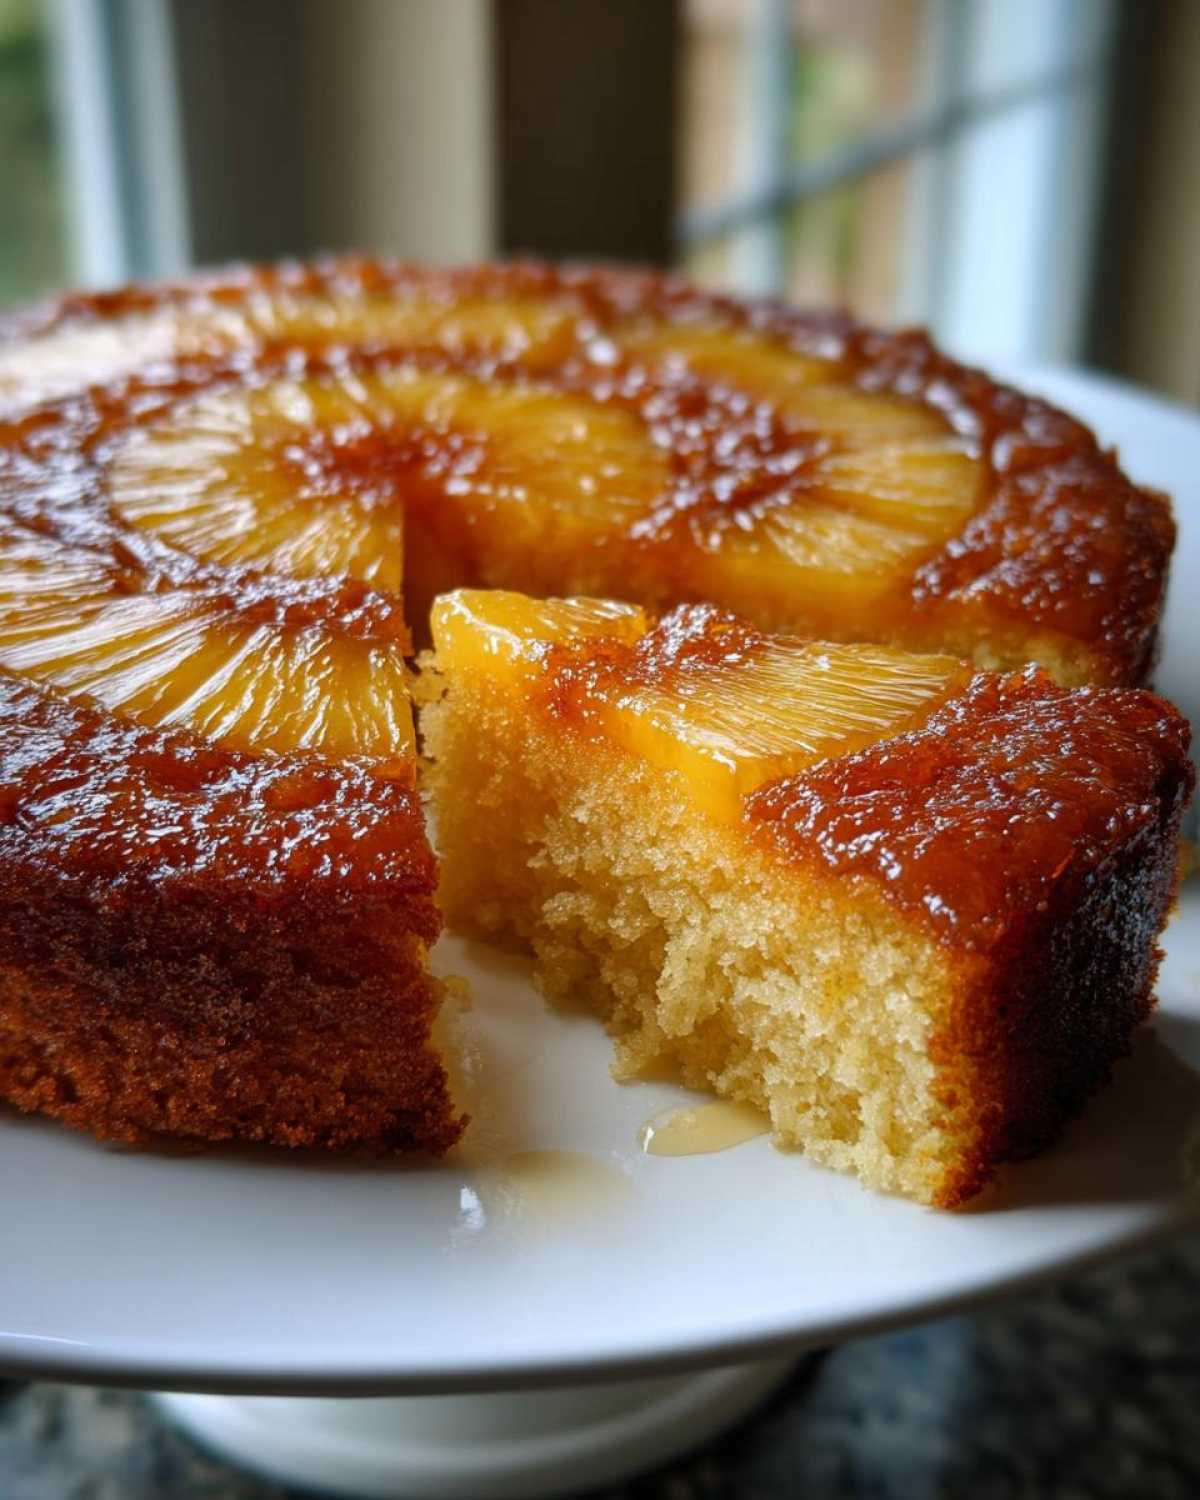
We recently made this alongside our spiced Pear Ginger Cobbler, and the contrast between that warm, spiced fruit and this bright, tangy pineapple cake was just divine. It gave everyone options, but even with options out, the pineapple cake always disappeared first. Enjoy every single bite!
Storing Your Leftover pineapple upside down cake
If you manage to have any cake left over—which, honestly, is a triumph in itself at our house—you need to store it correctly to keep that caramel happy and the cake from drying out. This is important because the melted butter and sugar topping can get a bit tricky as it cools and sits.
The good news is that this cake fares quite well at room temperature for a day or so, especially if your kitchen isn’t too warm. Just cover the serving plate loosely with foil or plastic wrap. You want to keep the air off the cut edges so they don’t get stale right away, but you don’t want to seal it too tightly, or you might trap condensation and make the caramel gooey in a bad way.
If you know the cake is going to sit for two days or longer, the fridge is safer. Place any leftover slices in an airtight container. When you pull it out of the refrigerator, though, it’s going to be quite firm. That chilled caramel can become hard as a rock! Don’t panic, though. This is where a little gentle warmth works wonders.
To reheat individual slices for that just-baked taste, you have two options. The microwave is the quickest fix—pop a slice on a plate for about 10 to 15 seconds. That tiny bit of heat melts the caramel just enough to bring back that soft, luscious texture. If you prefer the oven—which I recommend for a slightly larger piece—wrap the slice loosely in foil and heat it at about 300°F (150°C) for maybe 8 minutes. It warms everything through evenly without drying the cake one bit. It’s almost as good as the first slice, I promise!
Frequently Asked Questions About Making pineapple upside down cake
It’s natural to have questions when you’re flipping a cake upside down for the first time! Baking is precise, but sometimes the traditional methods feel a little mysterious. We gather the most common things folks ask us about making this fantastic retro dessert cake, right here. We want your flip to be perfect!
Can I use fresh pineapple instead of canned for this pineapple upside down cake?
That’s a spirited question! Yes, you absolutely can use fresh pineapple, and it tastes wonderful. However, fresh pineapple has a much higher water content than the pre-sliced canned rings, and it might not sit as flat. If you use fresh, you’ll need to slice it about 1/4 to 1/2 inch thick yourself.
Since you aren’t getting that sweet syrup from the can, you must compensate for the bottom layer. I recommend laying fresh slices down, and then sprinkling an extra tablespoon or two of brown sugar directly over the fruit. You might also need to slightly reduce one of the liquids in the cake batter—maybe use just 1/4 cup of reserved juice instead of 1/4 cup plus another 1/4 to keep that moist pineapple upside down cake recipe texture just right!
What is the best way to ensure the cake releases cleanly (how to make pineapple upside down cake)?
This is the $64,000 question, isn’t it? A stuck pudding layer is a baking tragedy! We rely on two very simple, very old rules to guarantee a solid release—this makes for the best pineapple upside down cake experience possible. First, you must ensure that melted butter completely blankets the bottom of your pan before you add the brown sugar. Make sure every millimeter is coated!
Second, and this is even more critical, honor the 10-minute resting period after it comes out of the oven. That brief pause allows the molten caramel to thicken just enough so it clings slightly to the pineapple rings rather than running everywhere when you invert it. You need that slight ‘grab’ before you flip it onto your serving plate. If you’re worried, give the edges a gentle nudge with a thin spatula before you even attempt the flip.
Can I make this recipe ahead of time or should I use a cake mix for a quick pineapple cake recipe?
Oh, I understand wanting a quick pineapple cake recipe! If speed is essential, the box mix variation we mentioned in the notes works beautifully—it definitely saves you about 15 minutes of mixing time! But for the absolute best flavor and that tender, from-scratch crumb, this version simply can’t be beaten. If you are making this ahead, it’s best stored covered at room temperature for up to 24 hours. If keeping it longer requires the fridge, just remember to gently warm those slices up before serving to bring that buttery caramel back to life!
For all the information regarding how we handle our site and recipes, please see our official disclaimer.
Nutritional Estimate for This Buttery pineapple cake
Now, I know some of you are tracking those numbers, and I totally get that! When you bake something this rich, it’s good to have an idea of what’s inside. As the Spoon of this operation, I believe in knowing your food, roots and all. This nutrition breakdown is based on the full recipe divided into 8 standard servings—that’s one slice of this rich, caramelized delight.
Please keep in mind, this is just an estimate from our side. The actual counts can shift depending on the brand of butter you use, whether you swap out granulated sugar for another type, or how much syrup you might accidentally spill onto the plate beside your slice! These are the general numbers for our take on the buttery pineapple cake.
- Serving Size: 1 slice
- Calories: Approx. 380
- Fat: Approx. 18g (with about 11g being saturated fat—that’s the butter speaking!)
- Carbohydrates: Approx. 53g
- Sugar: Approx. 35g
- Protein: Approx. 4g
- Cholesterol: Approx. 85mg
We aren’t hiding anything here! It’s rich because it uses real butter and brown sugar, which is exactly what makes this such a fantastic, comforting, full-flavored dessert. There’s no way around rich flavor without sacrificing the classic taste we love, but knowing the numbers helps you savor every bite without worry!
PrintThe Ultimate Classic Pineapple Upside Down Cake (From Scratch)

Bake this classic, nostalgic Pineapple Upside Down Cake from scratch for a moist, tender crumb and a perfect, buttery caramelized topping. This recipe ensures your fruit releases cleanly from the pan every time.
- Prep Time: 20 min
- Cook Time: 40 min
- Total Time: 60 min
- Yield: 8 servings
- Category: Dessert
- Method: Baking
- Cuisine: American
- Diet: Vegetarian
Ingredients
- 1/2 cup unsalted butter, melted
- 3/4 cup packed light brown sugar
- 1 (20 ounce) can pineapple slices in juice, drained (reserve juice)
- 10 maraschino cherries, drained
- 1 1/2 cups all-purpose flour
- 1 1/2 teaspoons baking powder
- 1/4 teaspoon salt
- 1/2 cup unsalted butter, softened
- 3/4 cup granulated sugar
- 2 large eggs
- 1 teaspoon vanilla extract
- 1/2 cup milk
- 1/4 cup reserved pineapple juice
Instructions
- Preheat your oven to 350°F (175°C). You will need a 9-inch round cake pan.
- Prepare the topping: Pour the 1/2 cup melted butter into the bottom of the cake pan. Sprinkle the 3/4 cup brown sugar evenly over the butter.
- Arrange the fruit: Place one pineapple slice in the center of the pan. Arrange the remaining pineapple slices around the edge, overlapping slightly if necessary. Place one maraschino cherry in the center of each pineapple ring and fill any gaps with remaining cherries.
- Make the cake batter: In a medium bowl, whisk together the flour, baking powder, and salt. Set this aside.
- In a large bowl, cream together the 1/2 cup softened butter and 3/4 cup granulated sugar until light and fluffy. This step builds the structure for a tender crumb.
- Beat in the eggs one at a time, mixing well after each addition. Stir in the vanilla extract.
- Combine wet and dry ingredients: Gradually add the flour mixture to the butter mixture, alternating with the milk and reserved pineapple juice. Begin and end with the dry ingredients. Mix only until just combined; do not overmix.
- Pour the batter evenly over the fruit layer in the prepared pan.
- Bake for 35 to 40 minutes, or until a wooden pick inserted into the center comes out clean.
- Cool the cake slightly: Let the cake cool in the pan on a wire rack for exactly 10 minutes. This allows the caramel to set slightly but remain soft enough to release.
- Invert the cake: Place a serving plate upside down over the cake pan. Carefully flip the pan and plate over together. Lift the pan off slowly. If any fruit sticks, gently place it back onto the cake.
- Serve warm, perhaps with vanilla ice cream.
Notes
- For a quick version using cake mix, prepare one box of yellow cake mix according to package directions, substituting the required liquid with the reserved pineapple juice and milk mixture. Pour this batter over the prepared fruit layer.
- To prevent sticking, ensure the melted butter fully coats the bottom of the pan before adding the brown sugar.
- Serve this buttery pineapple cake warm for the best flavor and texture.
Nutrition
- Serving Size: 1 slice
- Calories: 380
- Sugar: 35
- Sodium: 210
- Fat: 18
- Saturated Fat: 11
- Unsaturated Fat: 7
- Trans Fat: 0.5
- Carbohydrates: 53
- Fiber: 1
- Protein: 4
- Cholesterol: 85